By Neva Cole
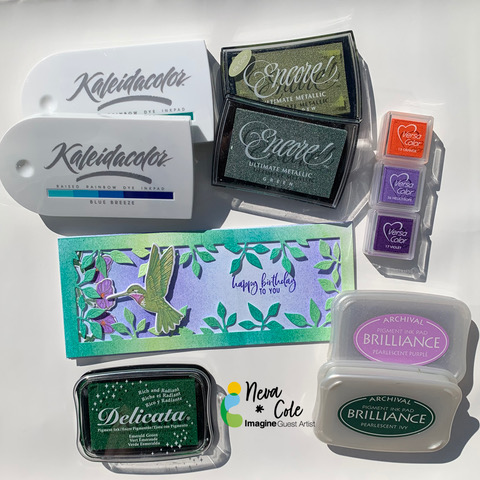
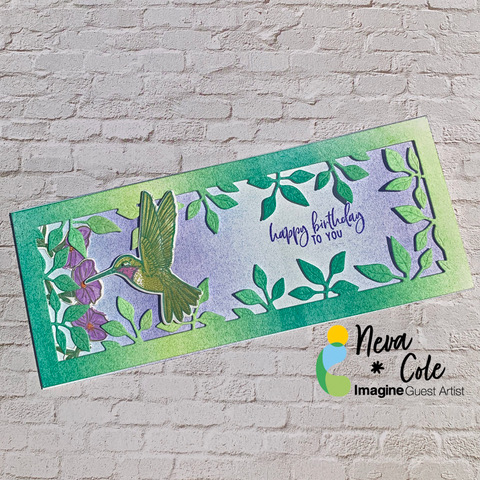
In today’s card making tutorial, I will show you how to make a multi-colored layered birthday cards using a plethora of great Imagine inks. Hummingbirds can be iridescent, so Encore! Ultimate Metallic, Delicata, and Brilliance inks are used to create a beautiful hummer. Ombre-hued Kaleidacolor inks are used to create the frame and background.
Skill: Intermediate
Time: 2 hours
Directions:
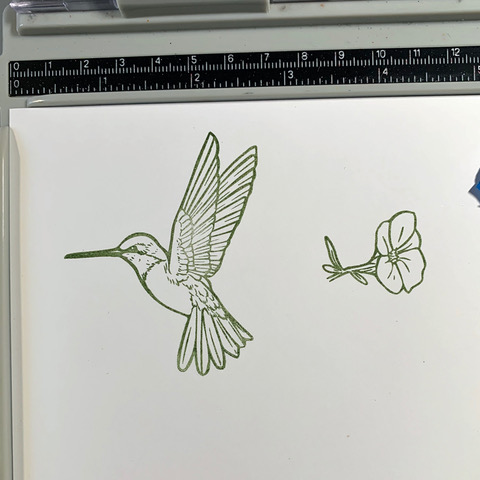
Step 1
Stamp Hummingbird outline image and flower outline image in Encore! Ultimate Metallic Green. Using a stamp positioner will allow more precise placement while stamping layers.

Step 2
Stamp next layer of Hummingbird in Encore! Ultimate Metallic Honeydew and the stem of the flower in Delicata Emerald Green.
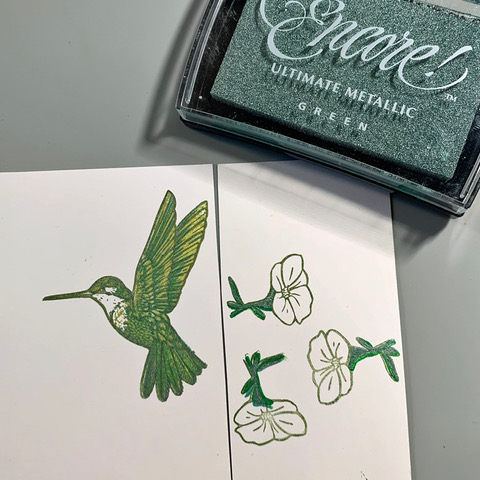
Step 3
Stamp next layer of Hummingbird and flower stem in Encore! Ultimate Metallic Green.
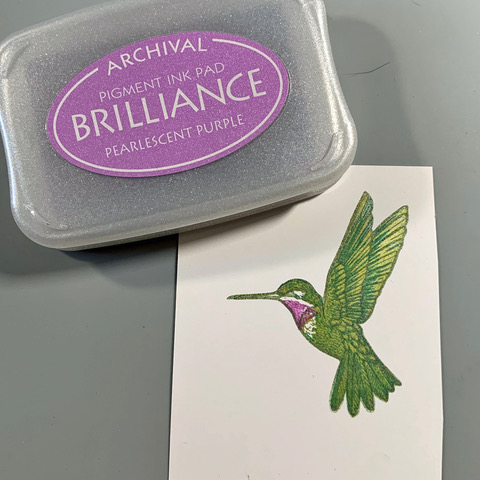
Step 4
Stamp throat of Hummingbird in Brilliance Pearlescent Purple.
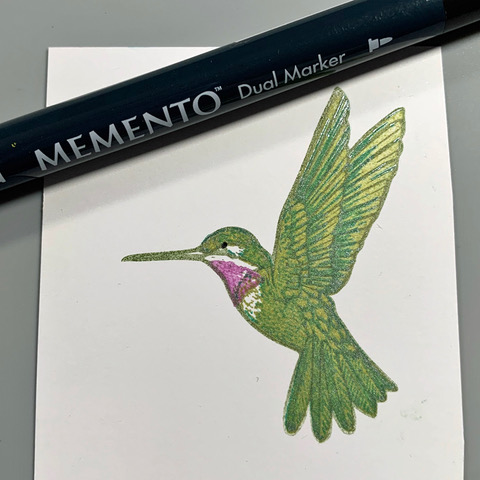
Step 5
Use a Memento Dual Tip Marker in Tuxedo Black to color eye. Die cut with matching Frame Cut.
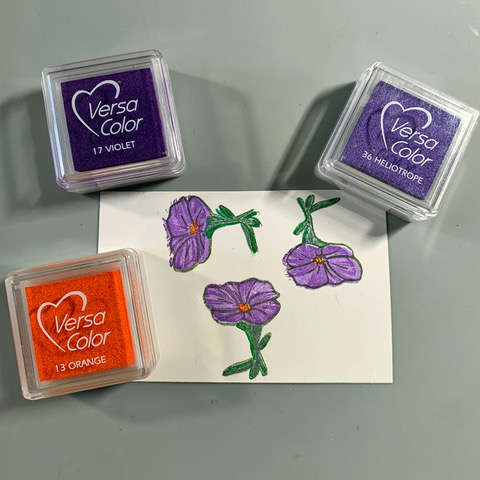
Step 6
Stamp the layers of the flower with Versa Color Heliotrope, Violet, and Orange. Die-cut with matching Frame Cut.
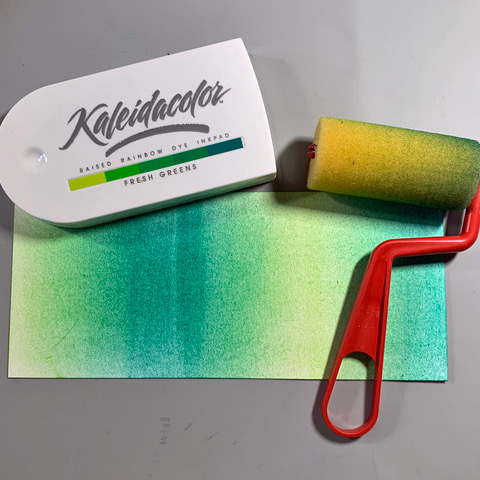
Step 7
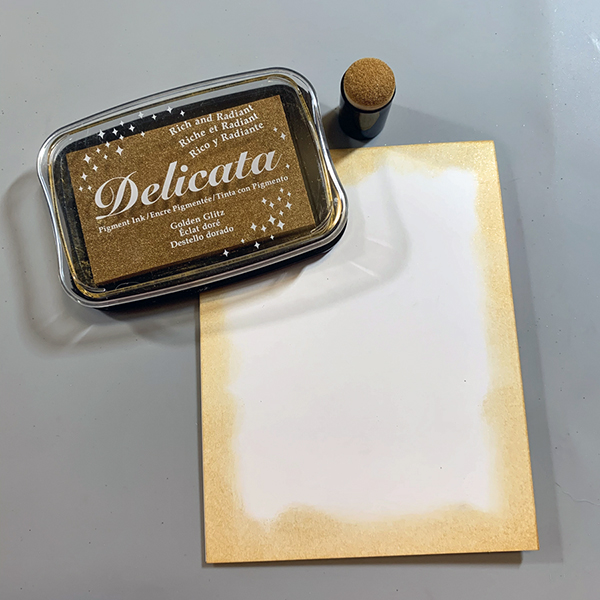
Trim cardstock to 3 1/2″ x 8 1/2″. Use a foam brayer to ink the cardstock with Kaleidacolor in Fresh Greens.
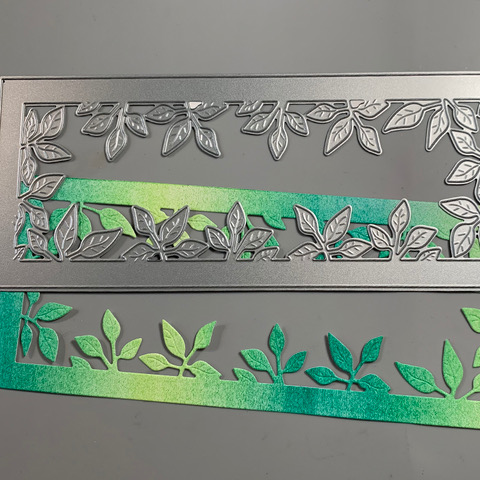
Step 8
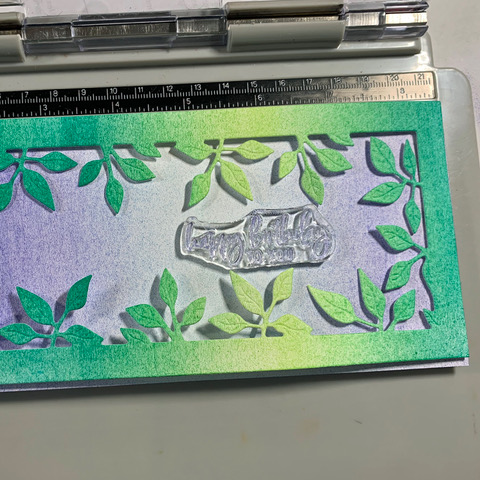
Die-cut Foliage Frame.
Step 9
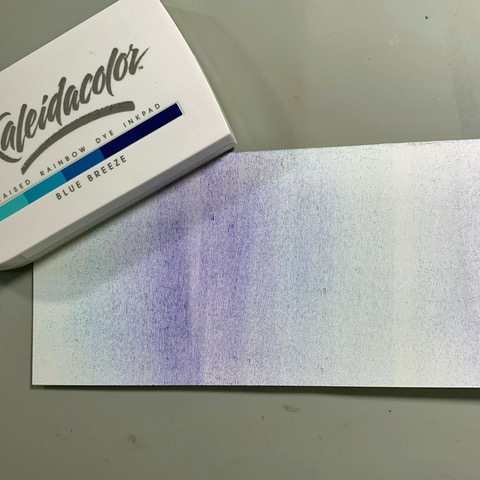
Trim cardstock to 7 1/8” x 8 ½” and fold in half. Use a foam brayer to ink the cardstock with Kaleidacolor in Blue Breeze.
Step 10
Place Foliage frame over blue background to determine position for sentiment.
Step 11
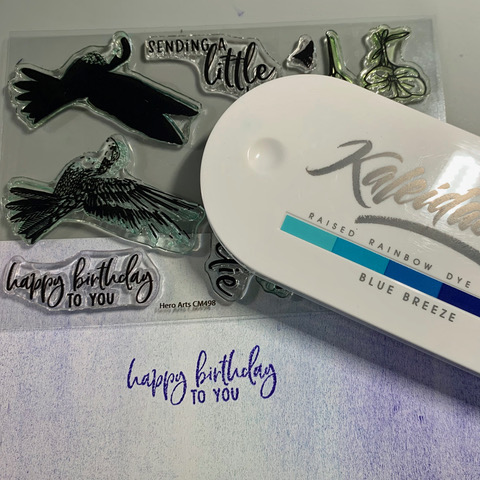
Stamp sentiment in the darkest color from the Kaleidacolor Blue Breeze ink pad. It is easiest to do this with the pad expanded to get just the end inked section of the Kaleidacolor pad.
Step 12
Adhere layers of card together. The Foliage frame is adhered with thin dimensional foam adhesive. The upper and lower flowers are adhered with On Point Glue, and the middle flower to thin dimension foam adhesive. The hummingbird is adhered with thicker dimensional foam adhesive.
Art Supplies
Imagine
- Encore! Ultimate Metallic—Green, Honeydew
- Delicata—Emerald Green
- Brilliance—Pearlescent Green, Pearlescent Purple
- VersaColor—Heliotrope, Violet, Orange
- Kaleidacolor–Fresh Greens, Blue Breeze
- Memento Dual Tip Marker–Black
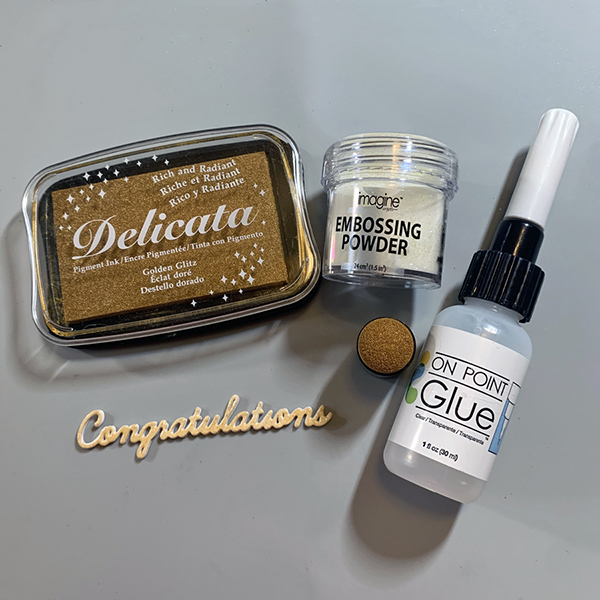
- On Point Glue
Other
- Hero Arts Color Layering Hummingbird & Frame Cuts
- Kat Scrappiness Slimline Card Foliage Frame
- Sponge brayer
- Dimensional Foam Adhesive
- Stamp positioner