The sparkle of the Delicata ink on the patterned paper background helps to make the Rinea foiled paper die-cut pieces really pop off the card! See how I make this purple elephant themed card.
Need a quick and simple background technique for a greeting card? See how I create a patterned background with large sponge daubers and Memento Ink. Sponge daubers are dense foam and can behave like a soft textured circle stamp when inked up heavily. This technique is a perfect start for a card, art journal or even a scrapbook page. The color scheme and options are really endless.
Skill: Intermediate Time: 45 Minutes
Directions
Step 1
Use a large dauber to apply Memento Inks to the card panel.
Step 2
Stamp floral images onto card panel with Memento in Tuxedo Black.
Step 3
Stamp a single flower and leaf image onto a separate piece of cardstock (with same dauber background) and cut out.
Step 4
Enhance single flower/leaf images with Memento Dual Tip Markers.
Step 5
Apply London Fog Memento to Craft Mat and add water; add ink splatters to the card panel.
Step 6
Edge card panel with Memento in London Fog.
Step 7
Use cutting die to die cut decorative strip from Rinea Foil paper.
Step 8
Adhere Rinea foil paper element to the card base.
Step 9
Adhere Single flower/leaf to the card panel with double-sided mounting tape. Highlight with a glitter pen.
Step 10
Double stamp sentiment. First stamp in Angel Pink then again, slightly offset, with Tuxedo Black.
Step 11
Edge card base with Memento in London Fog and Angel Pink.
I love stamps as much as the next crafty person. Sometimes, I like to hand draw my own images though. Did you know you can draw your images with Imagine’s irRESISTible Pico Embellisher? IrRESISTible is a texture medium; which adds dimension to your project. It comes with a fine-tipped applicator for writing or making doodles. For the background, I used various All-Purpose Inks to create a watercolor painted look and then drew on top with the Pico Embellisher.
Skill: Beginner/Intermediate Time: 30 minutes
Directions
Step 1
Determine how many colors of All-Purpose Ink. Prepare a water container for each color, so that you do not contaminate the colors; also, avoids running the risk of your ink turning into a mud color. Use a different for each color, or wash the brush between each color if using the same brush.
Step 2
First, wet the area with plain water. Place a small amount of ink into one of the ink wells. Add water to the ink and brush onto the paper.
Step 3
Repeat the same process for each color. Do not blend the colors; just lay them next to each other. Dry the paper.
Step 4
Brush on Creative Medium in order to seal in the All-Purpose Ink. Draw your image using Zeal Teal irRESISTible Pico Embellisher. If you are not used to this medium, first practice drawing on a piece of scratch paper. Always squeeze out the Pico Embellisher onto scratch paper to eliminate the bubbles, before applying to your project. Finally, stamp on sentiment and assemble the card.
Having a quick look at your craft supplies, you can always find something more to make than papercrafts. Jewelry is one of the best things and you can make them any day and according to your fashion requirements each time.
These Wind Charm earrings are very easy to make and you can follow the same steps to make a necklace just by replacing the earring hooks with a jump ring and passing a cord to it. You only need basic supplies and no special techniques.
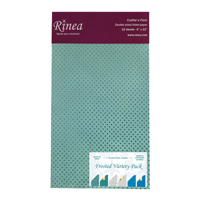
Cut 2 x 1 ½ inch pieces of the Rinea Turquoise starstruck paper, 5 for each earring or more if you are planning to make a necklace too. An alternative can be to use two matching color papers and have a result that goes with more outfits. When you have the papers cut, place Tear It Tape at one of the long edges and use a bamboo skewer starting from the opposite edge tightly roll the paper. Secure with the pre-set Tear It! Tape to create the pipes. Using the double-sided tape is easy and does not create a mess.
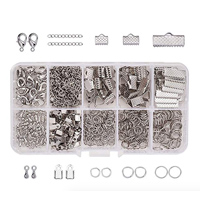
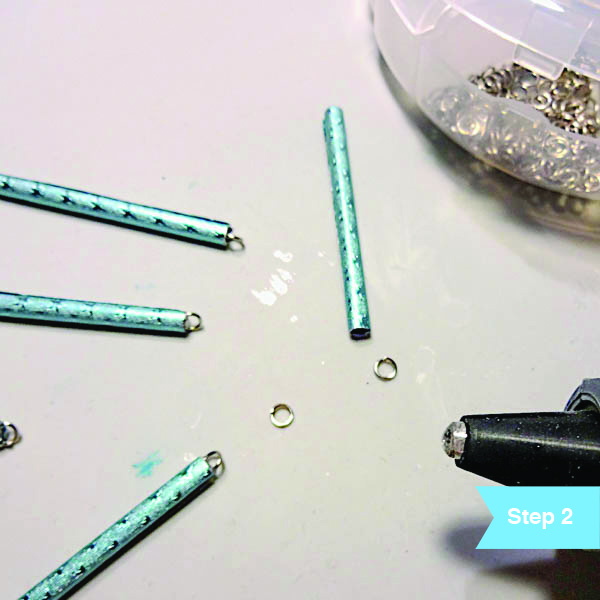
Place a drop of hot glue on one of the pipes ends and set a small jump ring inside. Continue with all of the small pipes and only at one side. If you do not have a glue gun then a strong liquid adhesive glue such as On Point Glue should work as well.
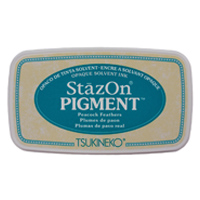
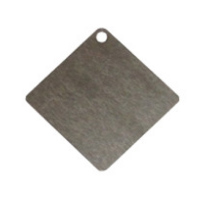
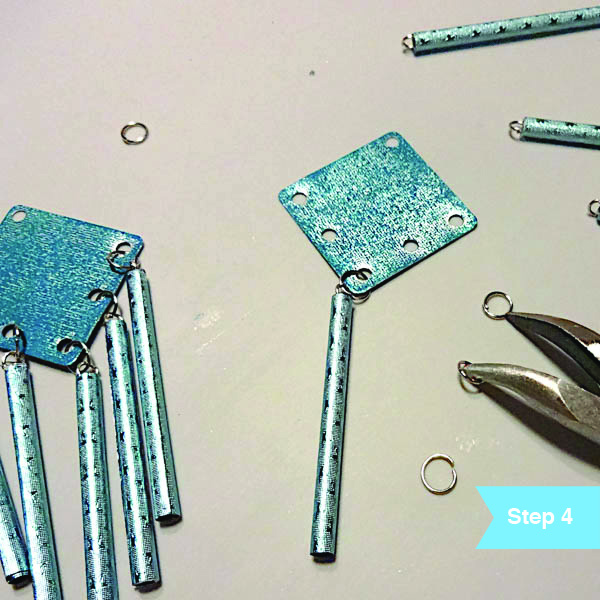
Punch small holes on two sides of the SHEET Metal in a diamond shape. You can use a hole punch or a piercing tool, but make sure that the openings allow the jump rings to pass. Then, remove the protective film and just press them on the StazOn Pigment in Peacock Feathers ink pad. Allow a few minutes the ink to dry. You can seal the result with GlazOn. This liquid sealant is formulated to work with StazOn inks.
Add a bit larger jump rings to set the pipes on the SHEET Metal diamond shapes and finish by adding an earring hook.
This month Imagine and Rinea Foil are teaming up to bring you some amazing projects for the month of August and today I have a fun mermaid scales card for your most Mer-Mazing friend!
Skill: Intermediate Time: 1 hour
Directions
Step 1
Place a piece of white cardstock in a stamping aid and place the stamp over the cardstock in the desired position. Close the lid of the stamping aid to affix the stamp to the lid. Pounce VersaFine Nocturne ink over the stamp; close the lid to stamp the image onto the cardstock. Repeat this step if necessary to get a good impression. Leave the stamp affixed to the stamping aid.
Step 2
Use an Exacto knife to cut away several scales from the image.
Step 3
Use sponge daubers to apply Verdant, Paradise and Fantasia inks to the cardstock. Blend the inks where they meet.
Step 4
Use a white gel pen to color in the dots on the scales.
Step 5
Swipe the piece of cardstock with a Stamping Buddy or other anti-static tool. Place the piece of cardstock back into the stamping aid; apply VersaMark ink to the rubber stamp and close the lid to stamp the image over the first.
Step 6
Sprinkle the image with Mboss Sparkle Embossing Powder, shake off excess and return to the pouch. Use a heat tool to melt the embossing powder.
Step 7
Trim several colors of Rinea Foiled Paper to fit the openings in the scale pattern.
Step 8
Affix these pieces to the backside of the card panel. Stamp sentiment onto a piece of vellum using Piano Black StazOn Pigment Ink. Tear away excess paper and affix this to the card using On Point Glue. Affix the card panel to a blue card base using Tear It! Tape.
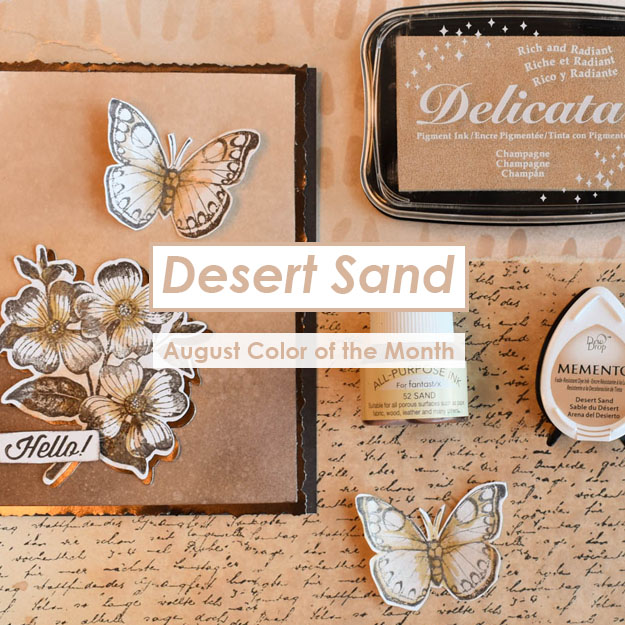
Color of the Month for August is Desert Sand. This light cream color is a beautiful way to express warm soft earthy tones. Not only is it a great compliment to chocolate browns but it looks great with a shimmery element. If you are looking for a soft shimmery gold that is not bright yellow then we highly recommend inks such as Delicata Champagne or Fireworks Shimmery Craft Spray in Desert Sand. If you are looking for a dye ink to blend with brown colors then Memento Desert Sand is also a great choice.
August also brings a collaboration with Rinea Foil Paper. Look out for how unique and versatile these foil papers are in paper crafting and jewelry making projects.