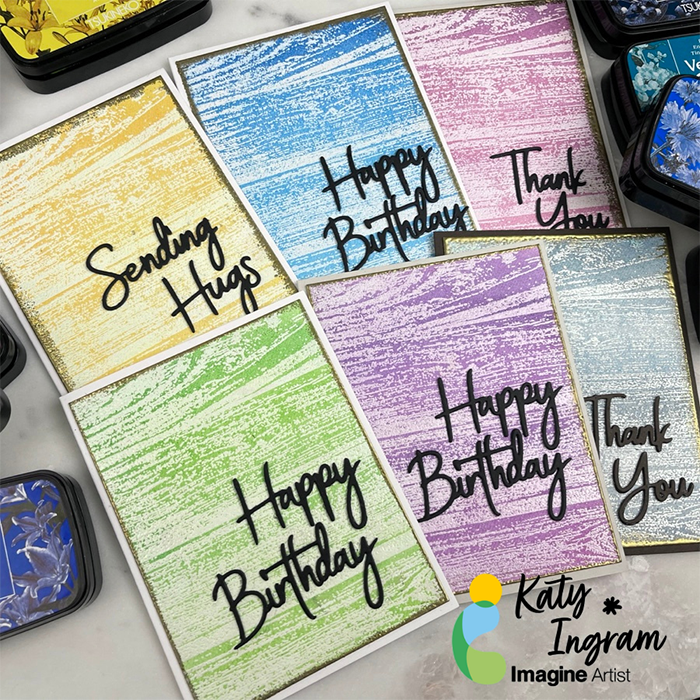
Summer means outdoor celebrations and color – and that means loads of fun right?
Make every celebration special by adding loads of fun and bright colors to birthday cards.
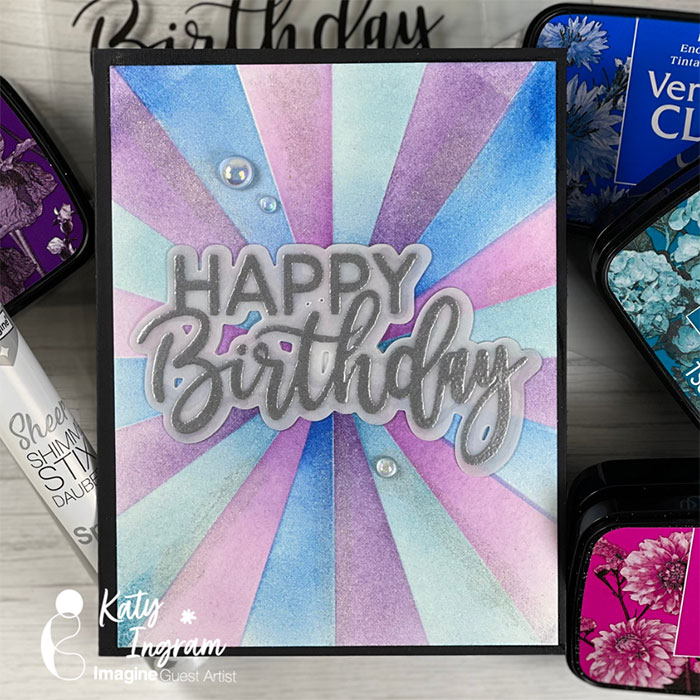
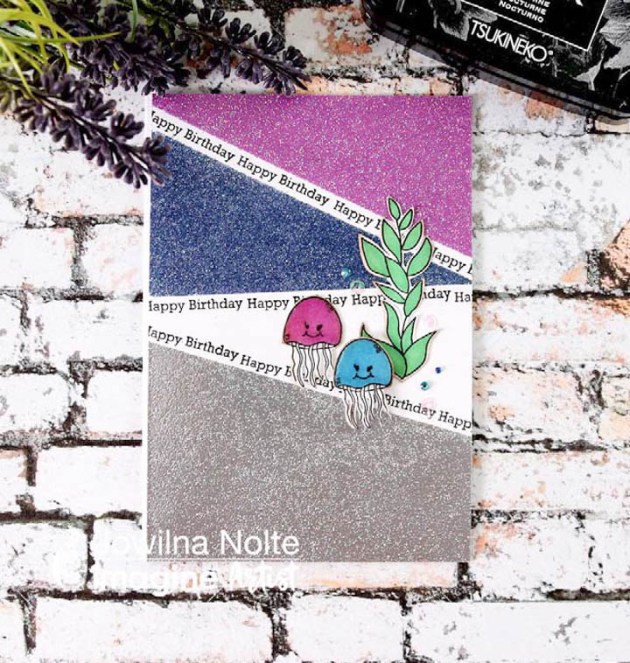
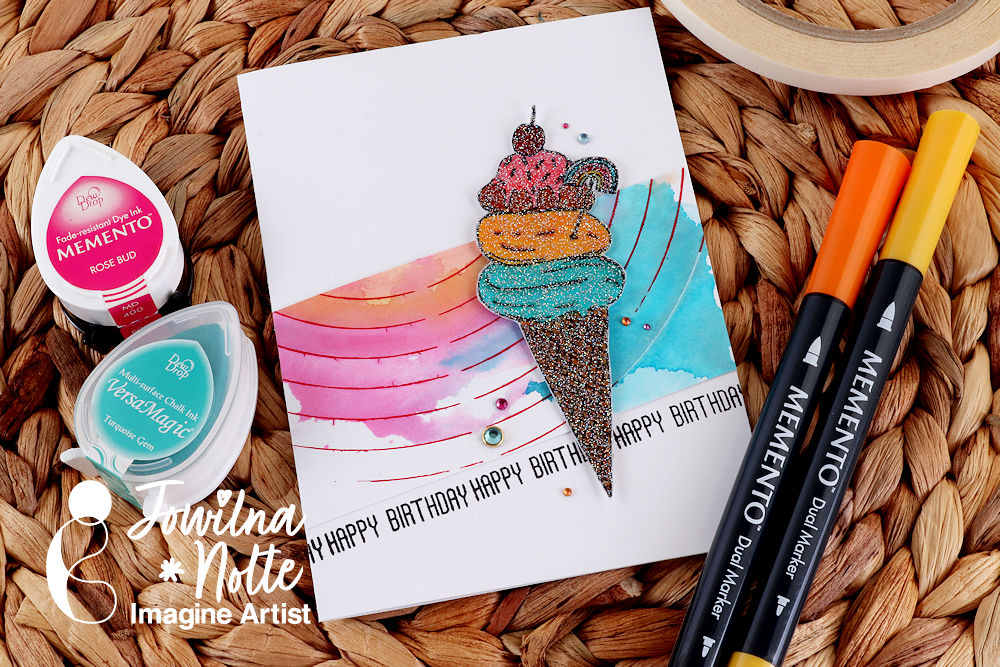
Take a look at this easy and fun way I use color and shimmer on this card.
Skill Level: Intermediate
Time: 30 minutes
Directions:
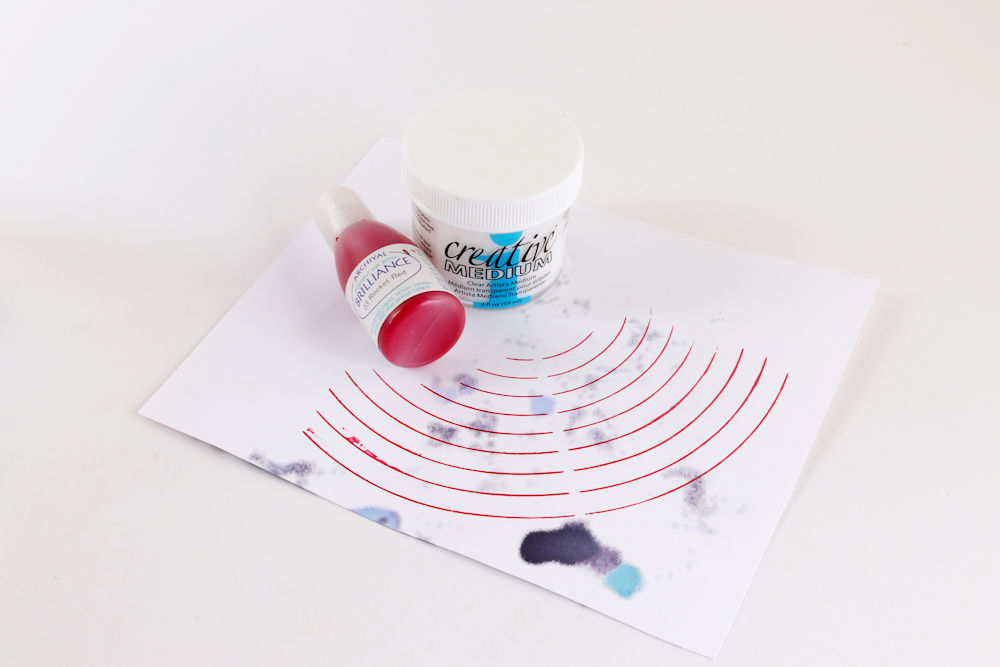
Step 1
On smooth white cardstock add some stenciled details. I used Creative Medium and mixed some Red Brilliance Inker into the medium before applying it through a stencil using my palette knife.
Leave the stenciling to dry.
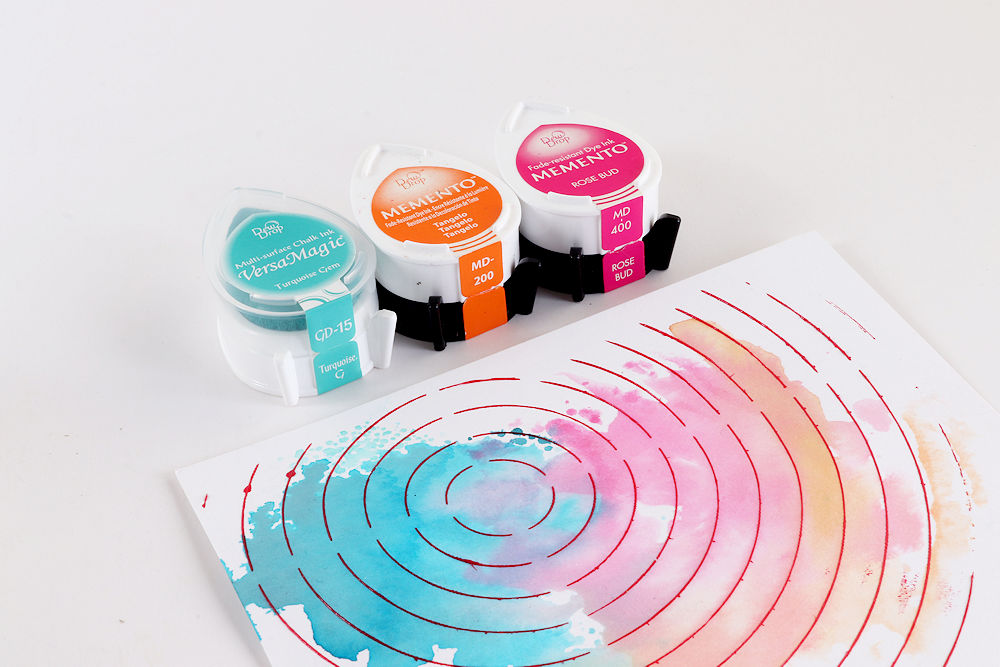
Step 2
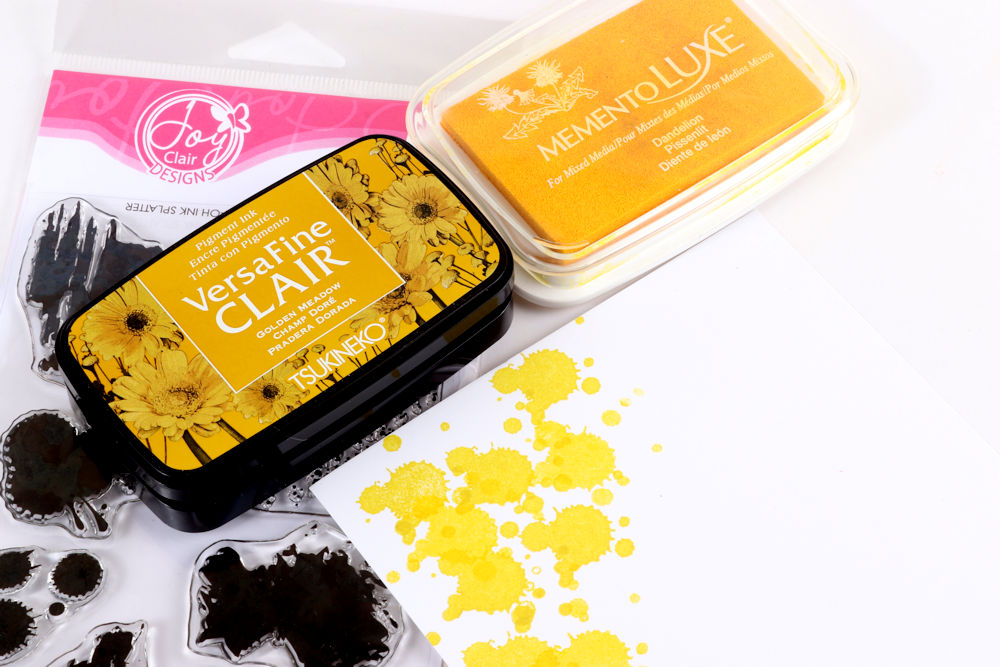
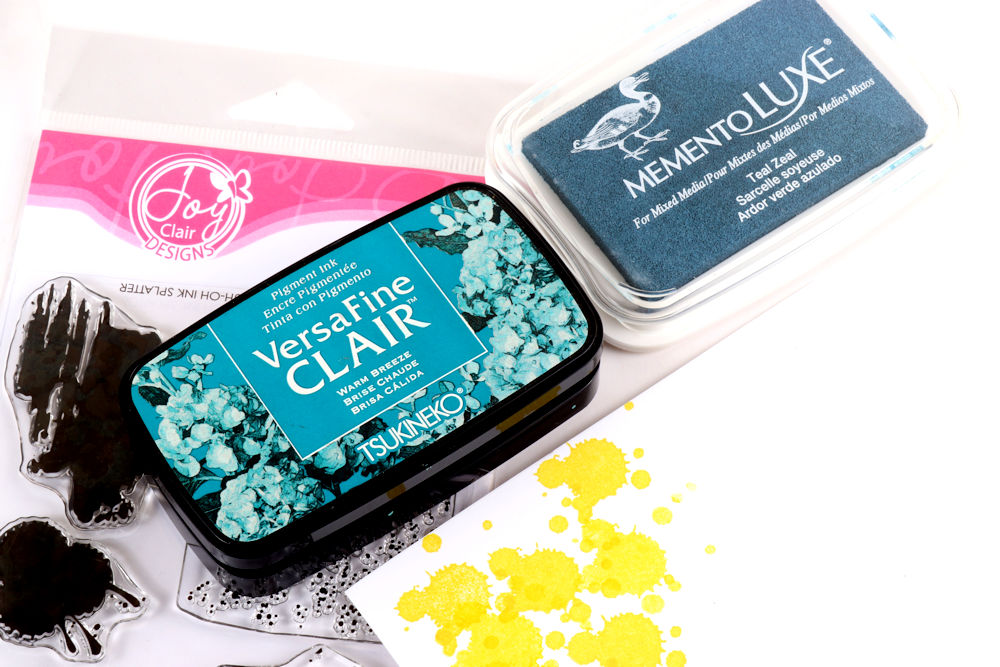
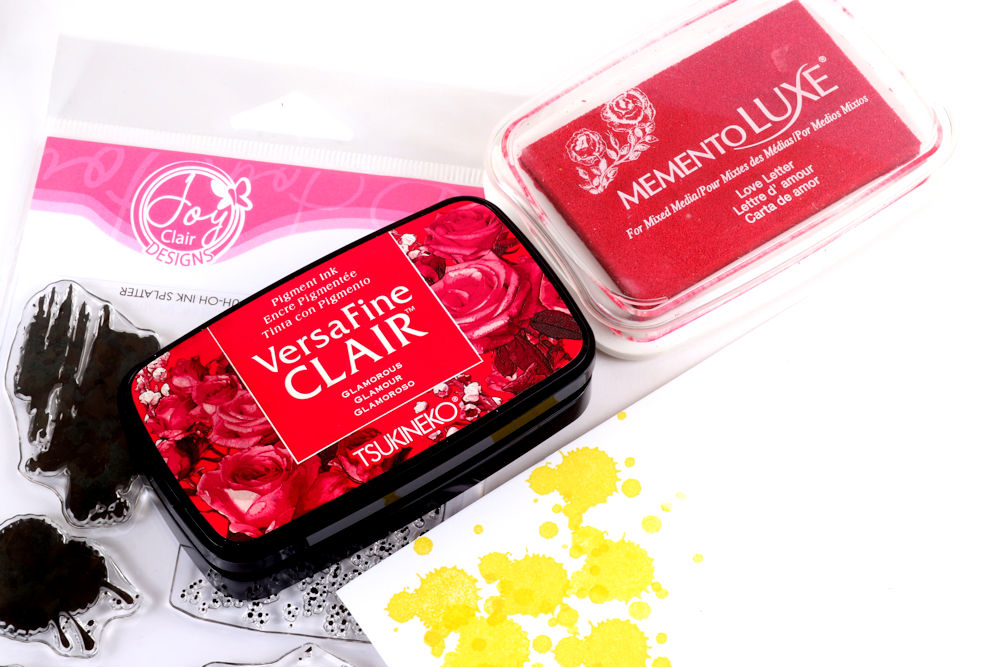
Once the stenciled detail is dry, add some color using Memento and VersaMagic Dew Drop ink pads.
Apply the ink, once color at a time to a plastic packet and mist with water. Then stamp the color onto your background by flipping the packet over and pressing lightly.
Add more colors and then leave to dry.
Step 3
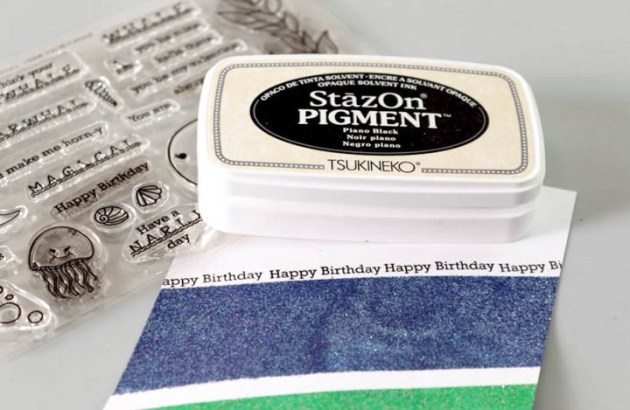
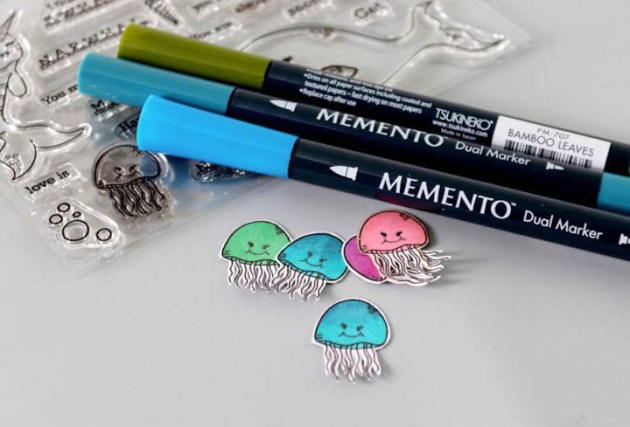
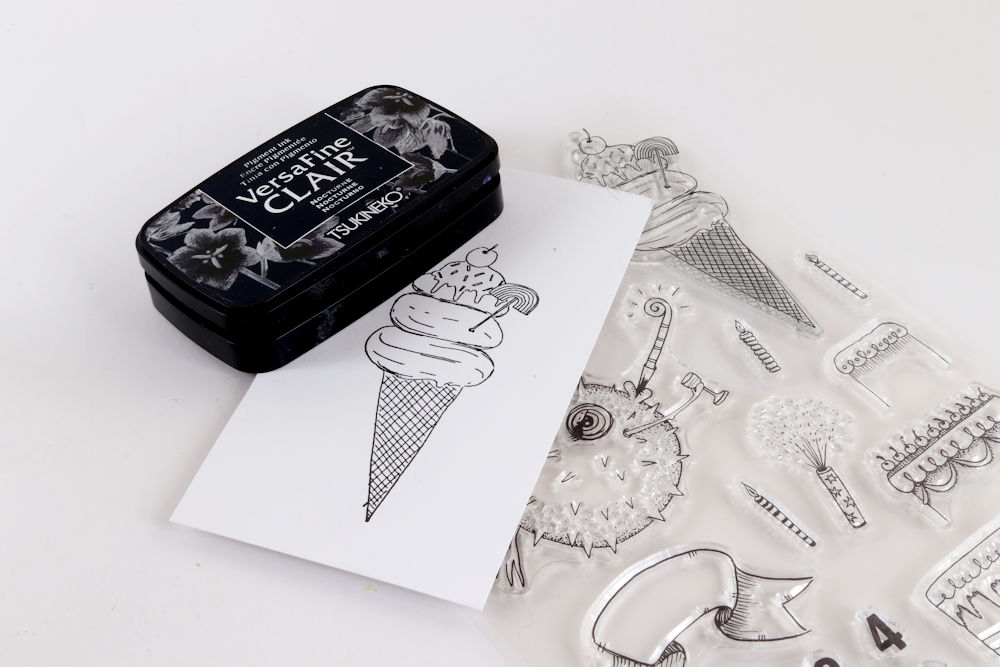
Stamp your image using VersaFine Clair Nocturne onto smooth white cardstock.
Step 4
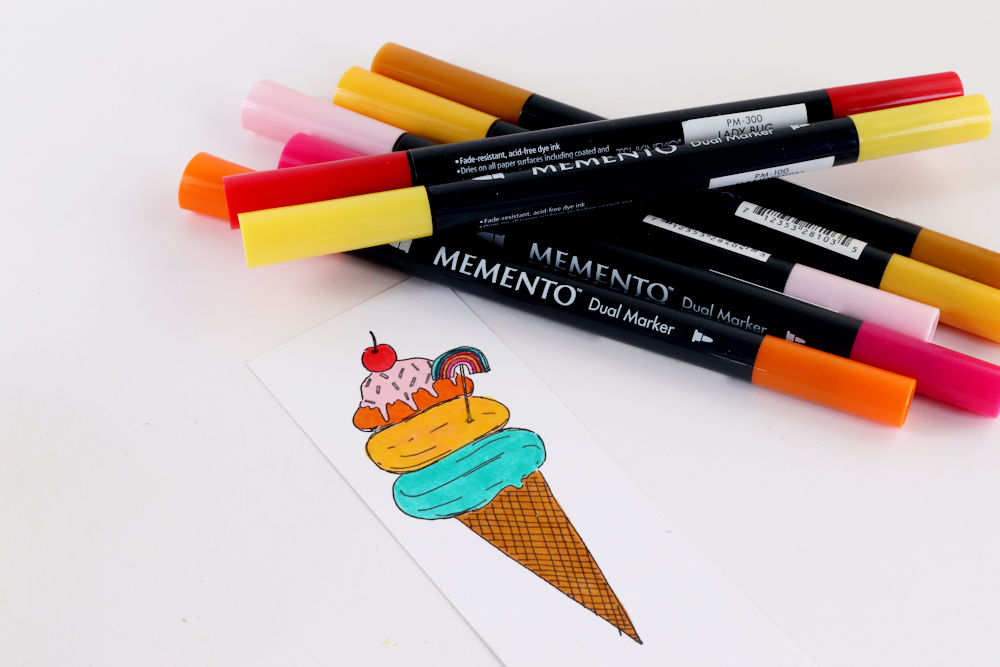
Use your Memento Markers to add color to your stamped image. I used colors to match my background.
Step 5
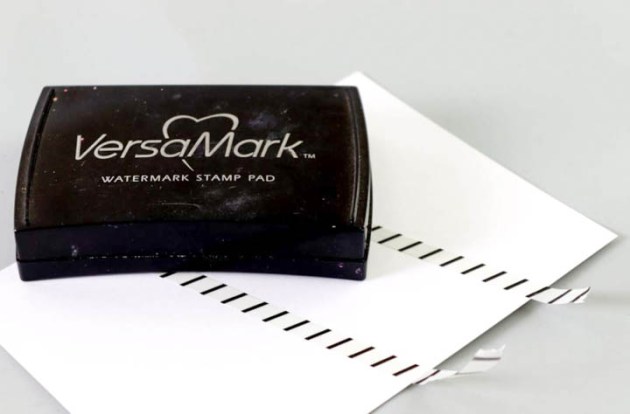
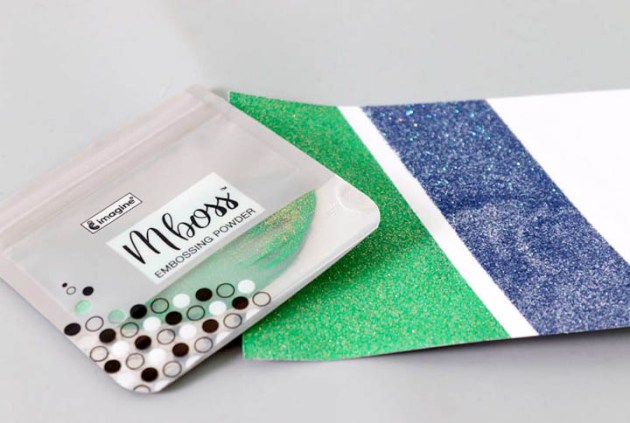
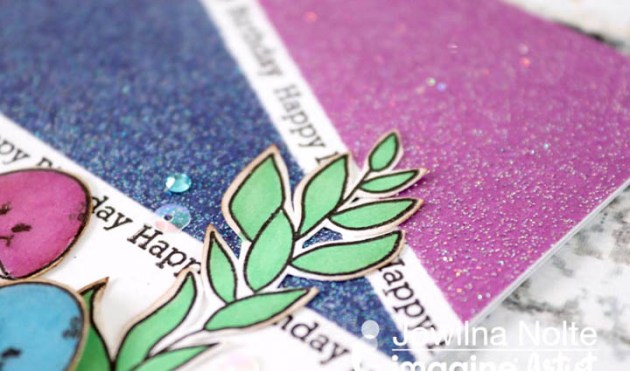
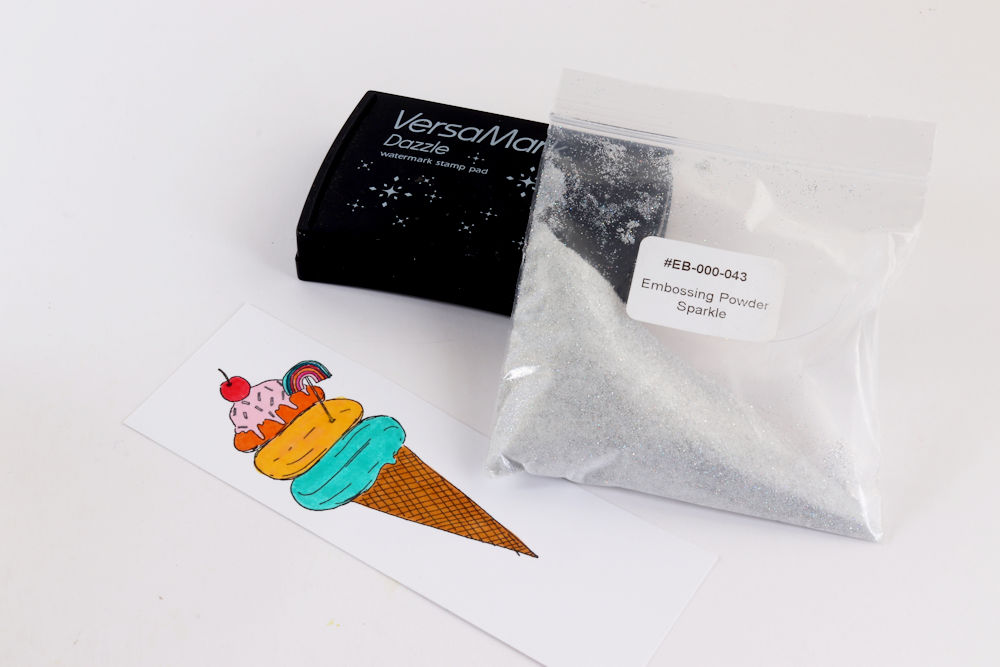
After coloring the image, add a layer of embossing in Sparkle Mboss powder. Ink the image with VersaMark and sprinkle with powder.
Shake off the excess and then use a heat gun to melt the powder. This gives the image a bright and fun shimmering finish.
Step 6
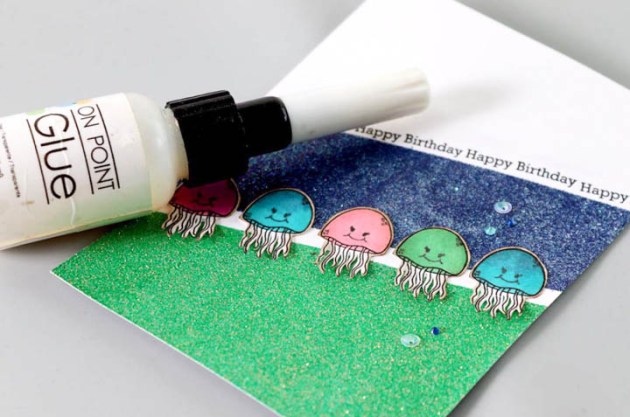
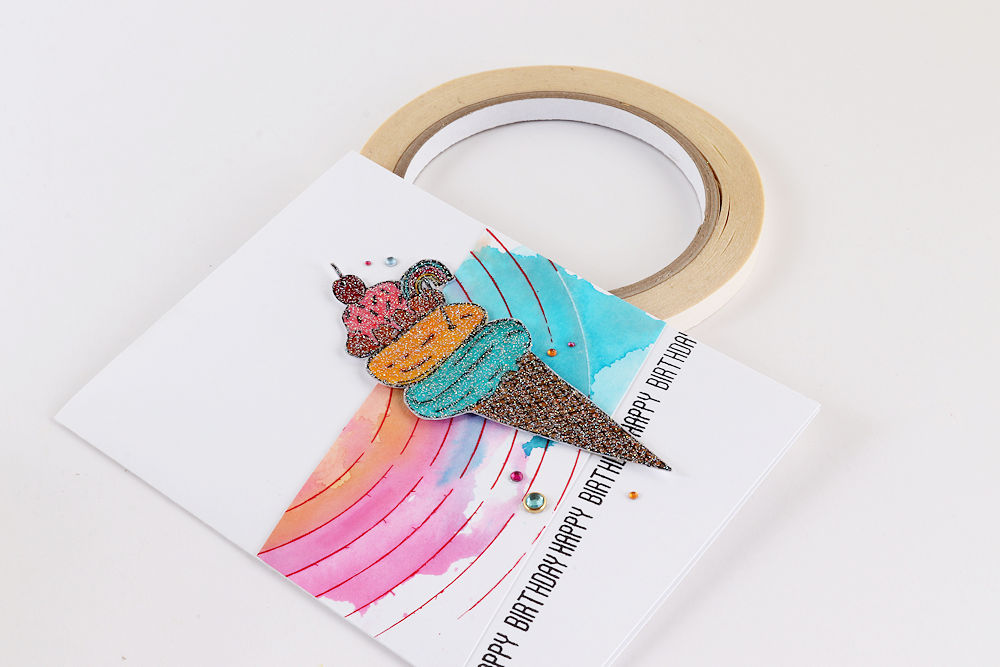
Use your Tear-It! tape to adhere the background strip to your folded card. Stamp a birthday sentiment below the strip using VersaFine Clair Nocturne.
Adhere the embossed image using foam tape for some dimension and finish off by adhering diamante using On Point Glue.
Art Supplies
Imagine
Craft Mat
Tear It! Tape
On Point Glue
Palette Knife
VersaFine Clair Nocturne
VersaMark Ink Pad
Mboss Embossing Powder – Sparkle
VersaMagic Turquoise Gem Dew Drop
Memento Rose Bud Dew Drop
Memento Tangelo Dew Drop
Memento Markers Assorted Colors
Other
Smooth White Cardstock: Technic
Stamps: Art by Marlene, Joy Clair
Diamante
Stencil: Jowilna Nolte
Foam Tape