How To Create a Fall Side Table Decoration for Thanksgiving

by LeeAnn McKinney

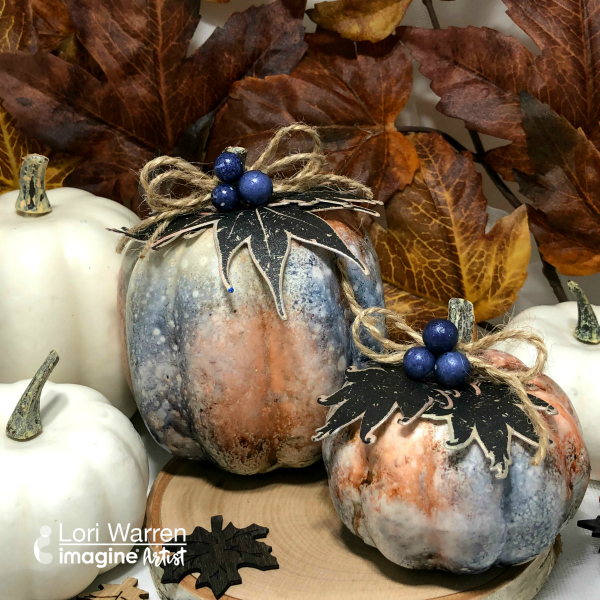
Hi there friends, Lee Ann here with a fun fall Thanksgiving Home Decor project. In this video, I tried StazOn Studio Glaze in several different colors and I was hoping to make the house a little fun. We do not have a lot of space (literal tiny home) and so anything I make needs to be condensed or small. I chose to pick up a 5″ x 7″ photo frame and play with the StazOn Studio Glaze with coloring in pumpkins, leaves, and other stamped images. StazOn Studio Glaze is a water-based acrylic product and oh it was fun. I plan to make more for the Christmas holidays. 

Skill: Intermediate
Time: 30 minutes

Directions

Art Supplies

Imagine
Other Items Used
  • MISTI Stamping Tool
  • Kat Scrappiness “Happy Fall Y’all” Stamp Set
  • Photo Frame, 110 lb Card Stock
  • Double-Side Tape

See How to Transform Plain Pumpkins to Fancy Shimmery Metallic Pumpkins

See How to Transform Plain Pumpkins to Fancy Shimmery Metallic Pumpkins

by Lori Warren

Pumpkins are one of my favorite things to decorate and craft with during the Fall Season. Big ones, small ones, any shape and size of pumpkin just makes me smile. In this quick tutorial learn how to transform a normal plastic pumpkin from Hobby Lobby into a shimmery metallic multi-color pumpkin that will delight your guests. This tutorial can be used just to make the pumpkins a different color or you can continue craft with little paper embellishments to create a beautiful home decor piece.

Hoping this project will inspire many smiles this October!

Skill: Intermediate
Time: 20 minutes

Directions

Art Supplies

Imagine
Other 
  • Hobby Lobby Packaged Pumpkins/Gourds
  • Twine
  • White card stock
  • Hot glue gun

 Learn How to Mix Mediums to Create a Home Décor Birdhouse

by Lori Warren

 Learn how to mix mediums to create a home décor bird house

A great aspect of Imagine products is that they pair very nicely with other mixed media mediums.  This project features the use of StazOn Pigment ink, Creative Medium and Fireworks! sprays along with acrylic paint and varnish to complete a mixed media home decor project.

Skill: Advanced
Time: 2 hours

Directions


Step 1

Adhere pieces of corrugated paper to a pre-made wood birdhouse with Creative Medium.


Step 2

Spray birdhouse with Fireworks sprays. Allow drying.


Step 3

Mix Rich Cocoa Fireworks! spray with matte varnish, apply to the birdhouse. Allow drying.


Step 4

Sponge on Chocolate Brown StazOn Pigment to portions of the birdhouse.


Step 5

Coat with another layer of matte varnish. Allow drying.


Step 6

Dry brush texture with white gesso.


Step 7

Stamp flower images onto tissue paper with StazOn Pigment, Snow White.


Step 8

Tear stamped tissue into pieces and arrange onto birdhouse.


Step 9

Adhere stamped tissue with matte varnish.


Step 10

Stamp smaller flower images (with StazOn Pigment, Piano Black) directly onto birdhouse.


Step 11

Add white paint splatters.


Step 12

Use the same techniques on wooden bird element.


Step 13

Adhere bird element to the birdhouse and tie fibers to top.

Supplies

Imagine
Other
  • Waffle Flower Stamps – In Every Way Stamp Set, Pretty Foliage Stamp Set
  • Bark Wood – Birds
  • Wood Bird House
  • Fibers
  • Corrugated Cardboard
  • DecoArt Americana – White Gesso
  • DecoArt Americana – DuraClear Matte Varnish
  • Tissue Paper

See How to Make a Moon and Stars Art Canvas with Fireworks Spray

by Jowilna Nolte

See How to Make a Moon and Stars Art Canvas with Fireworks Spray

Create a beautiful dimensional Moon and Stars home decor element using resin embellishments and Fireworks Shimmery Craft Spray. Combine warm rich colors to compliment your yellow and the end result is simply stunning. A quick and easy project with lots of colors showcasing the amazing shimmer and shine by using Fireworks.

Skill: Intermediate/Advanced
Time: 30 – 45 minutes

Directions


Step 1

Add stenciling to a piece of wood using texture paste and leave to dry. Adhere resin elements to the block over the stenciling and leave to dry.


Step 2

Paint the entire block with the dimensional elements on using black gesso. Make sure you cover all the pieces and the sides too. Leave to dry.


Step 3

Use 3 to 4 colors of Fireworks Shimmery Craft Spray and mist over the entire design. Layer the colors over each other. Use a heat gun to dry layers in between and then add more color until you are happy with the look.


Step 4

Once the colored layers are dry, give it one last misting of Sheer Shimmer Spray in Sparkle for extra shine. I also added some Delicata Gold inker and rubbed it over the resin elements with a sponge to highlight the details and dimension.

Supplies

Imagine
Other
  • Wooden block
  • Jowilna Nolte stencil
  • Prima Moulds Resin
  • Texture Paste: Little Birdie

Learn How to Collage a Picture Frame with VersaMagic Ink

by Kassy Tousignant

Learn How to Collage a Picture Frame with VersaMagic Ink

Why buy a decorative frame when you can create your own! I love using Brilliance and VersaMagic ink with the watercolor technique to really stylize and customize my own frames and home decor pieces. I walk you through each step in creating this frame in the video below.

Skill: Intermediate
Time: 1 hour

Directions

Supplies

Imagine
Other
  • Gesso – White
  • Paintbrush
  • Confetti sequins
  • Phrase stickers
  • Trellis die
  • Die-cutting machine
  • Cardstock – White
  • Prima – Flowers

How to Make a Gingerbread House Garland

by Jennifer Vanderbeek

How to Make a Gingerbread House Garland

Die cuts and a few choice supplies combine to create this darling little gingerbread house garland. Not only is it perfect for the holidays, it’s an ideal craft to let kids help decorate (after the embossing is done!) and it would also look super sweet at a fairy tale themed event—think Hansel and Gretel and the witch’s house in the woods. A fun technique used in this project is layering the StazOn Studio Glaze while still wet. Drawing the tip of the Claret StazOn Studio Glaze bottle over the Cotton White made for near-seamless candy cane stripes once dried. Also, I’ve found it helps to be very generous with the Cotton White, especially on darker papers or backgrounds, if you want it to retain some opacity.

Skill: Advanced
Time: 15 minutes per house

Directions

Supplies

Imagine
Other
  • Cardstock – Craft
  • Die-Versions – Tall Victorian Home die
  • Sizzix – Big Shot Plus
  • 1/8” Hole Punch
  • Darice – Heat Tool
  • Baker’s Twine
  • Clear Tape