By Neva Cole –
In today’s tutorial I will show you how to create a background paper that will allow your photo(s) to shine on a scrapbook layout. Using Memento Inks that match the photo allows the photo to be the center star of the layout. All the embellishments will also match by coloring with the same inks. The background itself is super quick and simple, and can be used for cards as well as layouts.
Skill: Beginner
Time: 30 Minutes
Directions:
Step 1
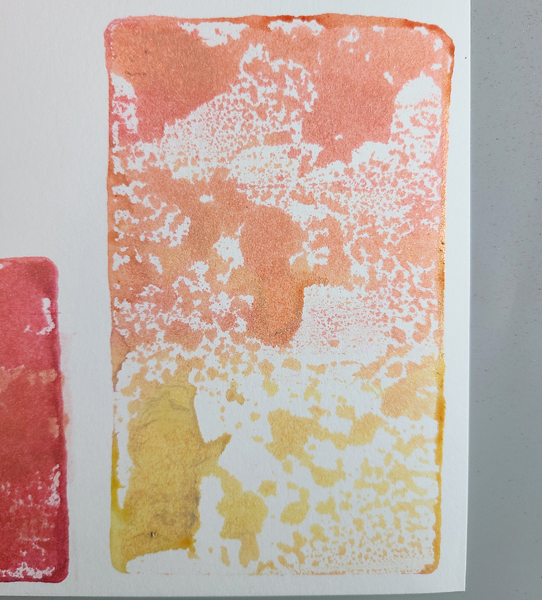
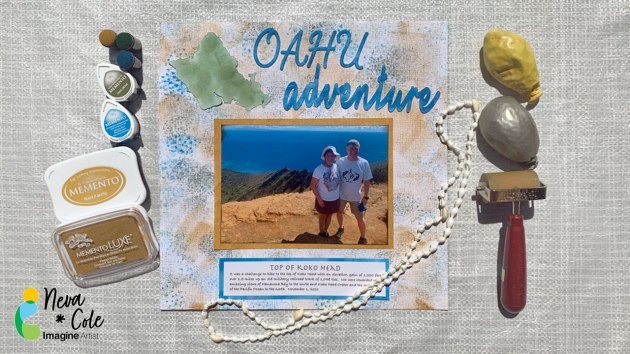
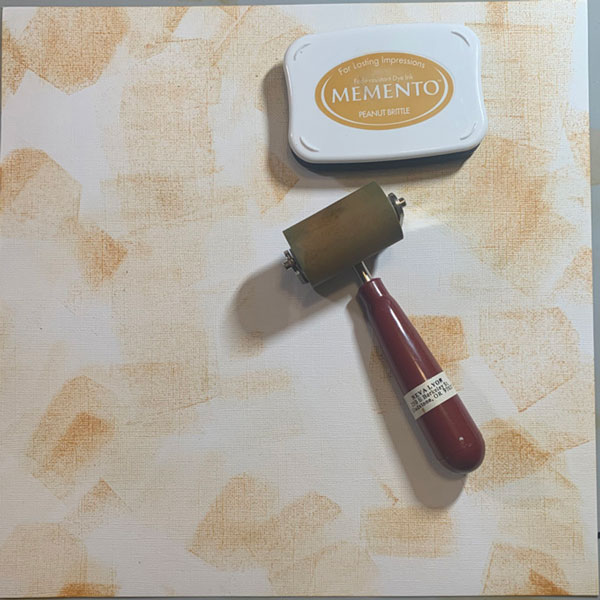
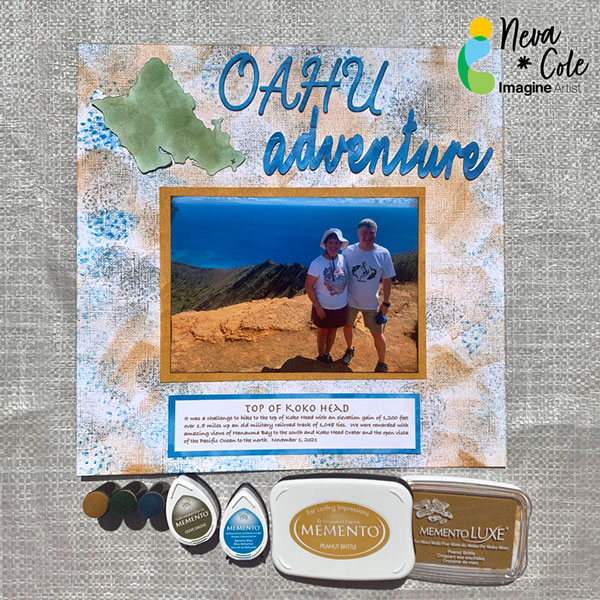
Select ink colors that are in the photo you wish to highlight. In my case it is one of my favorite photos from our travels to Oahu when we climbed to the top of Koko Head. The stunning blue, brown, and green directed my choice of ink colors. In this step Memento in Peanut Brittle is brayered randomly over a sheet of canvas textured white cardstock. Cover about a third of the cardstock in varying levels of ink layers. The key to this technique is to not look for perfection, just go for a fun look!

Step 2:
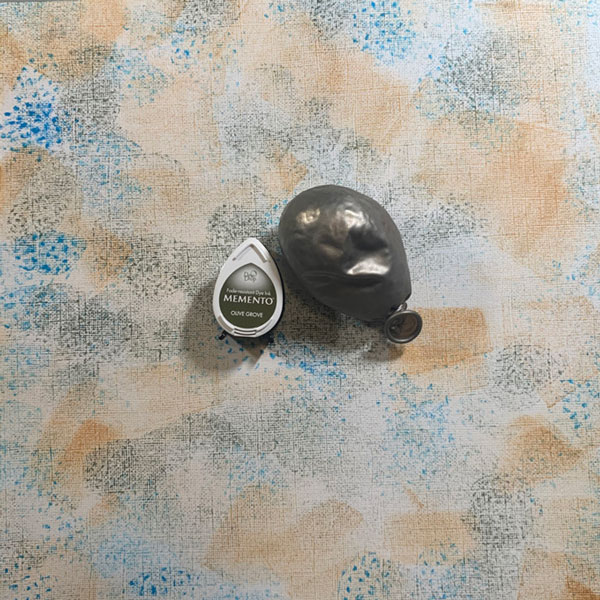
Memento Bahama Blue is used to ink the next layer in the background. A good quality rubber balloon is filled with popcorn and tied off. This is used to ink with random size dots in varying ink intensities on the background covering about one more third of the paper.
Step 3:
A second balloon filled with rice gives a slightly different ink look for the last layer using Memento Olive Grove. Fill in the remaining open areas on the cardstock to finish the background.
Step 4:
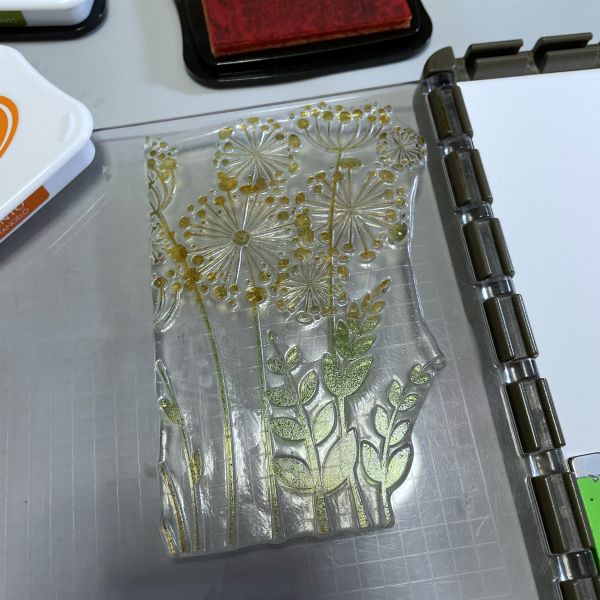
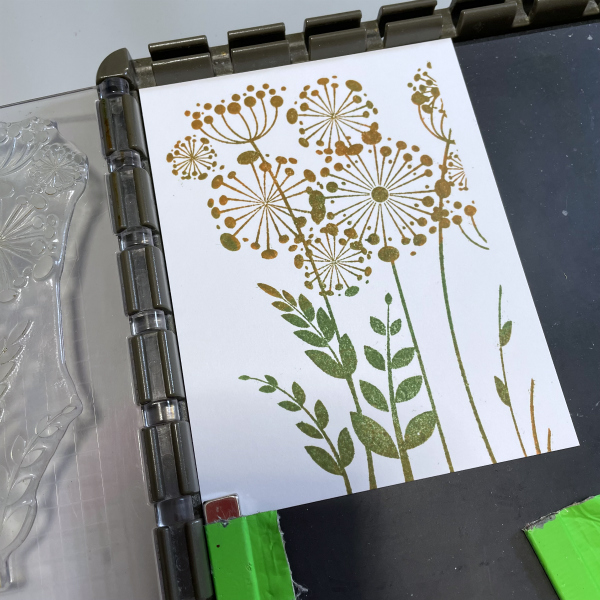
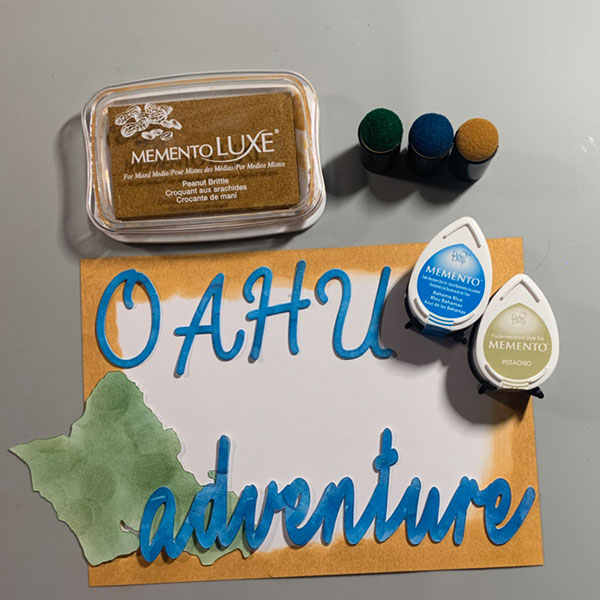
The embellishments are shown here as one step, as the main focus of this tutorial is the background technique. Smooth texture cardstock is used for all the embellishments as it die cuts more cleanly. A frame of white cardstock is trimmed to 7 1/2 “ x 5 1/2 “ and inked with Memento Luxe in Peanut Brittle. The Luxe ink blends a little more easily over larger areas. The title is die cut in triplicate, then adhered together with small dots of On Point Glue around the die cuts to add dimension, and finally inked with Memento in Danube Blue. A die cut of the island of Oahu is inked in Memento Olive Grove.
Step 5:
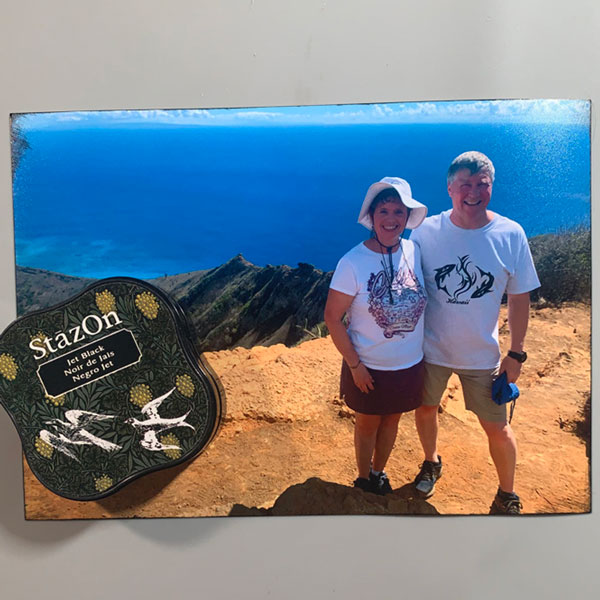
When the photo was layered over the frame the match between the soil and the Peanut Brittle was so close, they blended together! The edges of the photo are inked with StazOn in Jet Black to add definition to all edges of the photo, and allow the photo to stand out from the frame.
Step 6:
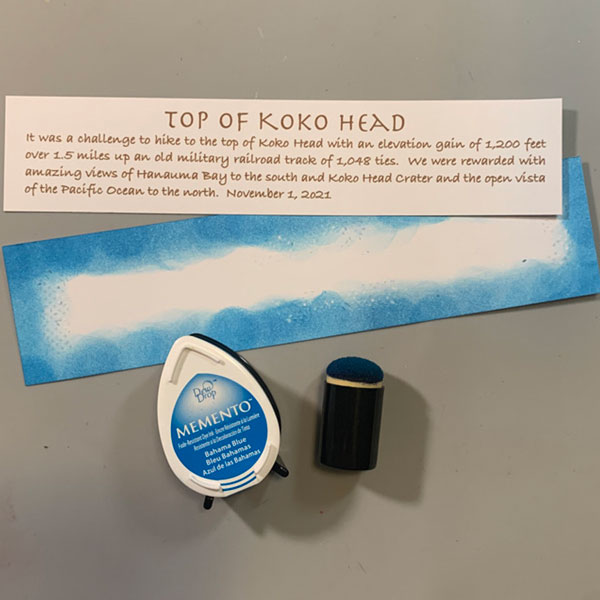
A journal block is written on the computer and printed out using photo settings and trimmed to size. A frame is trimmed 1/4” larger than the journal block and inked in Memento Danube Blue. The two are adhered together with Tear It! Tape.
Step 7:
The elements of the layout are placed on the background and adhered with Tear It! Tape or On Point Glue. Memento Dual Tip Marker in Tuxedo Black is used to mark a small “X” as to the location of Koko Head on the Island of Oahu.
Art Supplies
Imagine:
Memento–Peanut Brittle, Danube Blue, Olive Grove
Memento Dual Tip Maker–Tuxedo Black
Other:
White canvas textured cardstock
White smooth textured cardstock
2” Rubber brayer
Rubber balloons with popcorn and rice
Momenta Casual Script Alphabet Dies
Die cut machine
Brother scan and cut
Silhouette Design Store–Hawaii State die cut modified, Candy Apple Bold Script