Hello friends! This is Linh (or LV Handcrafted on all the socials). Today I have a new video up on the Imagine Crafts YouTube channel showing how to create easy ombre papers to die cut from. The easiest way is Kaleidacolor ink pads! Just swipe and you’re done! Just as simple though is to swipe VersaMagic ink across your cardstock. I like using a small blending brush to create a smooth transition from one color to the next. Whichever method you prefer, the results are stunning!
Hello friends! This is Linh (or LV Handcrafted on all the socials). This is a fun way to create your own heat embossed ombre effect. I used Delicata ink, which is a pigment ink and remains sticky for period of time to swipe across a white cardstock panel. I made a very solid swatch of ink. Before the ink dried, I covered one end (the bottom) with Mboss powder in gold. I aimed for about 25% of the way up with solid coverage. Then I tipped the panel so the letter “C” is at the bottom and the letter “S” is at the top. Then spooned more Mboss powder from one and and further tipped the panel so it runs down the panel to create that graduated, ombre effect.
When I make panels like this, I really want the panel and the effect to shine, so I like to keep the rest of the card really simple. These word dies are wonderful because they are so big, they nearly take up the entire card. And with a panel this beautiful, I save everything and made a second card using the negative effect of the word die.
NOTE: In the video, you will actually see me create a smaller panel that I decided against using. I used a Sakura glue pen to draw a design over the Delicata-inked panel and then poured Mboss powder over it. The glue pen lets you draw or write anything you want and have that lovely embossed effect.
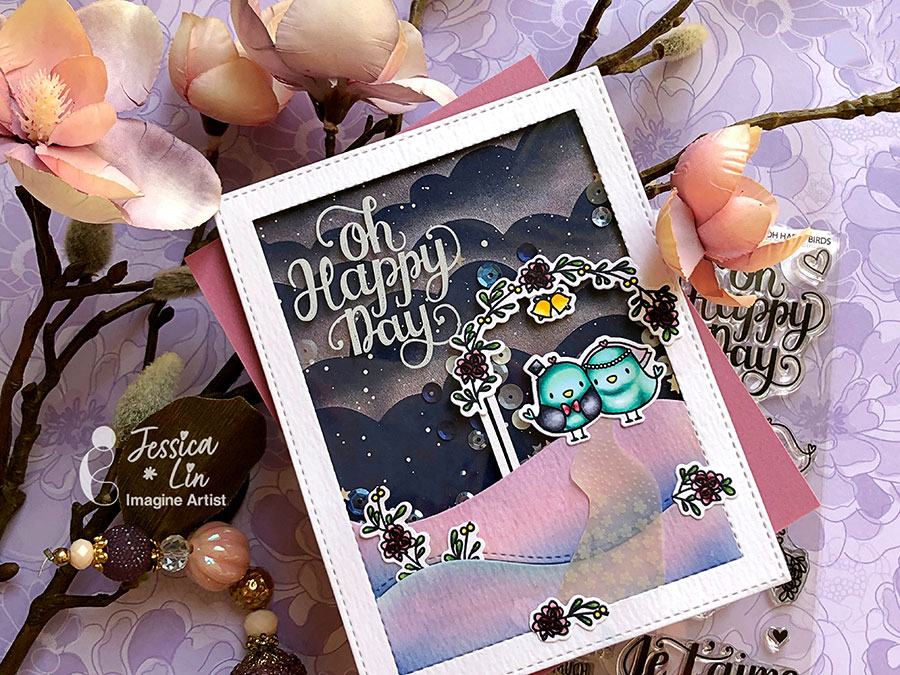
Hi everyone, it’s Jessica here. I’m so excited to share this wedding shaker card with you. I made it for a friend who is getting married this month! I tried to combine lots of things that I love: pastel colors, interactive cards, shimmery elements, and this is the final product. I hope you’ll enjoy the ink pad tips and tricks I shared in today’s tutorial. I would love to know which was your favorite!
Hi everyone, it’s Jessica here. Today I have a very simple technique that I’d like to share with you. It’s ombre stamping with a stamp positioning tool! It is super easy and fun, and the color combinations are endless! I’ve used this technique so many times before and it never gets old. Have you tried creating your own ombre ink pad looks before?
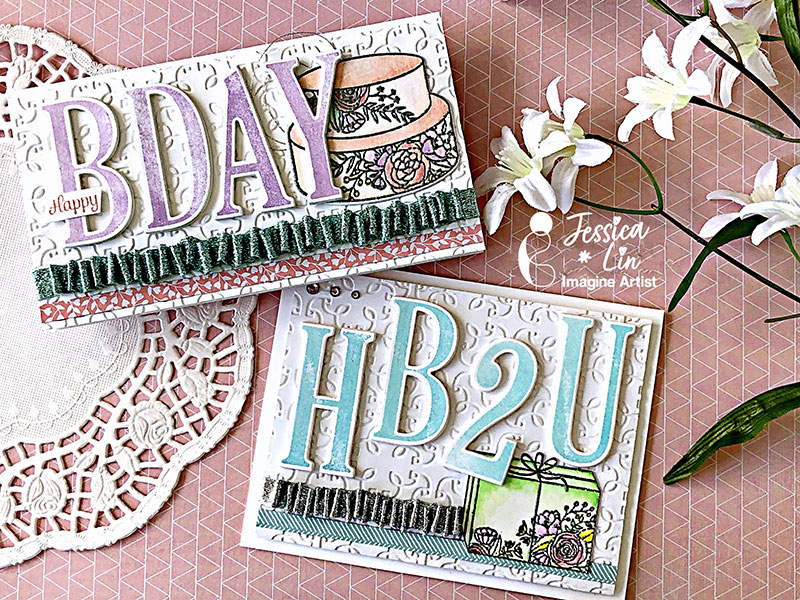
Hi everyone, it’s Jessica here and welcome back to another card tutorial. Today’s card is the kind that I create the most: birthday cards! I chose a soft color palette for this set of cards, and the VersaMagic inks are perfect for the pastel colors. I also watercolored with my ZIG Clean Color Real Brush pens and shared a technique about using ribbons to embellish your projects. I hope you’ll enjoy today’s tutorial!
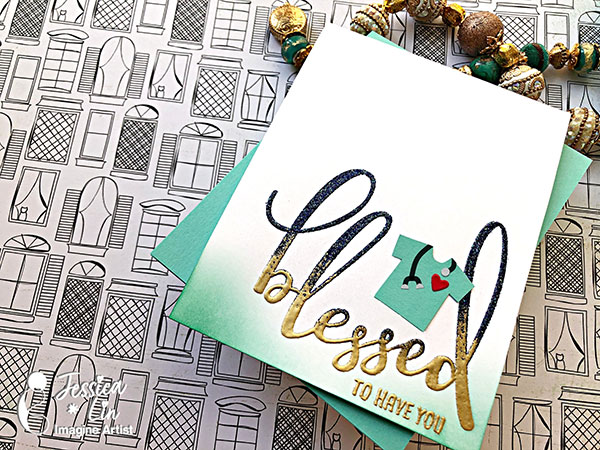
Hi everyone, it’s Jessica here. Have you gotten your vaccine yet? I recently got my second dose to become fully vaccinated and I made a thank you card to go with it. I love heat embossing because it’s so quick and simple, but always provides such a big wow factor. And I added a twist this time by creating the ombre effect! Let me know if you have ever tried heat embossing with different colors.