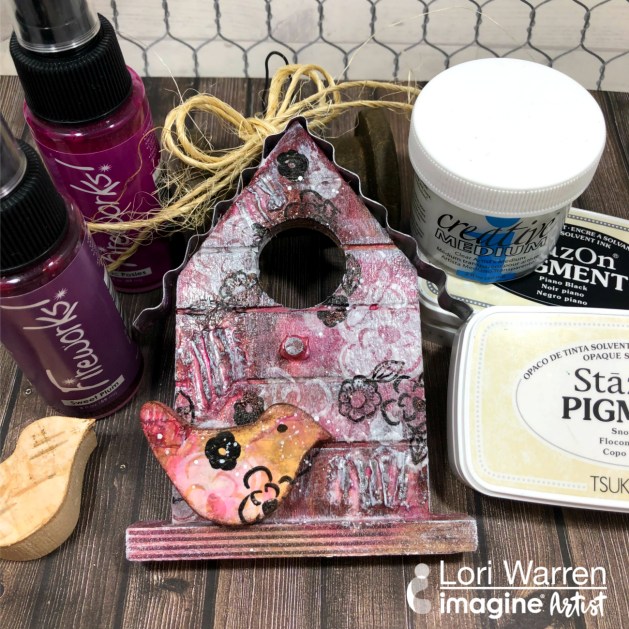
Learn How to Mix Mediums to Create a Home Décor Birdhouse

by Lori Warren

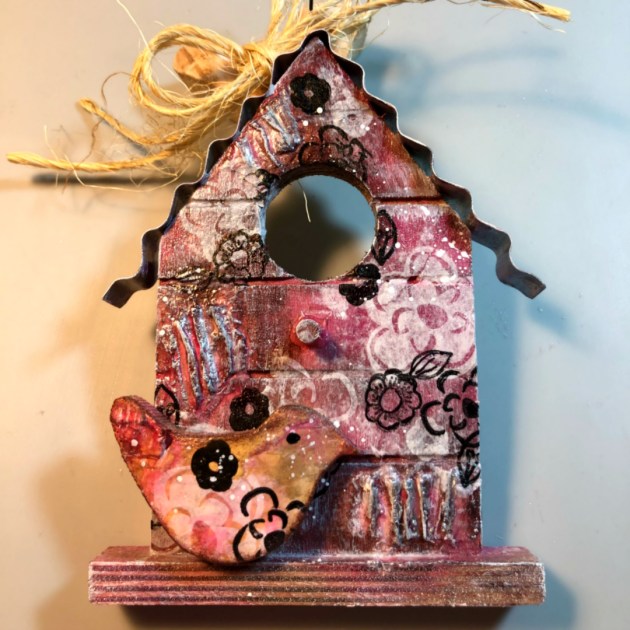
 Learn how to mix mediums to create a home décor bird house

A great aspect of Imagine products is that they pair very nicely with other mixed media mediums.  This project features the use of StazOn Pigment ink, Creative Medium and Fireworks! sprays along with acrylic paint and varnish to complete a mixed media home decor project.

Skill: Advanced
Time: 2 hours

Directions
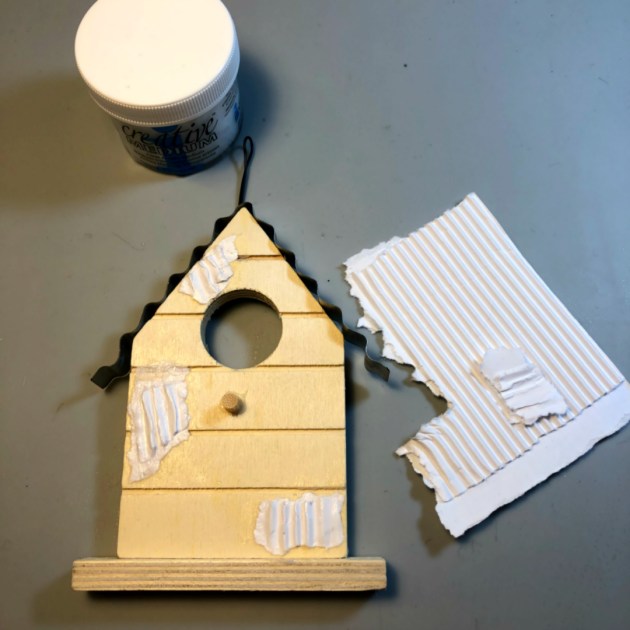

Step 1

Adhere pieces of corrugated paper to a pre-made wood birdhouse with Creative Medium.
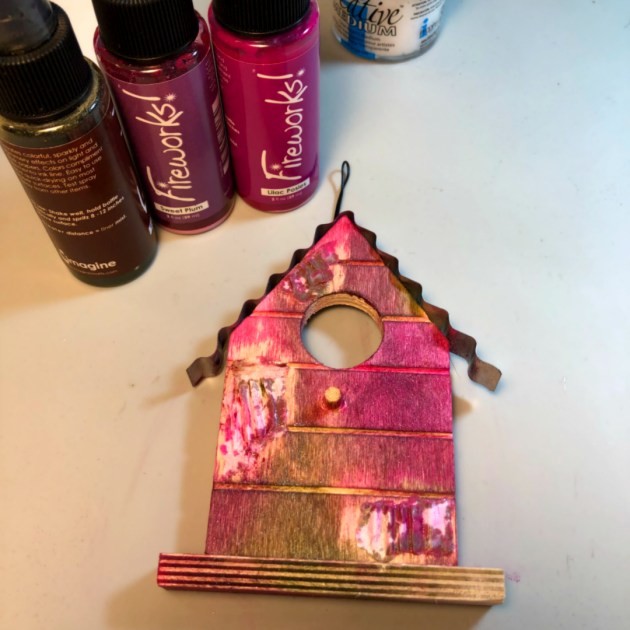

Step 2

Spray birdhouse with Fireworks sprays. Allow drying.
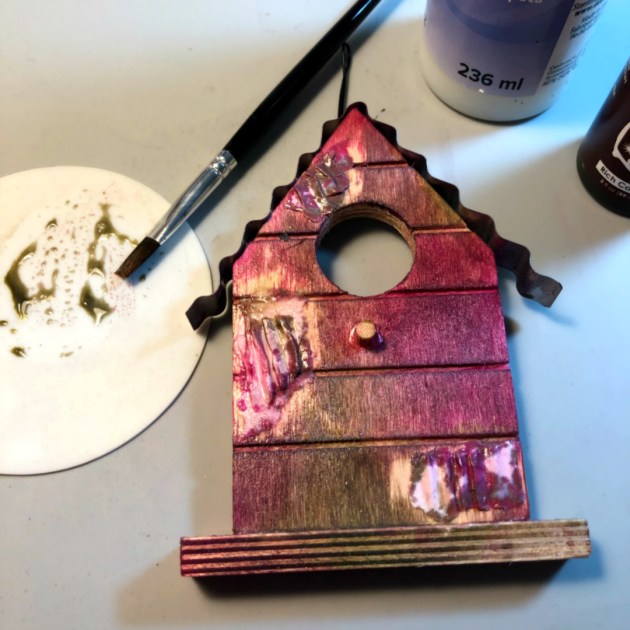

Step 3

Mix Rich Cocoa Fireworks! spray with matte varnish, apply to the birdhouse. Allow drying.
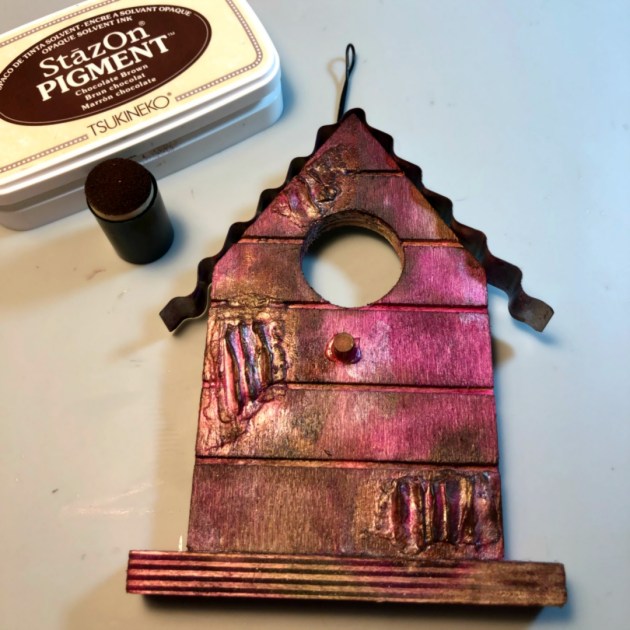

Step 4

Sponge on Chocolate Brown StazOn Pigment to portions of the birdhouse.
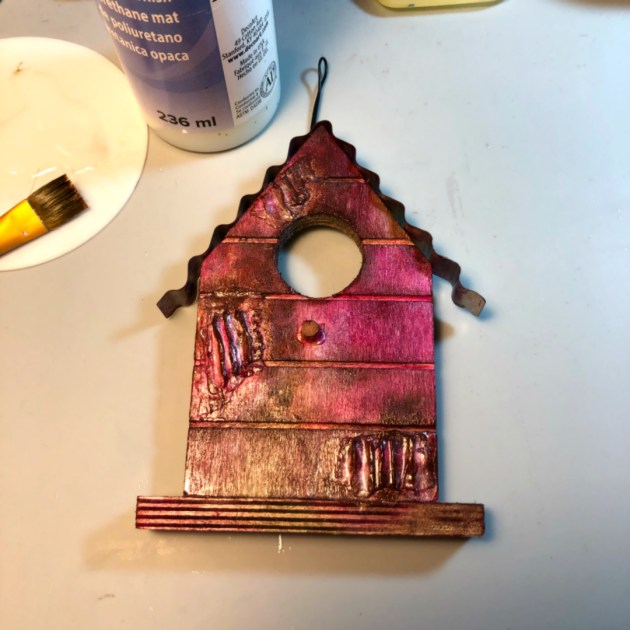

Step 5

Coat with another layer of matte varnish. Allow drying.
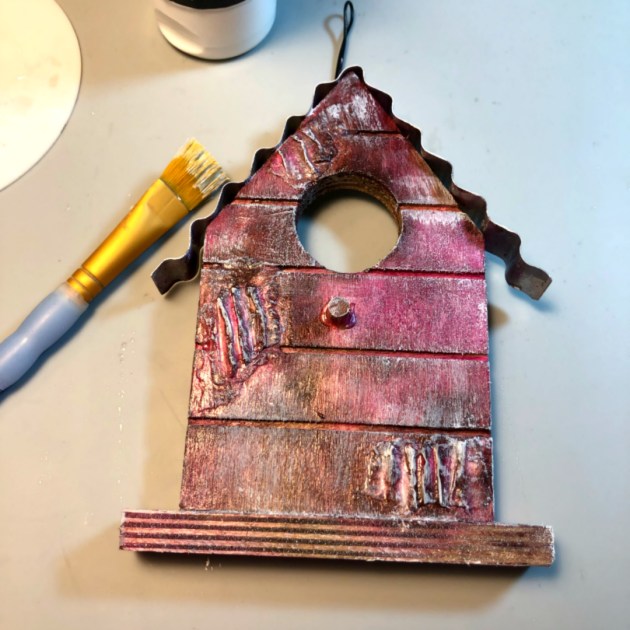

Step 6

Dry brush texture with white gesso.
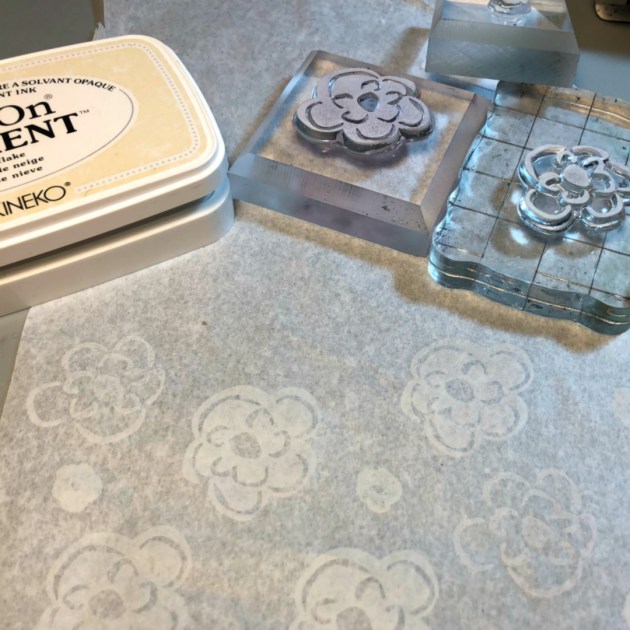

Step 7

Stamp flower images onto tissue paper with StazOn Pigment, Snow White.

Step 8

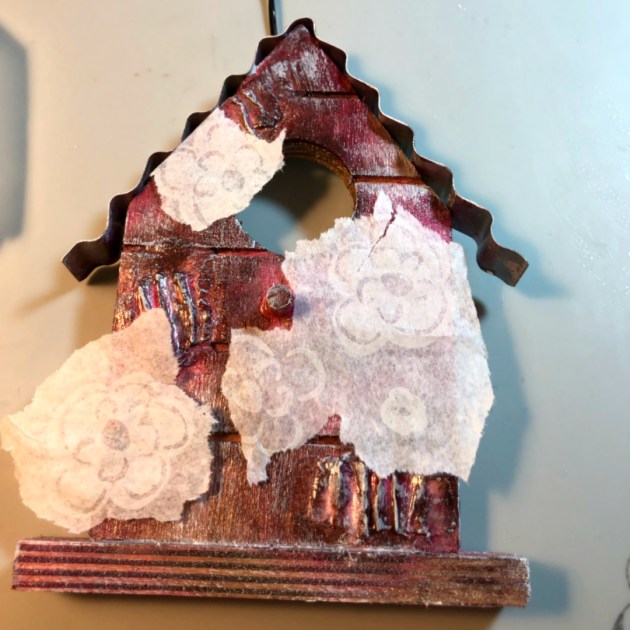
Tear stamped tissue into pieces and arrange onto birdhouse.

Step 9

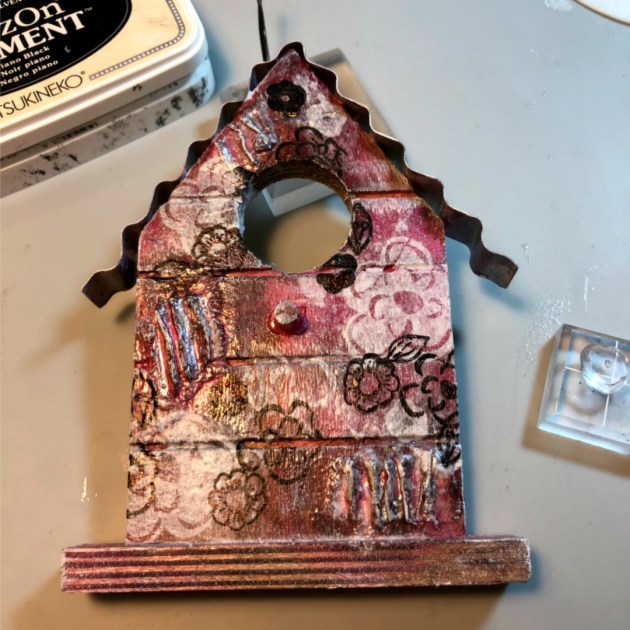
Adhere stamped tissue with matte varnish.


Step 10

Stamp smaller flower images (with StazOn Pigment, Piano Black) directly onto birdhouse.

Step 11

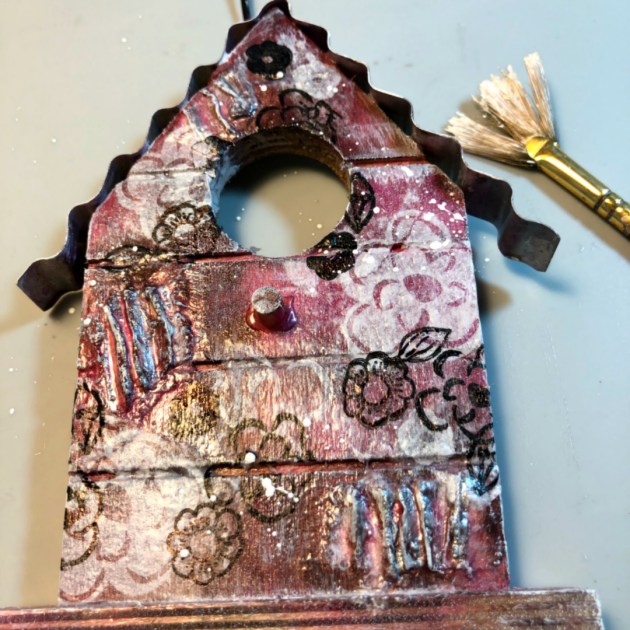
Add white paint splatters.

Step 12

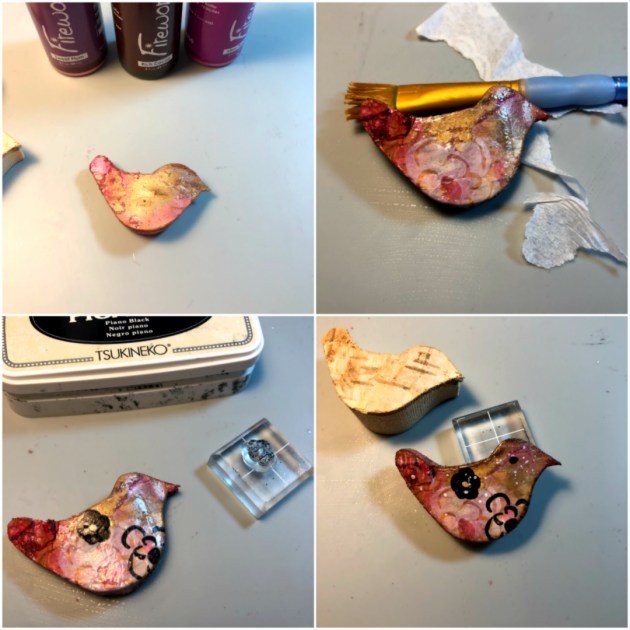
Use the same techniques on wooden bird element.

Step 13

Adhere bird element to the birdhouse and tie fibers to top.

Supplies

Imagine
Other
  • Waffle Flower Stamps – In Every Way Stamp Set, Pretty Foliage Stamp Set
  • Bark Wood – Birds
  • Wood Bird House
  • Fibers
  • Corrugated Cardboard
  • DecoArt Americana – White Gesso
  • DecoArt Americana – DuraClear Matte Varnish
  • Tissue Paper
Learn How to Make a Napkin Ring from a Waffle Flower Doily Die-cut

by Kyriakos Pachadiroglou

Learn How to Make a Napkin Ring from a Waffle Flower Dolly Die-cut

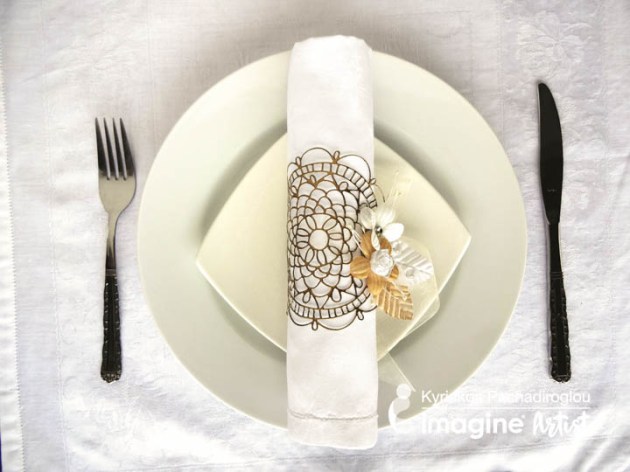
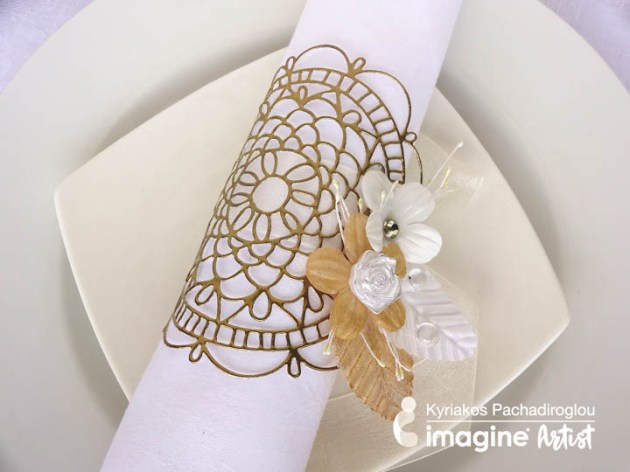
The fine detailed Doily die from Waffle Flower is versatile to use beyond card making. Covered with Mboss embossing powder in Gold, it gives the look of a true metallic made piece that works as the main body of the napkin ring. By choosing from any of the colors of the Mboss embossing powder you can match your table theme. Simple and easy to make, this napkin ring shows excellent around a white cloth napkin.

Skill: Beginner to Intermediate
Time: 1 hour per four pieces

Directions


Step 1

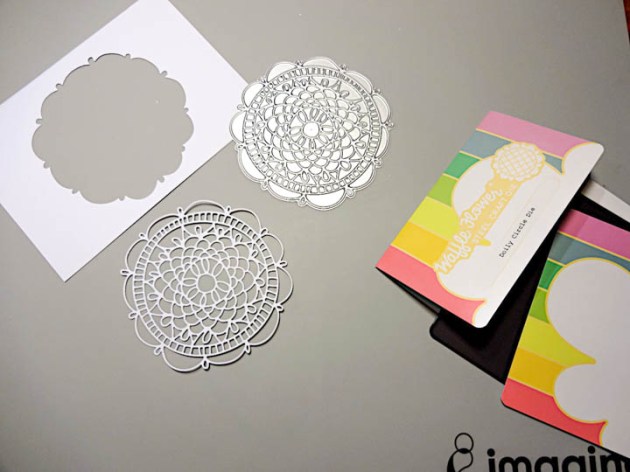
Die-cut a doily circle with the Waffle flower die. Waffle Flower dies work with any brand of machine such as Spellbinders or Sizzix.


Step 2

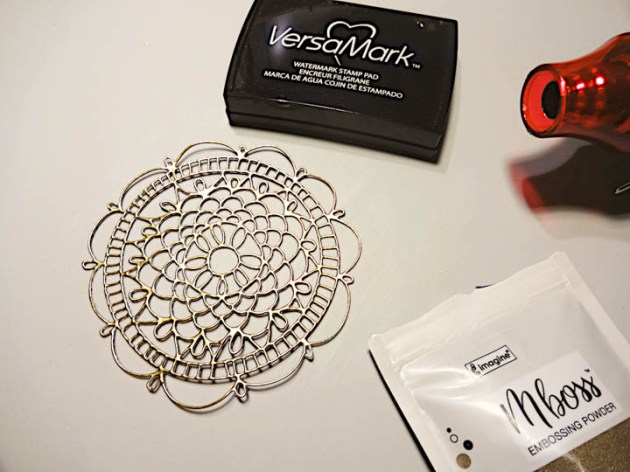
Press the VersaMark watermark ink pad on the die-cut dolly, cover with the Mboss gold embossing powder and heat set. Repeat once more to create a thick texture.


Step 3

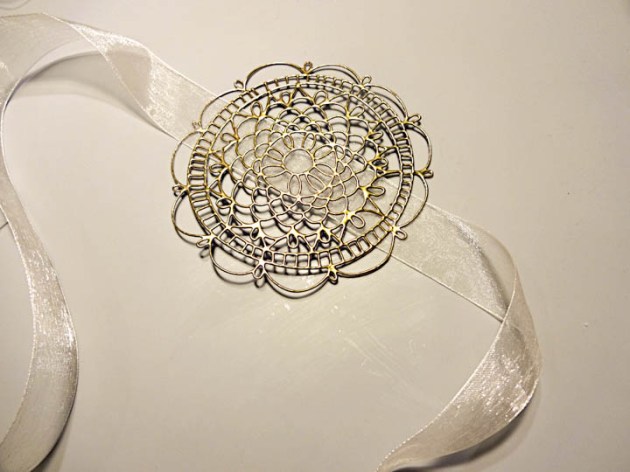
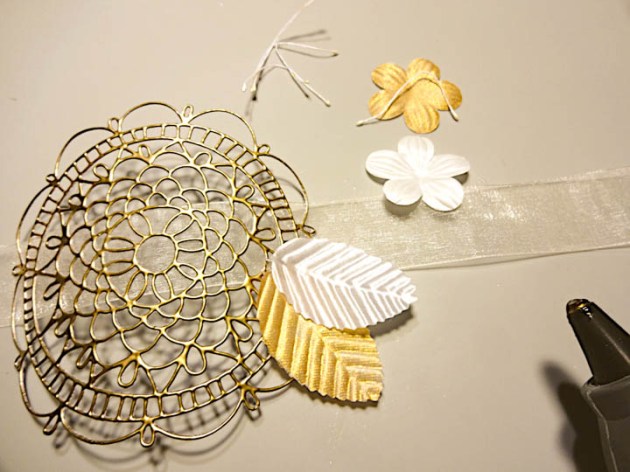
Glue the organza ribbon to the middle back of the gold embossed dolly cut.


Step 4

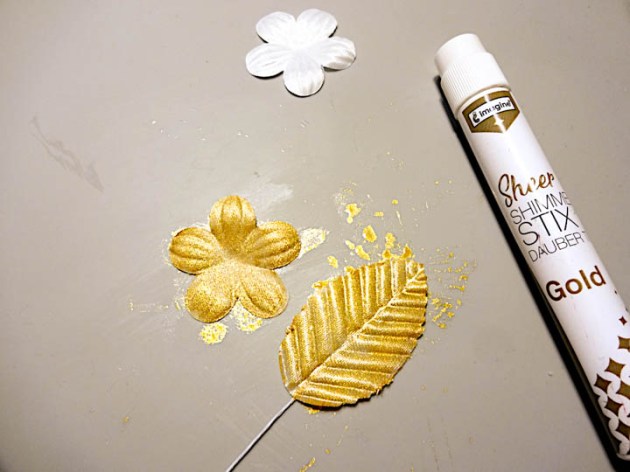
Color the white leaves and flowers with Sheer SHIMMER STIX gold.


Step 5

Use the hot glue gun to set the flowers and the leaves onto the doily.


Step 6

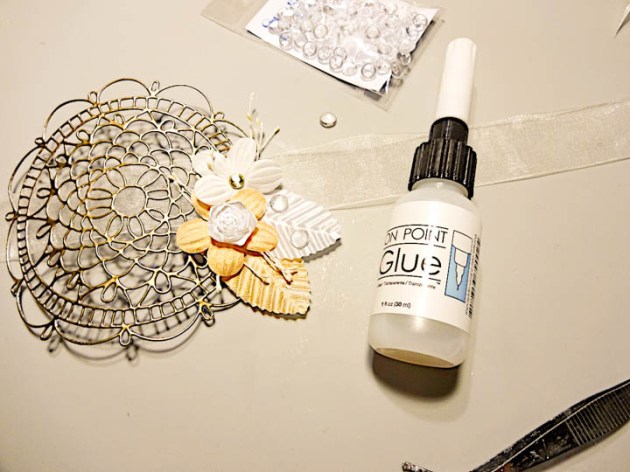
Add the flower embellishments with the On Point Glue.

Supplies

Imagine
Other
  • Waffle Flower – Doily Circle die
  • White cardboard
  • Organza ribbon
  • Satin flowers and leaves
  • Sparkletz embellisments
  • Die-cutting machine
  • Heat tool
  • Hot glue gun

Learn How to Transform Paper Flowers with Mboss, Ink, and Shimmer Sprays

by Jessica Lin

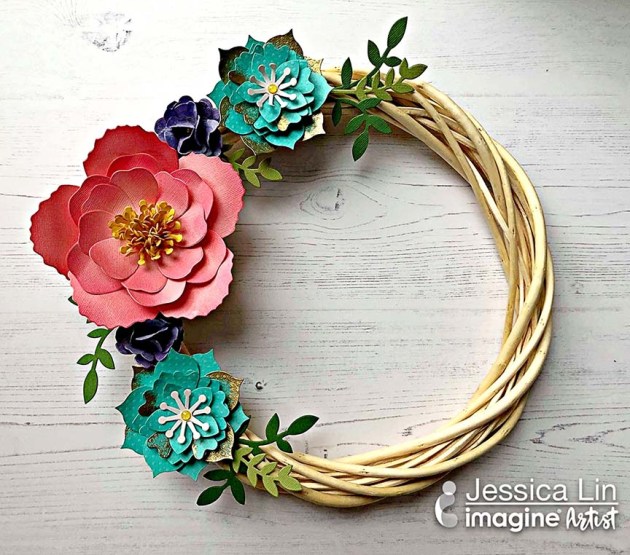
Hi everyone! Have you been enjoying the 3D projects for this month so far? I hope you are! Today I have a floral wreath project to share with you. Besides showing how you can assemble your own paper flowers, I’m also teaching you 3 ways to transform your die cuts! The before and after is as different as night and day and the extra steps definitely bring the flowers to life. Be sure to check out the video and see it for yourself!

Skill: Intermediate
Time: 1 hour (depending on the number of flowers)

Directions

Supplies

Imagine
Other
  • Wreath
  • Glue Gun
  • EK Success Anti-static Powder Tool
  • Stampin’ Up – Flower Frenzy Bigz L Die, Bouquet Bigz L Die
  • Cardstock – pink, teal, purple, green, yellow, white

See How to Make a Moon and Stars Art Canvas with Fireworks Spray

by Jowilna Nolte

See How to Make a Moon and Stars Art Canvas with Fireworks Spray

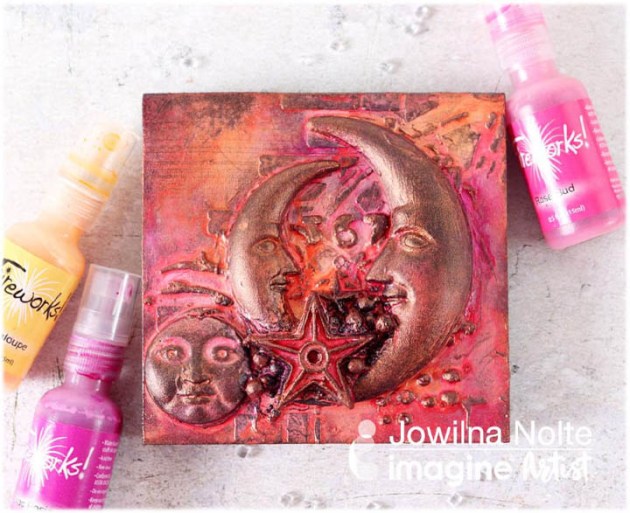
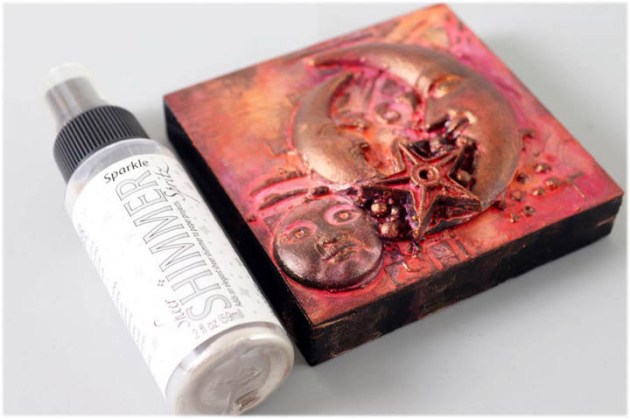
Create a beautiful dimensional Moon and Stars home decor element using resin embellishments and Fireworks Shimmery Craft Spray. Combine warm rich colors to compliment your yellow and the end result is simply stunning. A quick and easy project with lots of colors showcasing the amazing shimmer and shine by using Fireworks.

Skill: Intermediate/Advanced
Time: 30 – 45 minutes

Directions


Step 1

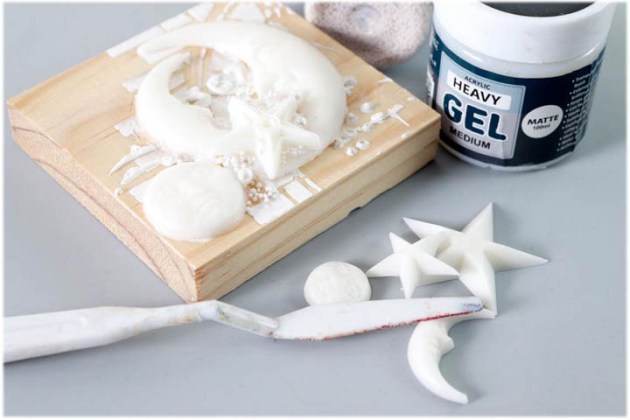
Add stenciling to a piece of wood using texture paste and leave to dry. Adhere resin elements to the block over the stenciling and leave to dry.


Step 2

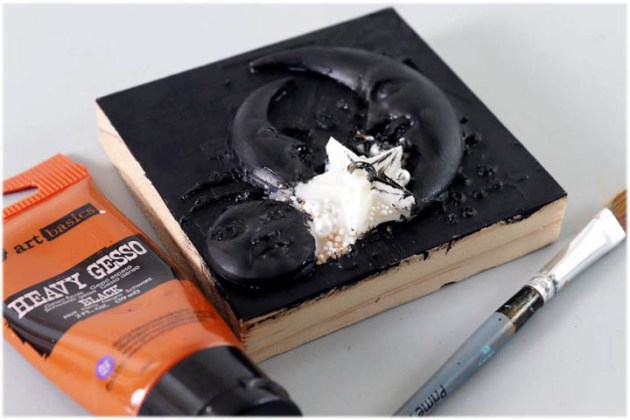
Paint the entire block with the dimensional elements on using black gesso. Make sure you cover all the pieces and the sides too. Leave to dry.


Step 3

Use 3 to 4 colors of Fireworks Shimmery Craft Spray and mist over the entire design. Layer the colors over each other. Use a heat gun to dry layers in between and then add more color until you are happy with the look.


Step 4

Once the colored layers are dry, give it one last misting of Sheer Shimmer Spray in Sparkle for extra shine. I also added some Delicata Gold inker and rubbed it over the resin elements with a sponge to highlight the details and dimension.

Supplies

Imagine
Other
  • Wooden block
  • Jowilna Nolte stencil
  • Prima Moulds Resin
  • Texture Paste: Little Birdie

Learn How To Upcycle A Pencil Holder With Embossing Powder

by Iris Rodriguez

Learn How To Upcycle A Pencil Holder With Embossing Powder

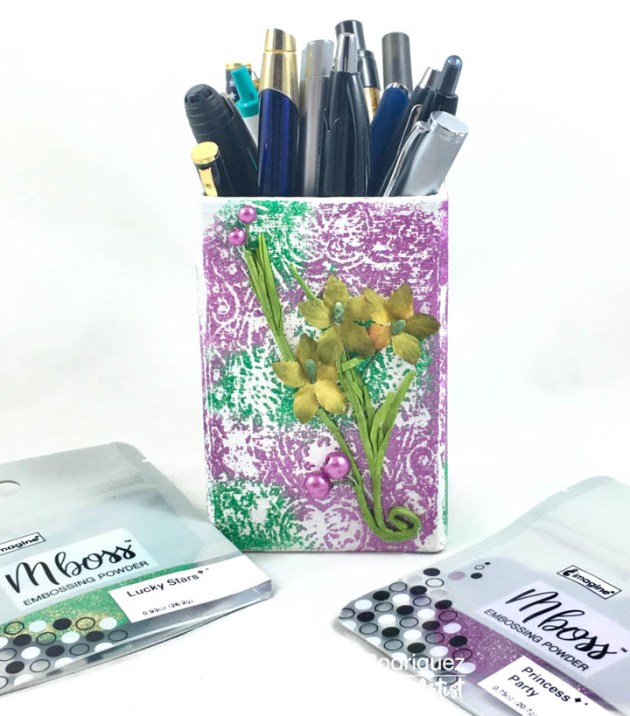
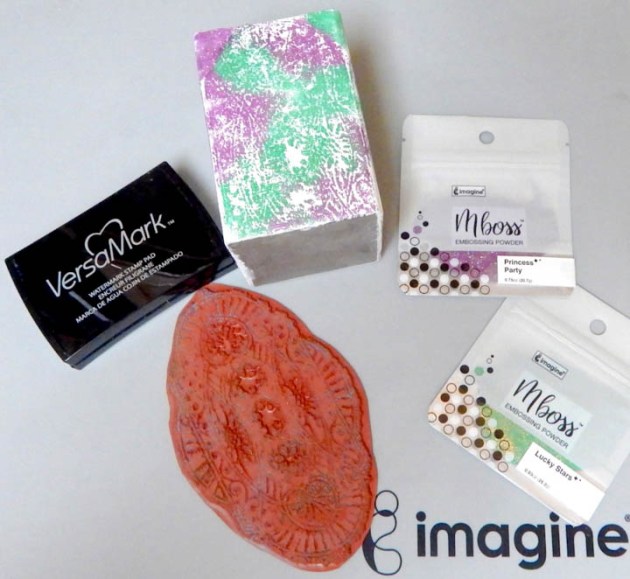
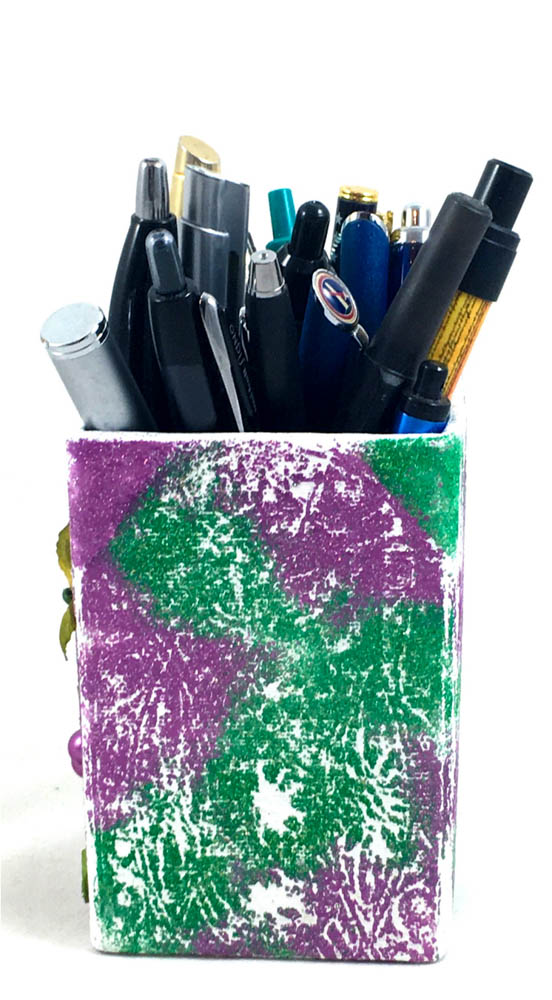
I just love how the glittery combination of Imagine’s new Mboss Embossing Powders shine. I made this cute pen and pencil holder with Princess Party (silver and purple combination) and Lucky Stars (gold and green combination). I love the way these two colors work together to transform a pencil box from neutral colors to bright vibrant home decor.

Skill: Beginner
Time: 1 hour

Directions


Step 1

Select a cardboard-based pencil box. A plain box works as well. If it has designs it can be covered with gesso.


Step 2

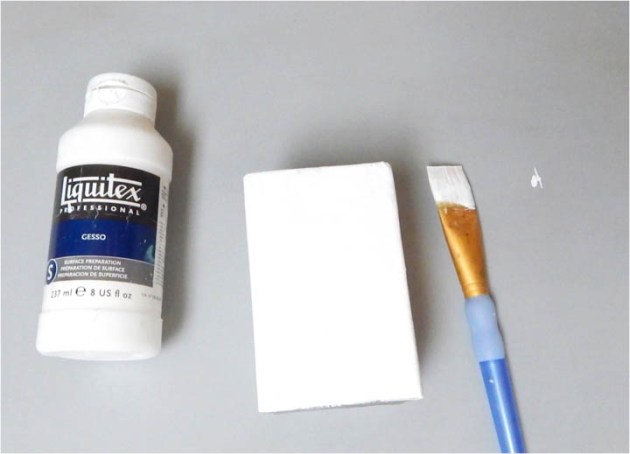
Apply the gesso to the pencil box making sure to paint on enough layers to fully cover the current design. Allow to fully dry.


Step 3

Stamp the textured image with the VersaMark ink. Apply Mboss embossing powders in Lucky Stars and Princess Party. Apply one color in random areas. Shake off the excess on a clean scrap piece of paper and place back in the bag. Apply the second color in the areas that do not contain embossing powder. Shake off the excess on a different clean scrap piece of paper and place back in the bag. Melt the powder with a heat tool.


Step 4

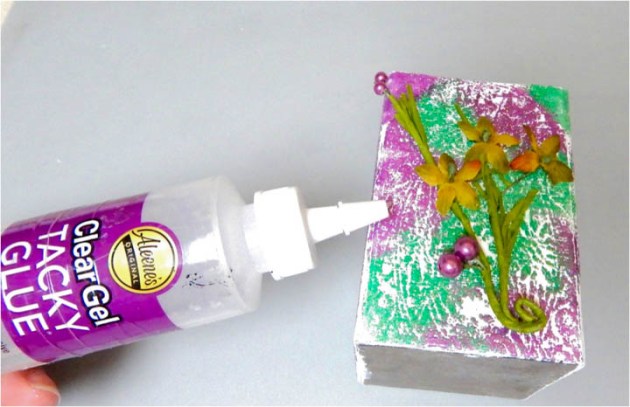
Glue on the flowers.


Step 5

Apply embossing powders on all sides, if desired.

Supplies

Imagine
Other
  • Rubber Stamp
  • Pencil Holder
  • Prima Marketing – Vine Flowers
  • Gesso
  • Paintbrush
  • Adhesive

Learn How to Upcycle an Old Jar into a Mystical Fairy Lantern

by Roni Johnson

I don’t know any little girl that didn’t want to be a fairy when they were little…some of us have never forgotten that dream and love fairy’s to this very day. Here’s a way to sprinkle a little fairy dust in your home with this upcycled DIY Fairy Lantern craft!

Skill: Intermediate
Time: 1 Hour

Directions


Step 1

Wash and dry a glass jar that you will use to create the lantern. Cut a fairy silhouette or cut out from black cardstock. Apply a layer of On Point Glue to the paper die-cut. Apply a layer of On Point Glue to the die-cut.


Step 2

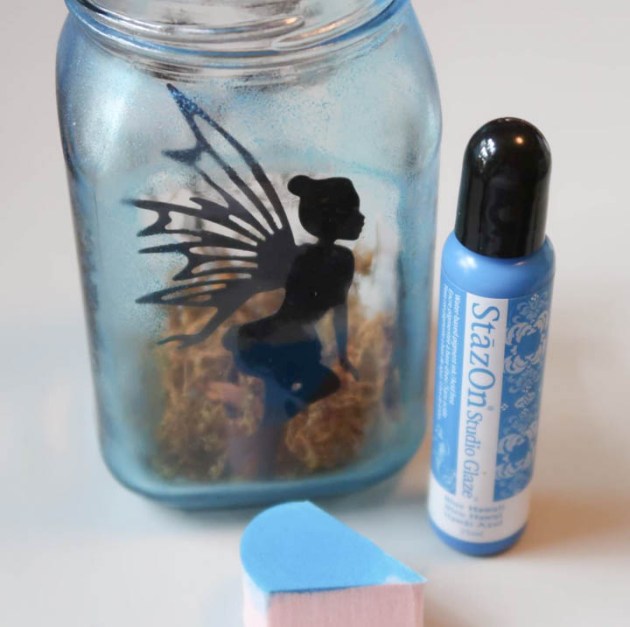
Press the fairy to the inside of the jar front. Note: If you have a fairy stamp you can exchange that for the fairy die cut and stamp it on the outside of the jar with StazOn Pigment Ink.


Step 3

Glue a bit of moss to the bottom of the jar so that when the lantern is lit it will look like she is standing in a bit of foliage or plant life.


Step 4

Stamp flowers images on the other 3 sides of the jar using StazOn Pigment Ink. Silhouette flowers work best but use what you have.


Step 5

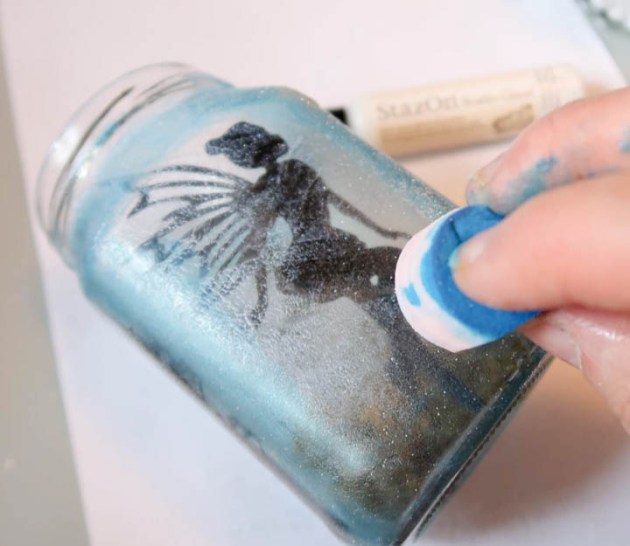
Sponge Blue Hawaii StazOn Studio Glaze to the corners, top and bottom areas of each side with an Ink Blusher sponge and let dry.


Step 6

Sponge on a coat of Wedding Dress (white – dries frosty) StazOn Studio Glaze over the entire jar and let it dry.


Step 7

Sponge on a second coat of the Wedding Dress Studio Glaze on one side of the jar and immediately sprinkle with Mboss Sparkle embossing powder. Shake off the excess and reserve for the next side.


Step 8

Set the jar on the craft mat and heat the embossing powder to melt. Let it cool! Note: the jar will become very hot during this process. Do not try to pick it up as you will burn your fingers.


Step 9

Repeat steps 9 and 10 on the rest of the jar. When the jar is fully covered it is now time to move on to the lid. Sponge Piano Black StazOn Pigment Ink over the writing on the lid.


Step 10

Add desired embellishments to the lid and top of the jar. Wrap wire around an LED flicker light so you can insert it into the jar with ease.


You now have an amazing little fairy lantern to light your way! Use this tutorial to create decorations for a summer party, birthday or any fun outdoor event!

Supplies

Imagine
Other
  • Mason Jar
  • Posh Paper Supplies – Fairy die cut
  • Hobby Lobby – Pearl Trim, Garland
  • Prima – Flowers
  • Heat Tool
  • Battery Operated Candle