I used several different colors of the new Mboss Embossing Powder on some my layout along with some blue Fireworks! Sprays to create a beautiful by the sea mixed media scrapbook layout.
Watch my video below to see how I did it. Enjoy!
Skill: Advanced Time: 1 hour
Supplies
Imagine
Mboss – Blue, Blue Icicle, Iridescent Opaque, White
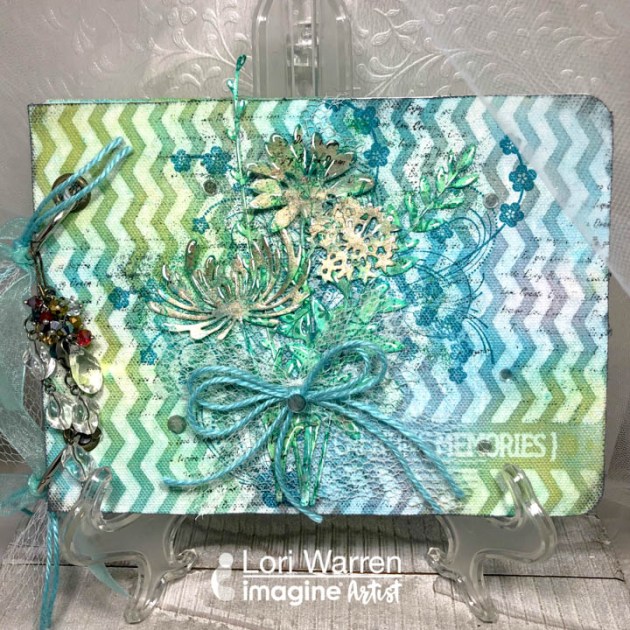
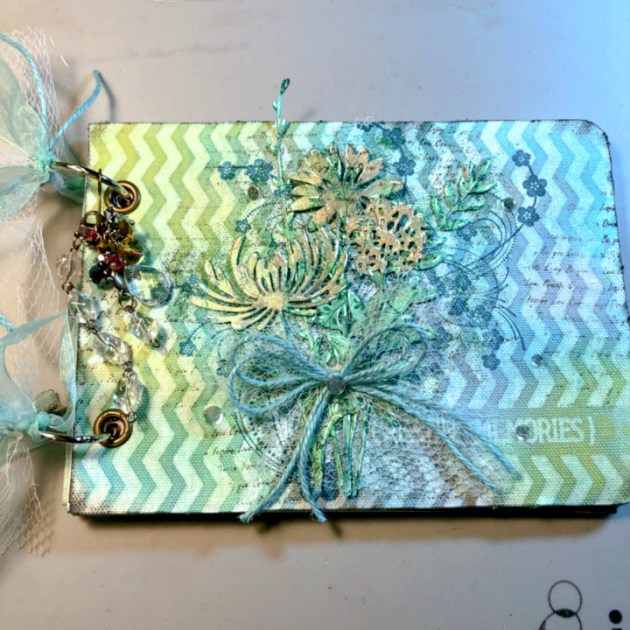
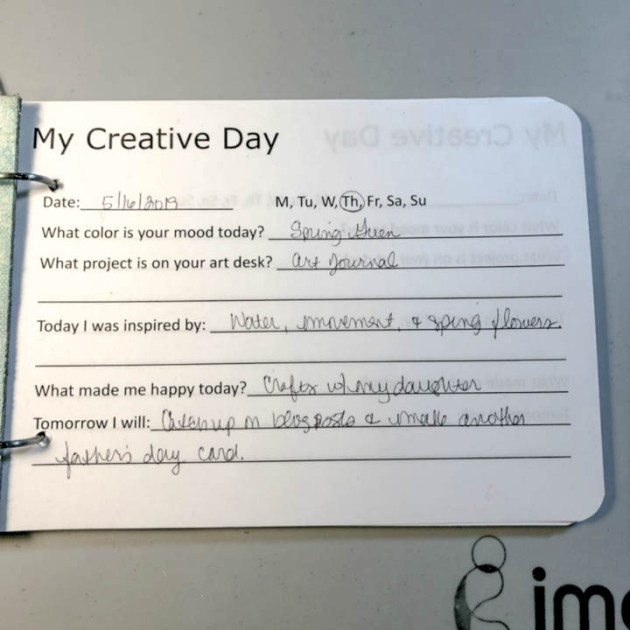
Interested is slowing down and being more mindful? A Daily Journal to document artsy ideas and creative thoughts might be just what is needed. This journal includes “My Creative Day” journal templates (with prompts for daily journaling), blank art pages (for art journaling, sketching and jotting down ideas) and a special hand decorated cover to house it all.
Skill: Advanced Time: 1 hour
Directions
Step 1
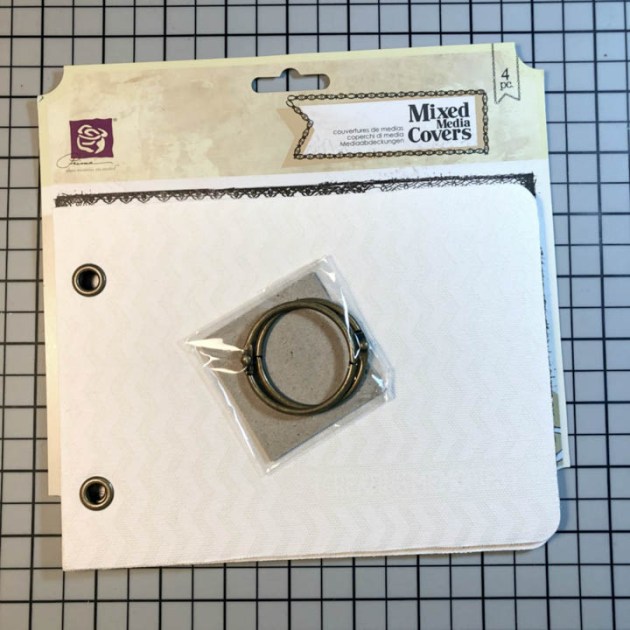
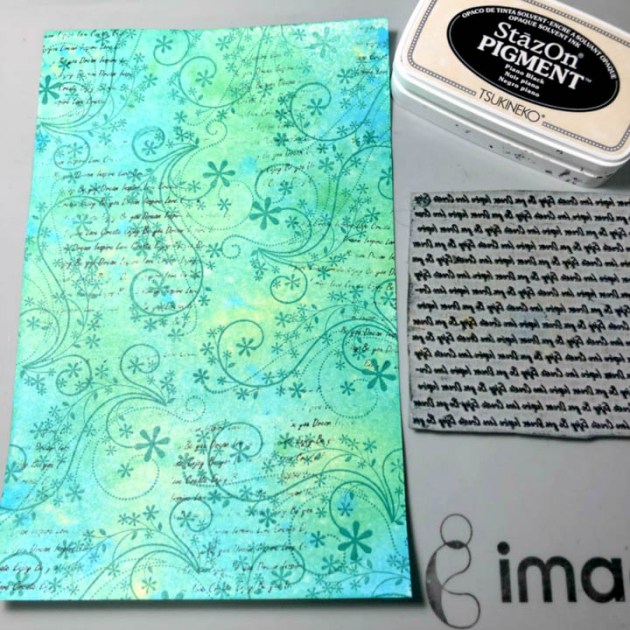
Select ready to make a cover or create a cover of your own (size 5 ½” x 7 ½”)
Step 2
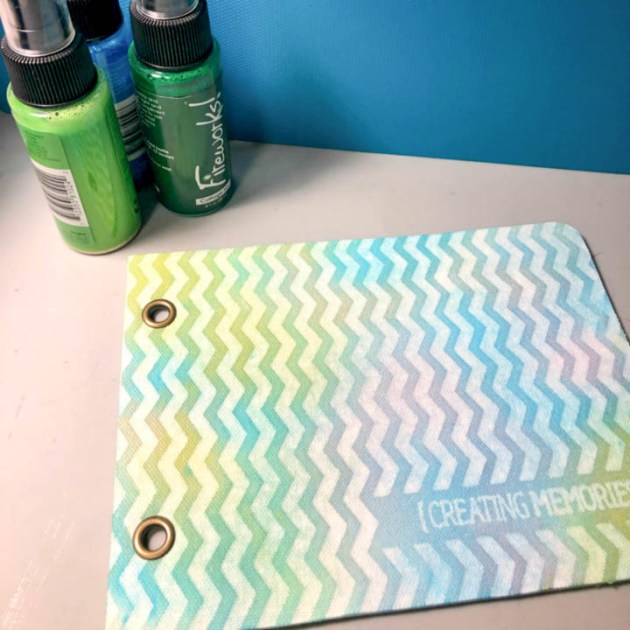
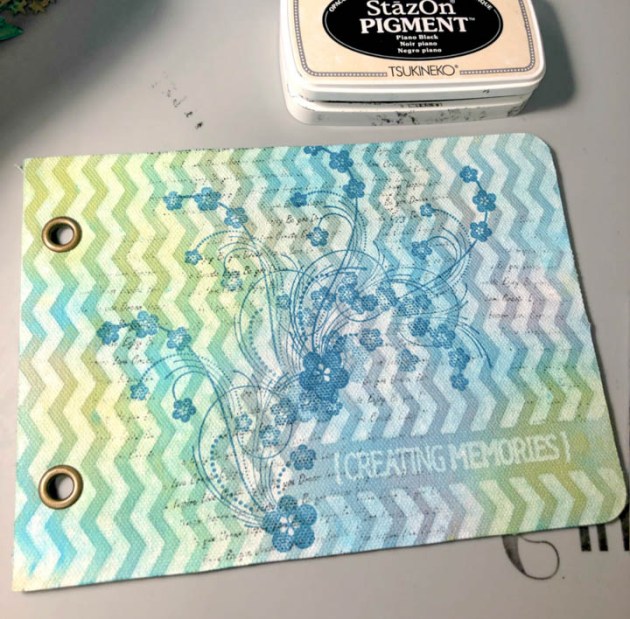
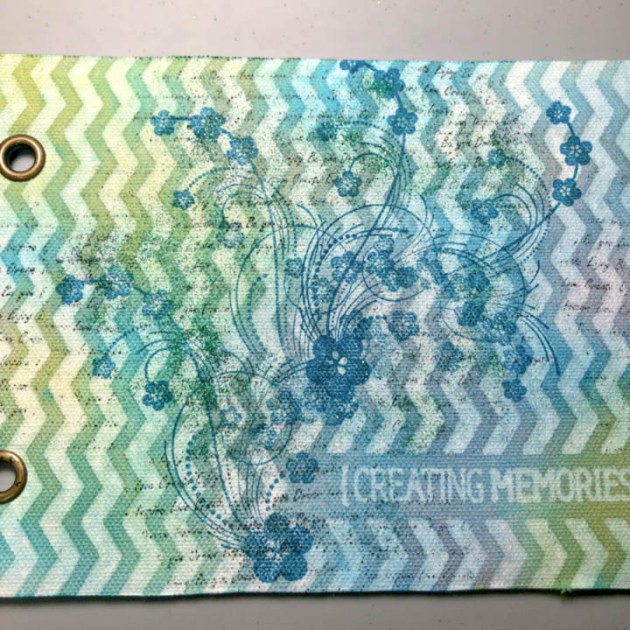
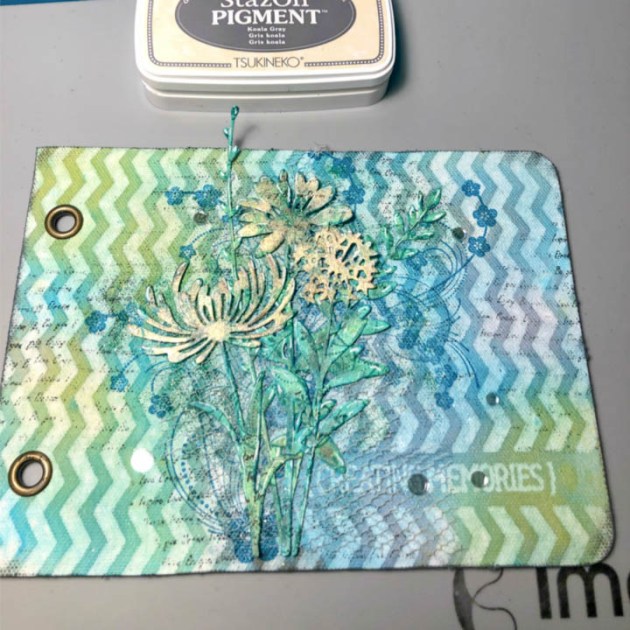
Apply a trio of Fireworks! Sprays to add color, allow to dry. As you can see the color of the waterbased inks brings out the chevron design that was preprinted.
Step 3
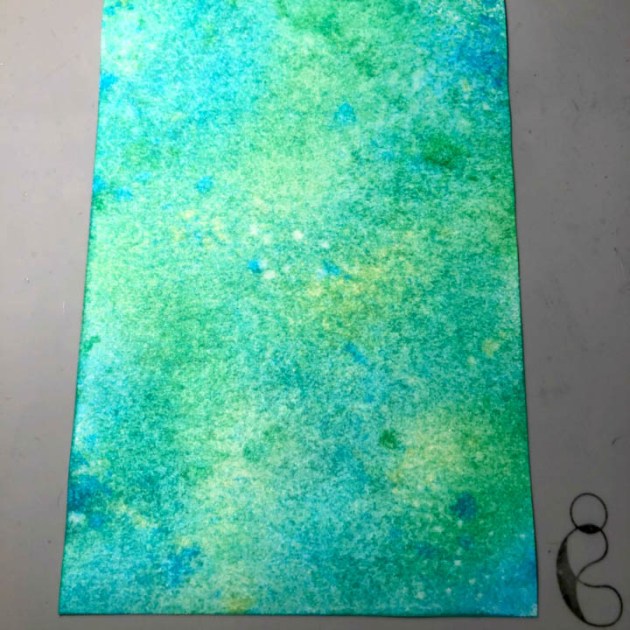
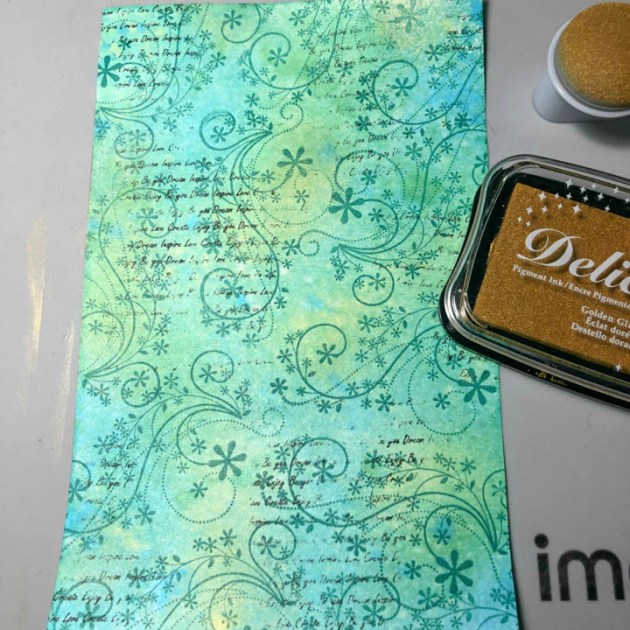
Use the same Fireworks! colors on a ½” sheet of white card stock, allow drying.
Step 4
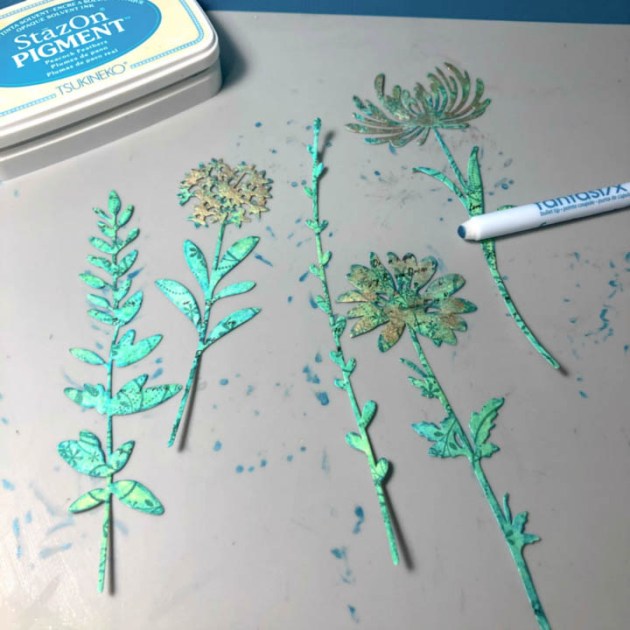
Stamp swirls and script randomly onto the card stock panel with StazOn Pigment ink.
Step 5
Add some shine to sections of the card stock panel with Delicata ink and a large Sponge Dauber.
Step 6
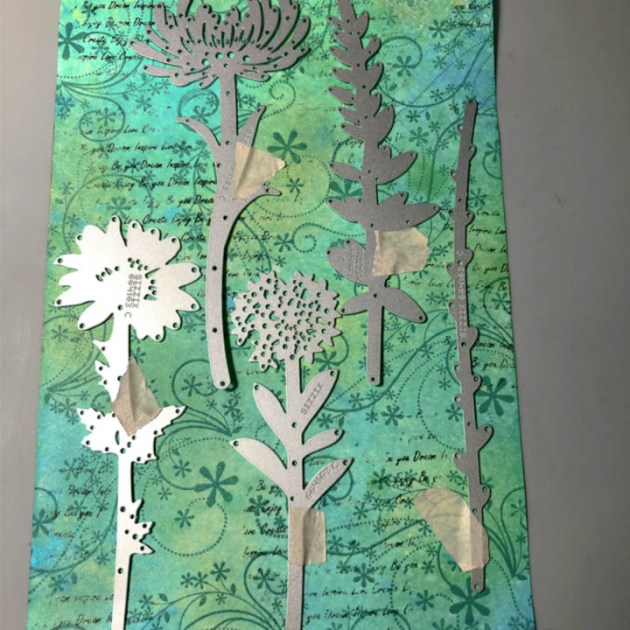
Use diecuts to cut out floral images from the card stock panel.
Step 7
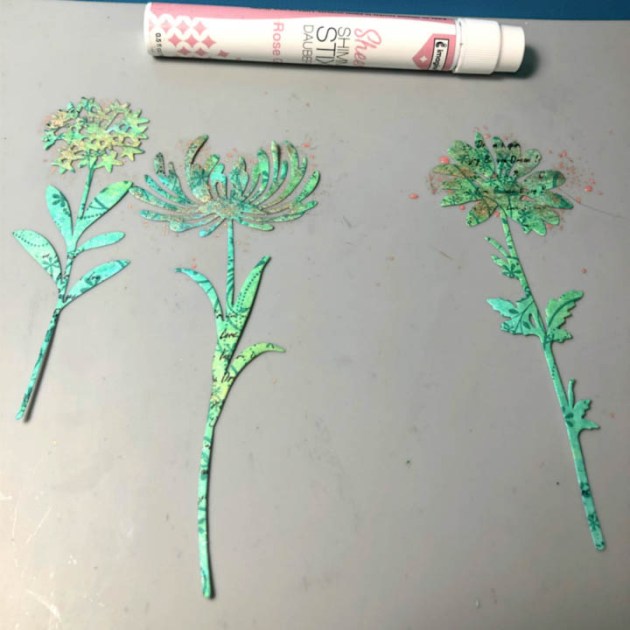
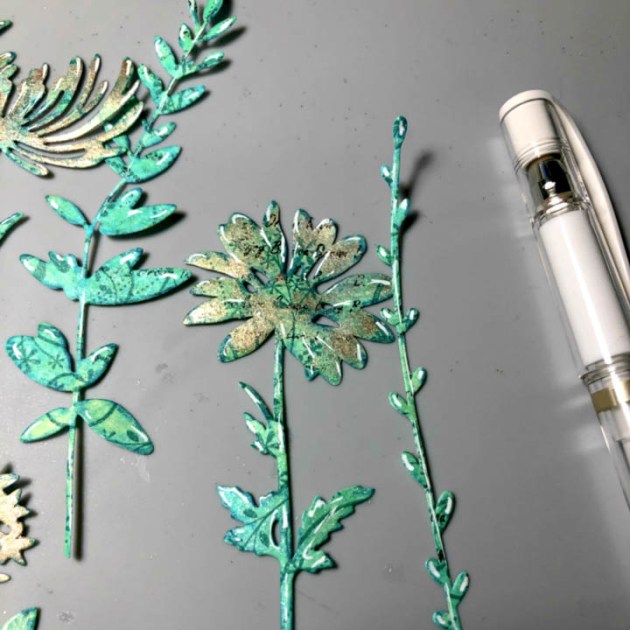
Add additional color to the flower heads with Shimmer Stix in Rose Gold.
Step 8
Apply shading to the flower by using a Fantastix tool with StazOn Pigment ink.
Step 9
Stamp a floral pattern and script onto journal cover with StazOn Pigment ink.
Step 10
Directly apply VersaMark ink to cover, sprinkle with MBoss powder(s) and heat set for added texture.
Step 11
Adhere to a layer of tulle.
Step 12
Highlight floral cutouts with white ink.
Step 13
Assemble floral die cuts, adhere sequence, and apply StazOn ink directly to edges of cover for shading.
Glittery backgrounds are the best backgrounds! I love anything glittery and the Sparkle MBoss is quickly becoming one of my favorite new embossing powders. It is a clear embossing powder with holographic glitter mixed into it. It’s perfect to add over any backgrounds because it doesn’t add any color, just shine and sparkle! You can watch the video tutorial to see two different ways to make your backgrounds sparkle!
Hi everyone! It’s Jessica and I’m so excited to share this Disney-inspired Twist and Pop 3D Card with you. As you can see, there are 4 panels dedicated to The Little Mermaid, The Lion King, Up and Cinderella. And I’ve used 14 VersaFine Clair ink pads to ink blend all of the backgrounds. I’ve used several sets of Mama Elephant stamps as well; the images are stamped with Memento ink in Tuxedo Black and colored with Copics. I hope you enjoy this magical creation as much as I do!
Skill: Advanced Time: 15-20 minutes for each panel, 2-3 hours total
Directions
Supplies
Imagine
VersaFine Clair Inkpad – Warm Breeze, Twilight, Blue Belle, Rain Forest, Shady Lane, Green Oasis, Verdant, Golden Meadow, Acorn, Paradise, Medieval Blue, Monarch, Charming Pink, Cheerful
Why buy a decorative frame when you can create your own! I love using Brilliance and VersaMagic ink with the watercolor technique to really stylize and customize my own frames and home decor pieces. I walk you through each step in creating this frame in the video below.
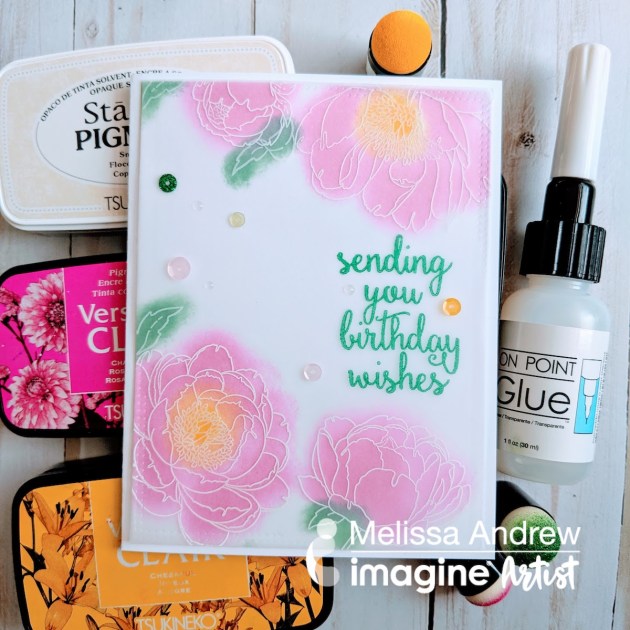
Today I show you how to avoid coloring, just in case it’s not your thing. Beautiful floral stamps are available everywhere, and I’ll show you how to use VersaFine Clair under a vellum overlay to get the gorgeous pop of color, without all the detailing usually required of coloring in stamps. Stamping with the new StazOn Pigment allows you to use a simple technique to create beautiful color on your cards quickly and easily.