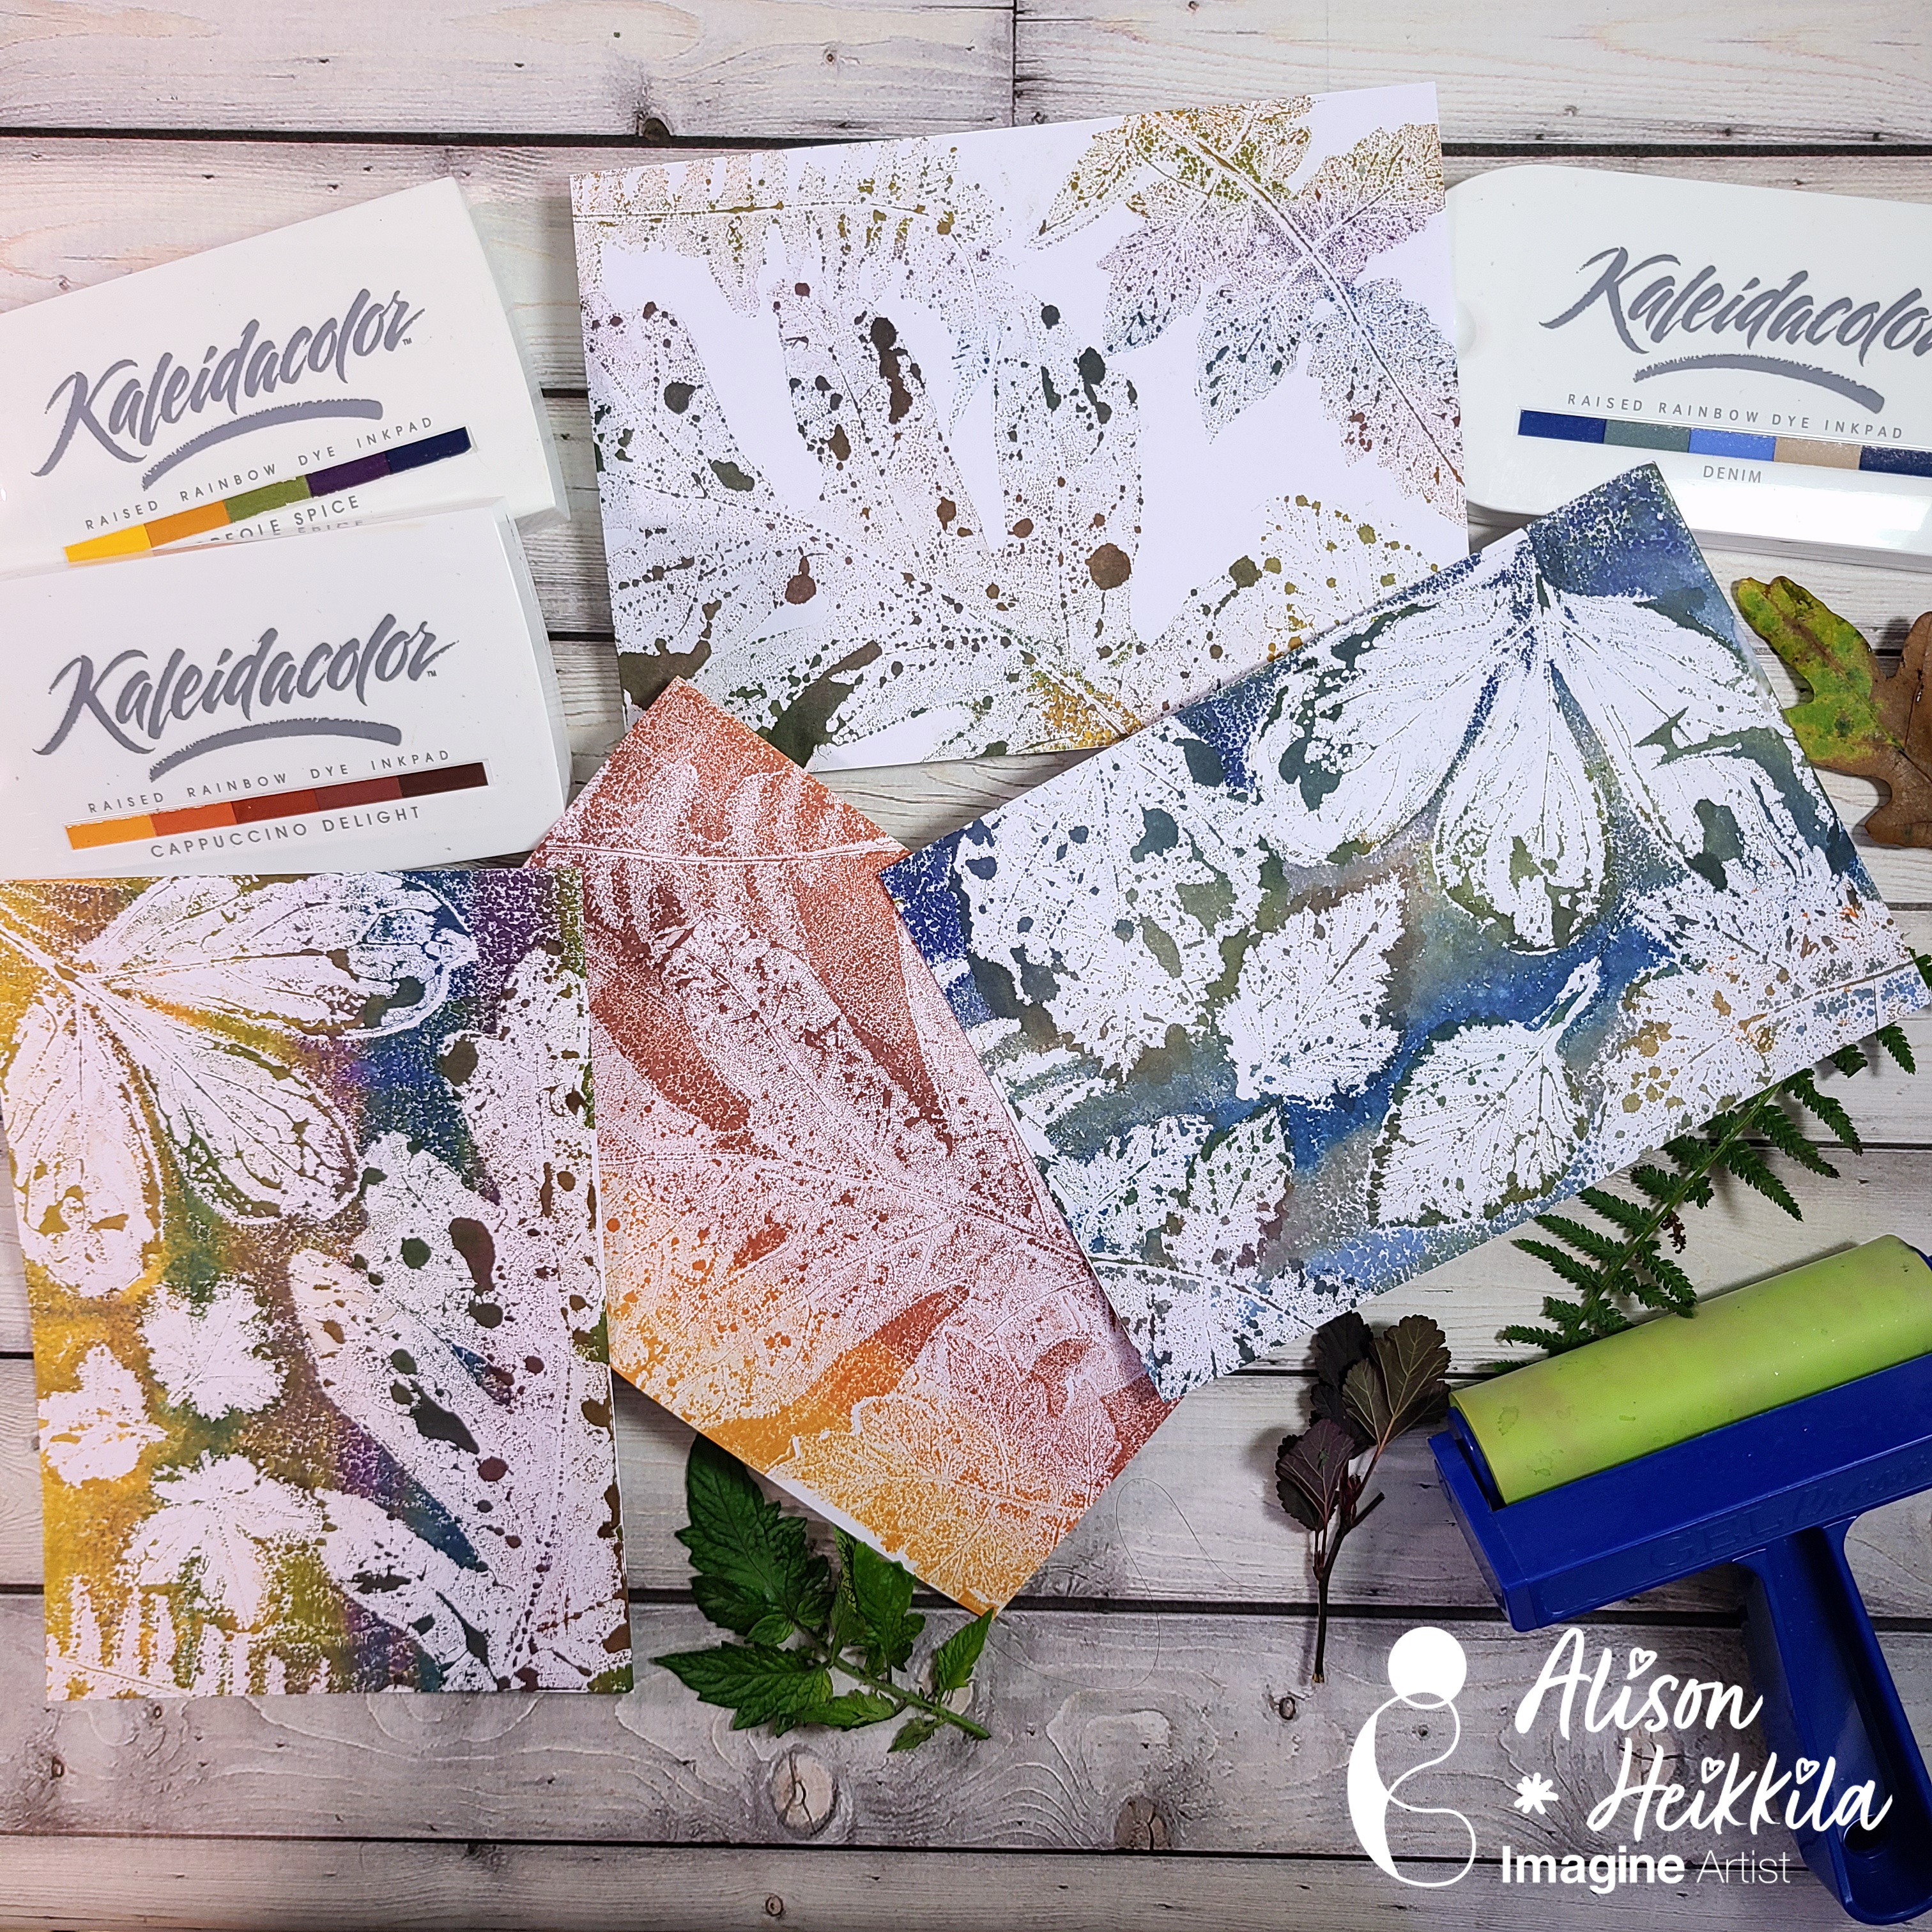
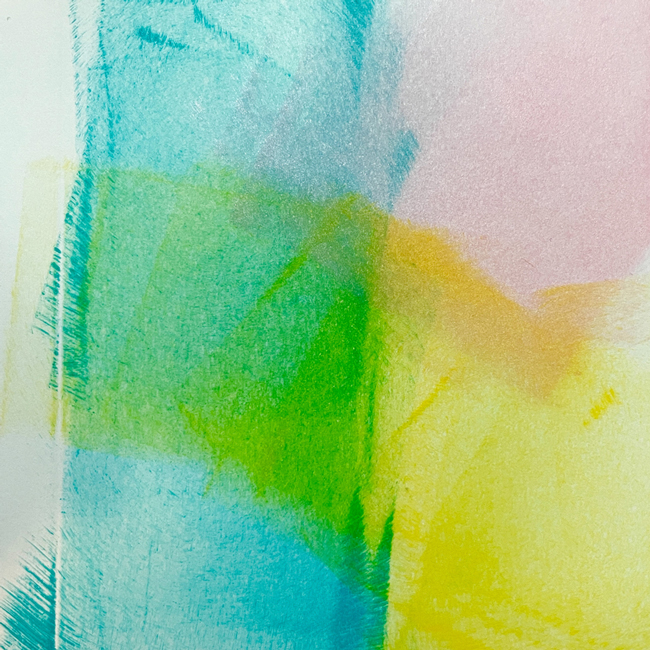
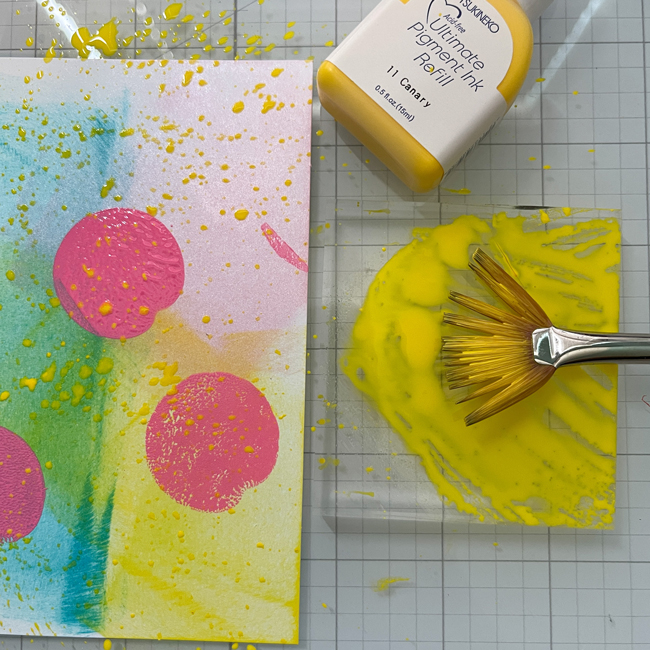
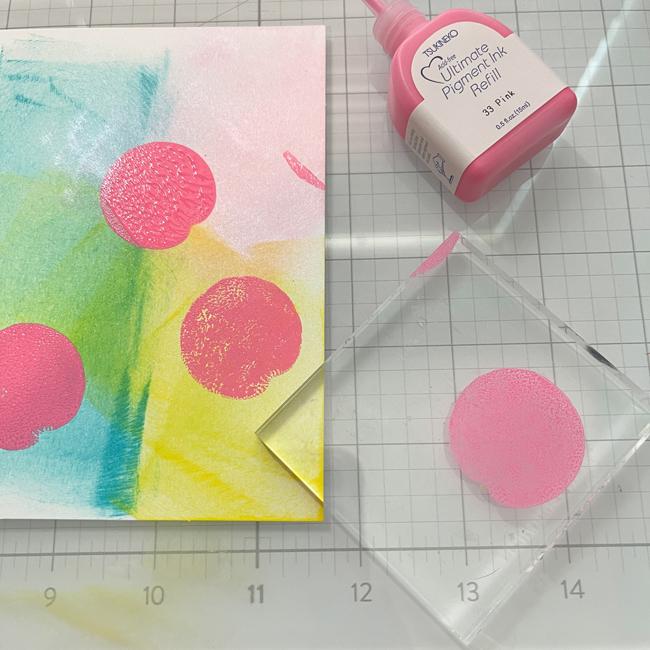
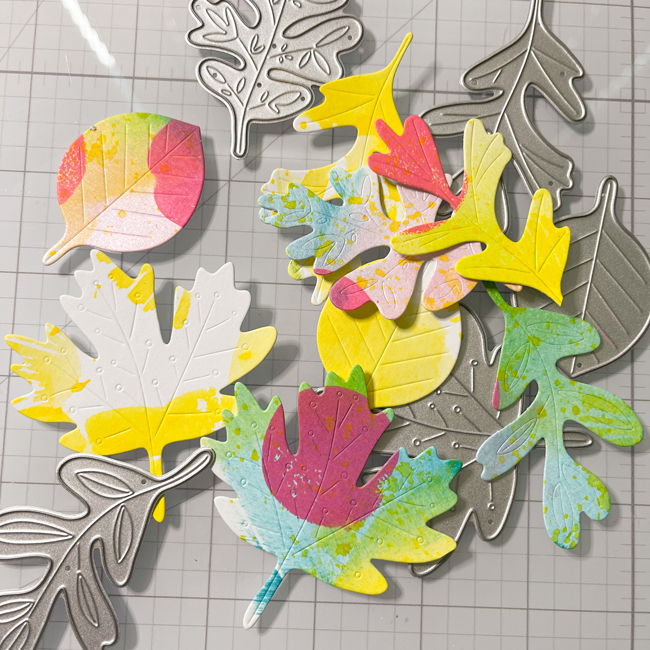
Hello! I’m Alison Heikkila. The weather by me has been really beautiful, and it’s enhanced by the changing colors of the leaves. I decided to pull out a few Kaleidacolor Ink Pads and my 5×7 Gel Press Plate and show you how easy and fun it can be to make prints with different types of foliage.
*Some affiliate links are used in this post. That means that if you shop through these links, I may receive a small compensation, at no cost to you. For more information, please see my Affiliates page, where I also have some coupon codes.
Skill Level: Basic Time to Complete: As long as you feel like playing!
I didn’t want to stop making prints! This process can be very addicting. I hope you give it a try and find it fun and relaxing. Thanks so much for stopping by. Have an inspiring day!
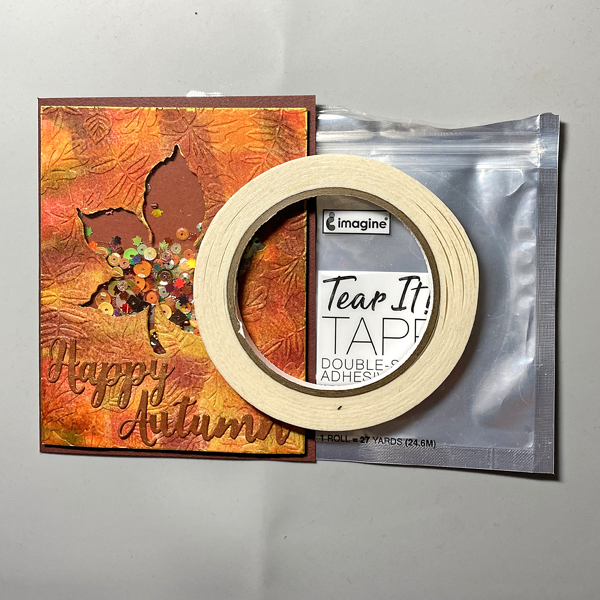
Intro: Here’s an embossed shimmery shaker card created with a Kaleidacolor Inkpad, several Memento Dew Drop Inkpads, and a Golden Glitz Delicata pad.
Skill Level: Beginner to Intermediate
Time: 1.5 hours
Step 1.
Place the square mini Gel Press onto an acrylic block.
Step 2:
Open the Autumn Leaves Kaleidacolor pad, Press the mini Gel Press against the pad, slide the Gel Press down to fill the Press with ink.
Step 3:
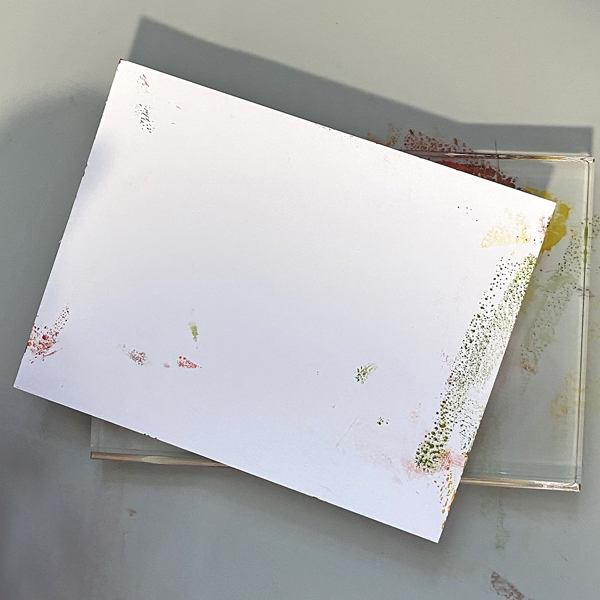
Flip the acrylic block so that the inked Gel Press is facing upward. You’ll notice that the paper is not straight. It’s good to apply the ink in a random pattern. Place a piece of white cardstock against the Gel Press and pull the print.
Repeat Step #2 and Step #3 until the paper is covered with ink.
Repeat Steps #2 and 3 again to create a second print.
Step 4:
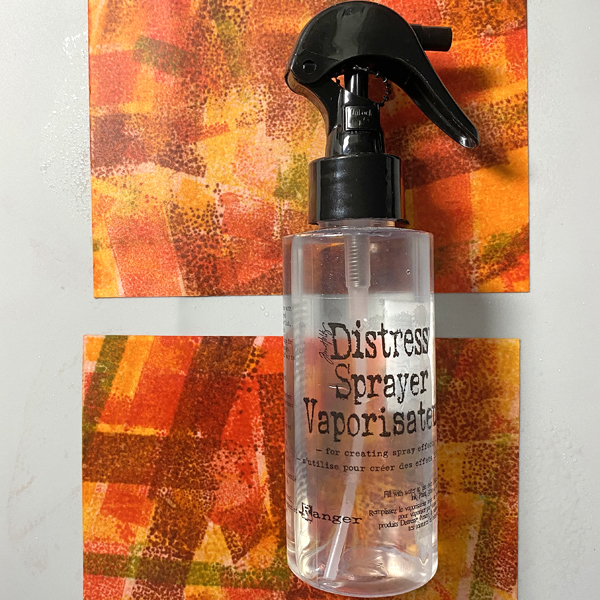
Spray the print (which looks like a hot mess at this point) with 91% Isopropyl Alcohol until the paper is saturated. Heat set.
Step 5:
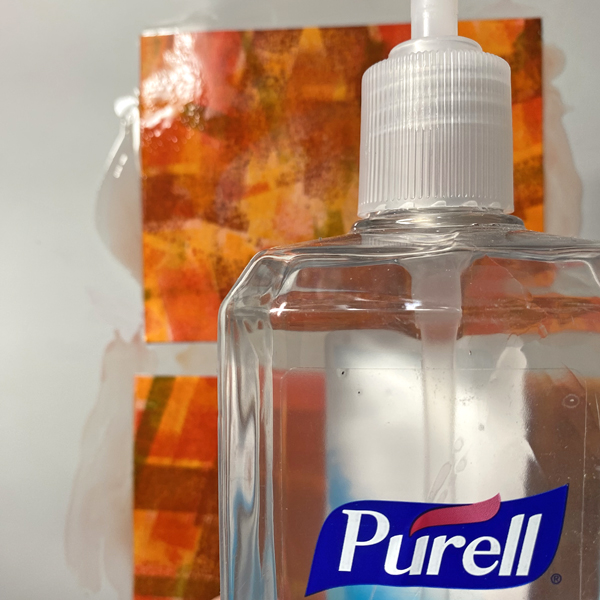
Coat both prints with Purell to further lighten and blend the colors. A side benefit is that your hands will get clean!
Step 6:
Mist the prints with water to add some droplets and white splatter. Heat set.
Step 7:
Use Sponge Daubers to yellow from the Kaleidacolor pad, New Sprout, Bamboo Leaves, Sugar Plum, Dandelion, Tangelo, Lady Bug, Rhubarb Stalk, Ladybug, and Lilac Posies to enhance both prints.
Step 8:
Spray the prints again with 91% Isopropyl Alcohol. Heat set and flatten the prints if necessary.
Step 9:
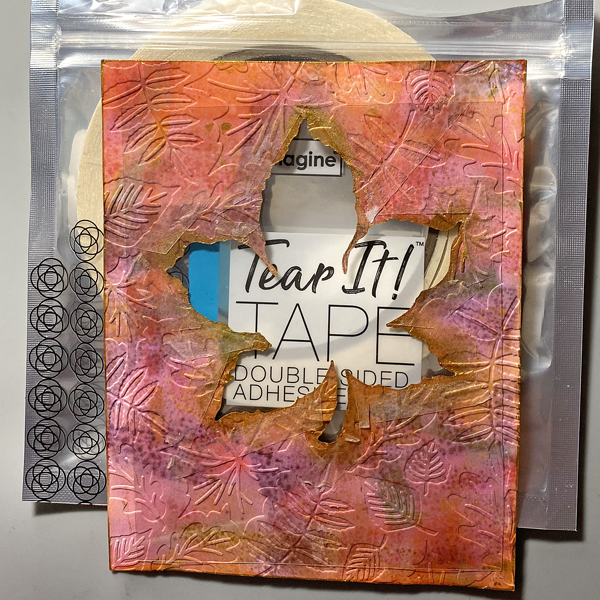
Place a print inside the embossing folder and run it through a die-cut machine.
Step 10:
Use a leaf die to cut the embossed print. Reserve the leaf for another use.
Step 11:
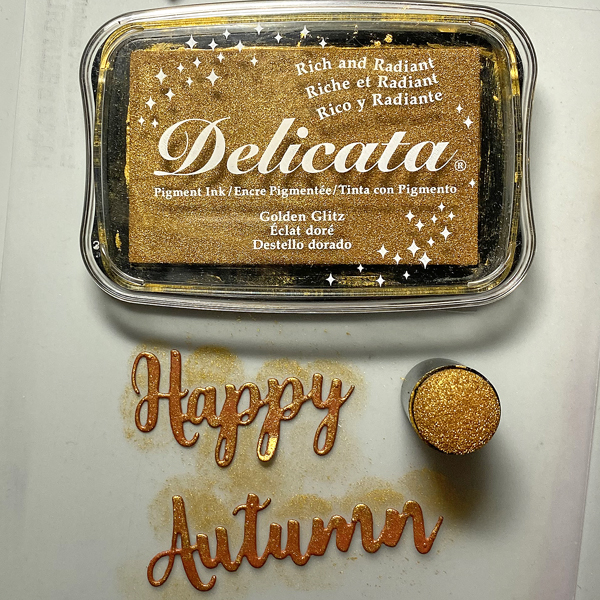
Apply Golden Glitz Delicata to the edges of the leaf window and the panel.
Lightly tickle the embossed elements to add some glittery golden touches to the design.
Heat set.
Step 12:
Flip the embossed print. Take a second to admire the colors of the reverse. The ink colors change and meld somewhat due to the Isopropyl Alcohol.
Place Tear It Tape around the edges of the leaf on the back of the panel. Secure a piece of acetate to the tape on the panel.
Step 13:
Place foam tape around the edges of the leaf to create a well for the shaker contents. Be sure that there are no gaps between the pieces of tape. Use an embossing buddy or a dryer sheet to gently rub the sides of the tape and the acetate window so that the shaker contents can be move freely.
Fill the aperture with your selection of shaker contents.
Carefully pull the backing off of the foam tape and place a piece of cardstock over the aperture to seal the shaker.
Step 14:
Use cutting dies to cut rust cardstock (not shown).
Apply Golden Glitz Delicata Ink to the die-cuts.
Step 15:
Adhere the sentiment below the shaker element.
Step 16:
Use Tear It! Tape to adhere the front of the shaker card to an A2 Rust card.
Hello friends! This is Linh (or LV Handcrafted on all the socials). Today I have a new video up on the Imagine Crafts YouTube channel showing how to create easy ombre papers to die cut from. The easiest way is Kaleidacolor ink pads! Just swipe and you’re done! Just as simple though is to swipe VersaMagic ink across your cardstock. I like using a small blending brush to create a smooth transition from one color to the next. Whichever method you prefer, the results are stunning!
Hello there! Today’s tutorial is to show you how easy is create texture with Memento Inks. This is a very simple process that you can create with a score lines and or embossing folders. On this card, I used Memento Ink Desert Sand, Peanut Brittle and Teal Zeal.
Hello there! Today’s tutorial is to show you how easy is create texture with Memento Inks. This is a very simple process that you can create with a score lines and or embossing folders. On this card, I used Memento Ink Desert Sand, Peanut Brittle and Teal Zeal.
Skill: Medium
Time: 45 minutes
Directions:
Step 1:
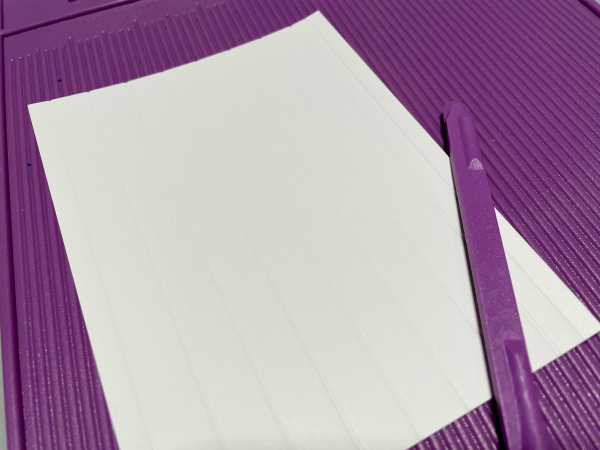
Create score lines over a piece of White Smooth Cardstock. This will be your top layer and you can decide the wide or directions of the lines accordingly with your design.
Step 2:
The lines of my sample card are 0.5” wide and I am using a regular size of cardstock for an A2 card, 5-1/2”x4-1/4”.
Step 3:
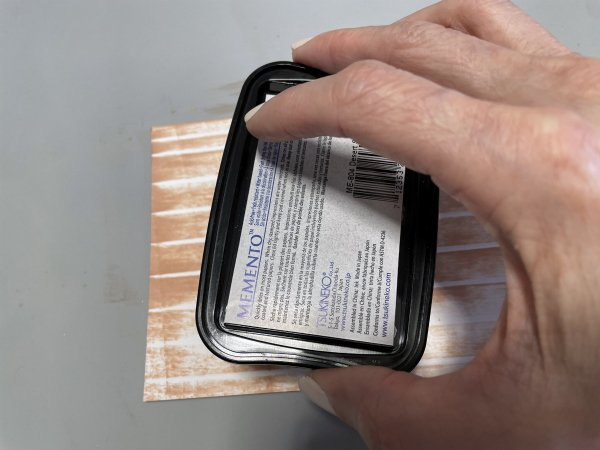
Pass the ink pad of Memento Ink Desert Sand directly over the scored panel following the vertical scored lines. Just keep in mind that you need to go border to border to obtain a uniform coverage.
Step 4:
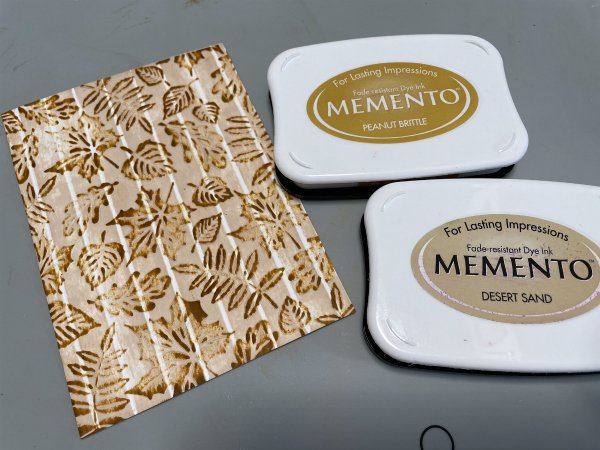
Before to introduce the inked layer inside of an embossing folder the type of image that you want to obtain. You can use the embossed raise or the debossing. In my sample, I used the emboss raise side. Pass your embossing sandwich through your die cut machine.
Step 5:
Using a different color of ink to cover the raised pattern of your embossing folder. On this card, I am using Memento Peanut Brittle
Step 6:
Let the ink dry naturally or speed the process with a heat tool. Now you can assemble the card and decorate it.
Step 7:
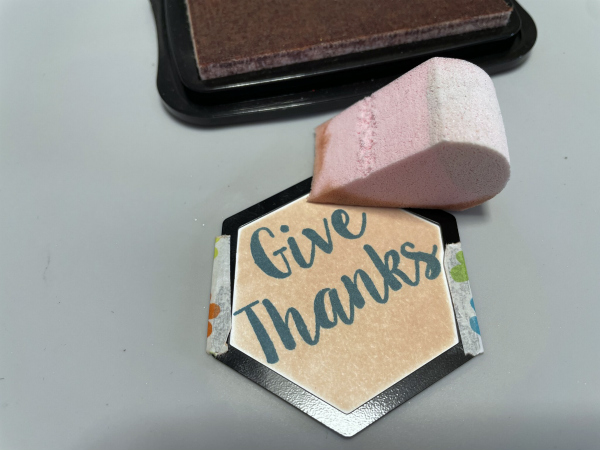
To make the message of the card, I used a clear stamp sentiment and an hexagon die cut. I stamped the sentiment with Memento Ink Teal Zeal.
Step 8:
I used the same die cut as frame to add some color to the message. I just applied the Memento Ink Desert Sand with a sponge after securing the die cut over it with washi tape.
Step 9:
To coordinate the colors of your card, you can pass an additional coat of ink to the top layer in a coordinating color with your card. In my sample, I used the Memento Ink Teal Zeal.
Just assemble your card and decorate with some embellishments. To paste the layers I used Tear It! Tape
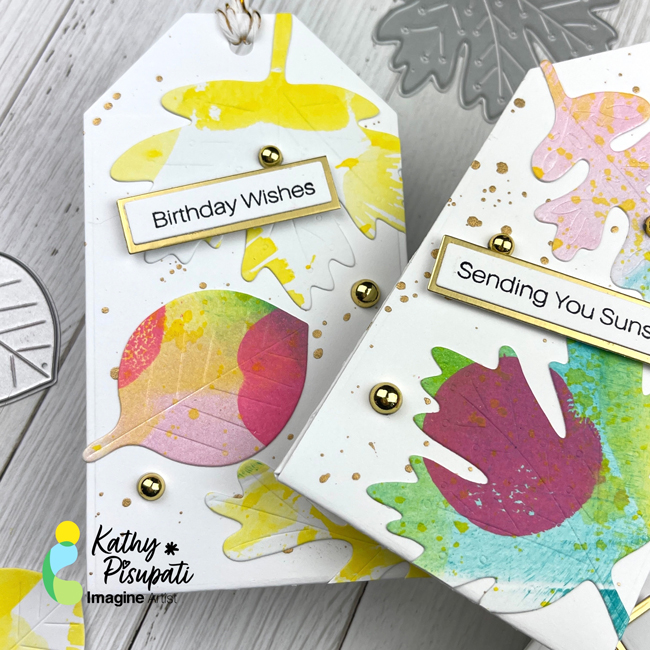
Hi my crafty friends!Today I have a new tutorial for you that may help you to use your fall dies in a new way.I will be using the VersaColor Inks to make a mess, yes…a mess that turns out to be BEAUTIFUL!We will be creating gift card tags for any occasion using fall leaf dies.
Skill Level: Intermediate Time to Complete: 1 hour
Directions:
Step 1:
Make a mess.Yes, take a piece of 80lb card stock and swipe those VersaColor inks.Smoosh ‘em, splatter ‘em, do whatever you want with them.Use those reinkers that you have sitting on your shelf.
Step 2:
Let these panels dry.Because the VersaColor inks are a pigment ink they take a while to dry, let them dry!Go have a cup of coffee and take a peek at more inspiration on the Imagine Blog.
Step 3:
Use your leaf dies to cut several leaves from your messy panel. Trust me!Are they pretty?
Step 4:
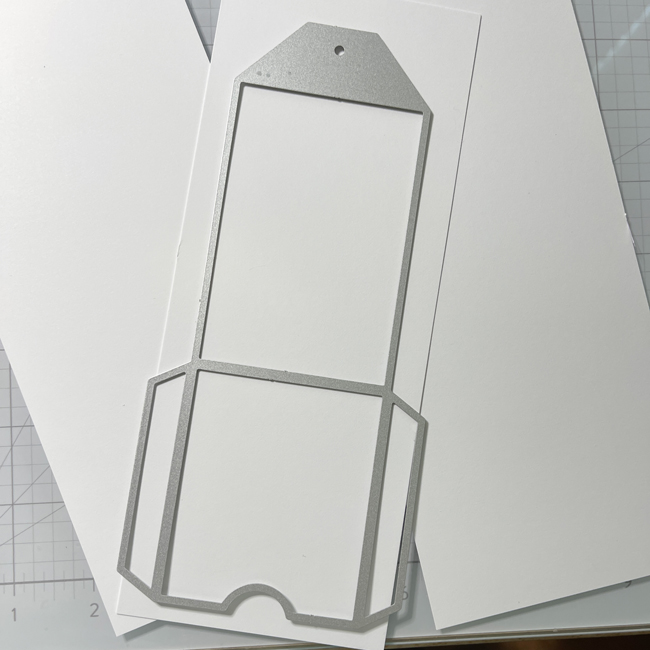
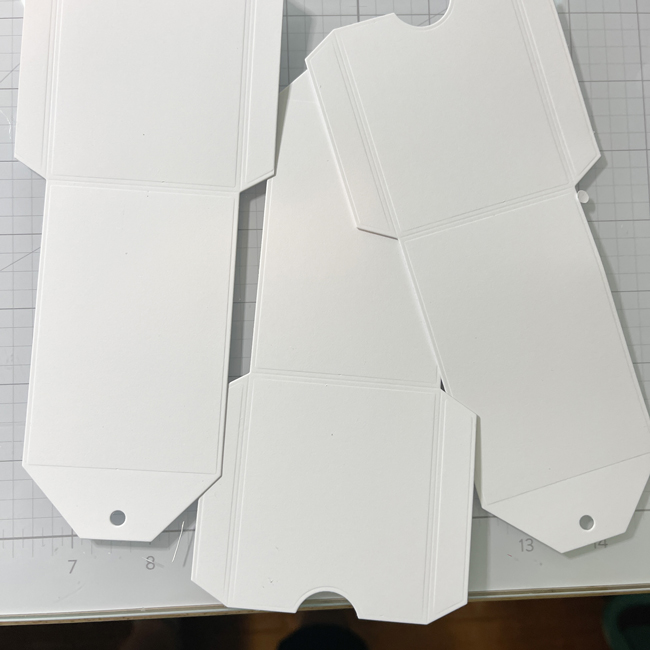
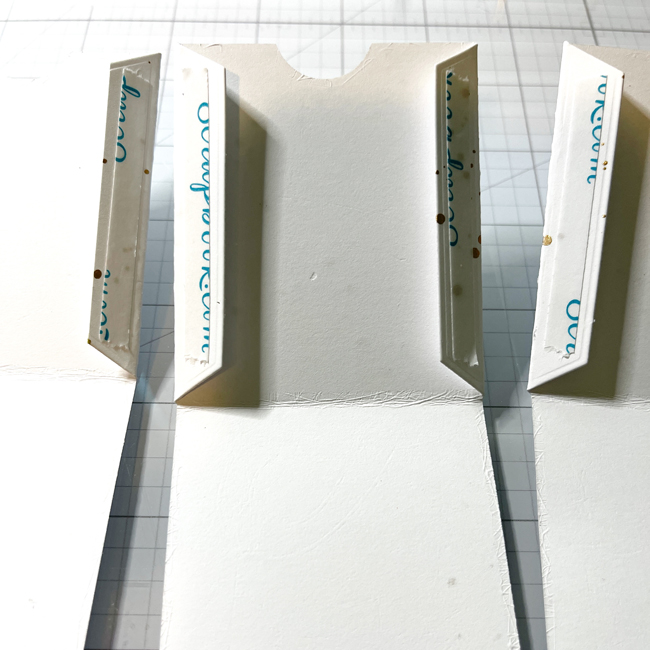
Use a gift card tag die to cut some tags. You should be able to get three holders from one sheet of 8.5” x 11”.
Step 5:
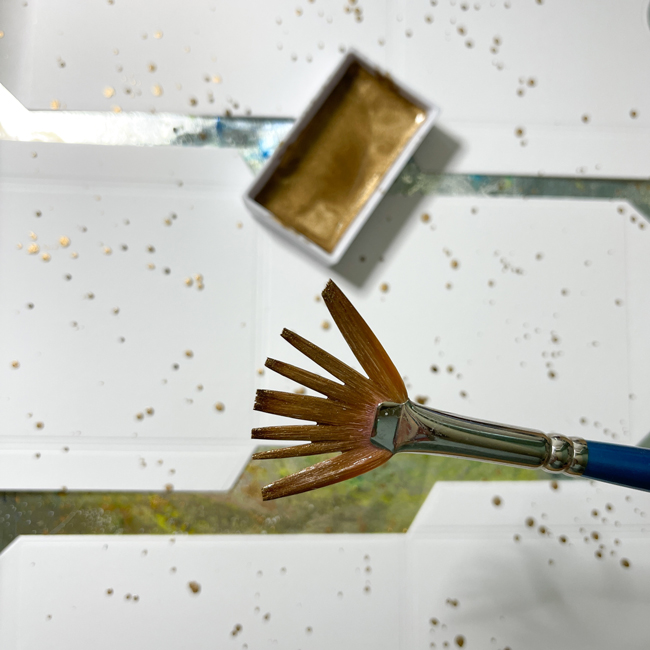
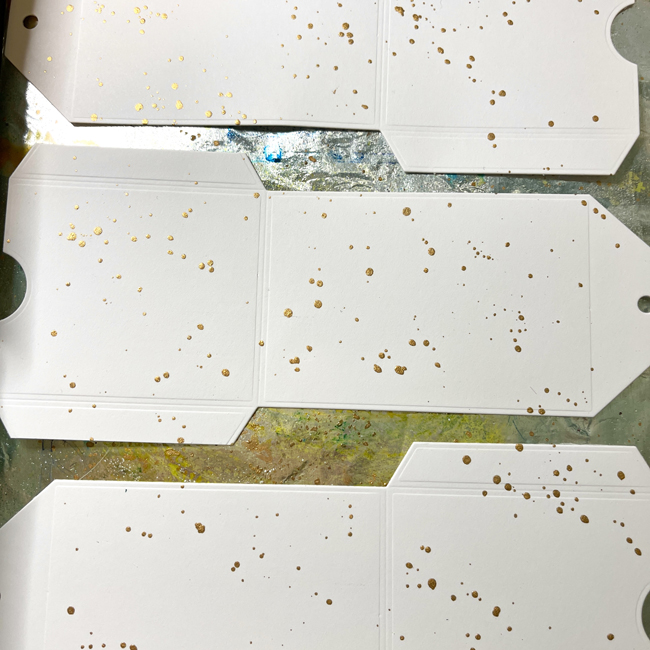
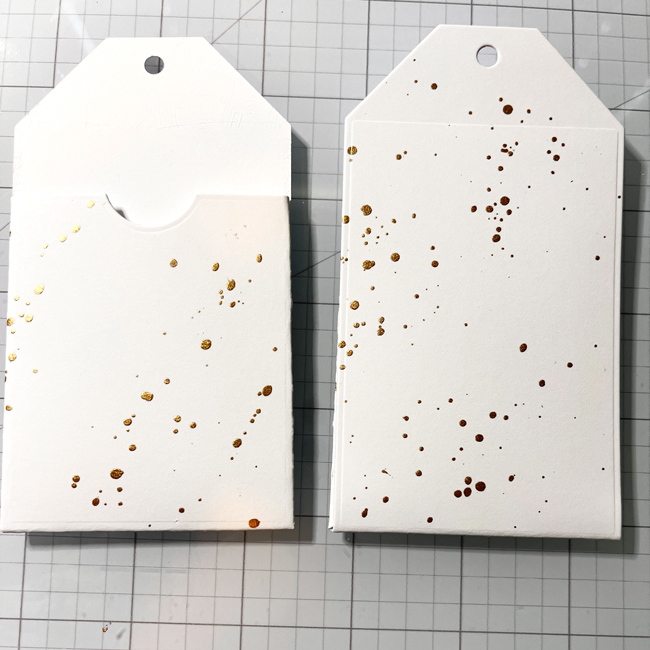
Once cut, splatter some gold watercolor paint all over the panels.
Step 6:
Fold and score your gift tags.Use the Imagine Tear It! Tape to assemble.
Step 7:
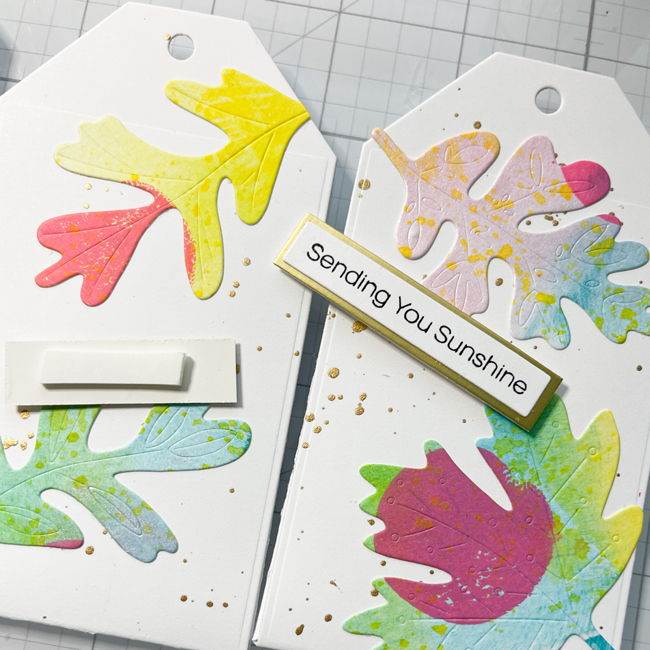
Lay out your pretty leaves and glue them down with Imagine On Point Glue.Trim off any excess.
Step 8
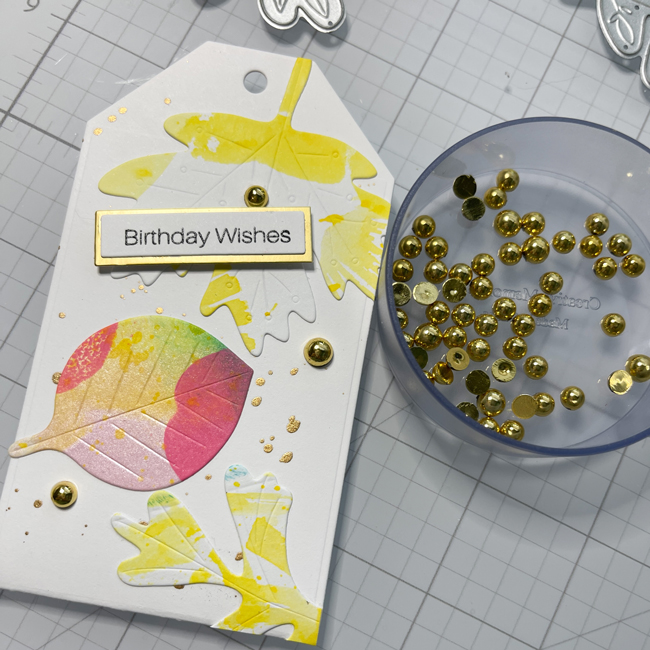
Stamp some sentiments, cut, and create a shadow strip from gold card stock.Adhere with On Point Glue.Put some foam tape on the back and adhere to your tags.Add some bling with the On Point Glue.
Step 9:
Loop some twine through the holes and the gift holders are done.I hope this has helped you seen those fall products in a new light.Thank you for stopping by the Imagine Blog!