How to Make Little Paper Bags for Wedding and Party Favors

2021-apr-kyriakos-party-favors-bags-main-wm 2

By Kyriakos Pachadiroglou

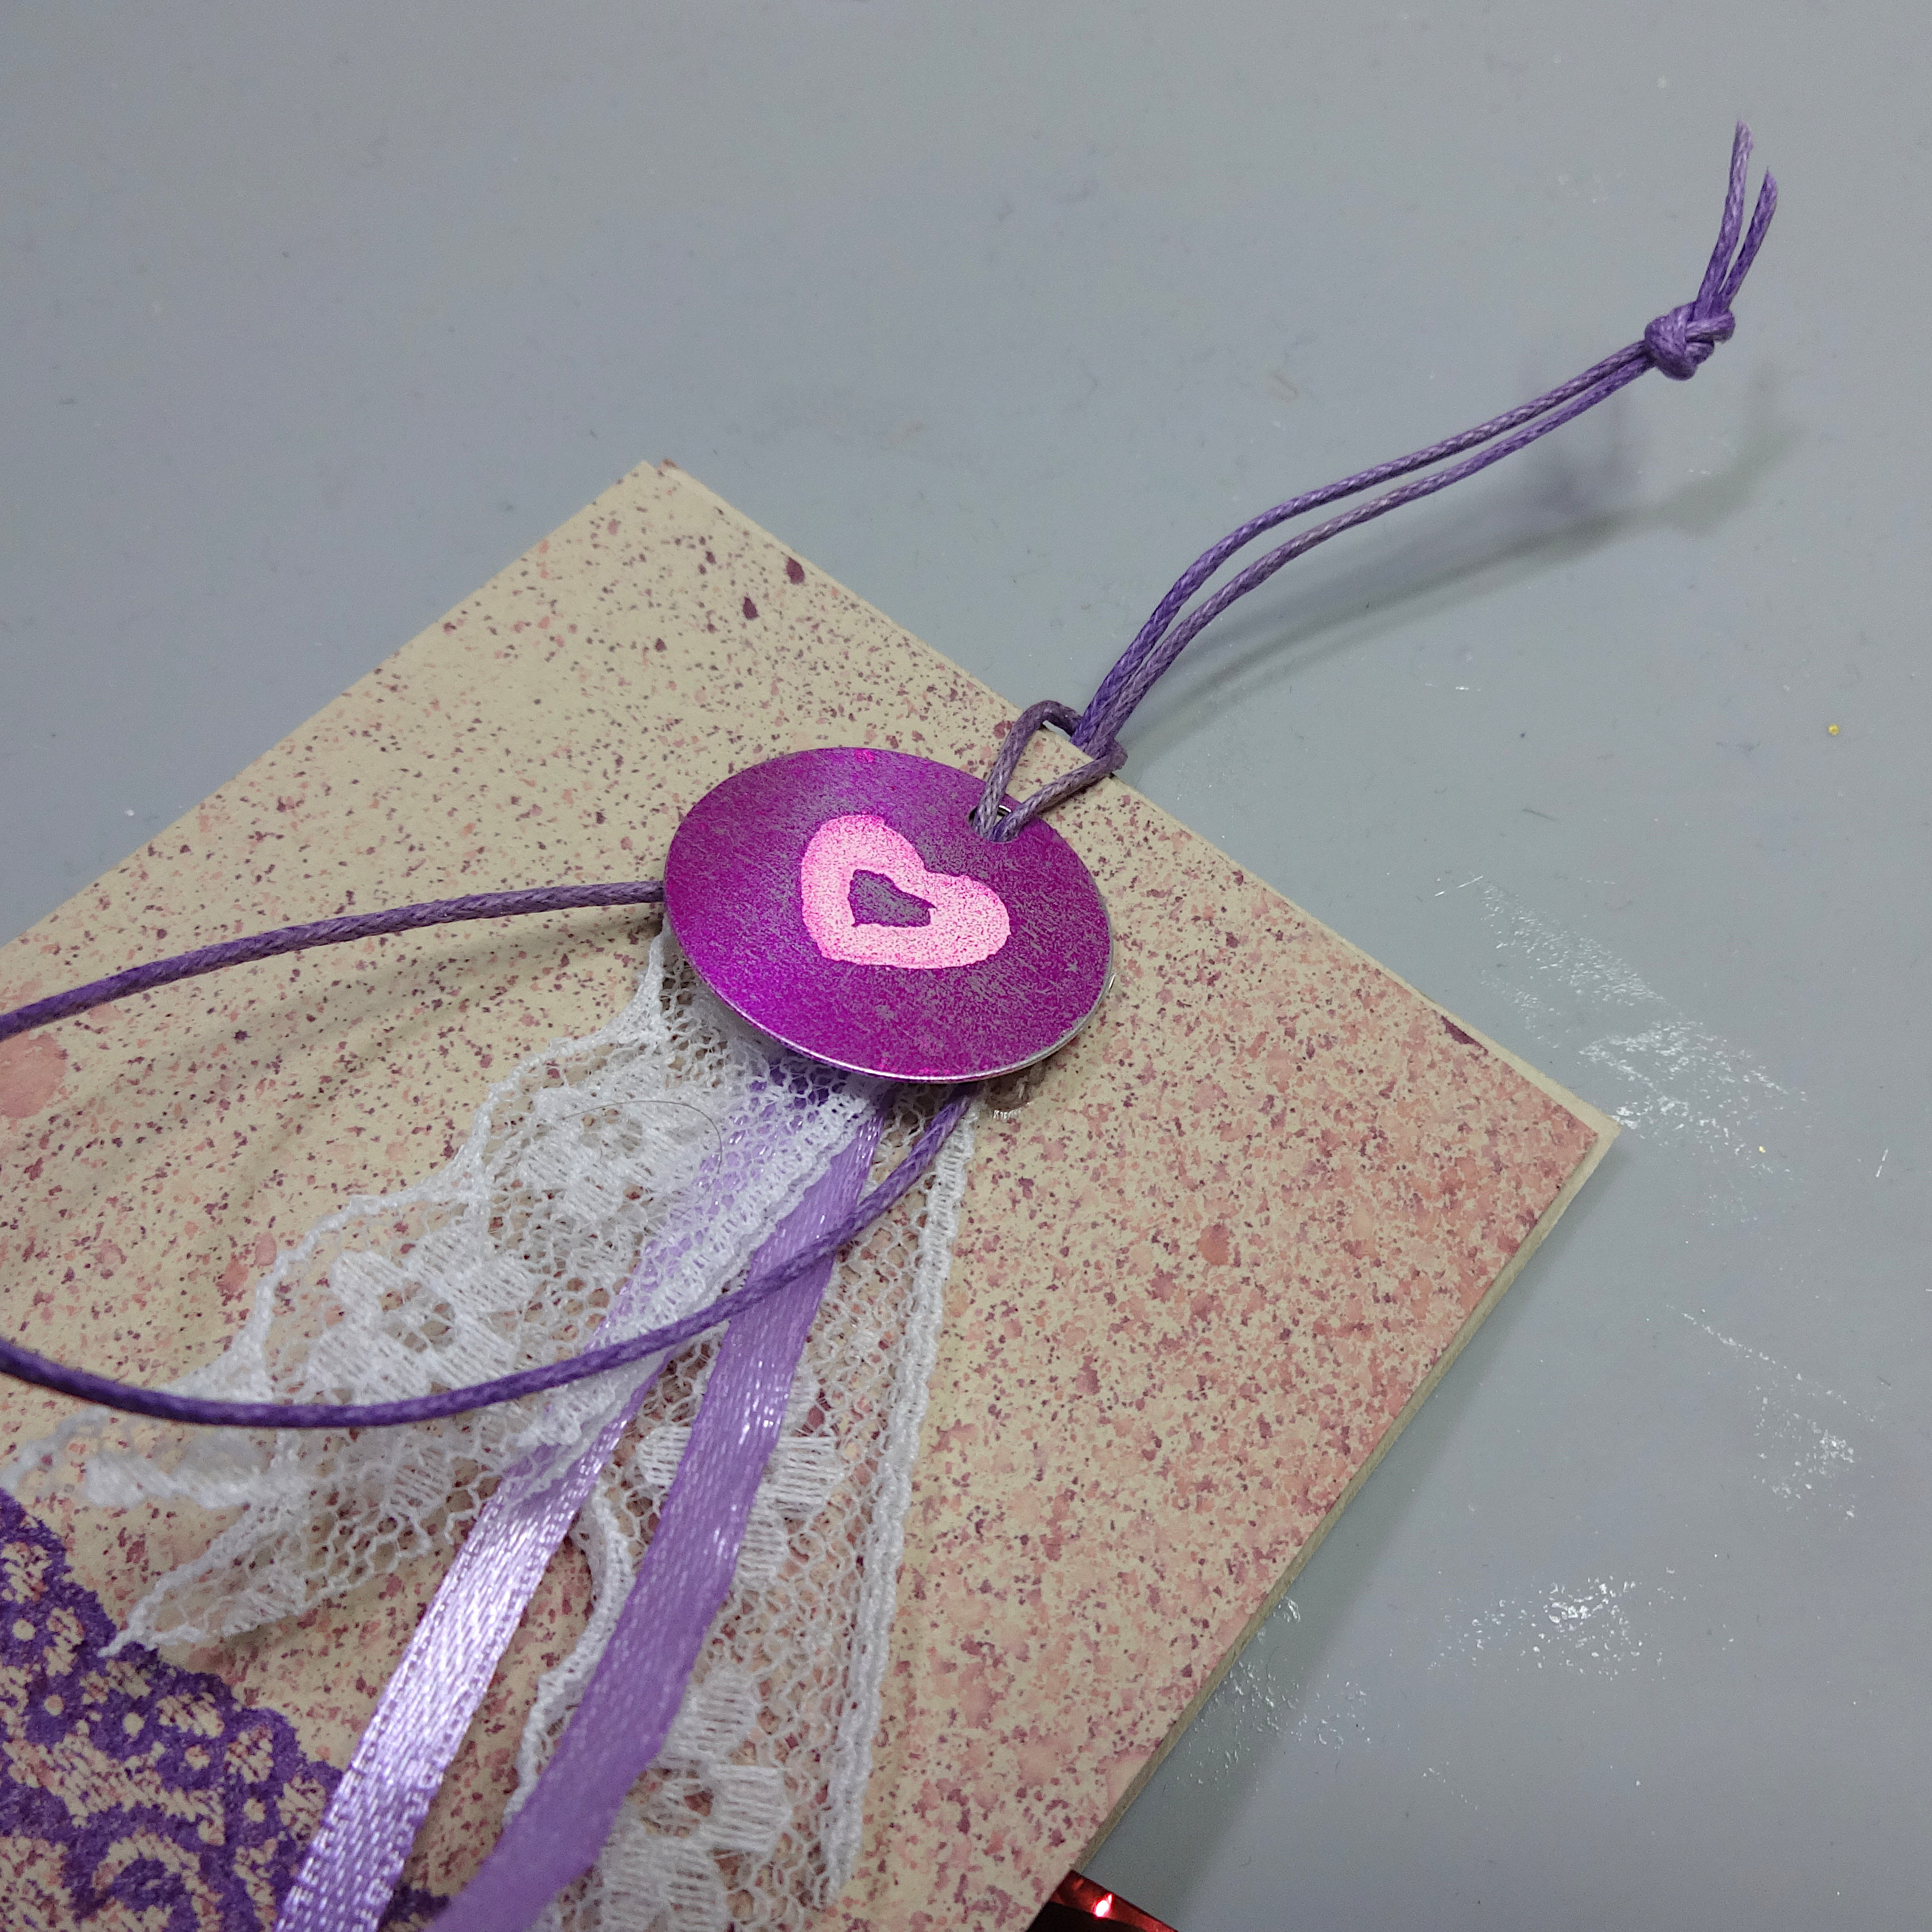
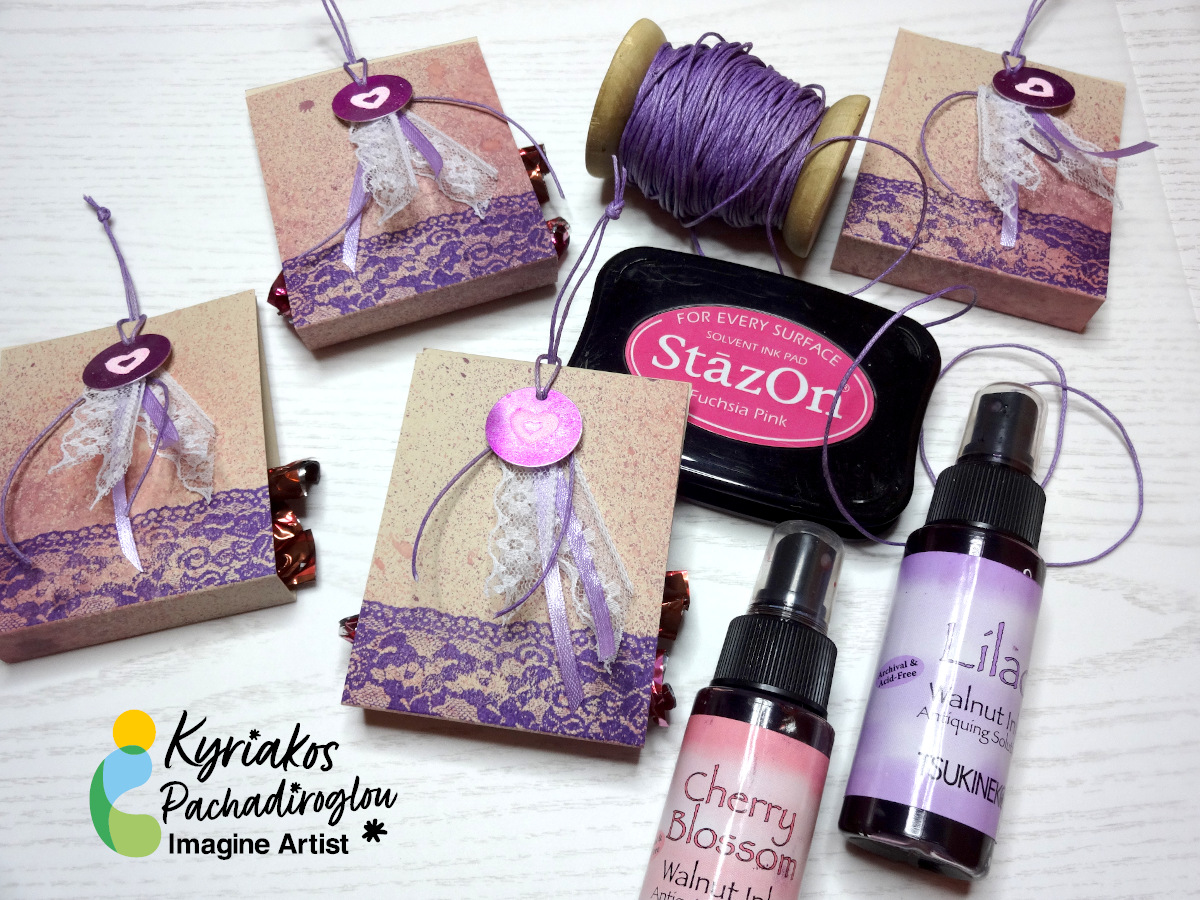
Decorate folded into bag paper cuttings that are distressed with Walnut Inks and stamped with a lace design using MEMENTO ink. Add a round SHEET metal charm with an embossed heart on it. Add sweets in the bags and place them in baskets, on side tables or hang them on branches in a large vase.

Skill: Beginner

Time: 30 min

Directions:

2021-apr-kyriakos-party-favors-bags-step1

Step 1

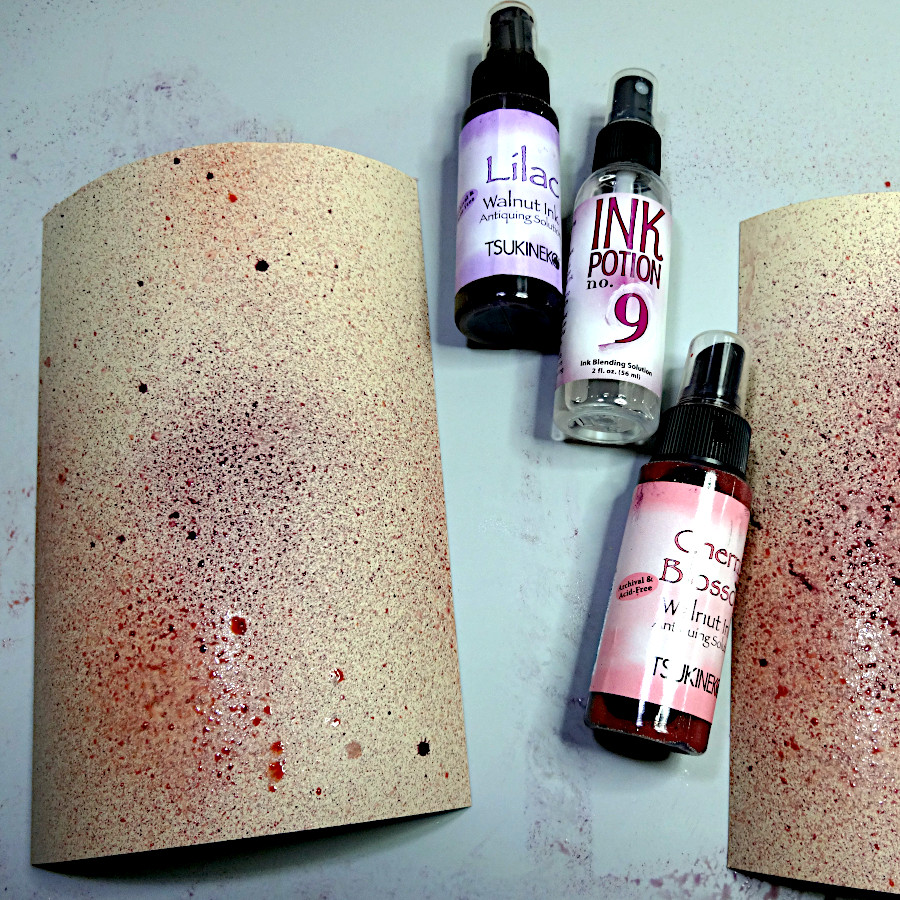
Cut 8×3″ pieces (~half of an A5)of the cardstock and spray them with Ink Potion No 9. While still wet, spray with the Walnut Inks Cherry Blossom and Lilac in some distance from the papers.


2021-apr-kyriakos-party-favors-bags-step2
Step 2

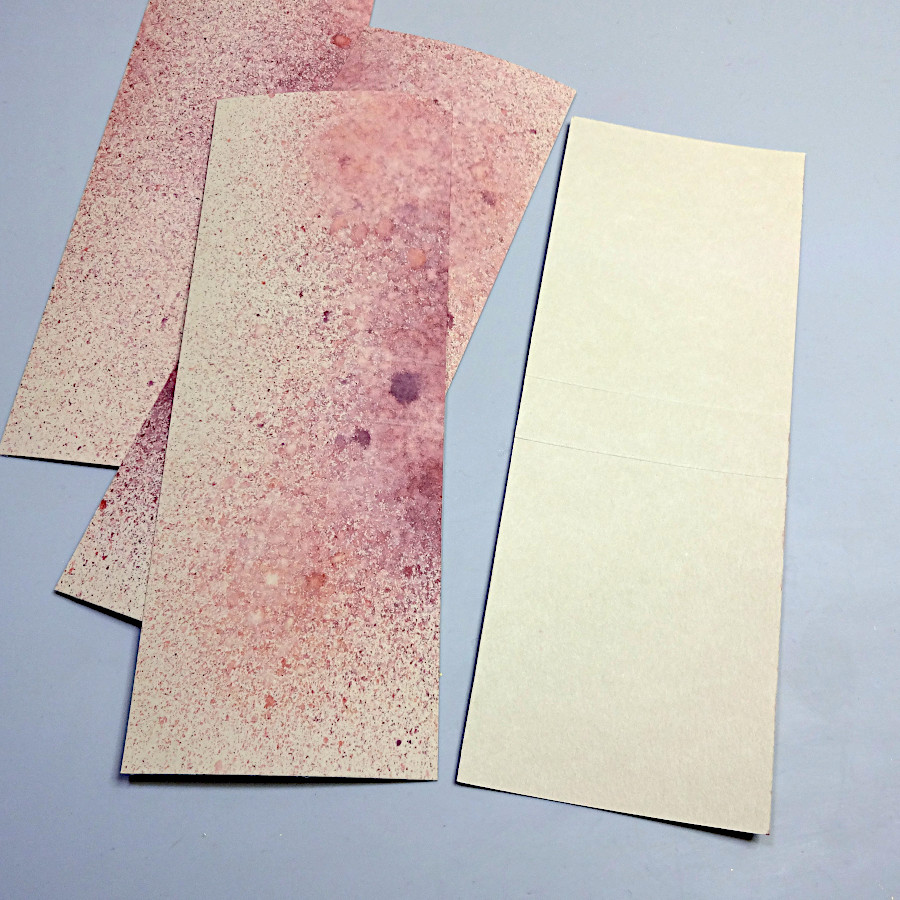
Let them dry (or speed up the process with a heat tool), mark the center (long side) and score ¾in from the center left and right.


2021-apr-kyriakos-party-favors-bags-step3

Step 3

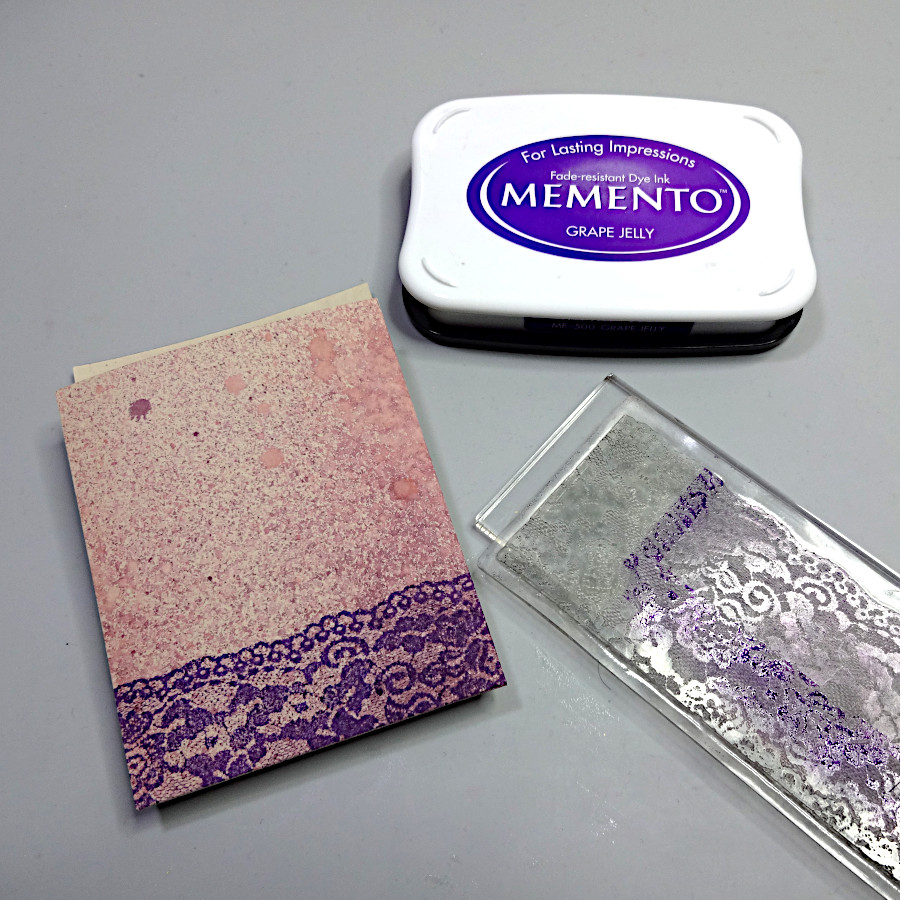
Stamp the lace stamp with MEMENTO Grape Jelly ink pad.


2021-apr-kyriakos-party-favors-bags-step4

Step 4

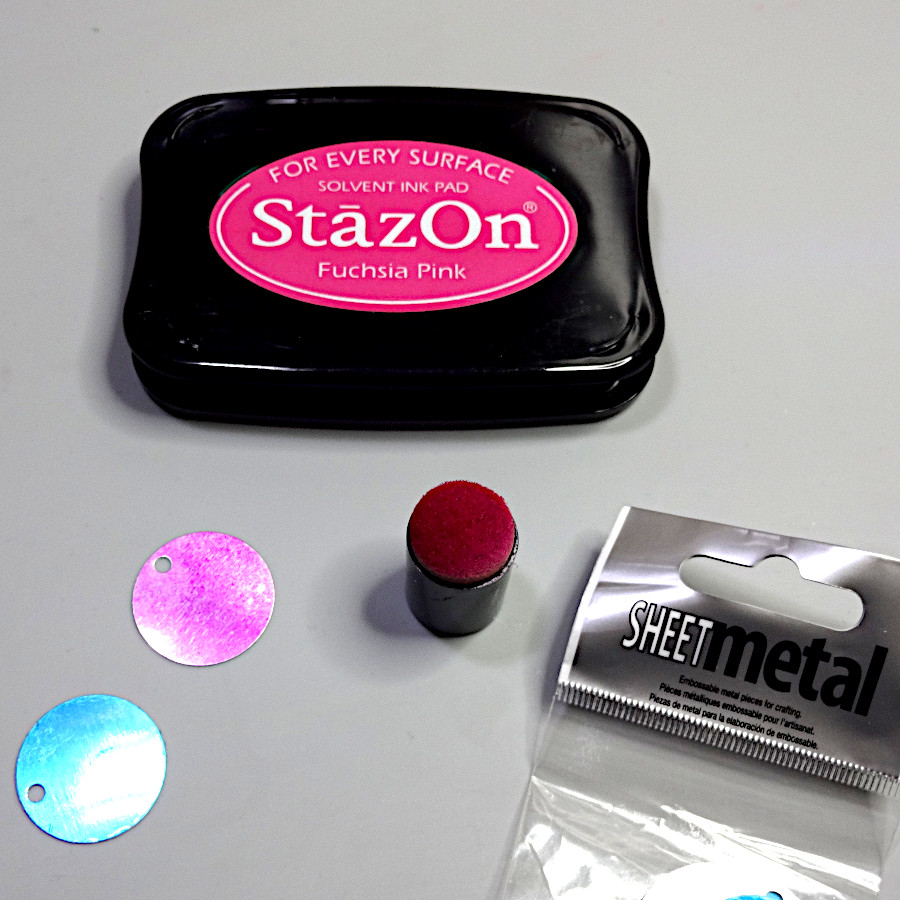
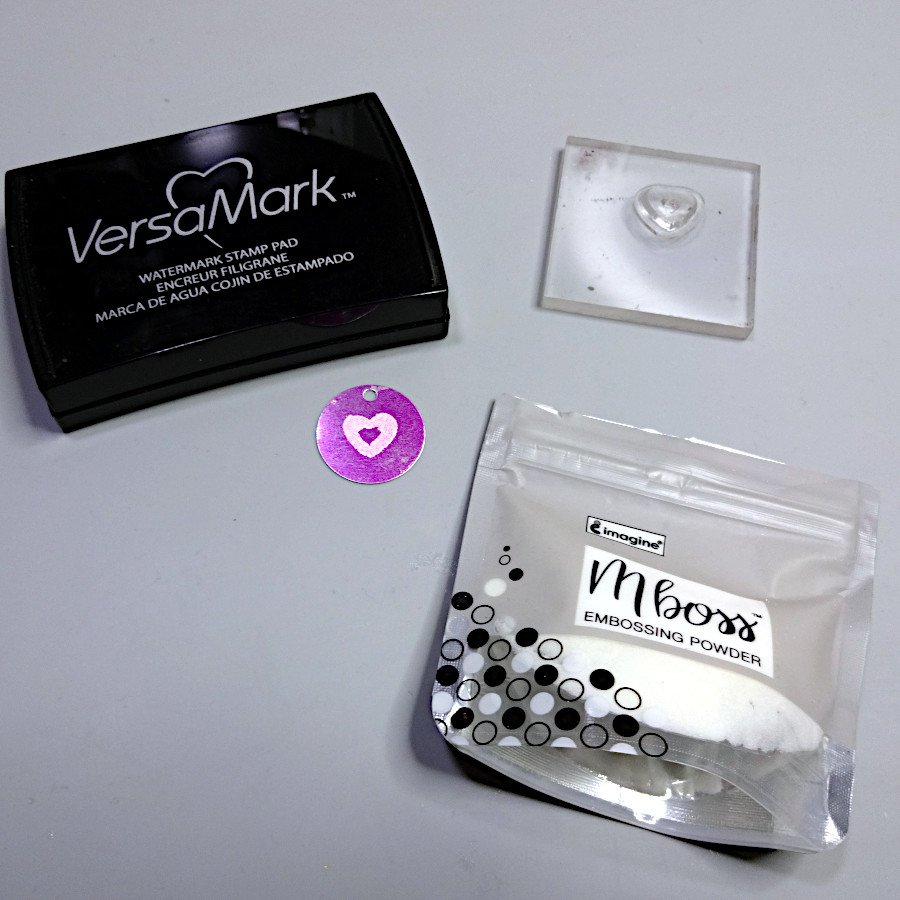
Color the round SHEET Metal pieces with the StazOn Royal Purple.


2021-apr-kyriakos-party-favors-bags-step5

Step 5

When the ink dries, stamp a heart with the VersaMark ink pad, cover with Mboss White Embossing Powder and heat set.


2021-apr-kyriakos-party-favors-bags-step6

Step 6

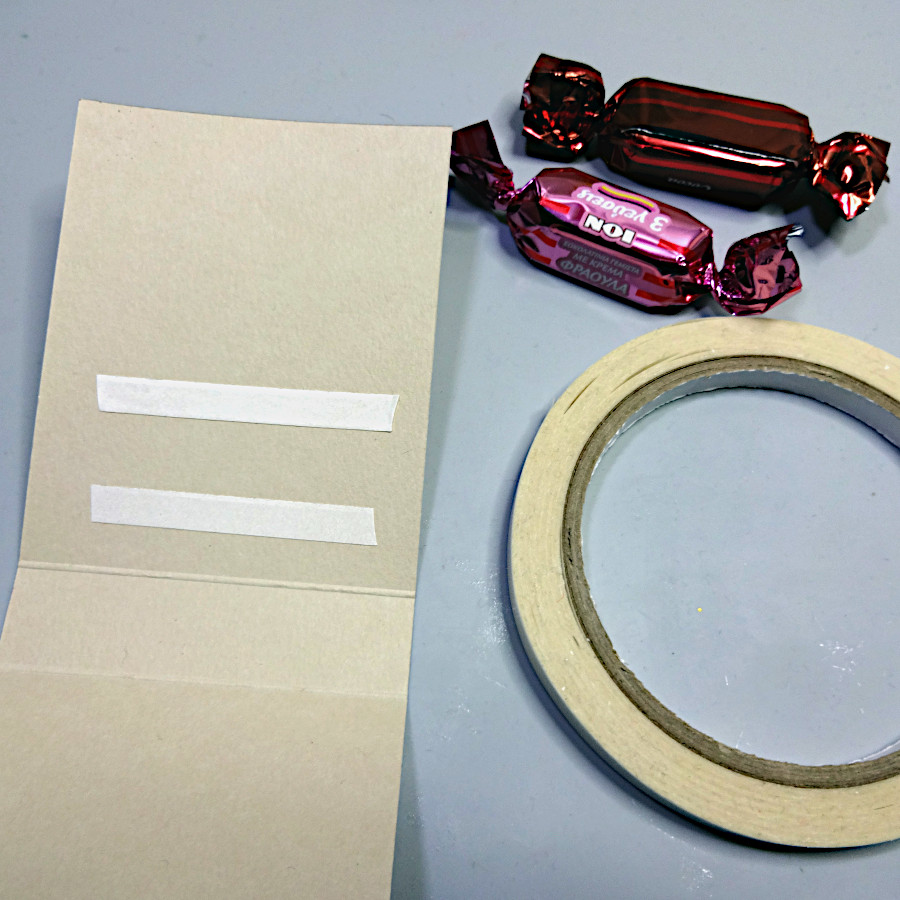
Add Tear It! Tape to the inner if the card cuttings and place the sweets (flat ones will fit better and they can be any shape (like hearts, squares).


2021-apr-kyriakos-party-favors-bags-step7

Step 7

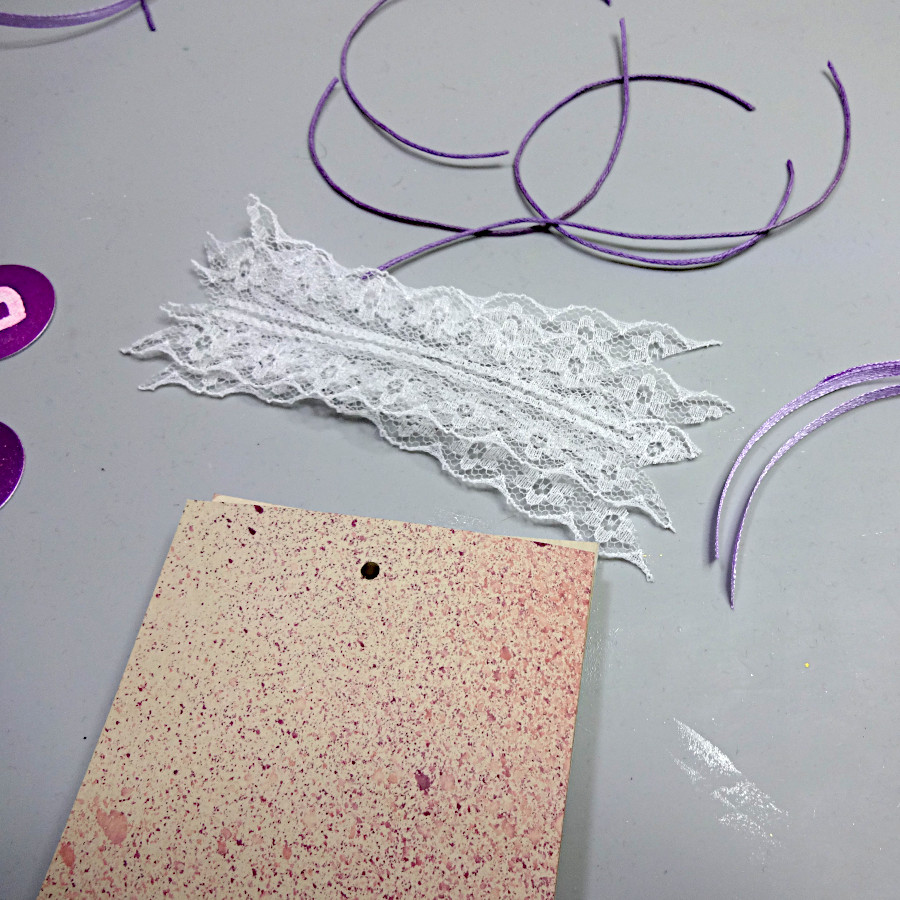
Punch a hole to the folded sides and cut 4″ long pieces of the lace, the ribbon and and the cord.


2021-apr-kyriakos-party-favors-bags-step8

Step 8

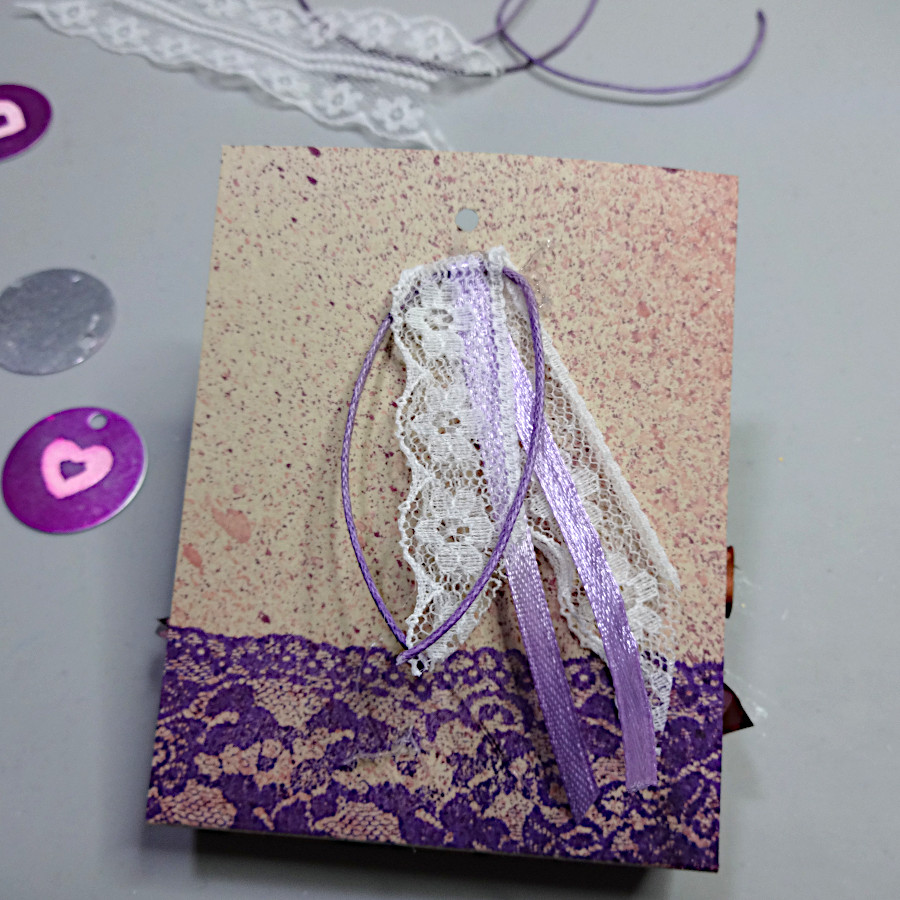
Fold in half the above cuttings and glue them just below the punched hole.


2021-apr-kyriakos-party-favors-bags-step9

Step 9

Add the round SHEET Metal charm with some cord (which can be also used to hang the paper bag).


Art Supplies

Imagine

MEMENTO – Grape Jelly

Walnut Ink – Cherry blossom, Lilac

Ink Potion No.9

SHEET Metal – Round 1″

Tear It! Tape

Sponge Daubers

Mboss Embossing Powder – White

VersaMark – Original

 
Other materials

250g/m2 – 115 lb Cardstock Natural

Kaiserkraft Stamp – Lace

Heart Stamp

Hole Punch

Heat Tool

Hot Glue

Lace, Ribbon, Cord

Sweets


How to Make a Mother’s Day Card

2021_April2_JN_Mothersdaycard_1

By Jowilna Nolte 

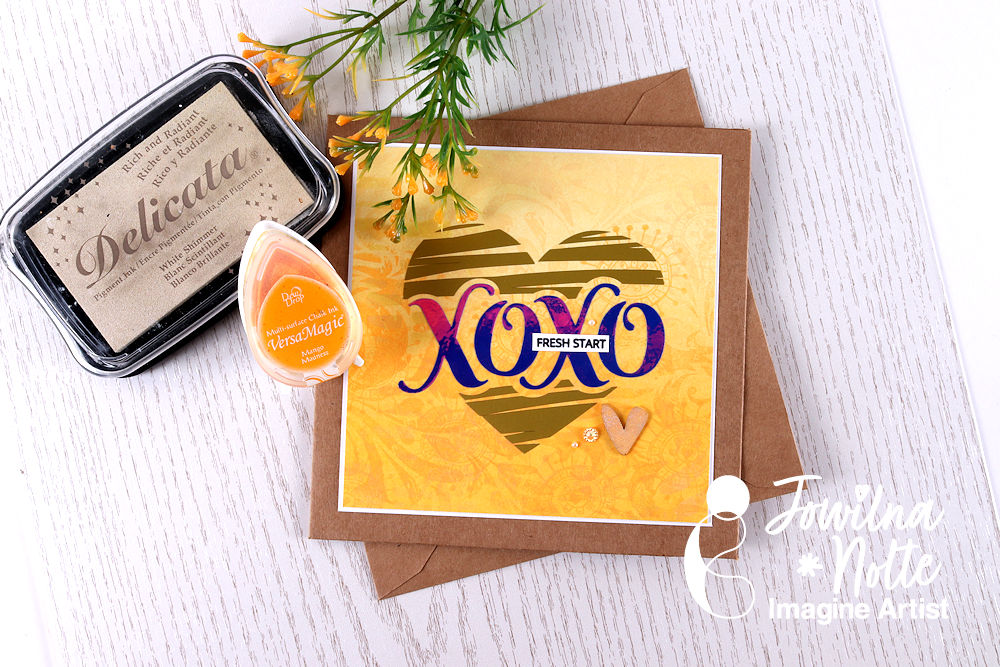
I am not one for a traditional Mother’s Day Card – although the message inside may be one of gratitude, on the outside it can reflect something personal as well.

Instead of doing the usual thing I combined some fun stamping and inking with a vinyl heart and a little stamped sentiment that will mean the world to my mom.

“FRESH START” is my prayer for her this Mother’s Day – the beginning of so much more than just being a mother.

Skill Level: Beginner

Time: 30 minutes

Directions:

2021_April2_JN_MOthersdaycard_step1

Step 1
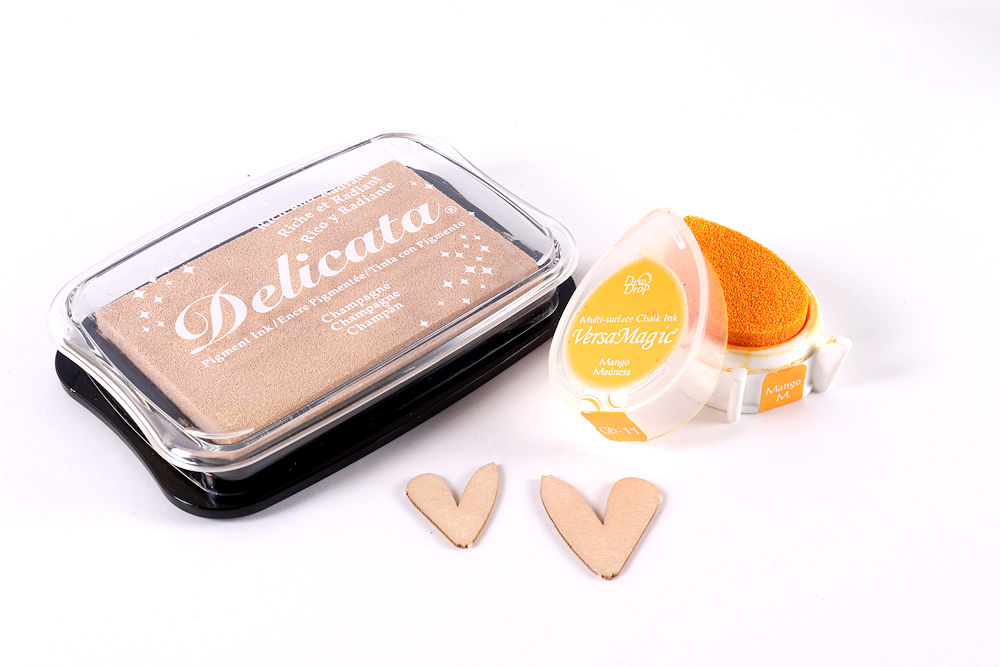
Combine VersaMagic Mango Madness with  Delicata Champagne to ink some chipboard hearts.

2021_April2_JN_Mothersdaycard_step2

Step 2
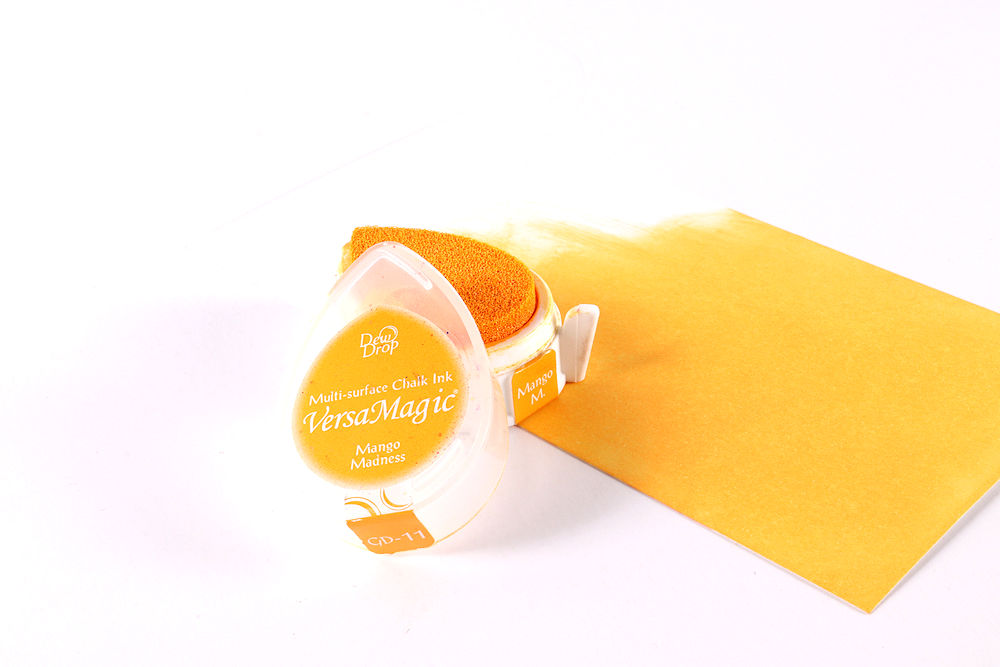
On a white smooth cardstock background, use the VersaMagic and ink the background. Combine the “direct to paper” method carefully blending the ink and then use a sponge dauber for achieve an ombre effect towards the top.

2021_April2_JN_Mothersdaycard_step3

Step 3

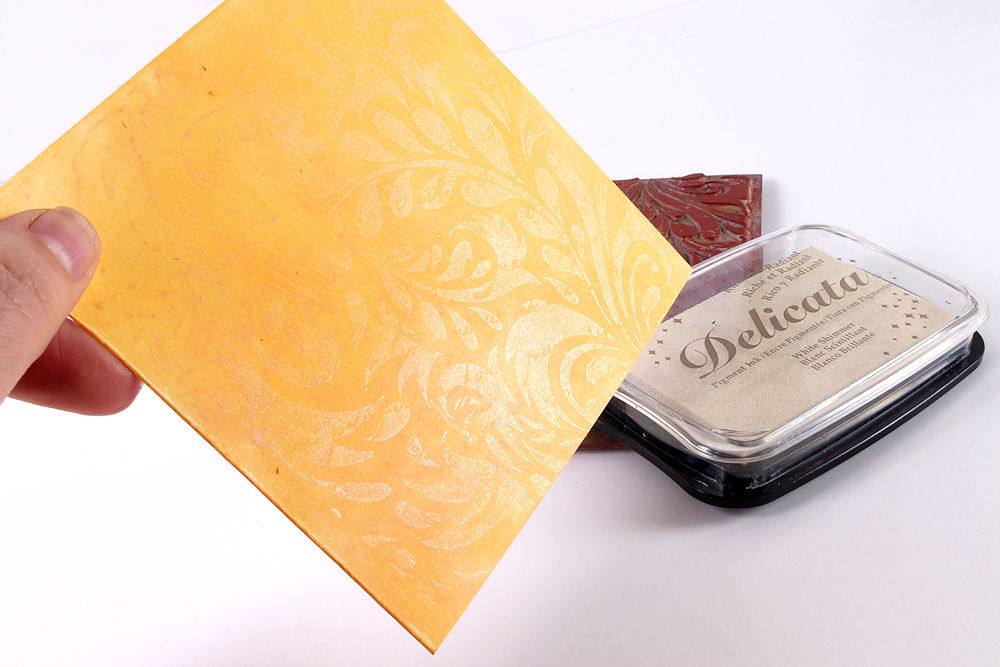
Stamp onto the background several times overlapping different stamp designs and VersaMagic ink. Then finishing off the top layer using Delicate White Shimmer to stamp the last layer. Look at that gorgeous shimmer.

2021_April2_JN_Mothersdaycard_step4

Step 4

Apply a layered vinyl heart, stamped sentiment and chipboard heart, as well as some embellishments.
Matt onto white cardstock layer and then onto a kraft card.

2021_April2_JN_Mothersdaycard_2

And just like that I created a heartfelt and meaningful Mother’s Day Card with lots of sparkle and shimmer – wishing my mom a bright future ahead.

Art Supplies

Imagine

• VersaMagic Mango Madness
• Delicata Whte Shimmer
• Delicata Champagne
• On Point Glue
• Tear It! Tape

Other

• Smooth White Cardstock
• Stamps: Hero Arts, Carabelle, Altenew
• Vinyl: Cricut
• Embellishments

Learn How to Make a Kaleidacolor Mother’s Day Card

Triangles-1-600

By Alison Heikkila

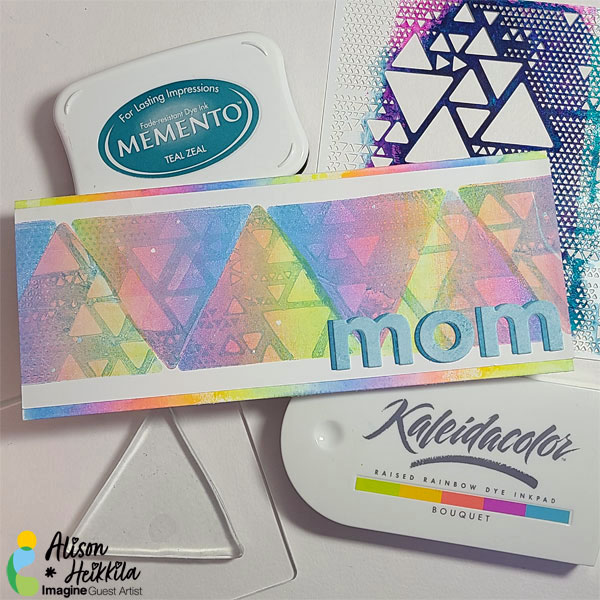
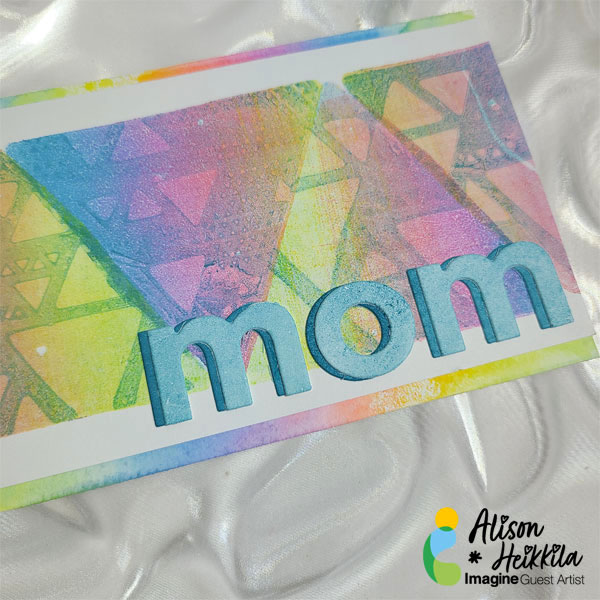
Hello! I don’t know about your mom, but my mom is not really into your typical Mother’s Day card. She’s not really into super flowery, extra sentimental cards. She prefers bolder, more graphic things. So I decided to think “outside of the box” and use triangles! This is a fun and simple way to get a unique looking card with dye based inks from Imagine.

Skill Level: Beginner to Intermediate

Time: Approx. 20 minutes.

Directions:
Triangles-2

Step 1

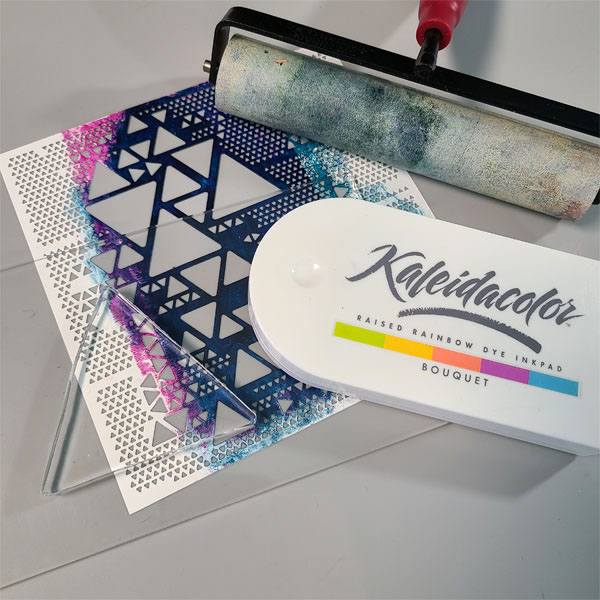
Let’s gather our supplies! Grab a Gel Press Petite (I went with a triangle so that I could rotate them 180 degrees each time to get a cool pattern), your favorite Kaleidacolor inkpad, an additional Memento ink pad, and a stencil. For tools, you’ll want an acrylic block or handle, plus a brayer.

Triangles-3

Step 2

Apply the Gel Press Petite to your block. Click together the Kaleidacolor inkpad. Roll the color on to your brayer. It will not look like there is much color on the surface of the Gel Plate, but don’t worry, it’s there.

Triangles-4

Step 3

Pick up the inked Petite (while it’s on the block) and apply it facedown to your cardstock. I left a 1/4″ border below the triangle. Press the triangle into your paper as you would a clear stamp, then peel it away from the cardstock.

Step 4

Apply Teal Zeal to the Triangle Gel Press and roll the color out with your brayer.

Triangles-5

Step 5

Place a stencil on top of the inked triangle and gently press it into the Plate. The Plate will hold the stencil in place.

Triangles-6

Step 6

Flip the Plate (with the stencil still attached) on to a piece of scrap paper. I use copy paper. Press into the scrap to remove the ink from the negative areas. You can see in my photo above how it will look.

Step 7

Peel the paper away from the Plate, then remove the Stencil.

Step 8

Place the Plate directly on top of the first Kaleidacolor inked triangle you created. The left over Teal Zeal ink on the Plate that was trapped under the stencil will transfer to the paper.

Triangles-7

Step 9

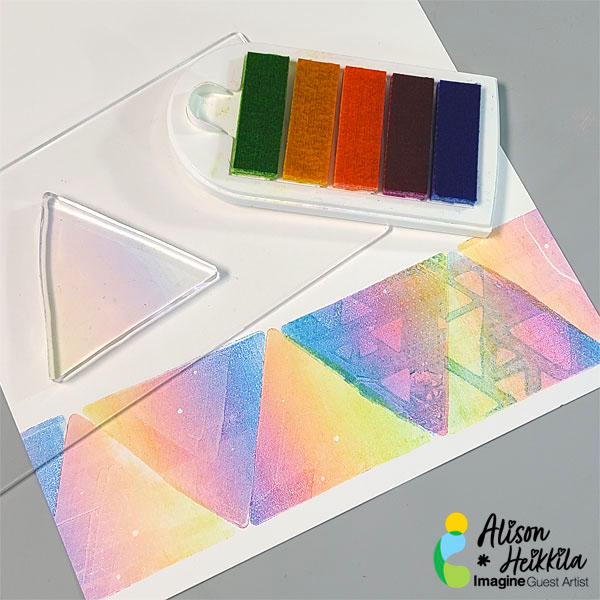
Repeat applying the Kalediacolor Ink to the Triangle, flip it around and place onto your cardstock, making sure it’s going in the opposite direction of your first triangle.
Triangles-8

Step 10

To make things go faster, I opted to ink and stamp all of my Kaleidacolor triangles before I finished my stenciled layers. I worked my way across the entire piece of cardstock, from end to end.

Step 11

Repeat the process of applying the Teal Zeal to the triangle, applying the stencil, taking off the excess ink, and then applying to the Kaleidacolor layers. Do this until all of the triangles have a stenciled image on them. Then trim the piece, leaving a 1/4″ at the top.

Triangles-9

Step 12

For my “mom” sentiment, I applied more Teal Zeal to my triangle (you can use any Gel Press Plate for this, but since the triangle was already out, I just used that). I placed a strip of paper on it to pull the color off. I repeated this step until I had enough of the strip covered for my dies to fit the “mom.” I could have just inked the paper. But I wanted the paper to have the same look as the rest of the card. Gel Press printing looks very different than applying ink directly to paper, or using some sort of applicator. This kept everything cohesive.

Step 13

I wanted a shadow layer to my “mom” so I repeated the last step, but I reapplied ink to my strip 3 times to get a darker tone. It’s still Teal Zeal, but at a richer strength because I layered the color several times. I adhered these layers together with On Point Glue.
Triangles-11

Step 14

I created my card base from white cardstock, cut to 8 1/2″ x 7.” I applied my Kaleidacolor ink directly to my brayer, sprayed it with Ink Potion No. 9 to help it flow, and rolled it on to the top and bottom of my card base.

Step 15

Adhere the mono-printed layer and the sentiment to the card.

Triangles-12

This was a really fun card to make, and since you can get a huge range of Kaleidacolor inkpads (including a dry one so that you can create your own combination!), you can change up the look of this card easily. Thanks so much for stopping by. Have an inspiring day!

Art Supplies

Imagine

Kaleidacolor Inkpad in Bouquet
Memento Ink in Teal Zeal
On Point Glue

Other

• Gel Press: Petites Set A- Triangle
• AALL & Create: Lotza Trianglez
• Simon Says Stamp: CZ Design- Everett Alphabet Die Cuts
• Brayer
• Acrylic Block/Handle
• Dry Adhesive

Learn How to Stamp Clay to Make a Jewelry Charm

2021-apr-kyriakos-stamped-clay-charm-main-wm

By Kyriakos Pachadiroglou

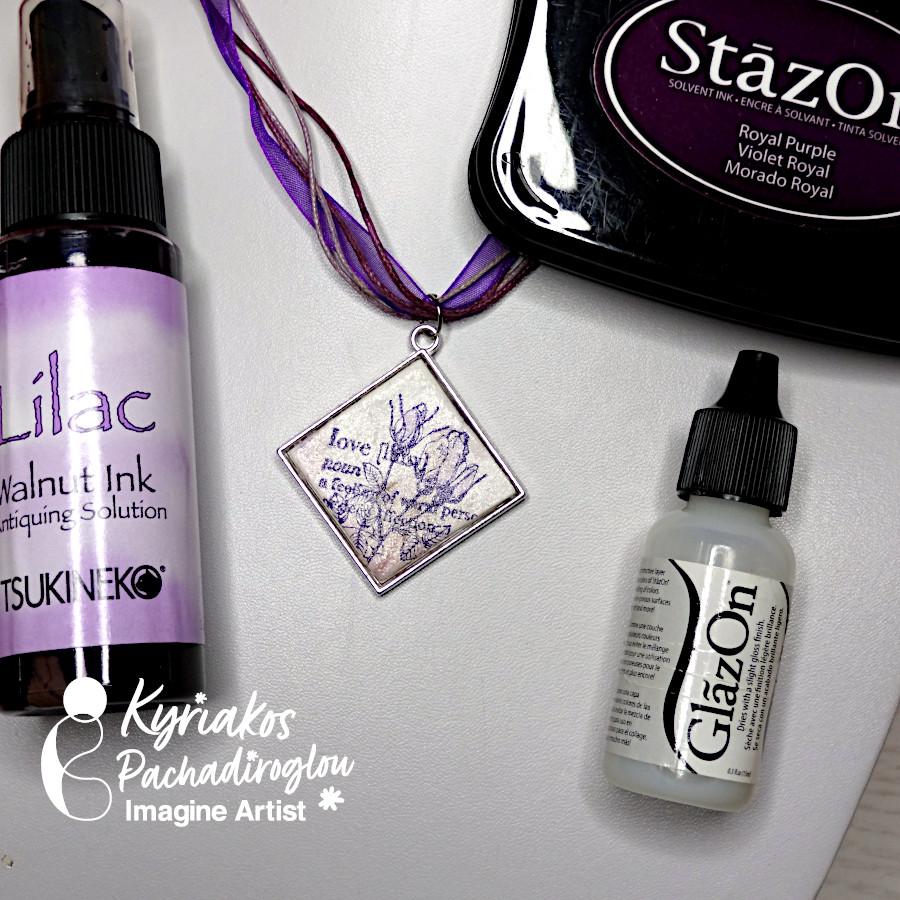
Metallic frames, usually used for epoxy, can work nicely to form clay and make jewelry pieces. Mix Walnut ink for a soft, pale shade to create a marble effect ink to the clay. Then stamp with any design using StazOn ink pads that will quickly dry, won’t bleed and give a sharp outcome. StazOn will also allow you to use markers and won’t mix with them. Add some sparkle with SHIMMER Spritz and secure the result with a coating of GlazOn. Use the charm as a jewelry piece or to decorate your cards and crafts.


Skill: Beginner

Time: 30 minutes plus drying time


Directions:

2021-apr-kyriakos-stamped-clay-charm-step1

Step 1

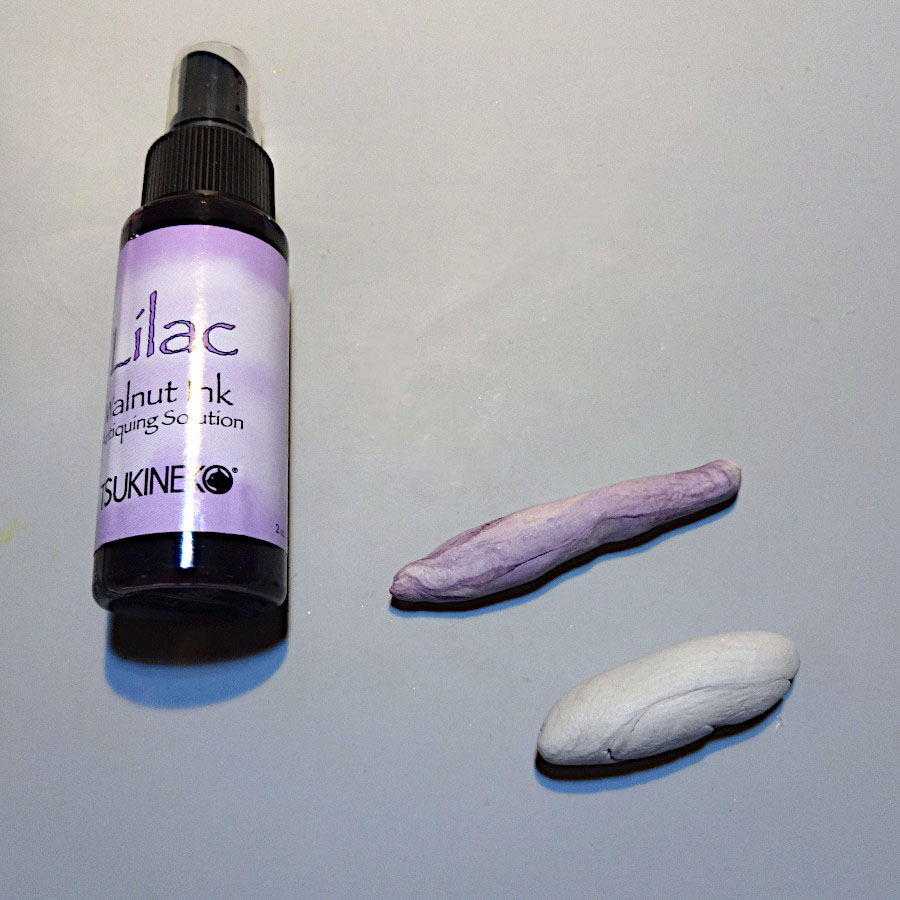
Separate two pieces of clay and color the one with Walnut Ink. Mix together.


2021-apr-kyriakos-stamped-clay-charm-step2

Step 2

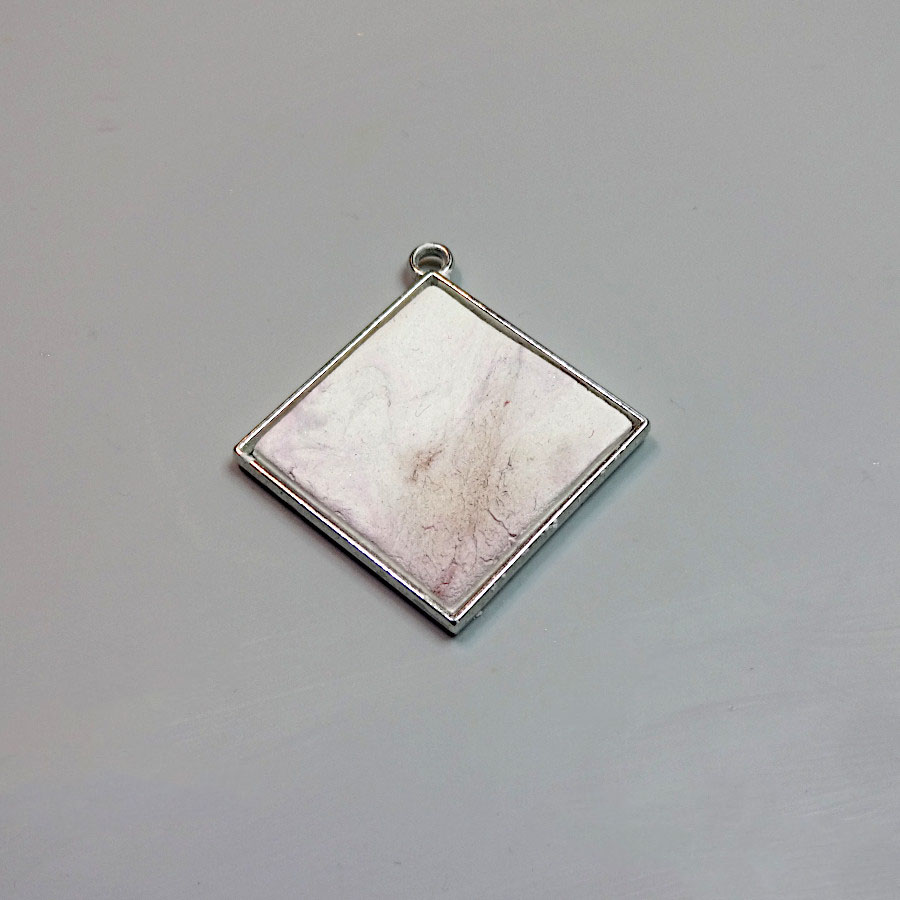
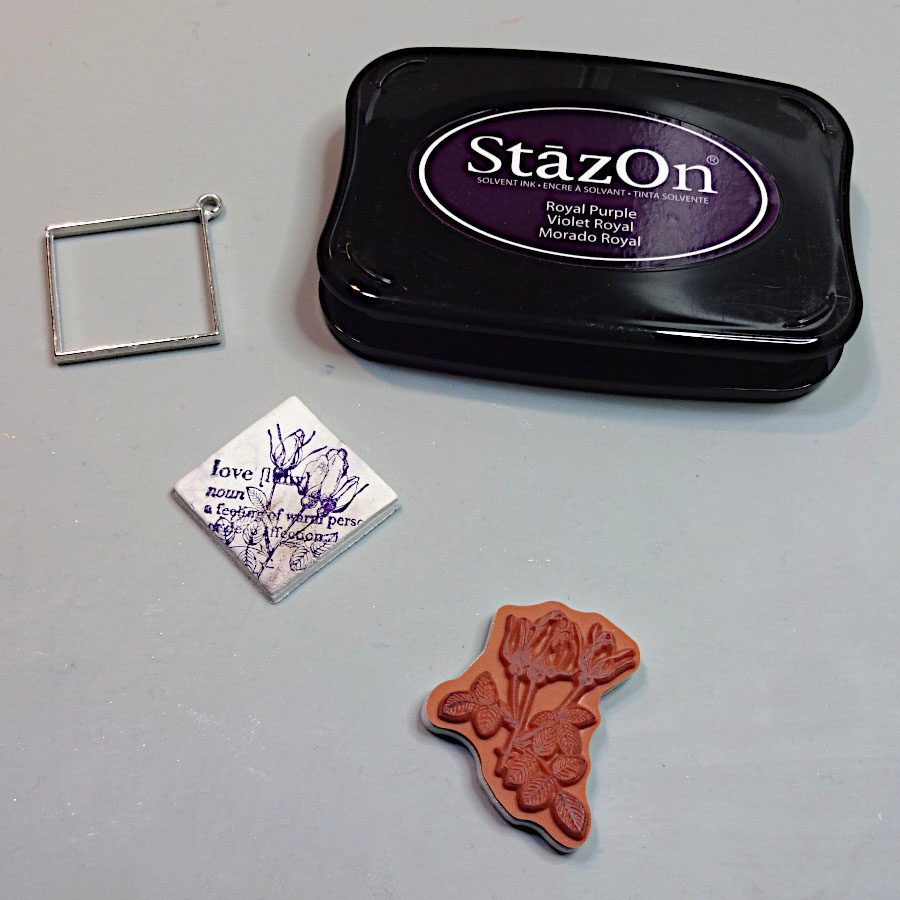
Lay flat  the clay and place the frame. Remove the excess and let it dry.


2021-apr-kyriakos-stamped-clay-charm-step3

Step 3

Remove the clay from the frame and stamp with StazOn ink pad.


2021-apr-kyriakos-stamped-clay-charm-step4

Step 4

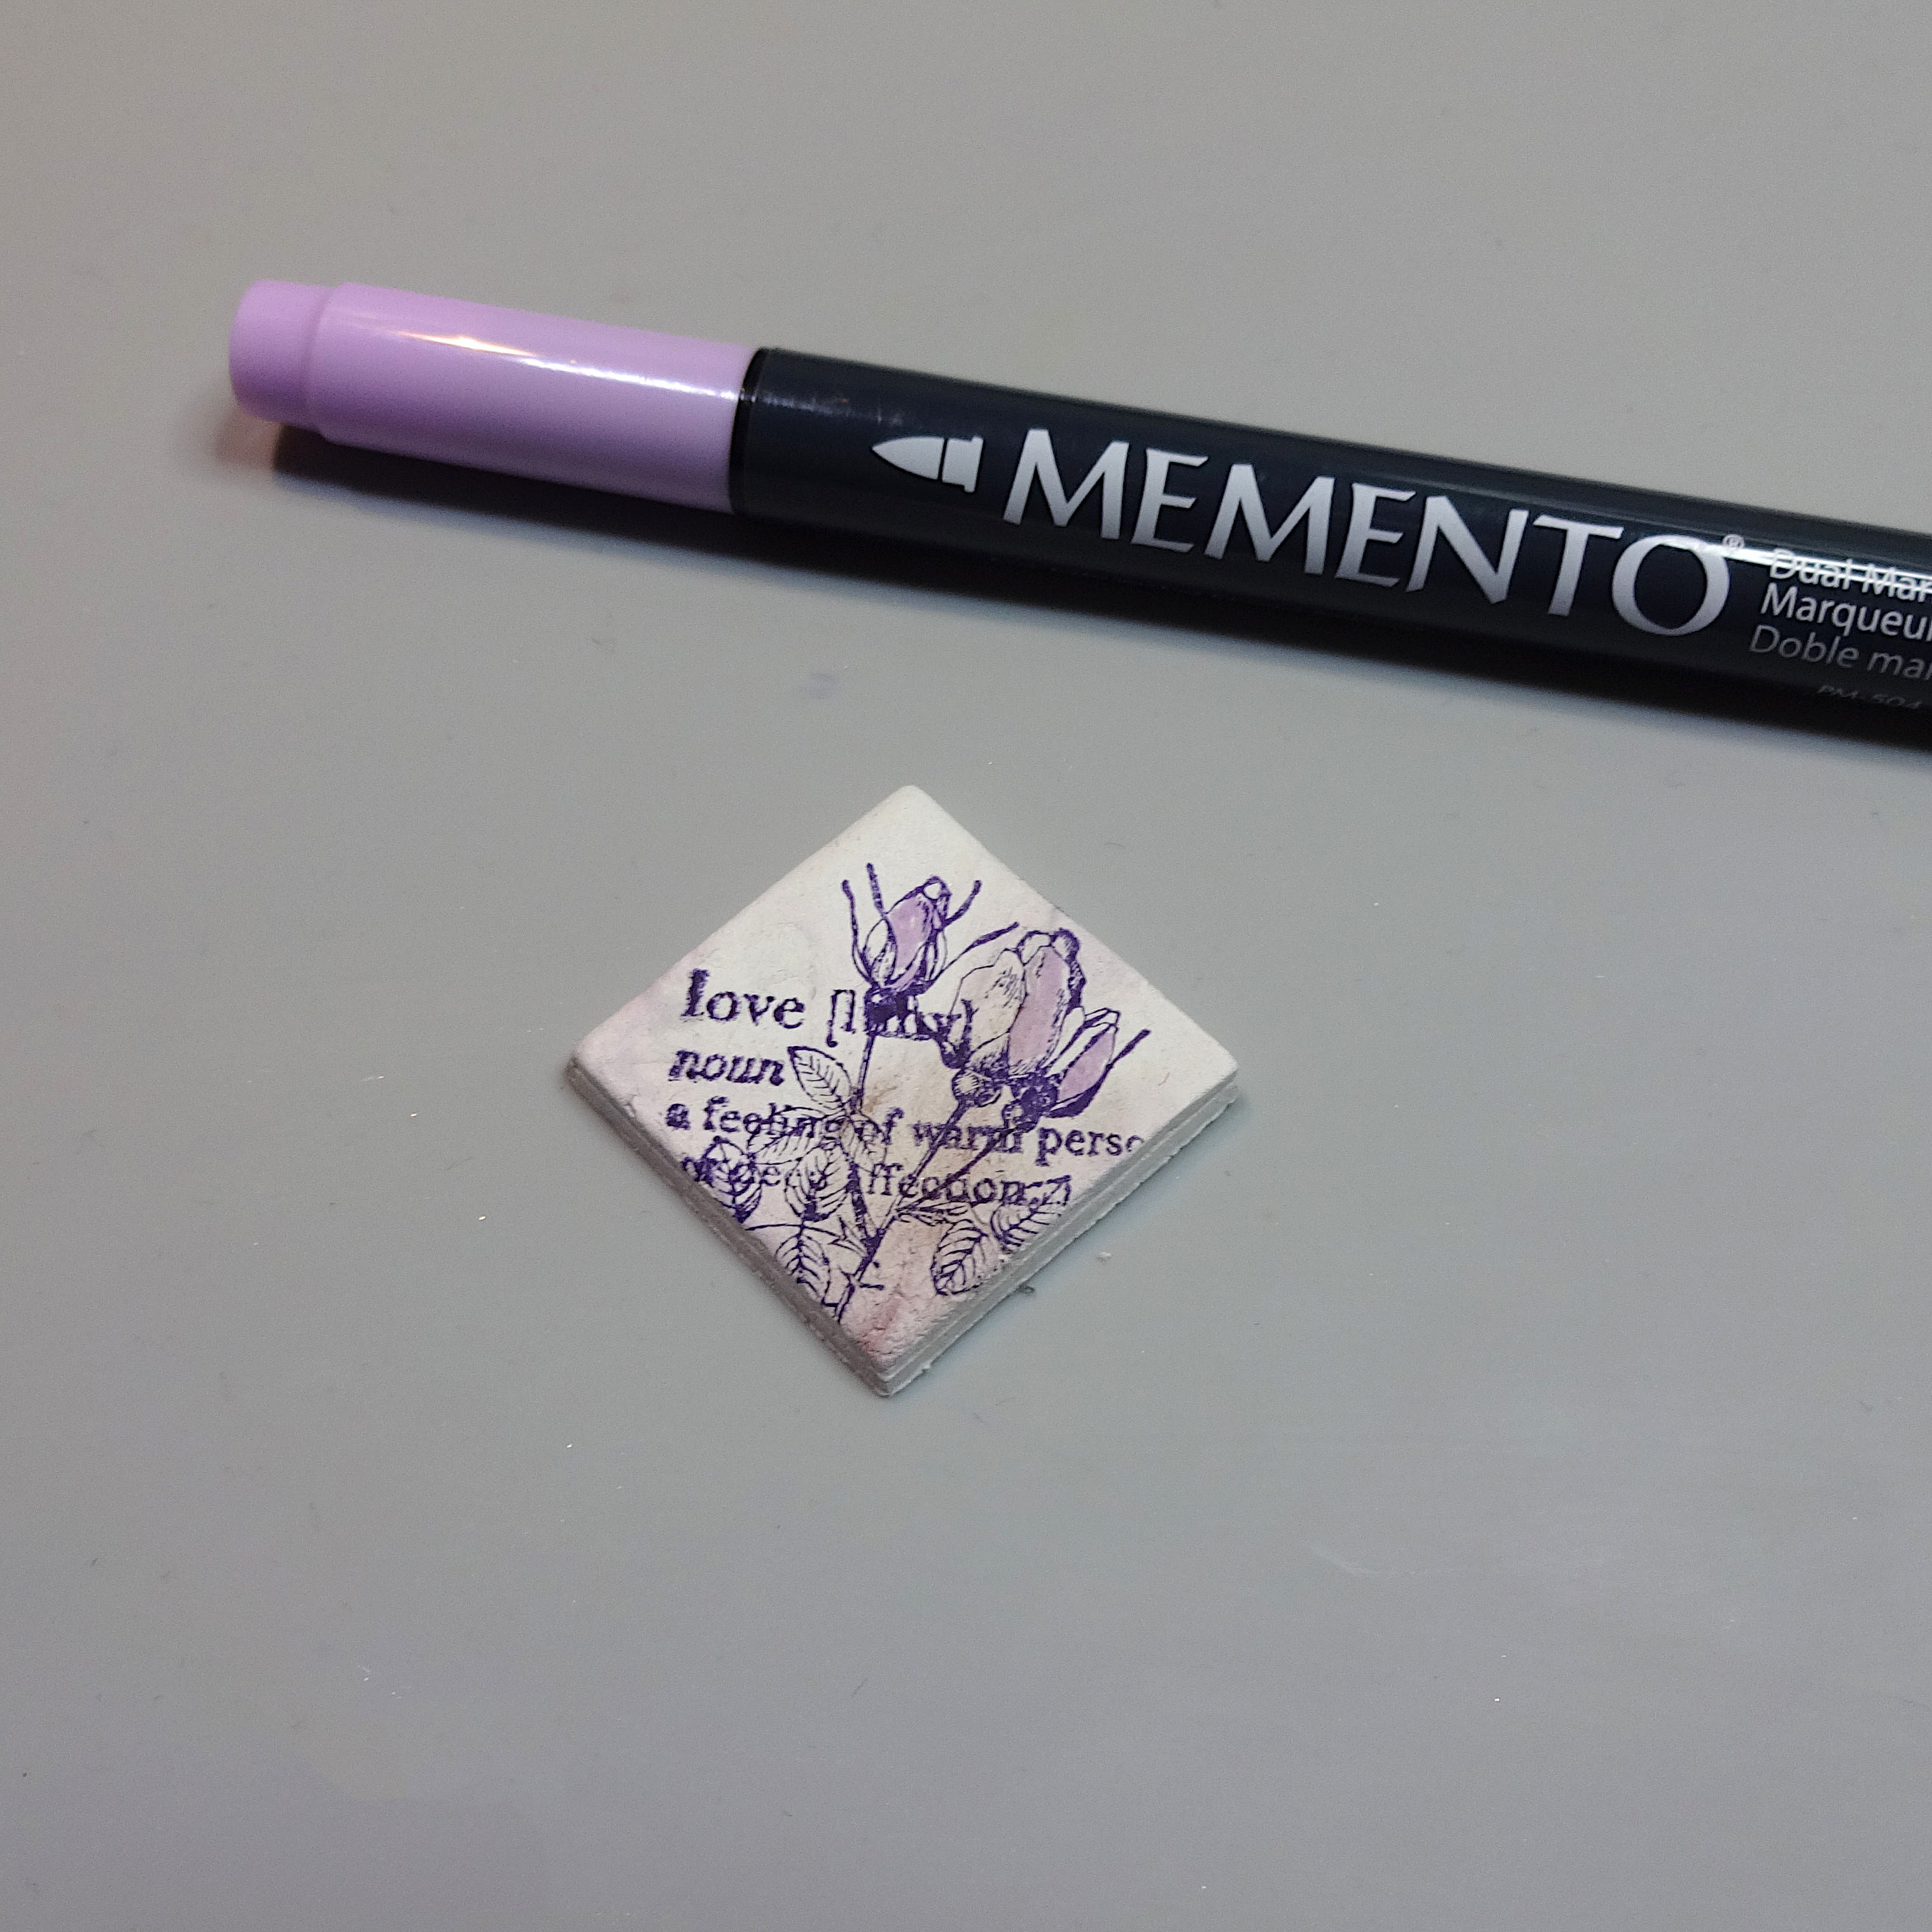
Add some color with a MEMENTO marker (or none, if you want to leave it just with the stamped image).


2021-apr-kyriakos-stamped-clay-charm-step5
Step 5

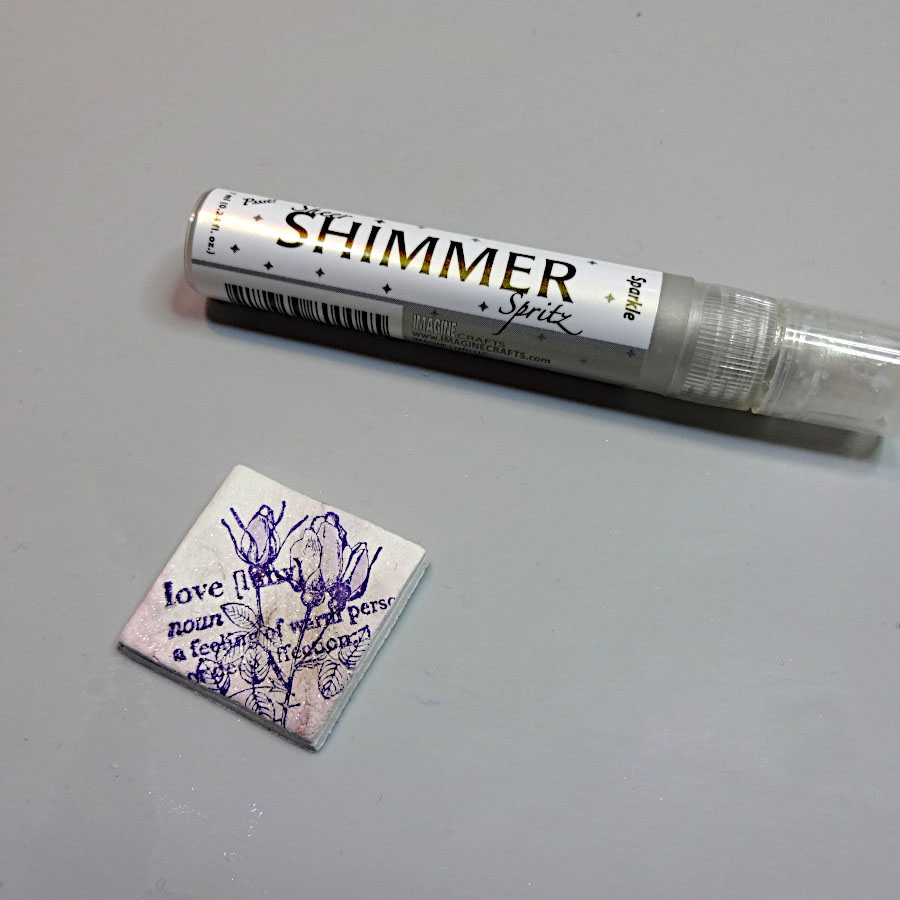
Spray with the SHIMMER Spritz Sparkle and let it dry.


2021-apr-kyriakos-stamped-clay-charm-step6
Step 6

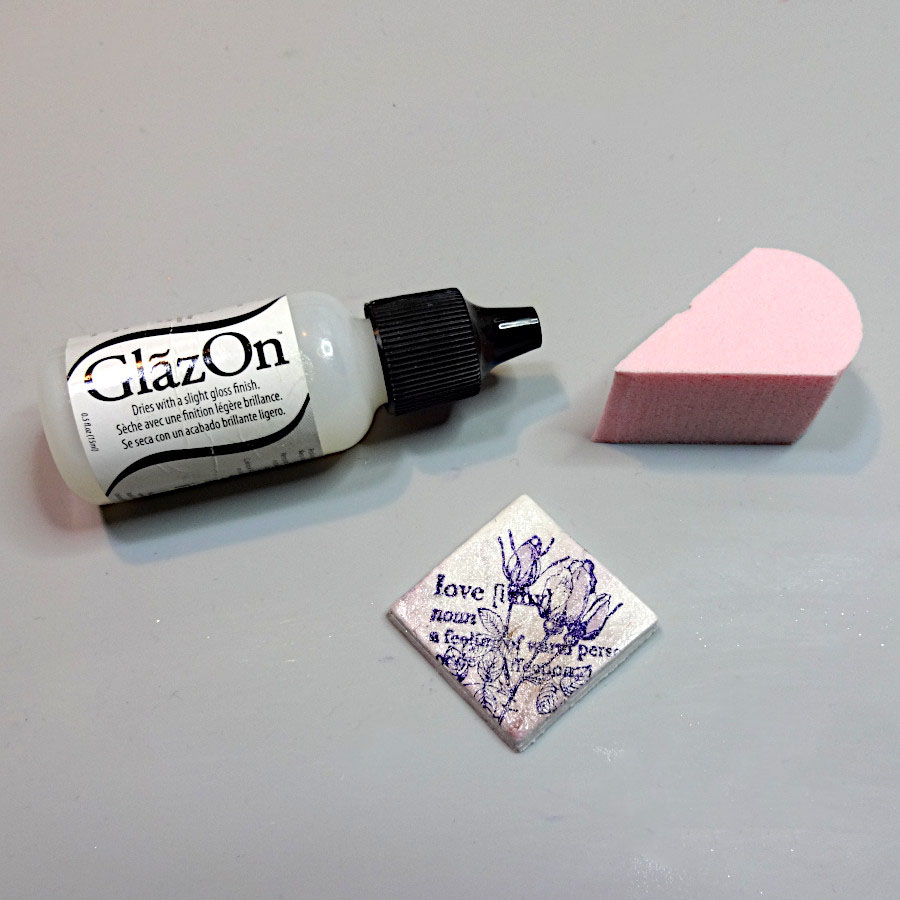
Secure the result and add some shine with GlazOn.


2021-apr-kyriakos-stamped-clay-charm-step7

Step 7

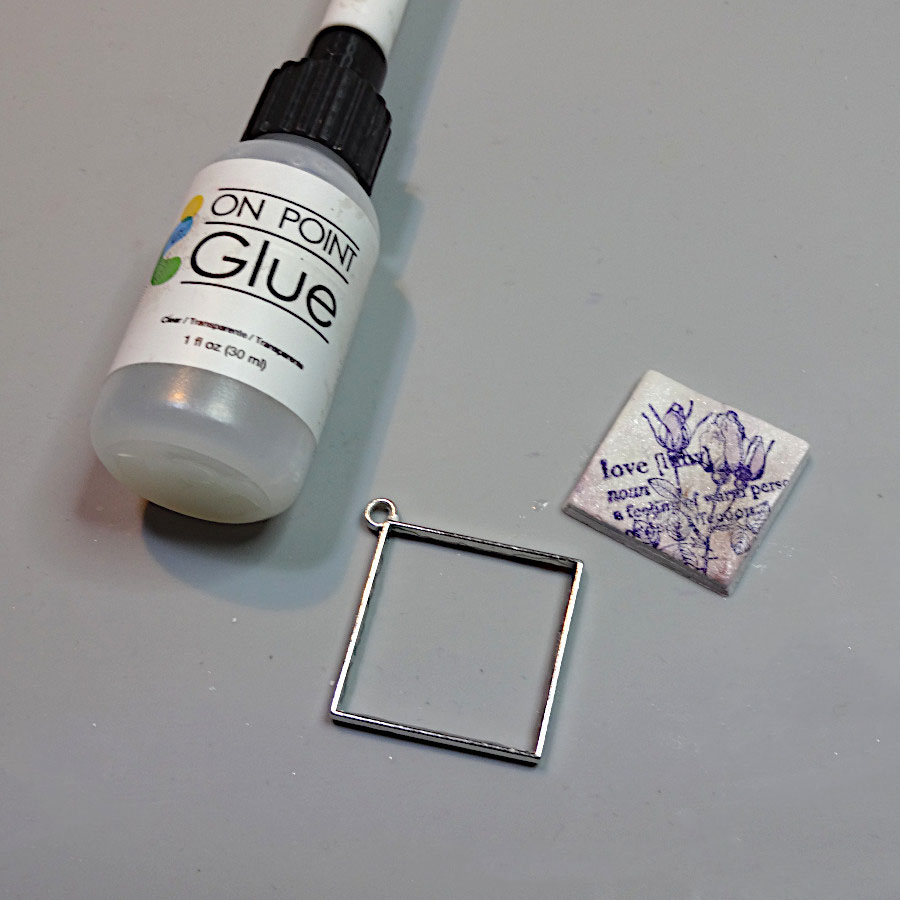
Place On Point Glue to the inner sides of the metal frame. Let it sit for a few minutes and place the stamped clay. Add cord or chain according to your style.


Art Supplies:


Imagine

Walnut Ink – Lilac

StazOn – Royal Purple 

MEMENTO Marker – Lulu Lavender

SHIMMER Spritz – Sparkle

GlazOn – Clear

On Point Glue

InkBlushers


Other

Jewelry Metal Frame

Air Dry Clay

Rubber Stamps of your Choice

  •  


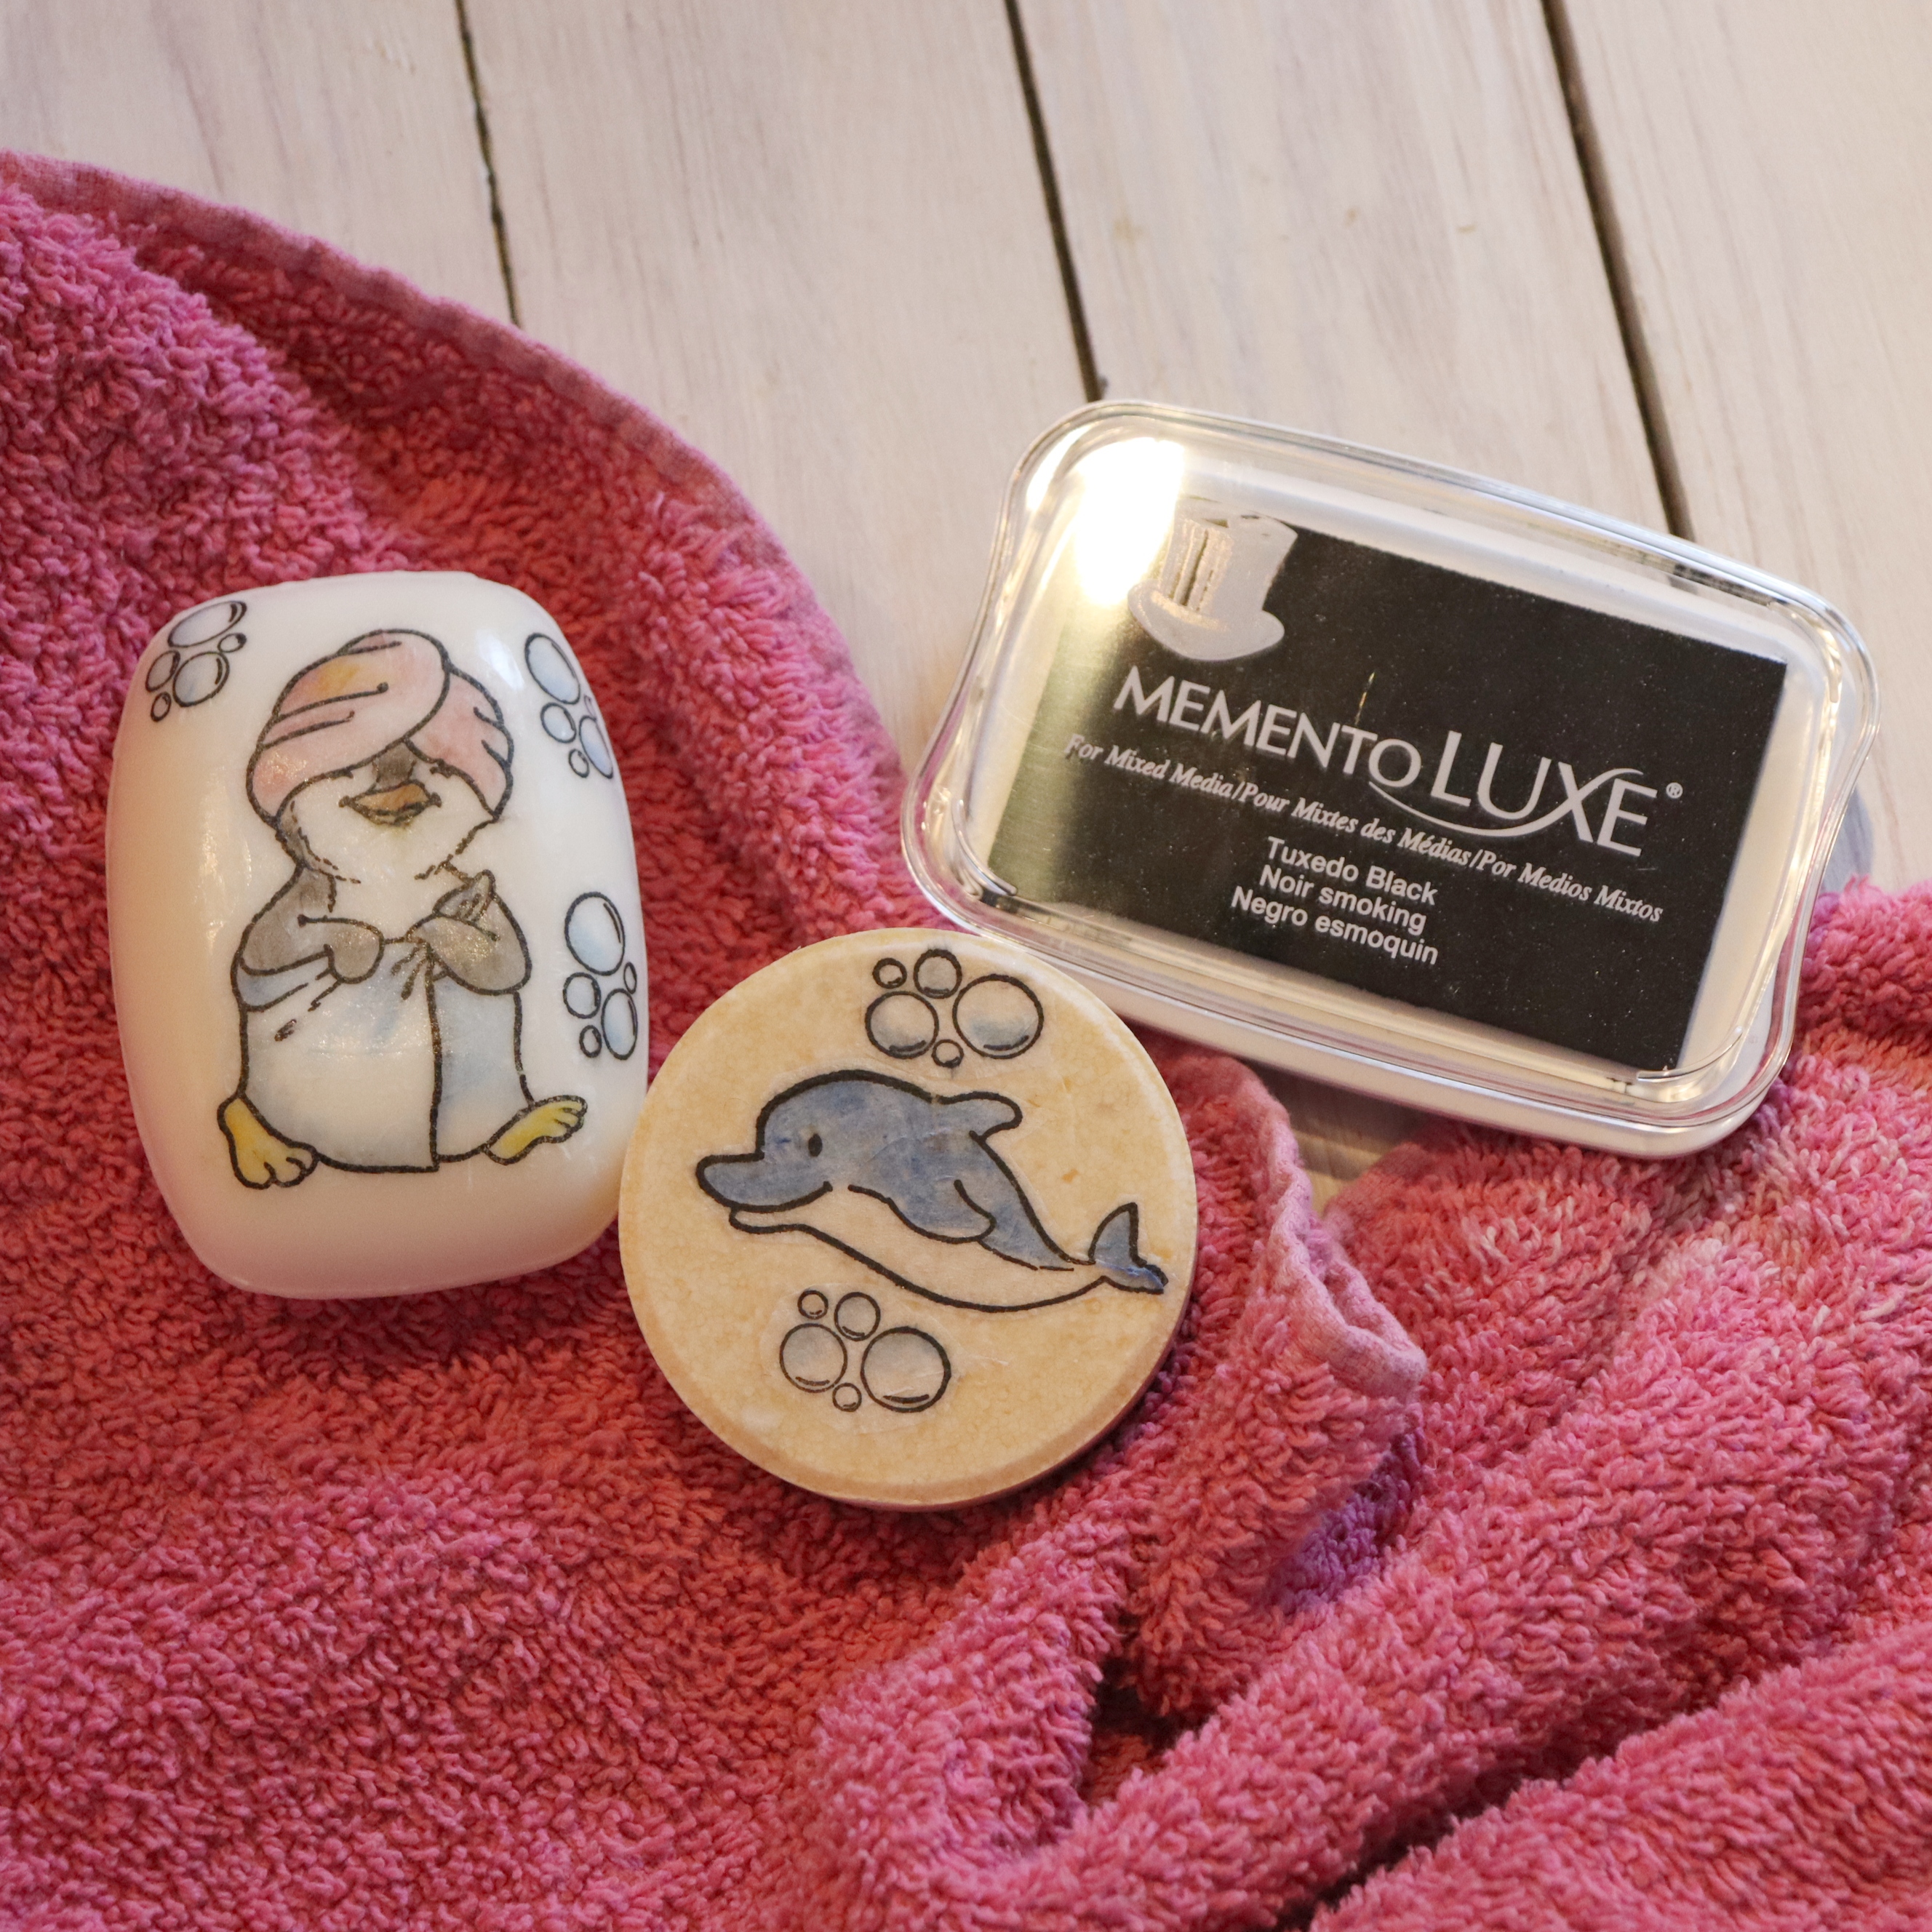
Stamping on Soap for Kids and Grown Ups

By Baerbel Born


In this video guest designer, Baerbel Born shows you how you can customize your favorite soap. It’s also a great project for kids crafting.

With a few materials everyone can find in his or her stash you can create stunning effects on many surfaces. Today we will stamp on soap bars. Fun!


Art Supplies

Imagine :

• Memento Luxe Pigment Pad, Tuxedo Black (or any other color of your choice)

Other supplies:

• German stamps: Kulricke (Bärbel Born Design)

• Tissue or paper napkin (look for sturdy ones)

• Colored pencils (soft and blunt)

• White glue

• Soft bristle brush

Create Beautiful Florals with Memento Markers

By Alison Heikkila

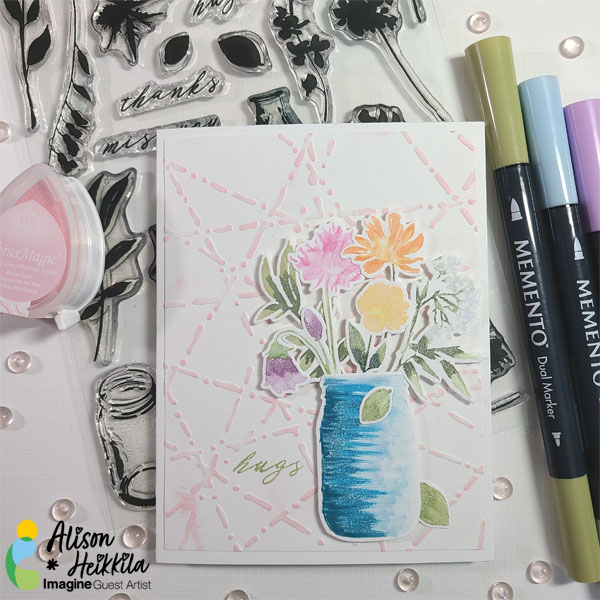
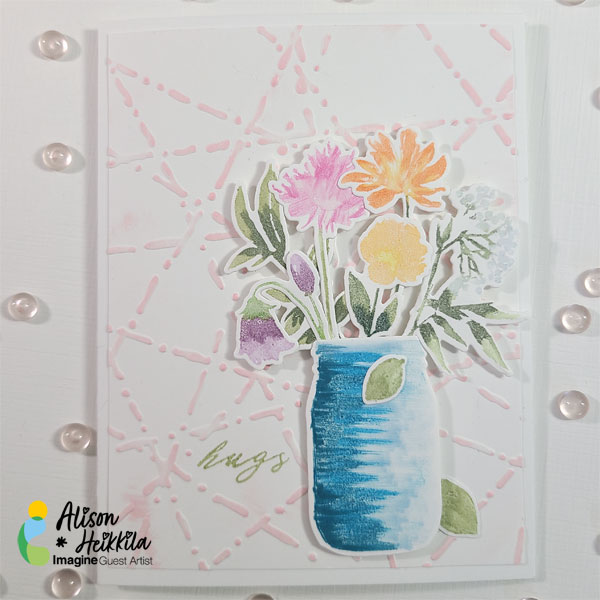
Hello! Today I’m going to show you how you can use Memento Markers to create beautiful florals. They look like they’ve been watercolored but you really just have used silhouette stamps.


Skill Level: Basic to Intermediate

Time: 30-45 Minutes


Directions:

Step 1

Apply your first silhouette stamp to an acrylic block or stamping tool. For all of these images, I thought using a block was easier.


Step 2

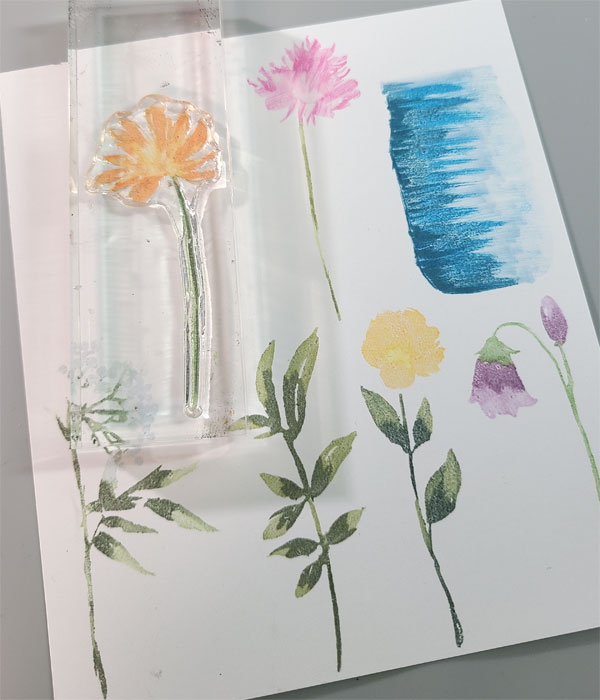
Color in the silhouette stamp using Memento Markers. I went with 2 shades of green for the foliage, and two colors on each flower. I recommend applying the lighter color first, and then the darker one. Be sure to overlap the colors to blend them together.


Step 3

Stamp the colored image onto white cardstock. If you take a while coloring in your image, you may want to “huff” or breathe on to the stamp before applying it. This helps to remoisten the inks.


Step 4

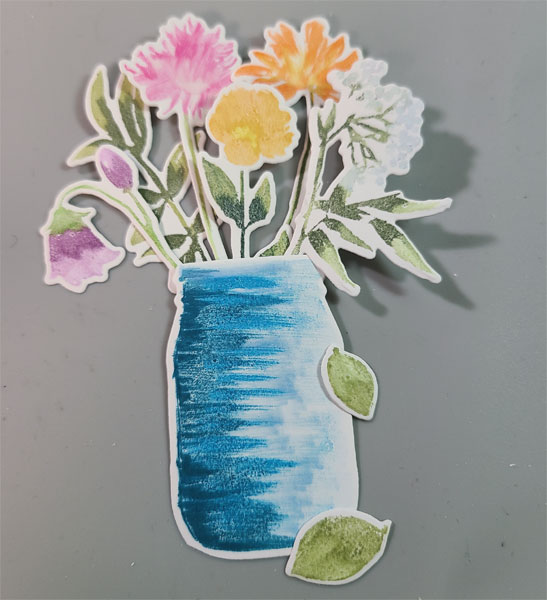
Try to change up the strokes you use when coloring the images, especially if you have florals with different textures like I do. Some I kept super streaky to resemble petals, some have a much smoother blend. Don’t be afraid to add extra detail with the Memento Markers after you’ve stamped the images. I did this, for example, on the mason jar.


Step 5

Stamp all of your images out, keeping them spaced apart a bit for die-cutting.


Step 6

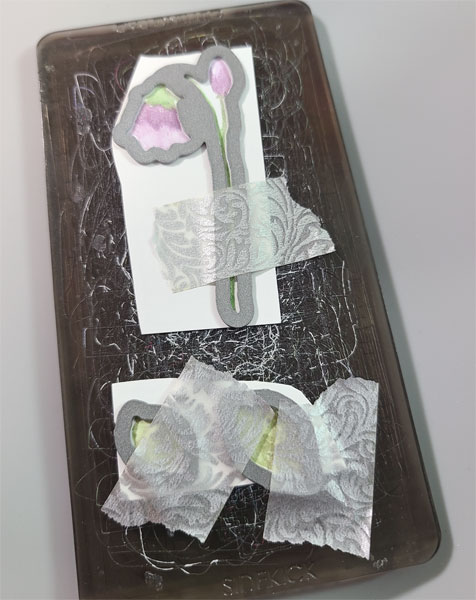
Die-cut all of your elements. I adhered multiple images to my cutting plate at once to save time. I taped them down with a low-tack tape to make sure they wouldn’t move.


Step 7

When all of your images are cut out, arrange them in different ways until you like how they look. Snap a photo of the arrangement so that when you go to glue them, you can put them back where you like them. If you have Press ‘N Seal, you can apply that to the top of the images to temporarily hold them in place while you apply On Point Glue to the parts that are “in” the mason jar.


Step 8

Take a piece of 4″ x 5 1/4″ white cardstock and run it through your die-cut machine with an embossing folder.


Step 9

Lightly apply Pixie Dust VersaMagic to the raised design of the cardstock.


Step 10

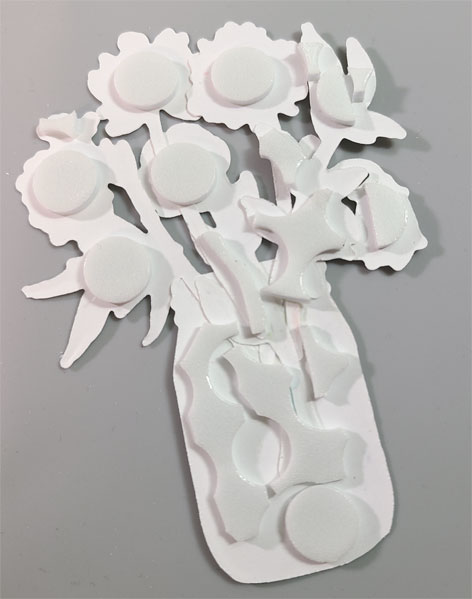
Adhere foam dots or foam tape to the back of the mason jar and flowers.


Step 11

Stamp the sentiment near the mason jar.


Step 12

Adhere the panel to a white card base.


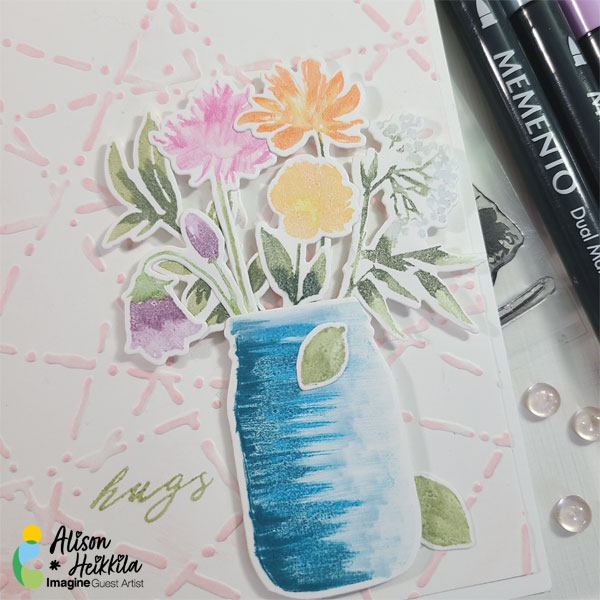
I love the completed card. Using Memento Markers directly on stamps gives a very different look than when using ink pads. What kind of silhouette stamps do you have in your stash? Flowers like these? Animals? Geometric shapes? You can use any of them with this technique! Thanks so much for stopping by. Have an inspiring day!


Art Supplies

Imagine

• Memento Markers: Angel Pink, Tangelo, Sweet Plum, Summer Sky, Pistachio, Bamboo Leaves, Danube Blue, New Sprout, Teal Zeal, Cantaloupe, Olive Grove, Northern Pine.

• VersaMagic: Pixie Dust

• On Point Glue

Other

• Altenew: Garden Silhouette Stamps and Dies
• Spellbinders: Set Apter Texture Plate- Laser Beams
• Foam Dots
• White Cardstock
• Adhesive