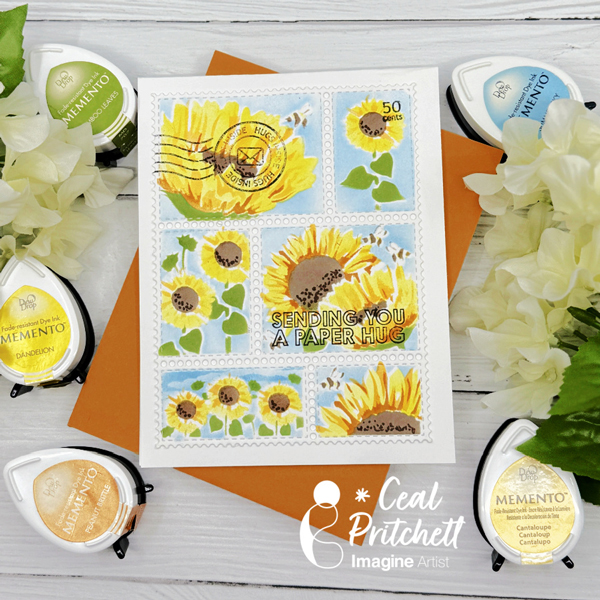
Hello crafty friends! It’s Ceal, here. Today I am sharing a card using a postage die and stencil. I love using stencils in my card making because I love using inks.
Skill Level: Beginner Time: 30 minutes
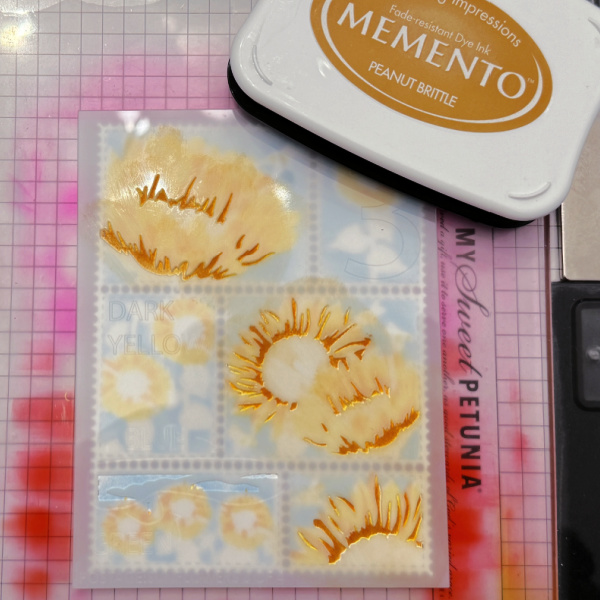
Directions: Gather your supplies. You will need several colors of ink, I used Memento inks. I used a layering stencil by The Ton and a postage stamp set also by The Ton
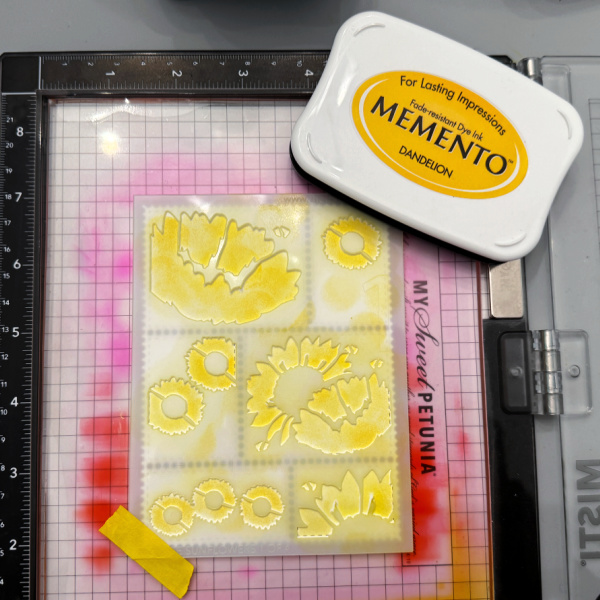
Step 1/Layer 1 Color in the layers with different colors of ink. The first layer is Dandelion, and I have added photos of the color for each layer.
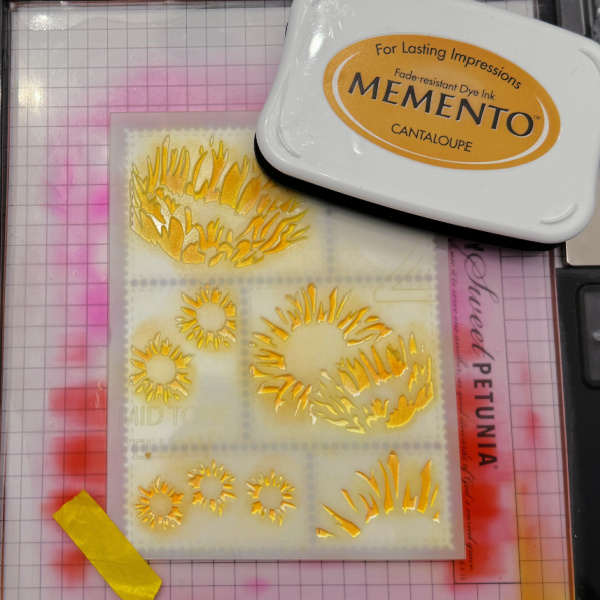
Step2/Layer 2
Step 3/Layer 3
Step 4/Layer 4
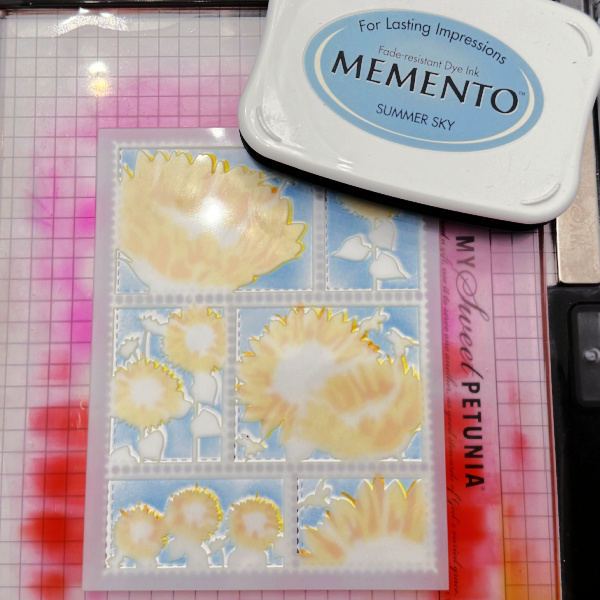
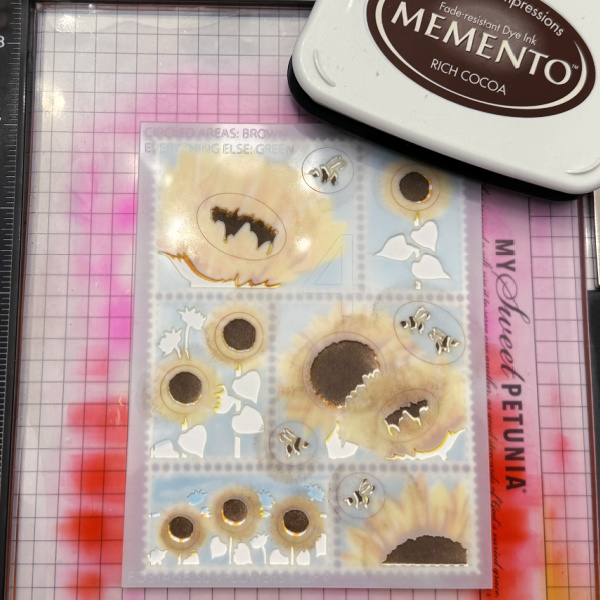
Step 5/Layer 5 using Rich Cocoa
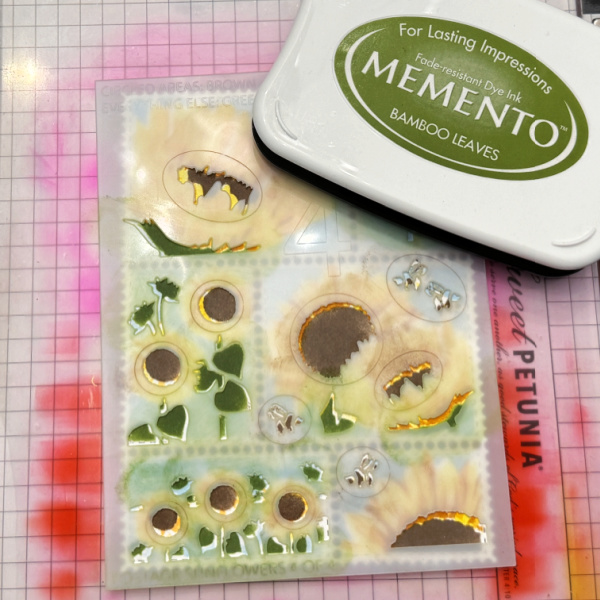
Step 6/Layer 5 using Bamboo Leaves
Step 7: Added sentiment and postage stamps. Adhere to card base.
Other Supplies: – Neenah Classic Crest Solar White 120lb – Neenah Classic Crest Solar White 80lb – Postage Die – The Ton – Sunflower Postage – The Ton – Not A Bill stamp set – The Ton
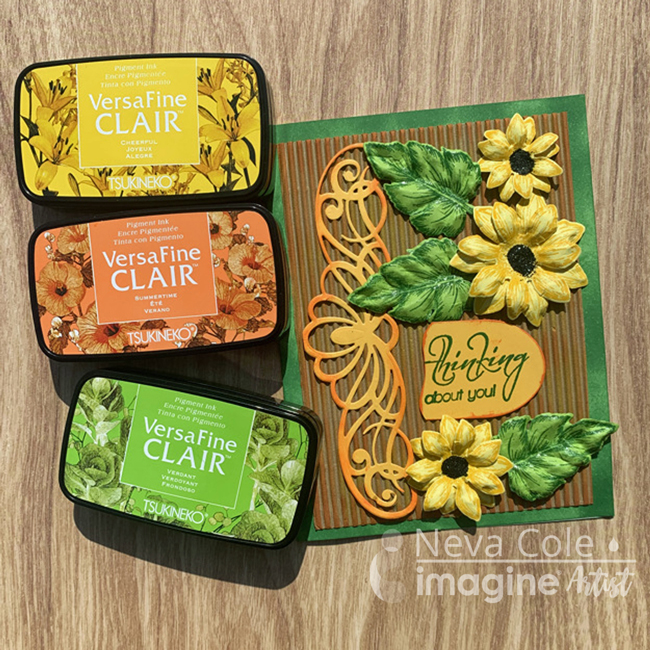
Versa Clair Fine is now my favorite pigment ink! So versatile and allowed me to create a beautifully colored card in just a few steps. This is one of the few cards that my husband has asked me to specifically make for a friend, it was easy to do with just a few inks, stamps, and dies!
Skill: Intermediate
Time: 2 hours
Directions:
Step 1:
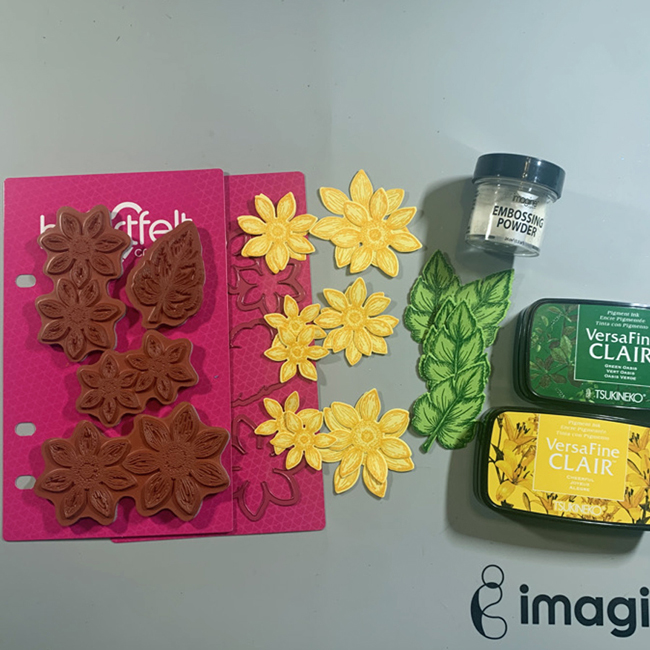
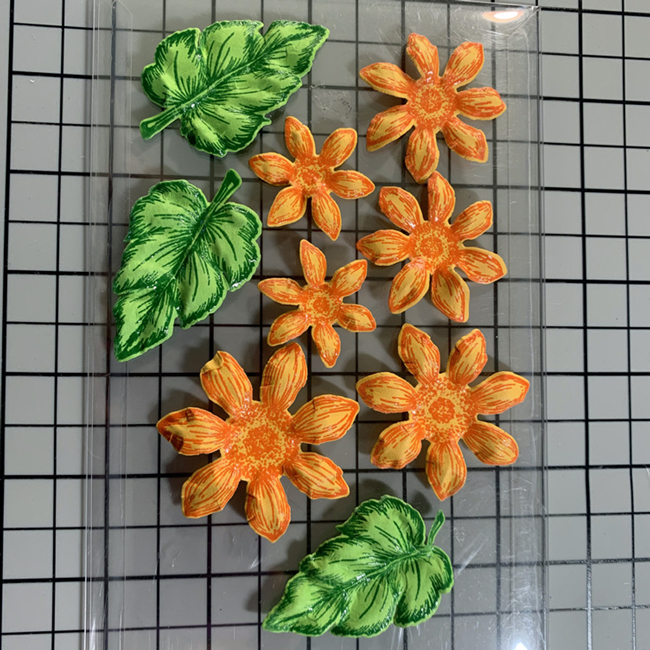
Stamp sunflower images on yellow cardstock with Versa Fine Clair Cheerful and heat emboss with clear embossing powder. Stamp leaf images on light green paper in Versa Fine Clair Green Oasis and heat emboss with clear embossing powder. Die cut with matching dies.
Step 2:
Place flowers and leaves face down in matching shaping mold and mist lightly with water. As the images are heat embossed, they will stay sharp and crisp. Close mold and pressure emboss.
Step 3:
Remove flowers and leaves from mold and set aside to dry. Once dry assemble flowers with On Point Glue, adding black glitter to centers. (Not shown) Set aside to dry.
Step 4:
Ink the edges of an A7 size card with and ink dauber and Versa Fine Clair Green Oasis. Set aside to dry, as the ink is very juicy.
Step 5:
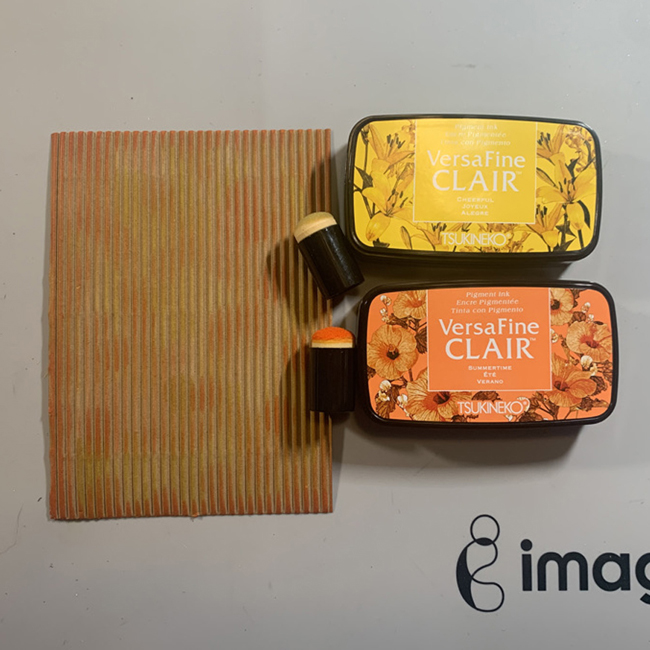
Sunflowers are a rustic flower, so corrugated cardstock seemed to be a good choice for a background. Versa Fine Clair in Cheerful and Summertime are inked randomly on the corrugated cardstock with ink daubers.
Step 6:
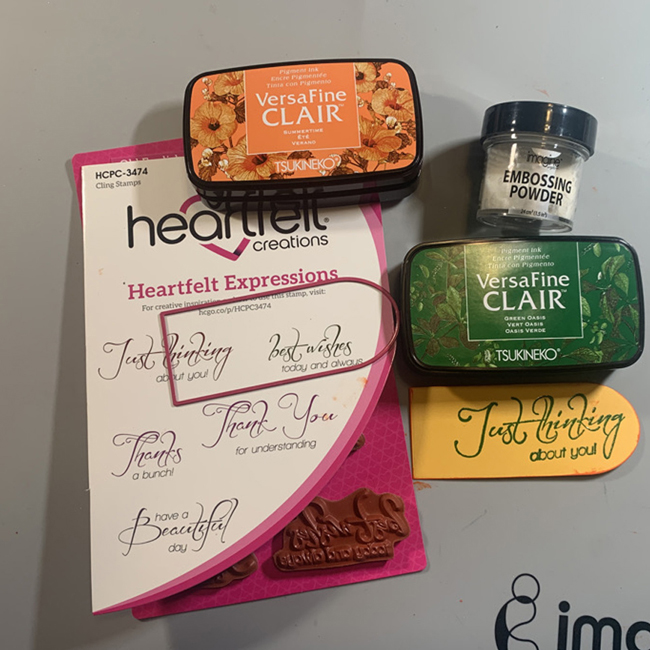
Ink the sentiment with Versa Fine Clair in Green Oasis and heat emboss with clear embossing powder. Die cut with die from the Eyelet Frame Gateway set. I trimmed off a portion of the sentiment, then edged the sentiment with Versa Fine Clair in Summertime.
Step 7:
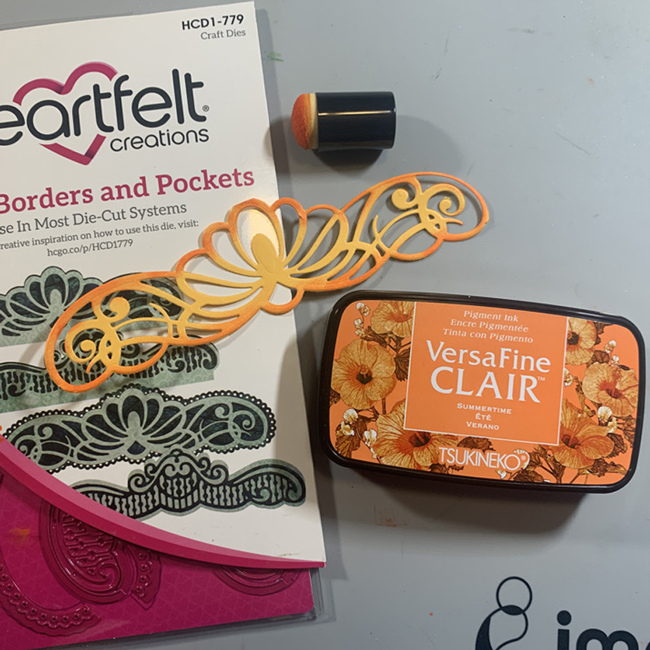
Die cut a Border from the Regal Boarder set using light orange paper. Gently shade the edges with Versa Fine Clair Summertime and an ink dauber.
Step 8:
Adhere corrugated cardstock to base card with Tear It Tape! Adhere border with On Point Glue Adhere flowers with Tear It Tape!
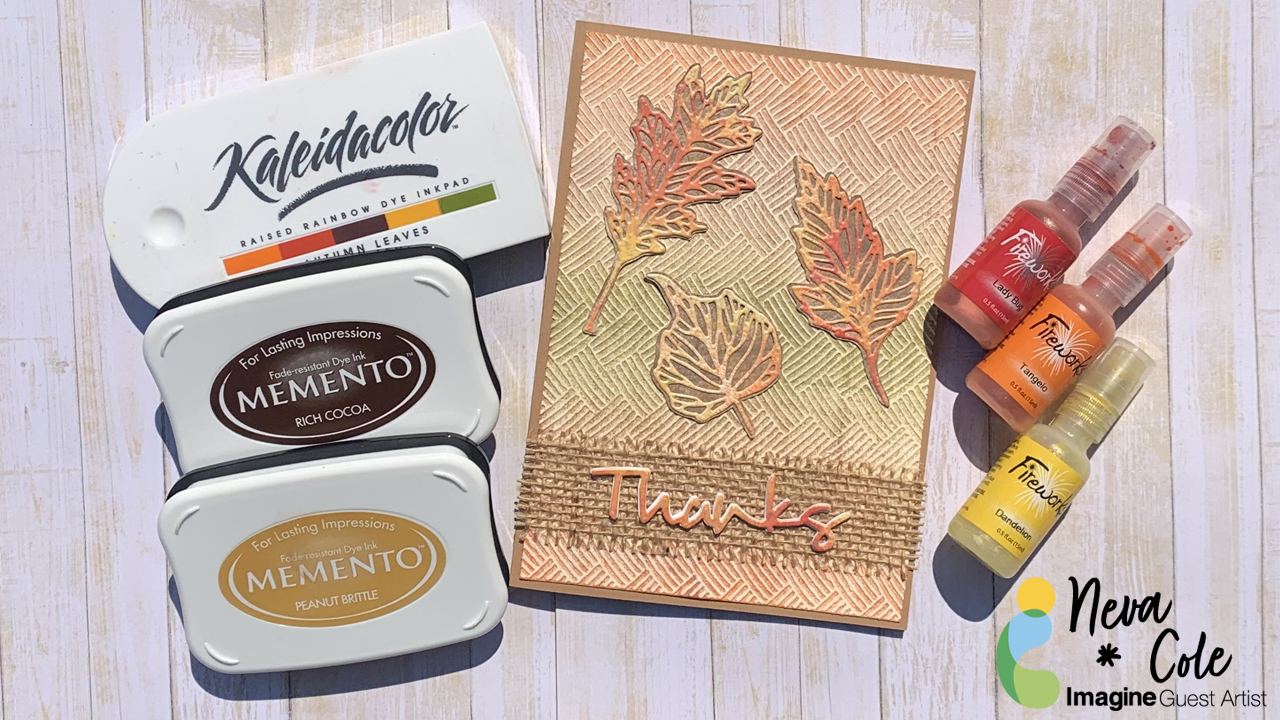
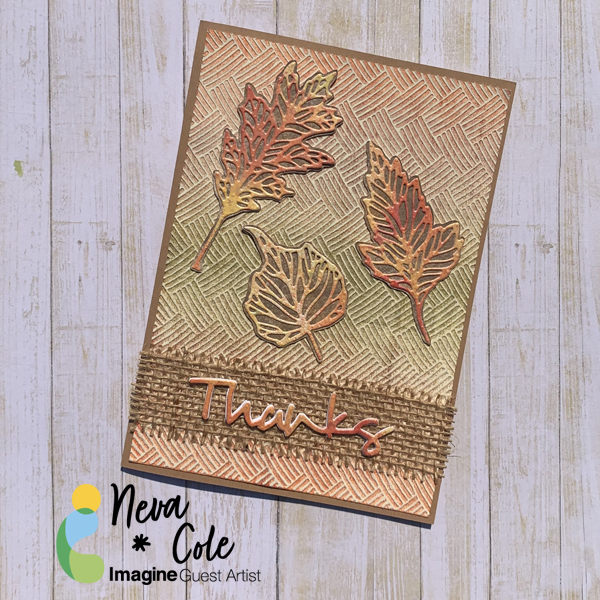
In today’s card making tutorial, I will show you how to create a Fall themed “Thanks” card using three different inks. The Autumn colors are vibrant and blend well with kraft card stock and burlap ribbon. I hope this card inspires you to think of all things pumpkin spice and apple cider as we head into fall!
Skill:Intermediate
Time:1.5 hours
Directions:
Step 1
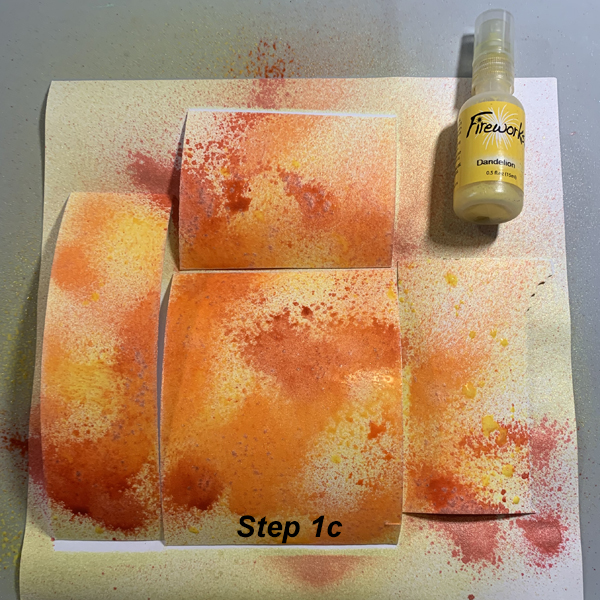
Spritz white cardstock with Fireworks! Lady Bug, Tangelo, and Dandelion. I like to start with the darkest color first working to the lighter color to fill in the last areas of white. Set aside to dry.
Step 2
Use Memento Peanut Brittle and Rich Cocoa ink pads and press directly on the cardstock. This creates a splotchy look.
Step 3
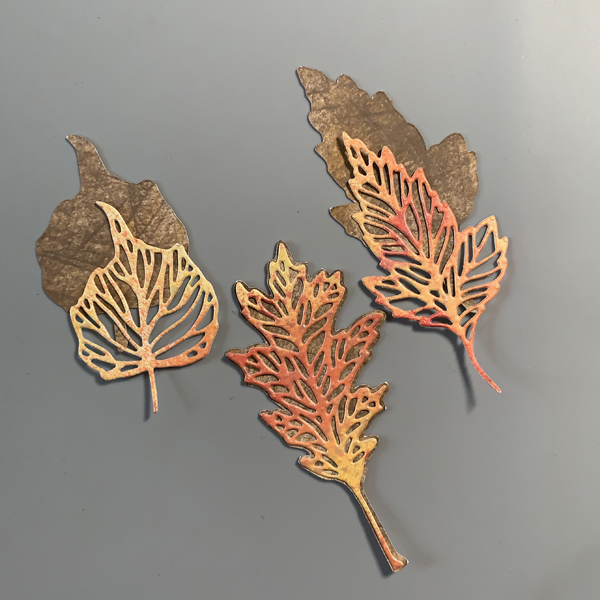
Die cut the Fireworks! colored cardstock with Skeleton Leaves dies. Cut an outline to back the leaves either by hand or with an electronic die cutting machine. Adhere the layers together with On Point Glue. Small dots in the thicker areas of the leaves works best.
Step 4
Die cut one “Thanks” sentiment from the Fireworks! colored cardstock and three from white cardstock. Layer together with On Point Glue to create a dimensional sentiment. To avoid glue from leaking out from between the layers, use small dots of glue on the outside edges.
Step 5
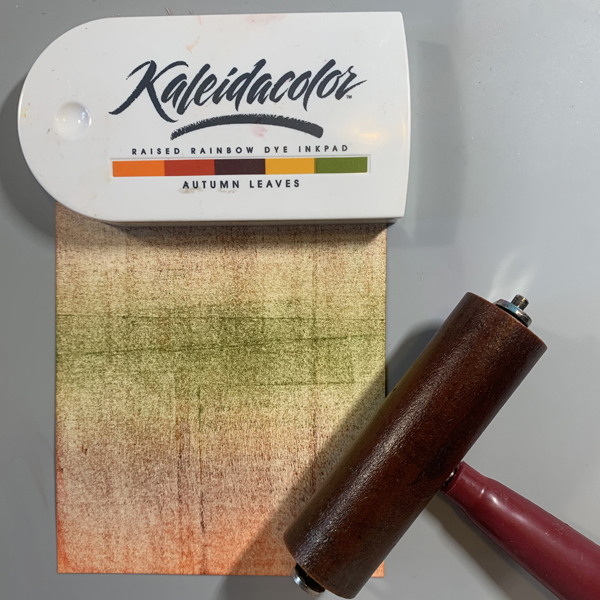
Use a soft rubber brayer to ink cardstock trimmed to 4.74” x 5.75”. Kaleidacolor in Autumn Leaves was used with the green portion in the middle and the light orange on either end of the cardstock. Flip the cardstock to achieve this look.
Step 6
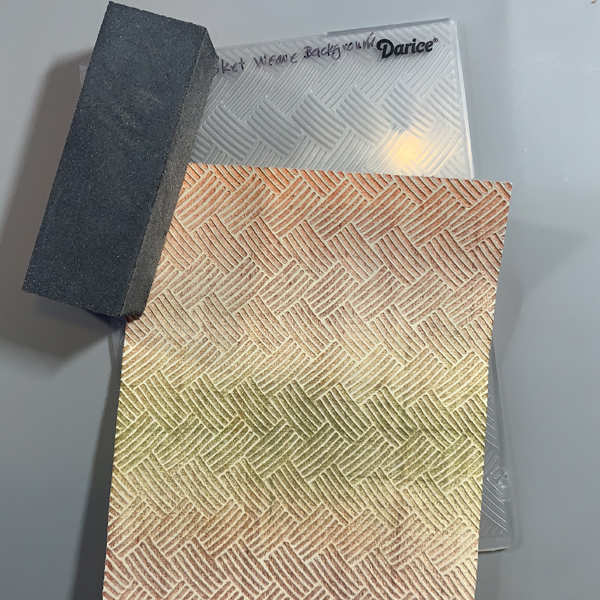
Pressure emboss the cardstock with Basket Weave embossing folder. Use a sanding block to remove color and allow the embossed design to pop.
Step 7
Using Tear It! Tape, adhere your A7 kraft card base to background. Then tape the burlap ribbon. The Tear It! Tape, it’s translucent enough that it does not show through the burlap, and will hold the card together. Adhere the “Thanks” sentiment and the leaves with On Point Glue.
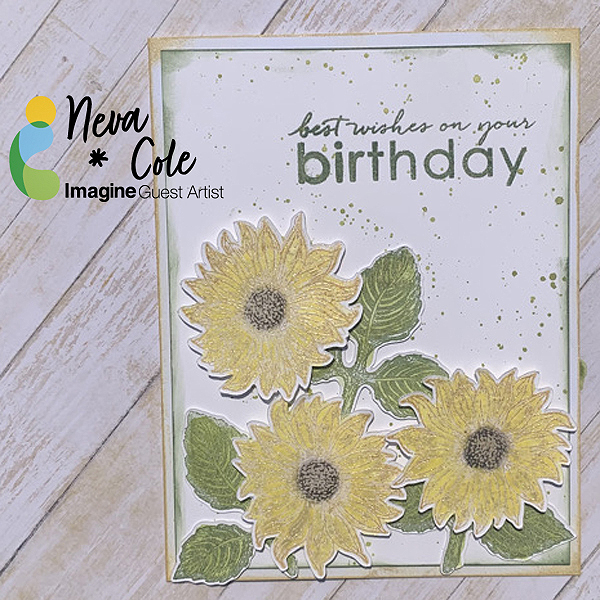
In today’s card making tutorial, I will show you how to use your Fireworks! Shimmery Spray inks in different ways rather than just spraying them! All of the blooming sunflowers during my travels were the inspiration for this late summer birthday card. It is very cool that sunflower heads follow the sun throughout the day, and they are always bright and cheery!
Skill:Intermediate
Time:1.5 hours
Directions:
Step 1
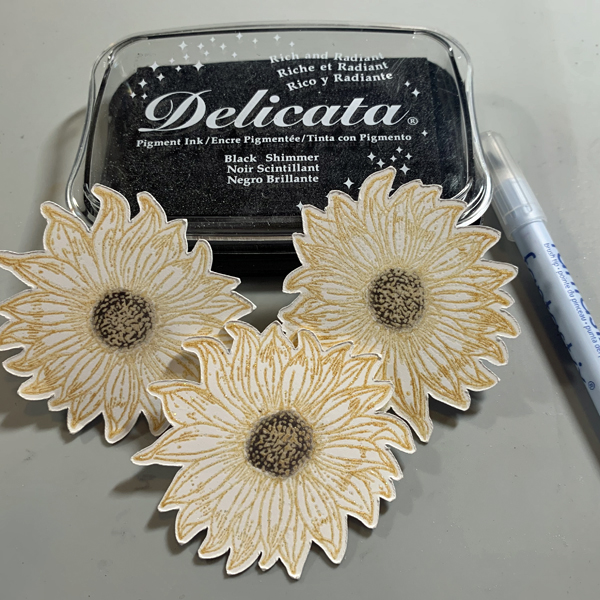
Stamp sunflower image in Delicata Golden Glitz and heat emboss with Iridescent Embossing Powder. The Delicata Golden Glitz is one of the brightest gold inks, and works best for a sunflower. Die cut with an electronic die cut machine, or fussy cut with scissors.
Step 2
Use a brush tip Fantastix to color in the center of the sunflower with Delicata Black Shimmer.
Step 3
Shake the Fireworks! spray until all of the shimmer is mixed in. When the spray sits for awhile, the shimmer settles to the bottom and can be seen as a thin layer through the bottle. Remove the spray lid and tap a bit of Fireworks! on your work mat from the end of the plastic tube. Use a fine tip paint brush to paint the sunflowers a beautiful iridescent Dandelion Yellow. Yellow ink is one of the more difficult inks to use, and this method solves that dilemma!
Step 4
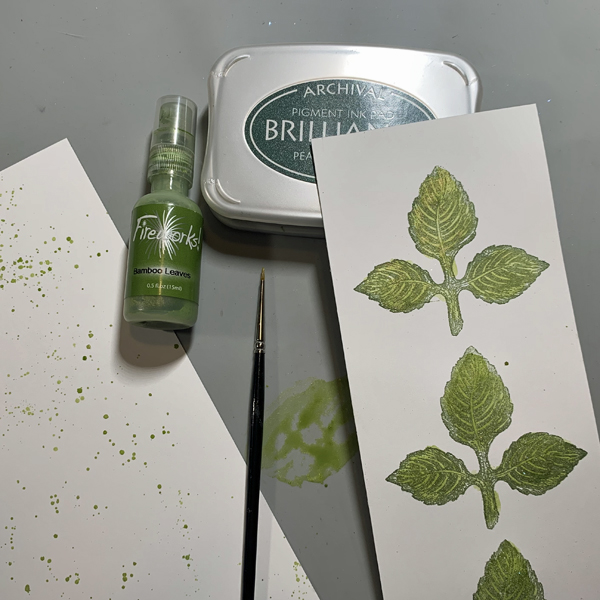
Stamp the leaf image in Brilliance Pearlescent Ivy and heat emboss with Iridescent Embossing Powder. Using embossing powder helps maintain the original ink color of the image while painting over with Fireworks! spray. It also allows you to color inside the lines much more easily! Use a fine point paint brush to add Fireworks! in Bamboo Leaves. Die cut or fussy cut the leaves.
Step 5
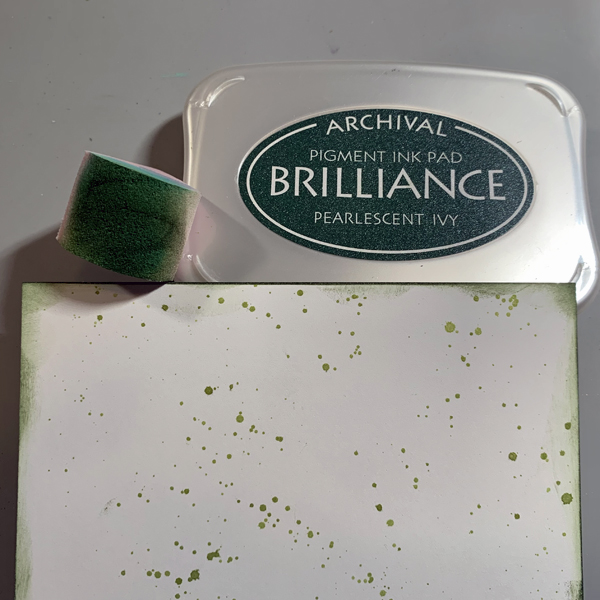
To get a finer sprinkling of more carefully located drops of Fireworks!, use the same paint brush and gently tap over the card stock to create a fine splatter pattern. When using the spray nozzle, the color is denser on the cardstock. Finish the edges by inking with an ink blusher and Brilliance Pearlescent Ivy.
Step 6
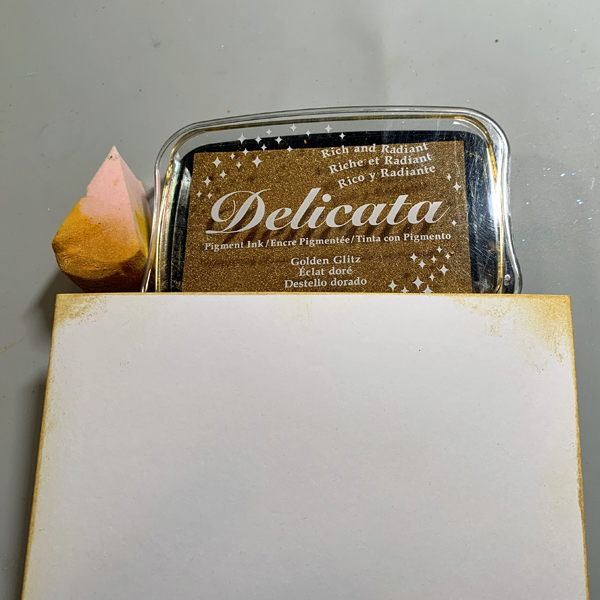
Edge the base card with an ink blusher and Delicata Golden Glitz. Using inks throughout the card allows for perfect coordination.
Step 7
Position the leaves and sunflowers on the card front to determine the location for the sentiment. Stamp the sentiment in Brilliance Pearlescent Ivy and heat emboss with Iridescent embossing powder. Adhere the layers of the card together. The card front and leaves are adhered with Tear-It! Tape, and the sunflowers are adhered with thin dimensional foam adhesive.