Make a Welcome Baby Card Using Fireworks! Shimmery Craft Sprays

By Katy Ingram

Hello my friends! Katy here and today I am going to show you how to create this super simple baby card using Fireworks! Shimmery Craft Sprays. In the video I show you how easy it is to add to paint with your fireworks sprays. This will give a nice even coverage allowing you to create your own colored paper. Check out the video below to see how it all came together. I hope you enjoy. Thanks for watching.

Skill: Beginner, Intermediate, Advanced
Time: about 30 minutes

Art Supplies:

Imagine

• Fireworks! Shimmery Craft Sprays
– London Fog
– Rose Bud
– Lilac Posies
– Lulu Lavender
• On Point Glue
• VersaFine Onyx Black

Other Products Used:

• Honey Bee Stamps Baby Stamp Set
• Pinkfresh Studio Slimline Edgers Die Set
• Watercolor Paper
• White Card Base
• Concord and 9th Simple Serif Alphabet die set
• Grey Card Stock

Make a Sparkling Summer Birthday Card

2021_June_JN_SummerBirthday_main

By Jowilna Nolte 

Summer means outdoor celebrations and color – and that means loads of fun right?
Make every celebration special by adding loads of fun and bright colors to birthday cards.
Take a look at this easy and fun way I use color and shimmer on this card.

Skill Level: Intermediate

Time: 30 minutes

Directions:

2021_June_JN_SummerBirthday_step1

Step 1

On smooth white cardstock add some stenciled details. I used Creative Medium and mixed some Red Brilliance Inker into the medium before applying it through a stencil using my palette knife.
Leave the stenciling to dry.

2021_June_JN_SummerBirthday_step2

Step 2

Once the stenciled detail is dry, add some color using Memento and VersaMagic Dew Drop ink pads.
Apply the ink, once color at a time to a plastic packet and mist with water. Then stamp the color onto your background by flipping the packet over and pressing lightly.
Add more colors and then leave to dry.

2021_June_JN_SummerBirthday_step3

Step 3

Stamp your image using VersaFine Clair Nocturne onto smooth white cardstock.

2021_June_JN_SummerBirthday_step4

Step 4

Use your Memento Markers to add color to your stamped image. I used colors to match my background.

2021_June_JN_SummerBirthday_step5

Step 5

After coloring the image, add a layer of embossing in Sparkle Mboss powder. Ink the image with VersaMark and sprinkle with powder.
Shake off the excess and then use a heat gun to melt the powder. This gives the image a bright and fun shimmering finish.

2021_June_JN_SummerBirthday_step6

Step 6

Use your Tear-It! tape to adhere the background strip to your folded card. Stamp a birthday sentiment below the strip using VersaFine Clair Nocturne.
Adhere the embossed image using foam tape for some dimension and  finish off by adhering diamante using On Point Glue.

Art Supplies

Imagine

Craft Mat
Tear It! Tape
On Point Glue
Palette Knife 
VersaFine Clair Nocturne
VersaMark Ink Pad
Mboss Embossing Powder – Sparkle
VersaMagic Turquoise Gem Dew Drop
Memento Rose Bud Dew Drop
Memento Tangelo Dew Drop
Memento Markers Assorted Colors

Other

Smooth White Cardstock: Technic
Stamps: Art by Marlene, Joy Clair
Diamante
Stencil: Jowilna Nolte
Foam Tape

Create a Fun Summer BBQ Invitation

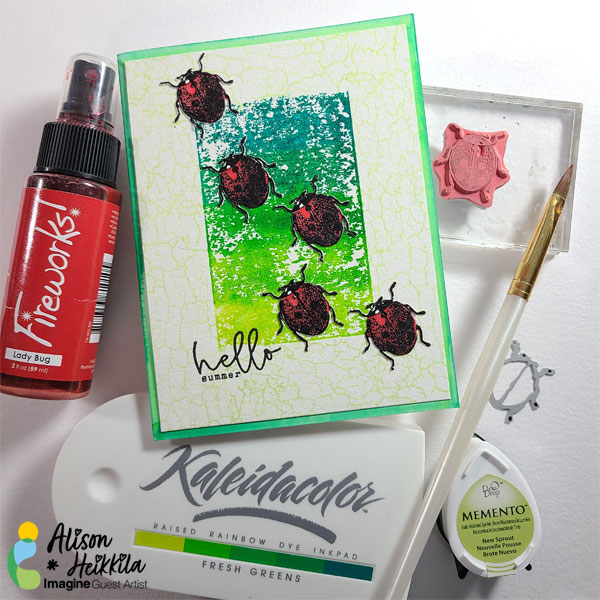
Ladybug-Greens-1-600

By Alison Heikkila

Summer is fast approaching and that means it’s almost barbecue season! After many of us spent last year at home, isolated, I know a lot of folks are looking forward to spending summer with friends and family again. Today, I have a simple tutorial to help you make sweet invitations (or just regular greeting cards) using some of my favorite products from Imagine, like Kaleidacolor inks and Fireworks! Spray.

Skill Level: Beginner

Time: Approx. 20 Minutes, plus drying time

Directions:

Ladybug-Greens-5

Step 1

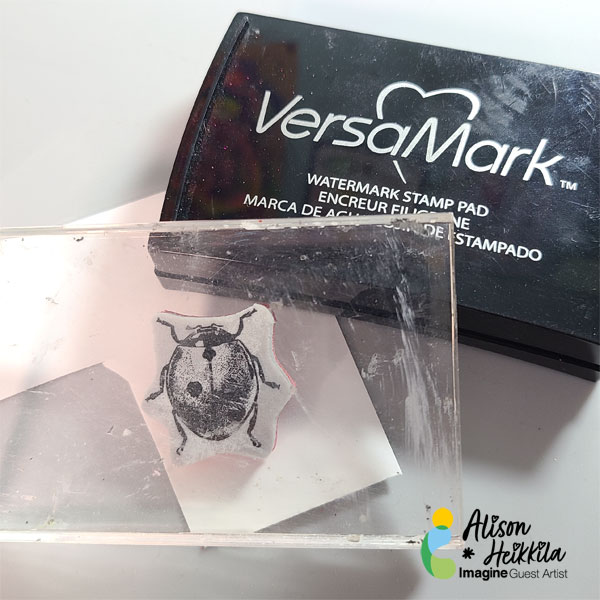
Stamp the ladybug from the Entomology stamp set 5 times on to Smooth Bristol cardstock with VersaMark Ink.

Ladybug-Greens-6

Step 2

Sprinkle Black Embossing Powder on to the ladybugs, shake off the excess, and heat set.

Ladybug-Greens-7

Step 3:

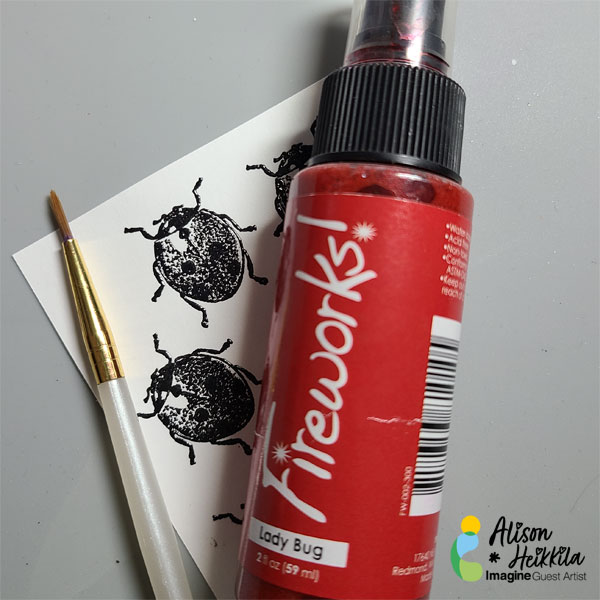
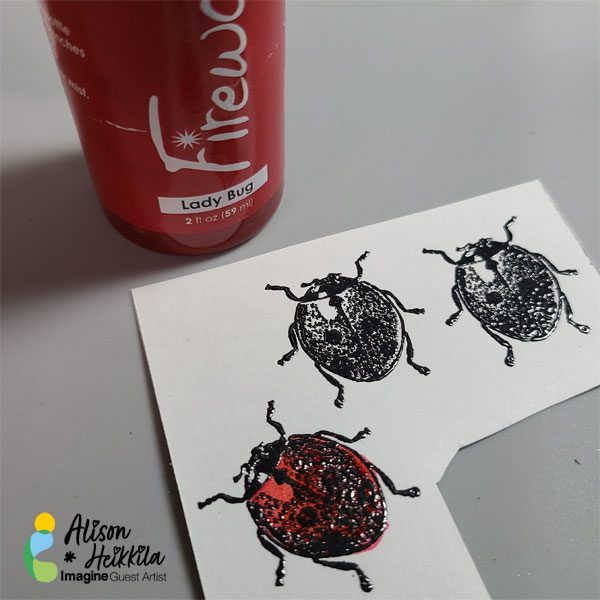
Using Lady Bug Fireworks! Shimmery Craft Spray and a brush, paint the ladybugs. Once the color is dry on the paper, you should wipe the embossed areas with a cloth, to remove any excess.

Ladybug-Greens-8

Step 4

Die cut the ladybugs with the coordinating die.

Ladybug-Greens-9

Step 5

Cut a piece of watercolor paper to 4″ x 5 1/4.”

Step 6

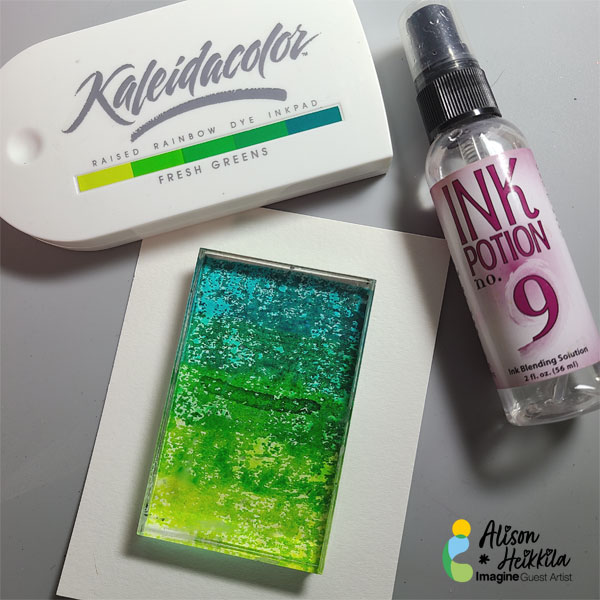
Swipe the Fresh Greens Kaleidacolor Inks across an acrylic block, and then spray with Ink Potion No. 9 a few times to get the colors to blend and move.

Step 7

Place the inked acrylic block in the center of the watercolor panel, put something heavy on top (I used a tape dispenser), and leave for a few minutes. The texture of the watercolor paper allows for imperfect color transfer, which I happen to love. If you prefer a smoother look, use paper with less tooth, or texture.

Ladybug-Greens-10

Step 8

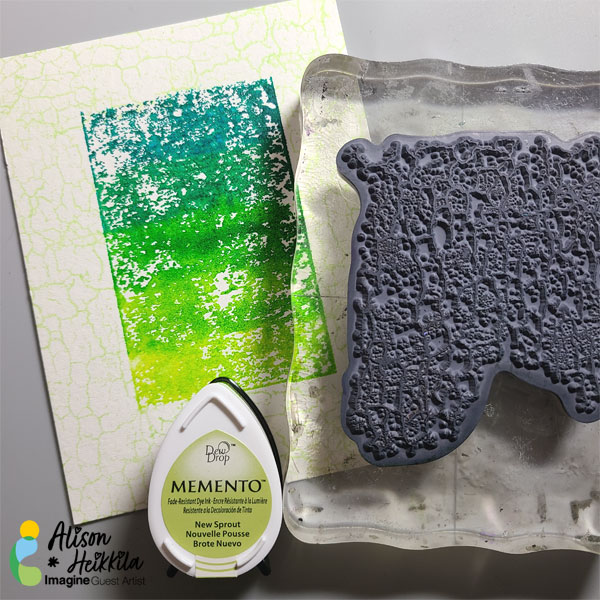
Once you removed the acrylic block, stamp a subtle pattern around the edges with New Sprout ink. I used a crackle stamp from Stampendous.

Ladybug-Greens-11

Step 9

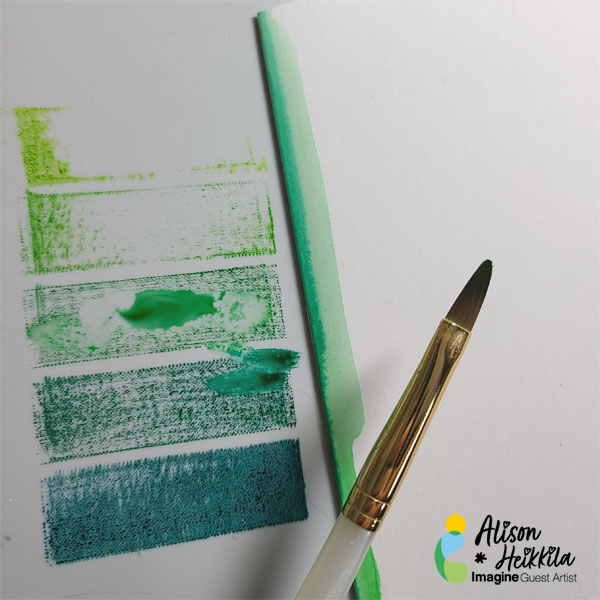
To add color to my white card base, I pressed my Fresh Greens Kaleidacolor inks into my Craft Mat, wet my brush, and applied the 3 center colors to the edges. I kept the colors soft and slightly blended. Using the same inks for the border as we did in the center of the card allows us to have perfectly matched elements, but since they’re applied differently, you create interest on your card.

Ladybug-Greens-2jpg

Step 10

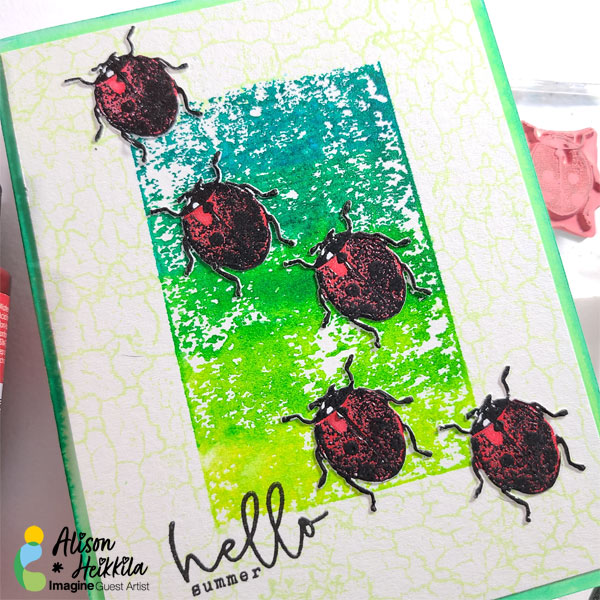
Stamp a sentiment on the card with VersaFine Ink in Onyx Black. I combined a stamp from Erin Lee Creative with a stamp from Recollections to get the sentiment I wanted.

Step 11

Adhere your ladybugs to the card front, and your card front to the base when it’s dry.

Art Supplies

Imagine

VersaMark Ink
Black Embossing Powder
VersaFine Ink in Onyx Black
Fireworks! Spray in Lady Bug
Kaleidacolor Inks in Fresh Greens
Memento Ink in New Sprout
Ink Potion No. 9

Other

Stampers Anonymous/Tim Holtz: Entomology Stamp Set and Entomology Die Set
Erin Lee Creative: Winter Magic Stamp Set
Recollections: Sentiment set
Acrylic Blocks
Small paint brushes
Strathmore Smooth Bristol Cardstock
Canson Watercolor Paper
White A2 card base

Create Beautiful Appreciation Card for Your Teacher

Grow-1-600

By Alison Heikkila

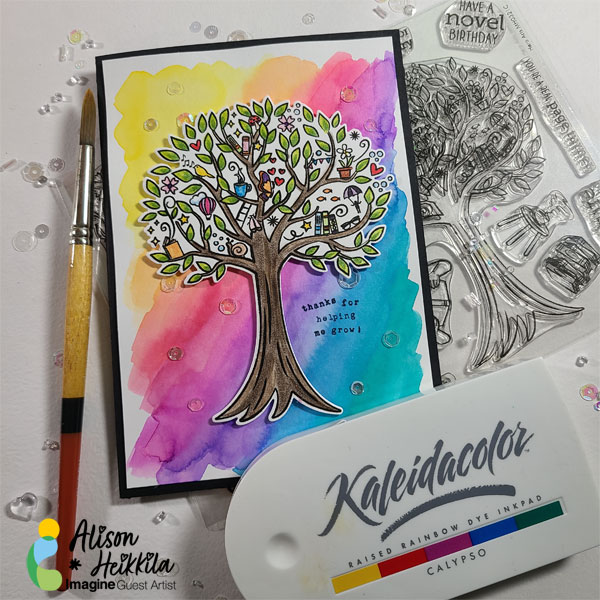
Hello! It’s getting close to the end of the school year, and between last year and this year, teachers have been champions, in my opinion. They’ve done so much for our students, learned so many new things themselves over the past year, that honoring them with a handmade card is a simple way to thank them for all of their dedication. I decided to combine Memento Markers with the Calypso Kaleidacolor Ink Pad and the March 2021 My Monthly Hero Kit to create a special card that’s perfect for any teacher.

Skill Level: Beginner

Time: 45 Minutes, plus drying time

Directions:
Grow-2

Step 1

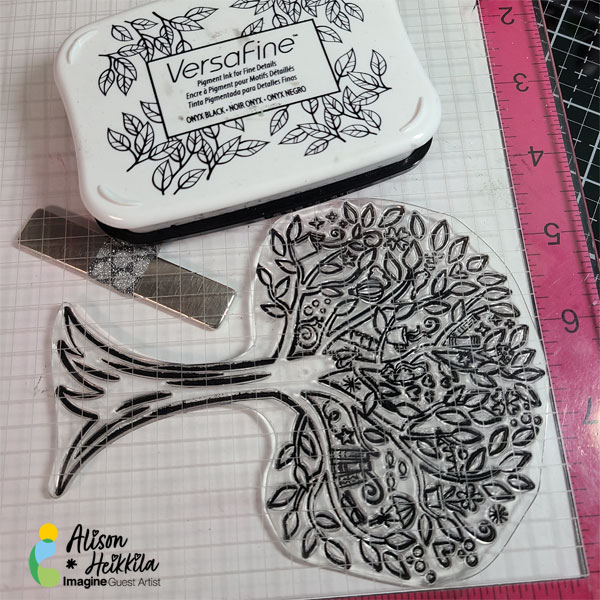
Stamp the tree from the My Monthly Hero March 2021 kit on to Memento-friendly paper with VersaFine Ink. I used Smooth Bristol Cardstock.
 

Grow-3

Step 2

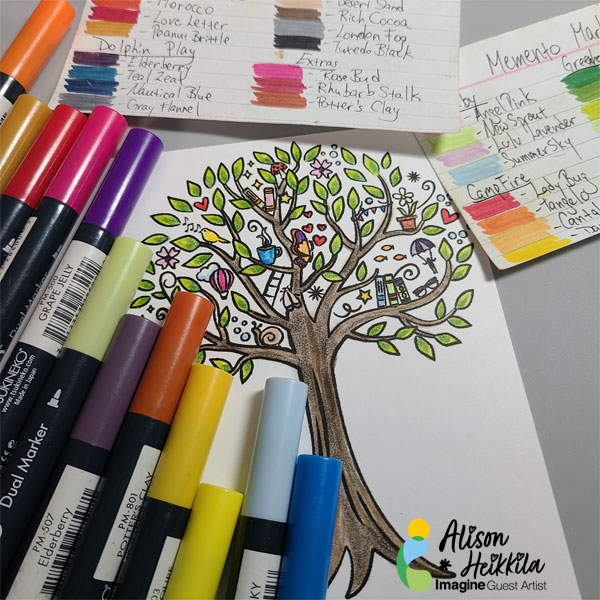
Color the tree using Memento Markers. My list of colors is below.

Step 3

Die cut the tree.
 

Grow-4

Step 4:

Cut an additional piece of Smooth Bristol cardstock, cut to 4 3/4″ x 6 3/4.”

Step 5

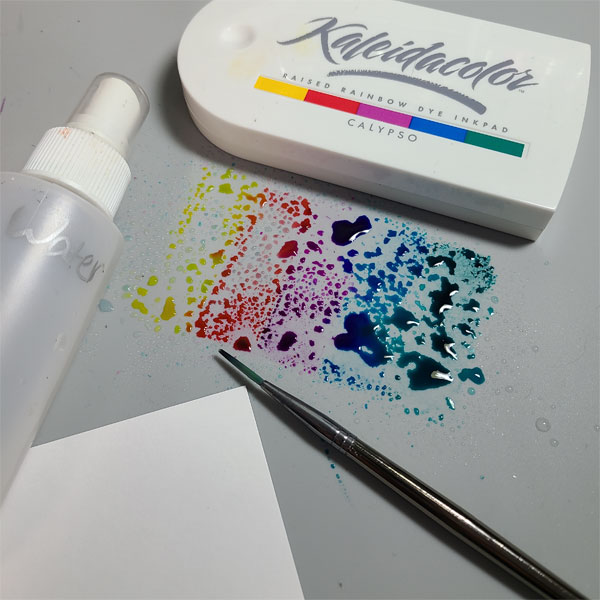
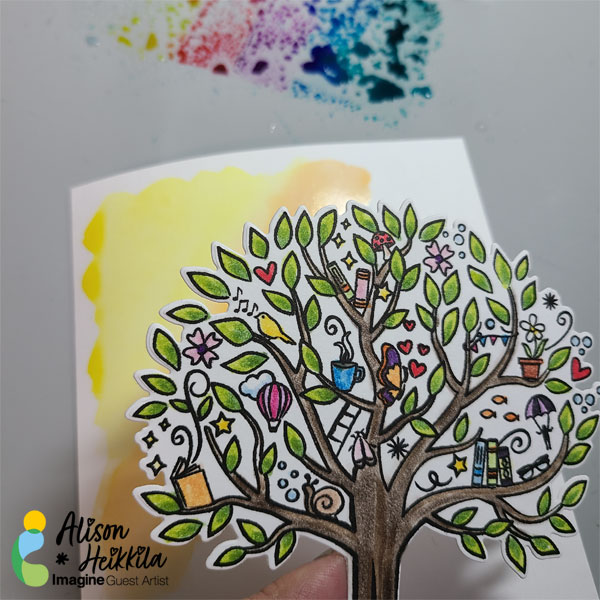
Push the Calypso Kaleidacolor Ink pad directly into your Imagine Craft Mat and spray with water. *Please note, I opted to use a larger brush than the one pictured here. Please see the supplies list for details.
 

Grow-5

Step 6

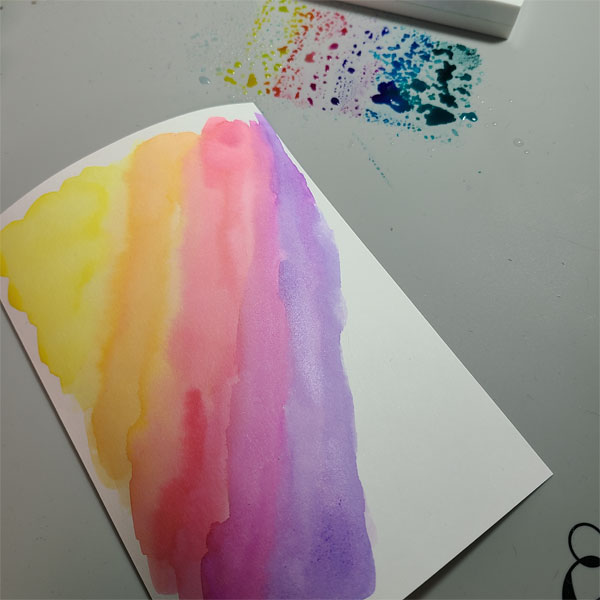
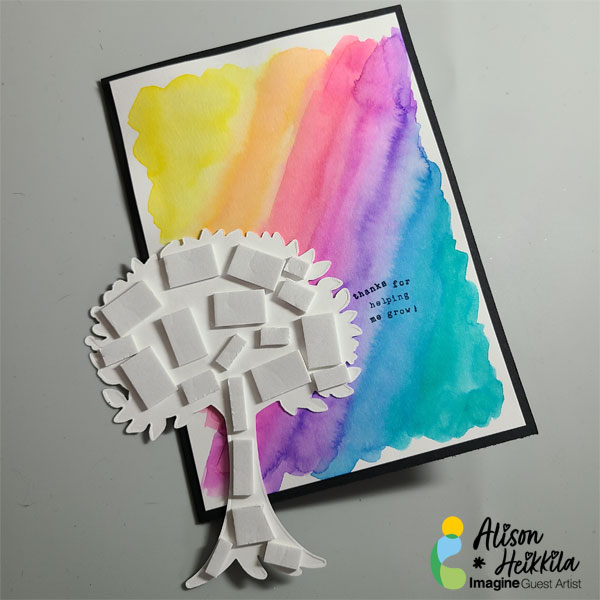
Begin painting the Calypso inks on to the Bristol cardstock. Use waters to help blend colors, and hold the tree up to the cardstock occasionally to see if you like your placement of colors. I worked diagonally, in the order the colors are in the ink pad.
 

Grow-6

Step 7

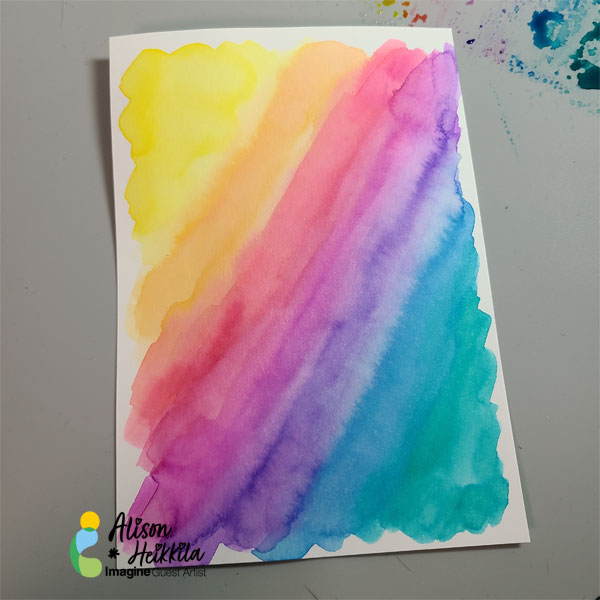
Continue working your way down the cardstock, blending colors as you go. I left a bit of a border around the edge of (most) of the Bristol.
 

Grow-7

Step 8

Once the panel is fully painted, let dry. Or, you can speed up the process with a heat tool. You can see how beautiful and vibrant the colors are, even after they’ve been watered down.
 

Grow-8

Step 9

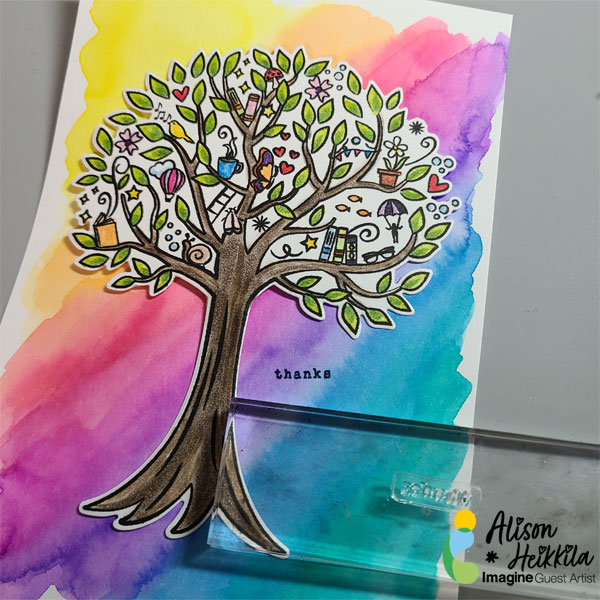
Stamp your sentiment with VersaFine Clair Ink in Twilight. I assembled my sentiment with words from a Recollections stamp set.
 

Grow-9


Step 10

Create your card base out of black cardstock, cut to 10″ x 7.”

Step 11

Adhere the painted panel to the card base.

Step 12

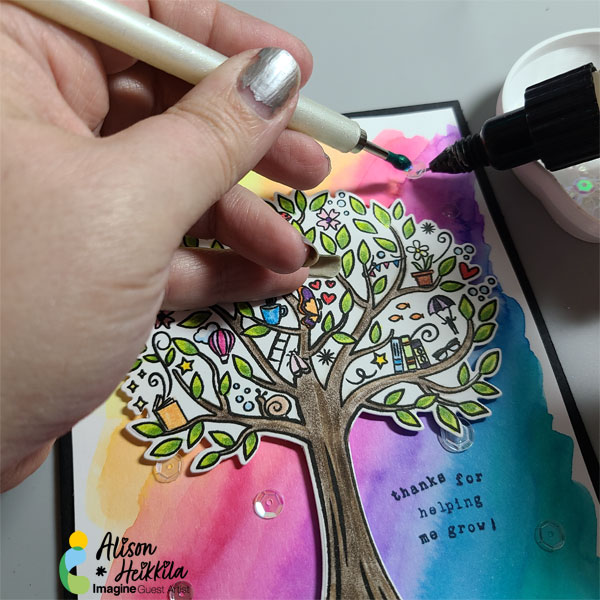
Apply foam tape or pop dots to the back of the tree and adhere it to the card.
 

Grow-10

Step 13

Adhere Sparkle Blends to the card using On Point Glue.


Art Supplies

Imagine

VersaFine Ink in Onyx Black

Memento Markers in Rick Cocoa, Toffee Crunch, Bamboo Leaves, Pear Tart, Ladybug, Potter’s Clay, Dandelion, Summer Sky, Desert Sand, Angel Pink, Rose Bud, Lulu Lavender, Tangelo, Elderberry, Grape Jelly, Cantaloupe, Bahama Blue. 

Kalediacolor Ink in Calypso

VersaFine Clair Ink in Twilight

On Point Glue


Other

Hero Arts: My Monthly Hero March 2021 Kit

Doodles Paper Playground: Clearly in Love

Canson: Smooth Bristol Cardstock

Princeton: Snap! Size 10 Round Watercolor Brush

Recollections: Sentiment stamps and Black 110 lb cardstock

 

Stamp a Happiness-Filled Valentine’s Day Card

By Jessica Lin

Stamping on Acetate with StazOn Ink Pad

Hi everyone, it’s Jessica here with a fun Valentine’s Day card. I decided to create a glass jar filled with tiny hearts and smiley faces. StazOn inks are the best when it comes to stamping on non-porous surfaces. What kind of materials have you tried stamping on with StazOn inks?

Skill Level: Intermediate

Time: 45 Minutes

Art Supplies

Imagine:

• StazOn Ink Pad – Timber Brown

• VersaFine Ink Pad- Onyx Black

Mboss – Clear

• On Point Glue

• Tear It Tape

• Craft Mat

• StazOn All-Purpose Cleaner


Other Products Used:

Stampin’ Up Jar of Love stamp set

Hole punch

Acetate sheet

Copic markers

Heat gun

Neenah Solar White cardstock

Neenah Desert Storm cardstock

How to Create a Simple Ink Blended Masculine Valentine Card

by Katy Ingram

In today’s crafting tutorial, I show you how to make a simple ink blended masculine card using some Memento, Versafine Clair and Delicata inks.  This is a great project for that special someone in your life for Valentine’s Day. 

Skill: Advanced

Time: 25 minutes

Directions

Art Supplies:

Imagine

• Memento Ink Pad – Teal Zeal, Nautical Blue, Paris Dusk

• VersaFine Clair Ink Pad – Twilight

• Delicata Ink Pad  – Silvery Shimmer and Golden Glitz

• Imagine Craft Mat


Other

Simon Says Stamp – Background Stamp – You Are

Simon Says Stamp – Die – Deco Heart

Gina K Designs – Cardstock – White Layering

Neenah – Cardstock – 110 lb classic crest solar white