Learn the Technique in Creating an Eye-Catching Faux Scratchboarding Card

Faux-13-600

By Alison Heikkila

Do you remember Scratch Art? There’s a black piece of heavy cardstock and you use pointy tools to scratch the black away, to reveal colors underneath? Some folks made really incredible art with this technique…I know my kids always enjoyed doing it too. How would you like to recreate that look of scratch art, but in a lot less time? It’s fun, and it gives you another way to use your reinkers.

Skill Level: Intermediate

Time: 20-30 Minutes

Directions:
Faux-1

Step 1

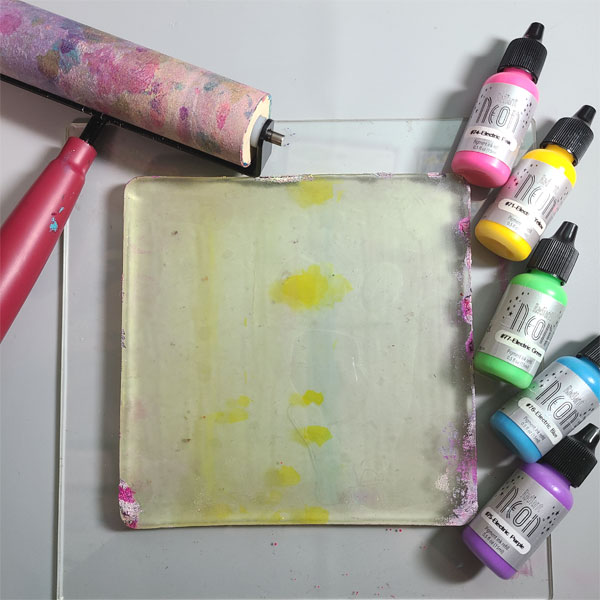
Gather your supplies. You’ll need a gel printing plate (mine is a 6″x6″), reinkers ( I used 5 Radiant Neon colors), a brayer, and some copy paper. You can use heavy weight cardstock if you prefer.
 

Faux-2

Step 2

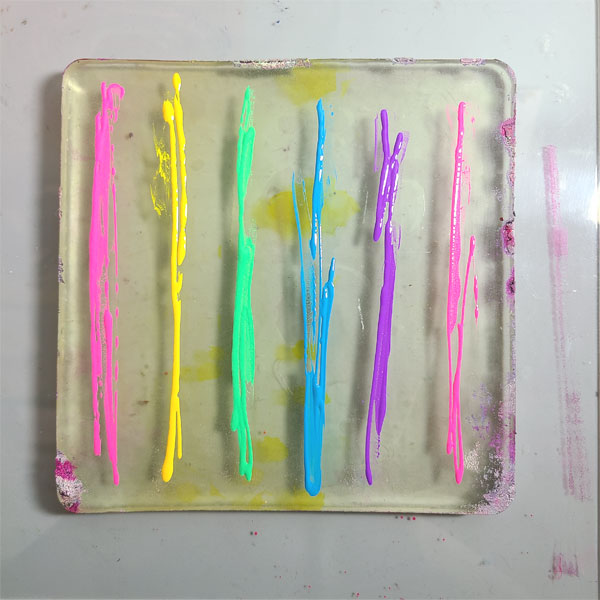
Squirt a small amount of reinkers in lines on your gel printing plate. You don’t need too much. I have a little more than I needed on mine.
 

Faux-3

Step 3:

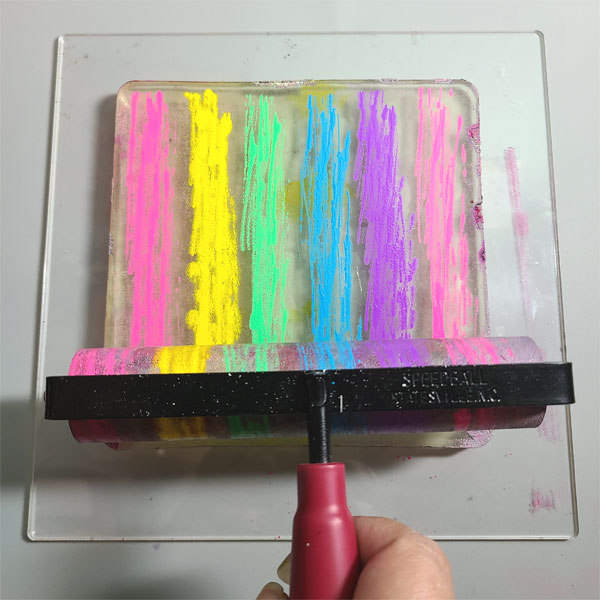
Using a brayer, roll over the ink to get the colors to begin to blend. Try to keep from moving the brayer too much from side to side, as that will have the colors blend, and you’ll lose the distinction of each color.
 

Faux-4

Step 4

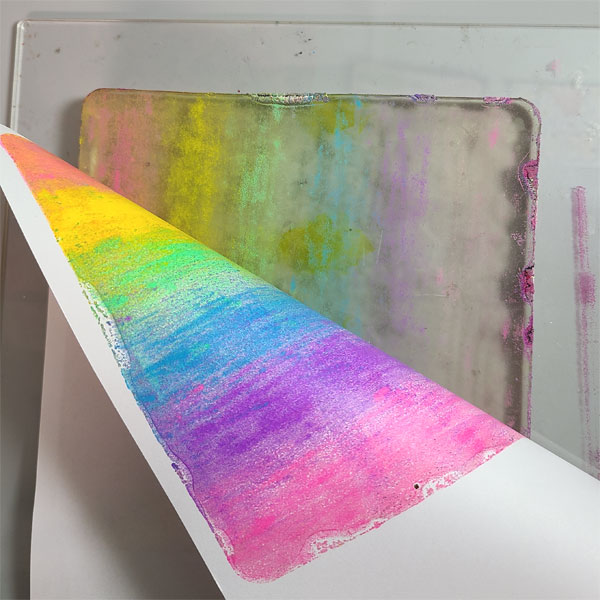
Apply your piece of copy paper to the gel plate, and rub the back of the paper with your hands. Be sure to have contact with the entire surface. Once you think the ink has transferred, slowly peel back the paper. If you see you need to transfer the ink better, place the paper back down and rub the back of it again.
 

Faux-5

Step 5

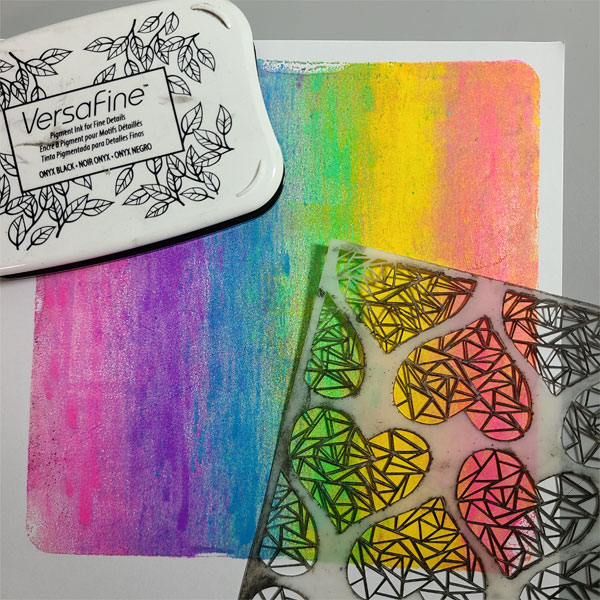
Choose your stencil and grab VersaFine ink in Onyx Black. Once the gel print is completely dry, tape down the stencil on top of the print.
Faux-6

Step 6

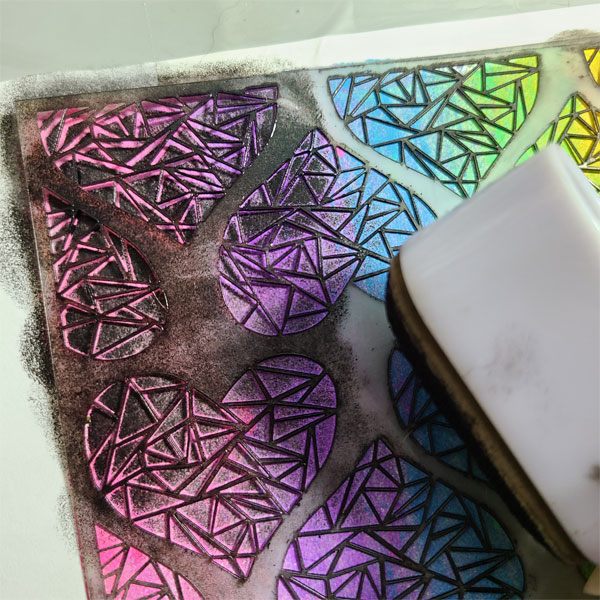
Using an ink dauber, apply a heavy coat of Onyx Black VersaFine all over the gel print. Make sure you don’t move your stencil, and that you get a deep, even coat of ink across the entire area.
Faux-7

Step 7

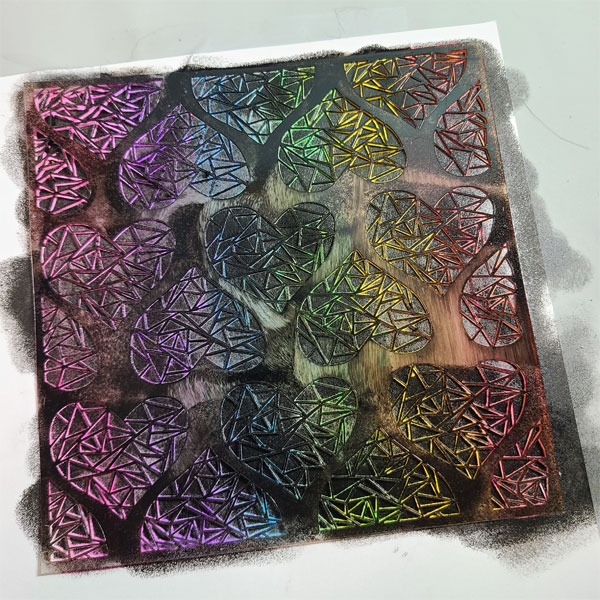
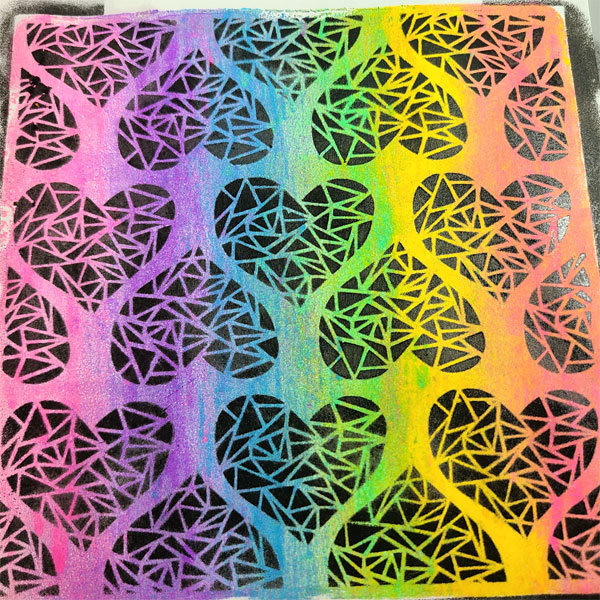
When the stenciled area is thoroughly covered with ink, remove the stencil.
Faux-8

Step 8

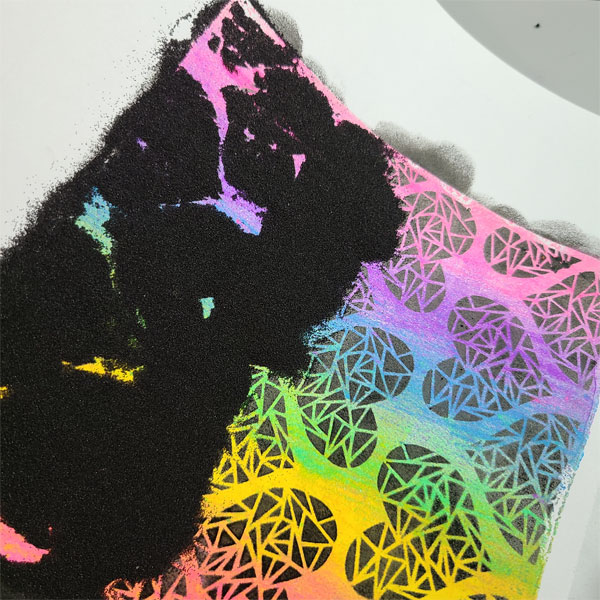
Optional- You may choose to leave the background as-is, or to enhance it further with embossing powder. I opted to use black embossing powder to give it some shine. You may also use clear over the black ink. ***Take this a step further and use a different contrasting color altogether!
Faux-9

Step 9

Pour the embossing powder all over the print and shake off the excess. If you see stray bits of powder where you don’t want it, use a small, dry brush to swipe it away. Heat the powder with an embossing tool, but please keep in mind that if you used copy paper, the paper heats up quickly.

Step 10

Trim down your background to 3 3/4″ x 5.” This will leave you a nice big strip that yuo can use on a different card another time.

Step 11

Cut a piece of black cardstock to 4 1/4″ x 5 1/2.” Adhere your stenciled piece to the black with the adhesive of your choice.
 

Faux-11

Step 12

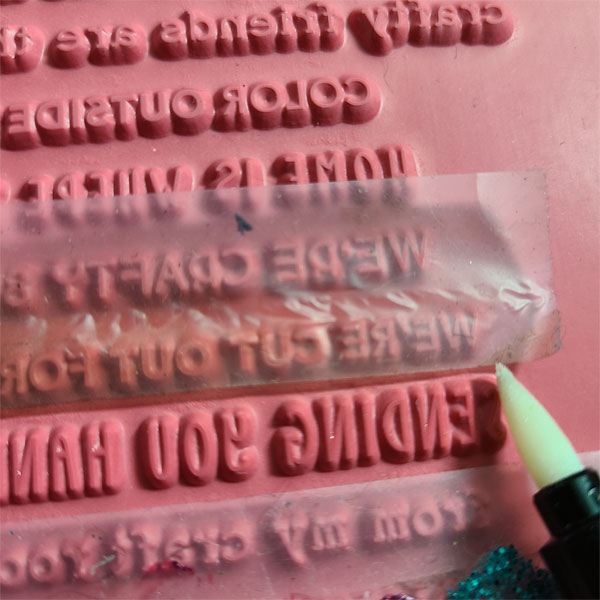
Ink up your sentiment with VersaMark Ink. The sentiment I chose had many other sentiments with it, but I only wanted to ink up one. I put tape on the sentiment above and below the one I wanted to use, then I used the VersaMarker to ink up the one I wanted. You can use the VersaMark Pad for this too, but the pen is nice and small.

Step 13

Remove the tape and stamp the sentiment on to a strip of black cardstock.

Step 14

Sprinkle white embossing powder on to the sentiment, shake off excess, and heat set.

Step 15

Apply Radiant Neon Ink in Electric Pink to the edges of your (white) card base.

Step 16

Adhere the top layers (including the sentiment) to the card base.

Step 17

Using On Point Glue, adhere flat-backed rhinestones around the sentiment strip.
Faux-12

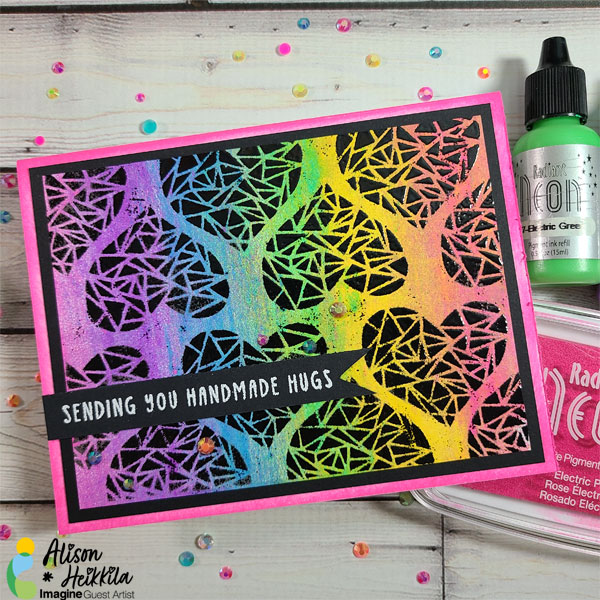
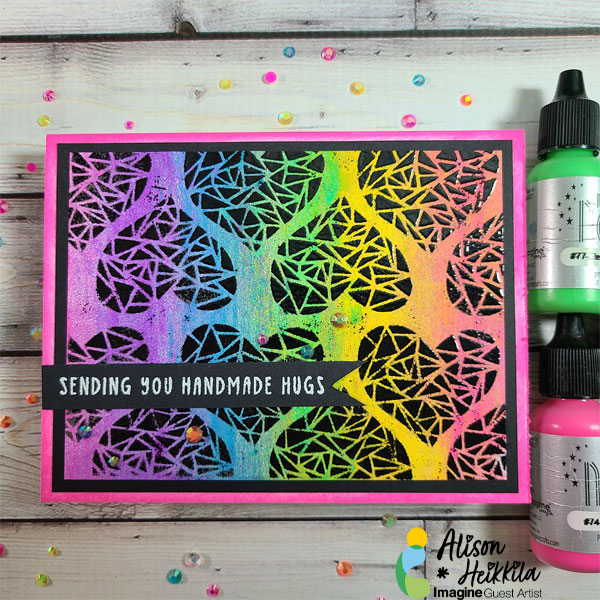
The end result is a fun, eye-catching card that can be used for many occasions. You can experiment with different combinations of reinkers and stencils to get completely different looks.

Art Supplies

Imagine

Radiant Neon Reinkers in Electric Pink, Electric Yellow, Electric Green, Electric Blue, and Electric Purple
Radiant Neon Ink Pad in Electric Pink
Embossing Powder in Black and White
On Point Glue
Sponge Dauber

Other

Sassy & Crafty: Stained Glass Hearts Stencil
Doodles Paper Playground: Neon Flat-backed Rhinestones
Taylored Expressions & Brutus Monroe: Simple Strips- Crafty
Black Cardstock
White A2 Card Base
 

Make a Happy Birthday Sunburst Card Using VersaFine Clair

2021-aug-katy-versafine-clair-sunburst-instagram

By Katy Ingram

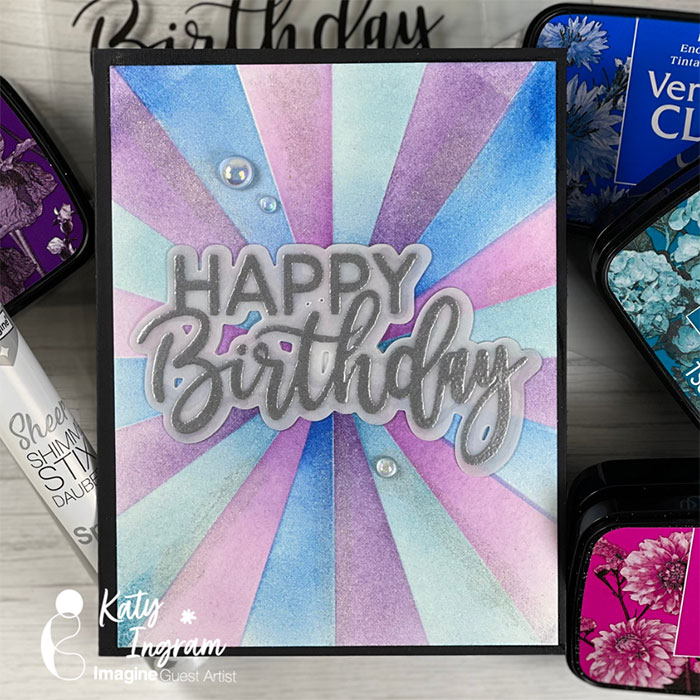
– Hello my friends! Katy here and today. In this video, I am going to show you how easy it is to create this super simple Happy Birthday sunburst card with a stencil and a few VersaFine Clair inks. I hope you enjoy. Thanks for watching.

Skill: Beginner, Intermediate, Advanced
Time: about 15 minutes

Art Supplies:

Imagine

• VersaFine Clair Inks: Paradise, Warm Breeze, Monarch, Charming Pink

• Emboss Embossing Powder: Silver

• VersaMark Dazzle: Frost

• Sheer Shimmer Stix: Sparkle• On Point Glue

Other Products Used:

• Heavyweight White Cardstock
• 48 Lb Vellum
• Waffle Flower Happy Birthday Stamp and Die Set
• Heavyweight Black Cardstock


Make a Colorful Card Perfect for Advancing to the Next Grade

2021_Jul_JowilnaNolte_School_1

By Jowilna Nolte 

– I dream in color literally. This was the case the other night when I dreamt about some alcohol ink that wasn’t alcohol ink. And so experimenting started. I used my VersaFine Clair ink pads on Yupo paper. Now technically this will never dry but here is the trick how to create that gorgeous look.

Skill Level: Beginner/Intermediate

Time: 30 minutes

Directions:

2021_Jul_JowilnaNolte_School_step1

Step 1

gorgeous colorful card perfect for advancing to the next grade.

2021_Jul_JowilnaNolte_School_step2
Step 2

I used 200gsm Yupo paper in white. Swipe the first color of ink across the paper once or twice depending on how wide you would like your strip.

2021_Jul_JowilnaNolte_School_step3

Step 3

Now continue with the second and third color of ink.

2021_Jul_JowilnaNolte_School_step4

Step 4

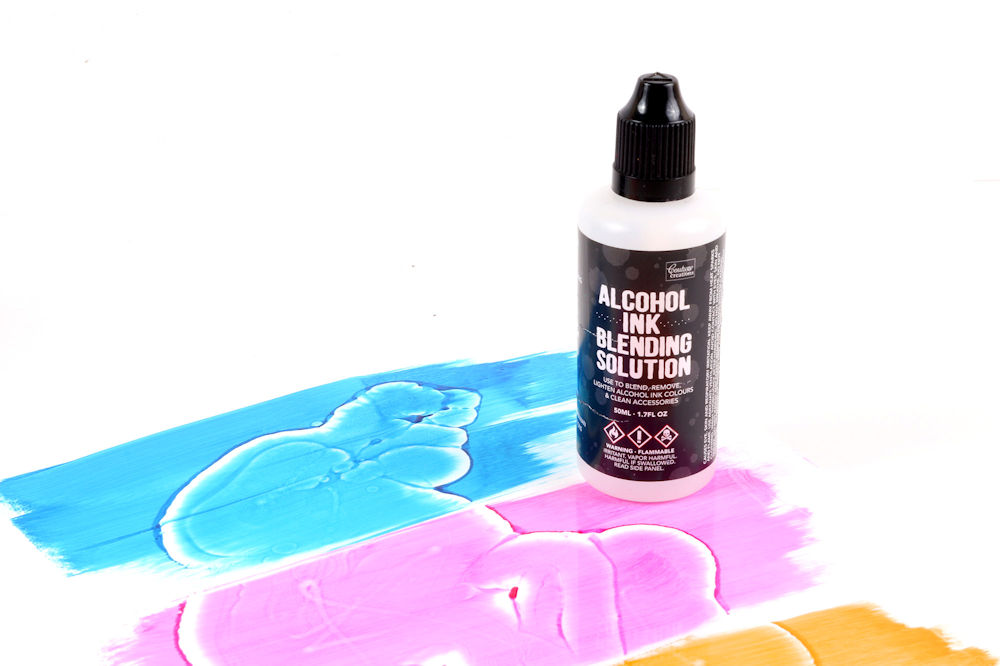
While the ink is still nice and wet use your blending solution and add quite a bit of it onto the ink. Let it sit for a while and then swirl the paper around to mix the colors a bit.

TIP: I also added some into a misting bottle and sprayed the inks to create small little drops of texture on it.

2021_Jul_JowilnaNolte_School_step5
Step 5

Leave to dry. I left mine to dry for a while and still had some thicker areas where the ink pooled that stayed tacky, so I simply used a clear sealant and sprayed that over the paper and left it again. It dried nicely and now all I have to do is use this gorgeous Faux alcohol ink piece of a project.

Trim your panel to fit onto the front of a folded card and adhere the panel using Tear It! Tape.

Add a vinyl decal and stamped sentiment, then finish off your card with a few scattered diamante. And in a few minutes you created this gorgeous colorful card perfect for advancing to the next grade.

Art Supplies

Imagine

VersaFine Clair Paradise
VersaFine Clair Charming Pink
VersaFine Clair Summertime
VersaFine Clair Nocturne
Tear It! Tape
On Point Glue

Other

Yupo paper
Alcohol blending solution
Die-cut: Cricut
Gold vinyl: Cricut
Die-cut machine: Cricut Maker
Embellishments
Stamps: Joy Clair

Create Fun & Easy Ombre Looks with VersaMagic Ink Pads

2021_JL_Aug_Ombre_Blog

By Jessica Lin –

Hi everyone, it’s Jessica here. Today I have a very simple technique that I’d like to share with you. It’s ombre stamping with a stamp positioning tool! It is super easy and fun, and the color combinations are endless! I’ve used this technique so many times before and it never gets old. Have you tried creating your own ombre ink pad looks before?

Skill: Intermediate

Directions:

Supplies Used

Imagine:
Other products:

Stampin’ Up Jar of Love stamps and dies
Neenah Solar White cardstock
Heat gun
Pear Pizzazz and Lost Lagoon cardstock


How to Create a Fun and Colorful Birthday Card

2021_Jul_JowilnaNolte_Birthday_main

By Jowilna Nolte 

When I think of all my favorite inks I think of how well they can work together. There’s no better way to create interest than combining different types of inks together for some stunning effects and making easy striking cards.

For this card I simply used a single ink splat stamp and combined it with my favorite inks for a stunning end result.

Skill Level: Beginner

Time: 20 minutes

Directions:

2021_Jul_JowilnaNolte_Birthday_step1

Step 1

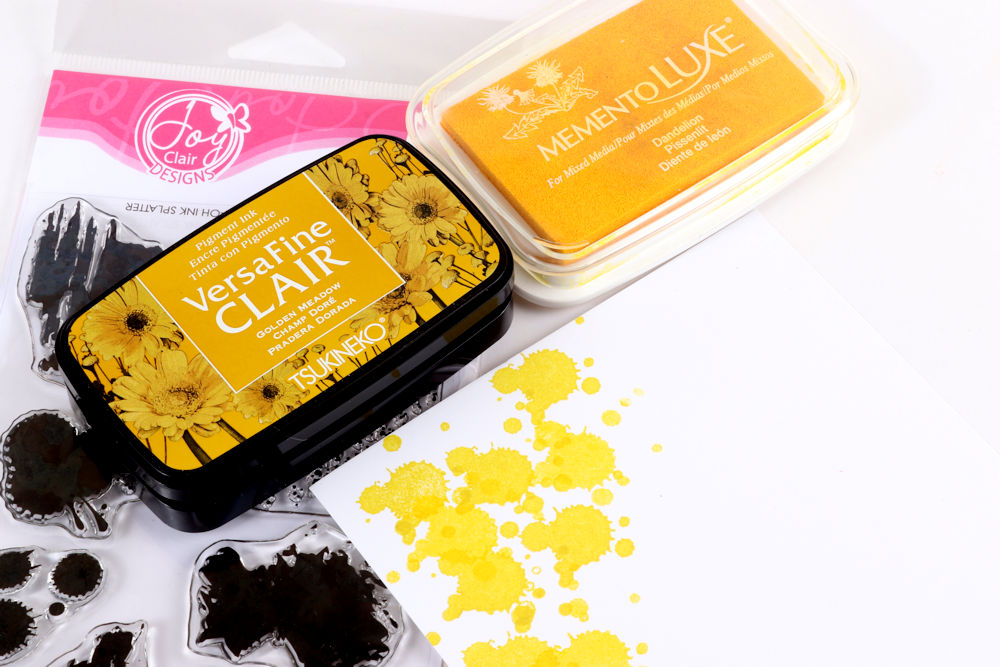
Combine VersaFine Clair and Memento Luxe inks in the same color to stamp layers. For my first color I combined the yellow inks – first stamping Golden Meadow VersaFine Clair and then on top I stamped Dandelion Memento Luxe.

All my stamping was done in a bit of a diagonal line.

2021_Jul_JowilnaNolte_Birthday_step2
Step 2

Repeat the process using Verdant VersaFine Clair and Pistachio Memento Luxe.

2021_Jul_JowilnaNolte_Birthday_step3

Step 3

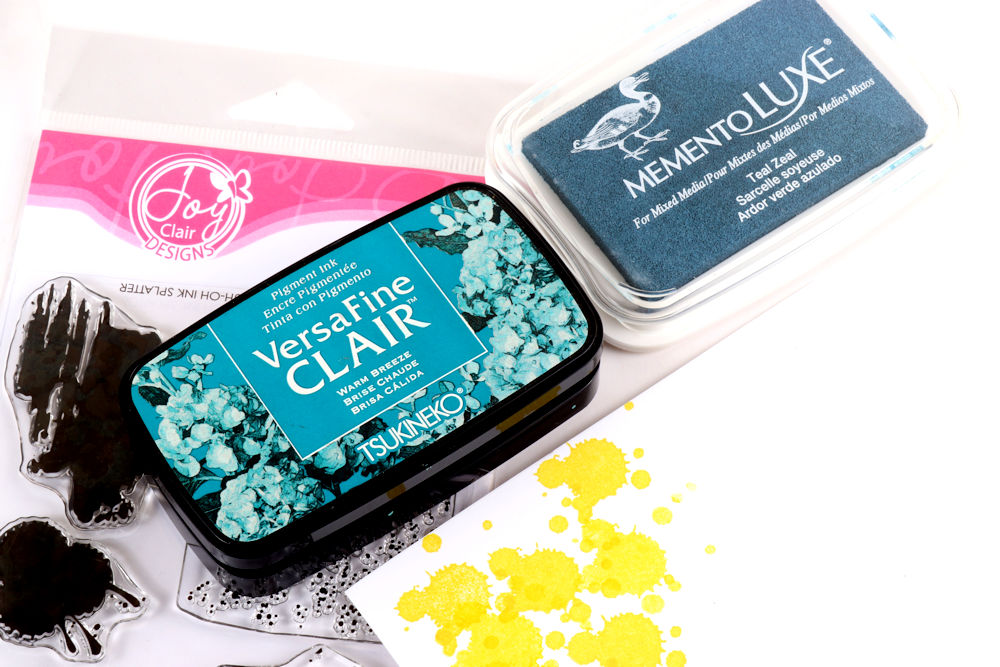
Repeat the stamping using Warm Breeze VersaFine Clair and Teal Zeal Memento Luxe.

2021_Jul_JowilnaNolte_Birthday_step4

Step 4

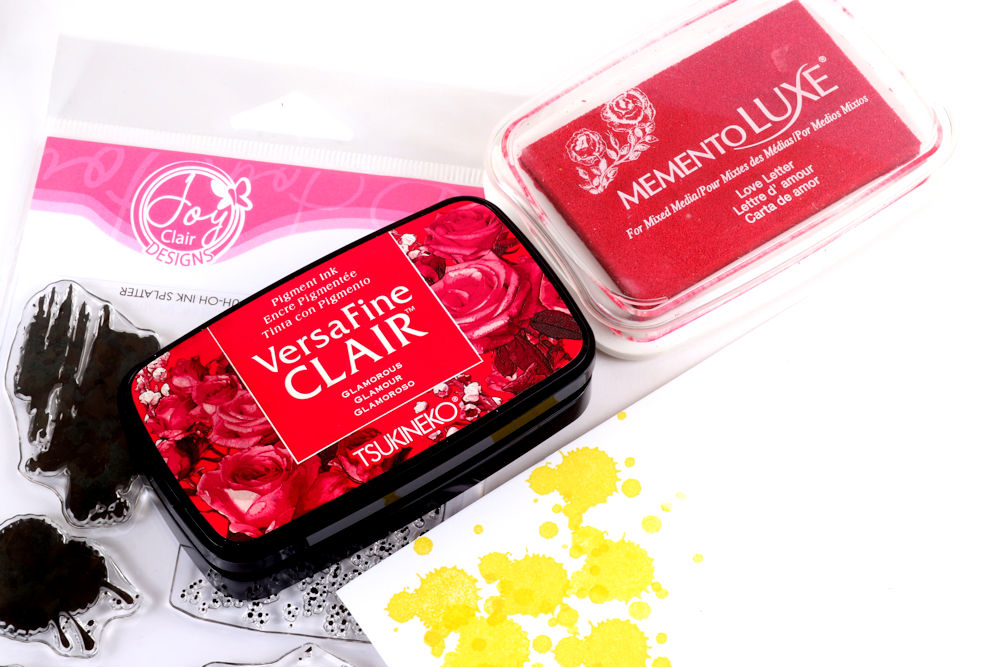
Lastly combine the red by first stamping Glamorous VersaFine Clair and then finish off with Love Letter Memento Luxe ink.

Step 5

Trim your stamped panel to fit into a folded card base. Cut a vinyl holographic sentiment and adhere to your card. I off-set mine with a white die-cut piece for a shadow effect and dimension. Finish off with some diamante.

Art Supplies

Imagine

VersaFine Clair Full-size Inkpad Warm Breeze
VersaFine Clair Full-size Inkpad Golden Meadow
VersaFine Clair Full-size Inkpad Verdant
VersaFine Clair Full-size Inkpad Glamorous
VersaFine Clair Nocturne
Memento Luxe full-size inkpad Pistachio
Memento Luxe full-size inkpad Dandelion
Memento Luxe full-size inkpad Teal Zeal
Memento Luxe full-size inkpad Love Letter
Tear it! Tape
On Point glue

Other

White cardstock
Diamante
Die-cut: Cricut Maker
Holographic vinyl: Cricut

Make an Inspiration Card Using Kaleidacolor

Grateful-1-600_main

By Alison Heikkila

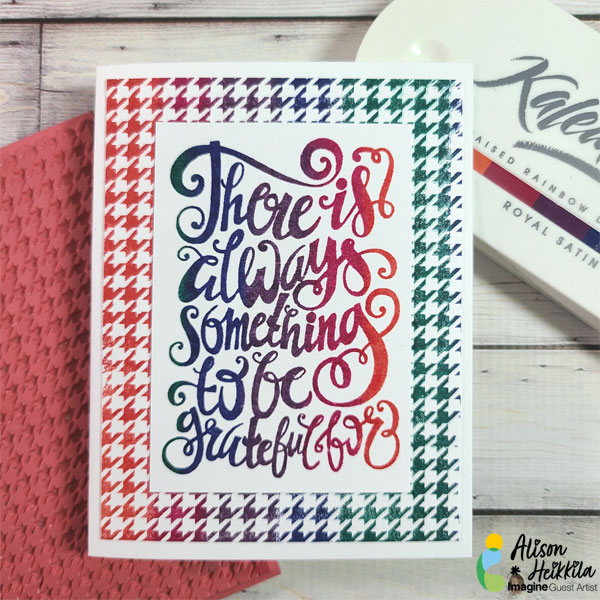
Sometimes we need a card- fast! Here’s an easy way to make an inspirational card with only 2 stamps and one Kaleidacolor ink pad. You can change up the stamps to suit your needs. Make sure you read to the bottom of the post to see this card done with different colors.

Skill Level: Beginner

Time: 5 Minutes

Directions:

Grateful-3

Step 1

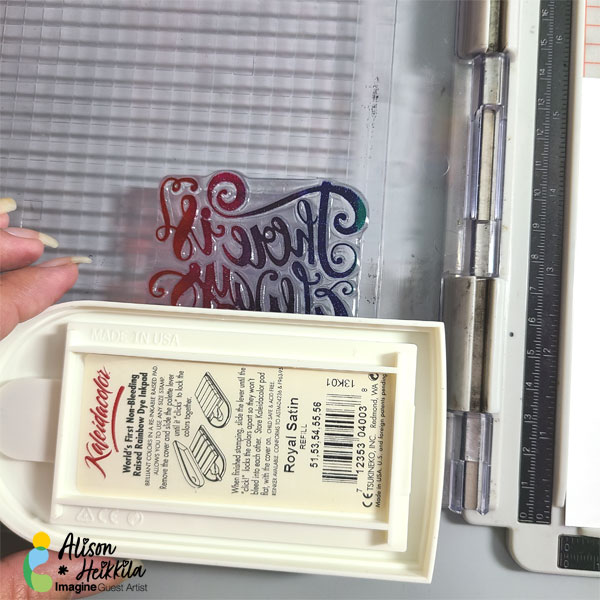
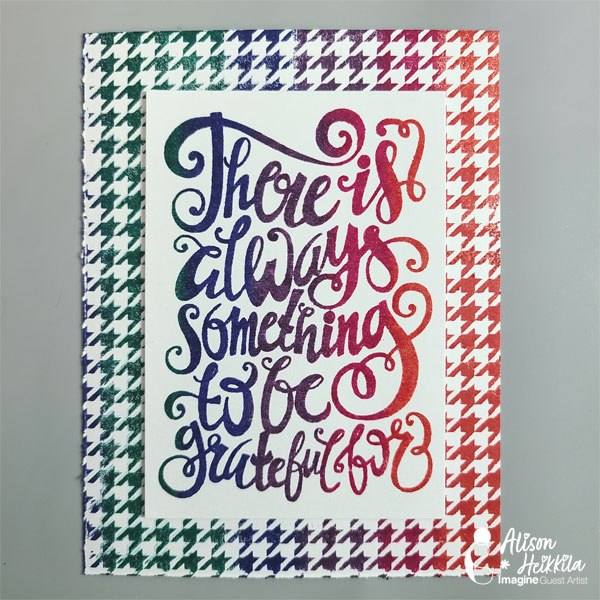
Using the Kaleidacolor Ink Pad of your choice, ink up your sentiment stamp. It’s a good idea to use a stamp positioner in case you need to ink it up more than once. Be sure to close the tab on the pad so that the colors “click” together. I chose Royal Satin Kaleidacolor. I recommend using using a palette that has deeper tones, as it may be harder to read a sentiment done in pastels.

Step 2

Stamp the image to make a solid impression. If there are any areas that need more ink, reink the stamp and restamp the image.

Step 3

Trim your sentiment.

Grateful-4

Step 4

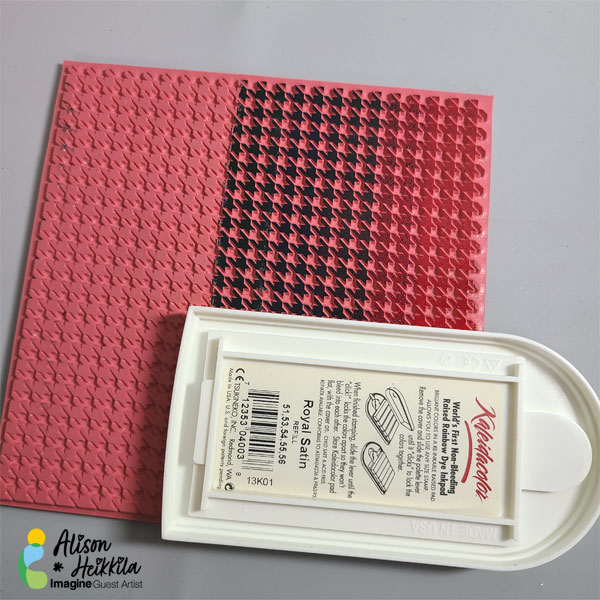
Using a background stamp, click together the colors again and ink the stamp. I have the tabbed area hanging off the edge of the stamp. You’ll only be able to ink up a little more than half the stamp this way, so flip the pad around to ink up the other side.

Grateful-5

Step 5

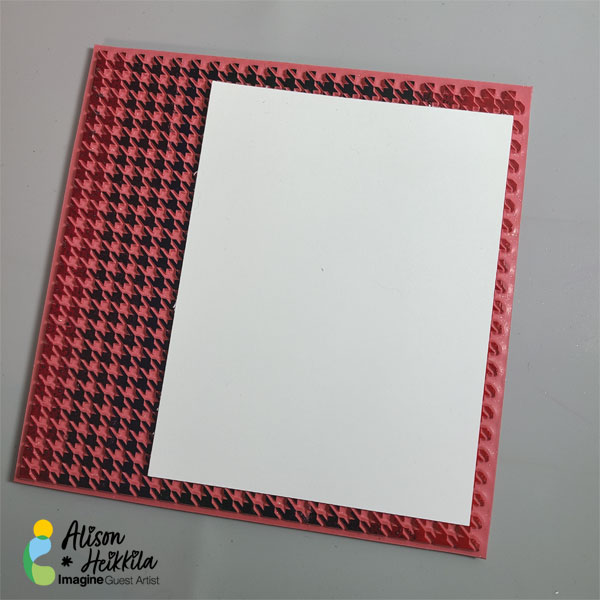
Place a piece of 4″ x 5 1/4″ cardstock on top of the inked background stamp.

Step 6

Apply pressure with your hands on to the cardstock to make an impression. If you don’t want inky fingers, grab a piece of scrap paper, lay it on top of the entire background stamp, and rub to get an impression.

Grateful-6

Step 7a

Now you need to decide if you want your background colors to match the order of colors on your sentiment. Above, you can see the colors aligned.

Grateful-7

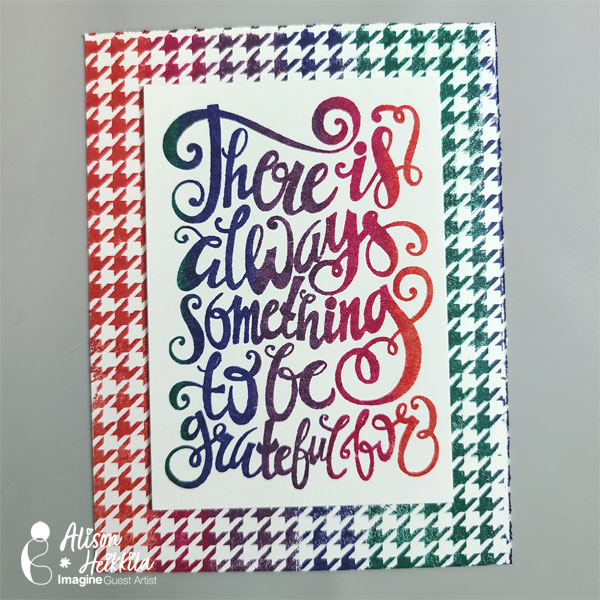
Step 7b

Here, you can see I reversed the colors, which I personally prefer. This is how I decided to make my card, but you can choose either option.

Grateful-9-600

Step 8

Glue your layers to a standard white A2 card base.

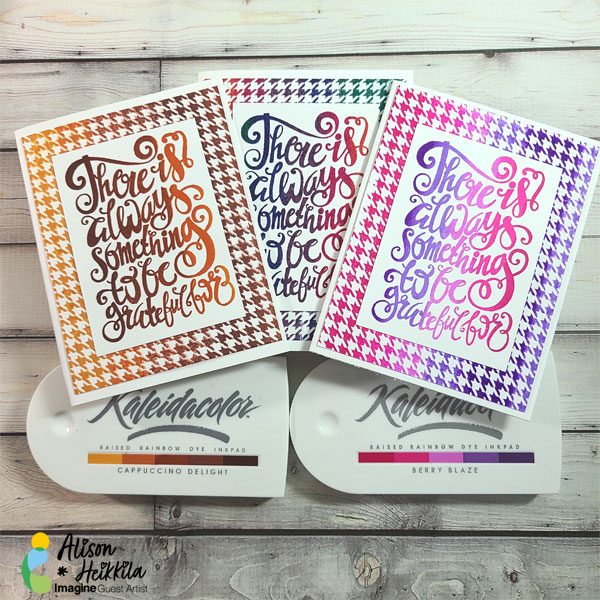
That’s it! You’re done, and you’ve made a card in about 5 minutes. If you make a pack of these, they would be a wonderful gift. Here are some other color versions.

Art Supplies

Imagine

Kaleidacolor Ink Pad (I used Royal Satin, Cappuccino Delight, and Berry Blaze)

Other

Brutus Monroe: There is Always Something to be Grateful For stamp
Erin Lee Creative: Houndstooth 6×6 Stamp
White Cardstock
Stamping Platform