by Arjita Sepaha Singh

For today’s mixed media tag, I used Imagine mixed media products. I took the chipboard tag and added Black gesso to get a nice dark base. Then I took a stencil and Creative Medium to add a beautiful flourish. I also added decorative chipboard cutouts, resin pieces (heart with wings) and paper flowers to my layout. Creative medium is a great adhesive for adhering all my unique pieces onto the tag. Once everything was dry, I added the beautiful Fireworks Shimmery Craft Spray and Golden Delicata ink to give this creative gift tag extra sparkle and shine. The shimmer products are especially bright on dark backgrounds and take on a new life!
Skill: Intermediate/Advanced
Time: 30 minutes + dry time
Directions
Supplies
Imagine
- Creative Medium – Clear
- Creative Medium Metallic – Gold
- Fireworks Shimmery Craft Spray – Danube Blue, Summer Sky
- Sheer Shimmer – Gold
- Delicata Inkpad – Gold
Other
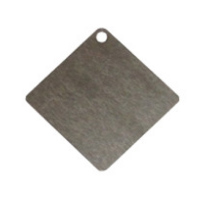
- Chipboard
- Stencil
- Chipboard design
- Resin Pieces
- Paper Flowers
- Black gesso
- Paint Brush