Halloween Fun with Memento Inks and Imagine Crafts

LeeAnn_October_2021

By LeeAnn McKinney

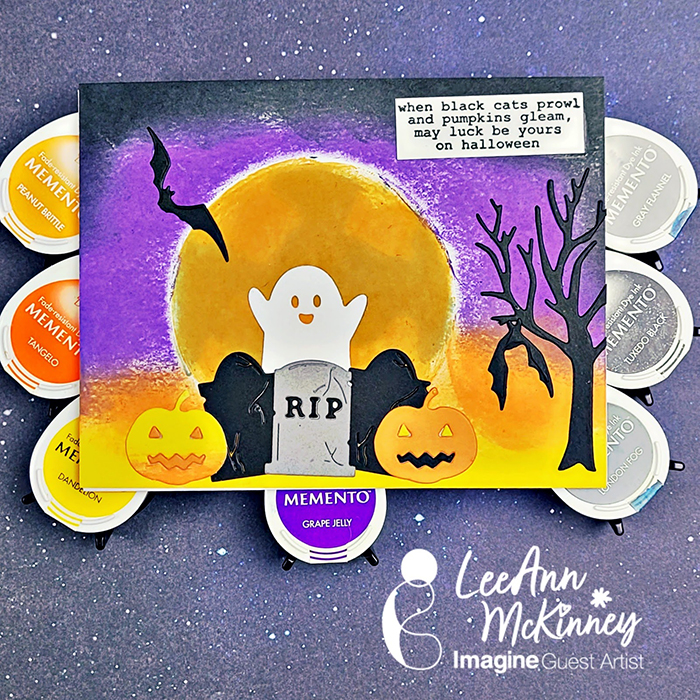
– Hi there friends and fellow crafters, It’s LeeAnn with a fun Halloween Card I made using Memento Dew Drops, a stencil, and some die cuts. Also a cute kitty using a multilayered stamp set.
Thanks for watching!


Art Supplies

Imagine:

• Imagine Crafts Craft Mat
• Tear it Tape
• VersaFine Clair Nocturne
• Memento Dew Drop Dandelion
• Memento Dew Drop Gray Flannel
• Memento Dew Drop London Fog
• Memento Dew Drop Tuxedo Black
• Memento Dew Drop Tangelo
• Memento Dew Drop Peanut Brittle
• Memento Dew Drop Grape Jelly
• On Point Glue

 
Other Products:

• Kat Scrappiness Crafters Essentials Halloween Dies
• Kat Scrappiness Boo-gy Ghosts Dies
• Kat Scrappiness Toil and Trouble Layering Stamp Set
• Scrappy Tails Starry Night 3 Layer Stencil Set


Make a Quick Batch of Halloween Cards with a Few Fun Techniques

2021-Oct-Neva-PumpkinCard

By Neva Cole –

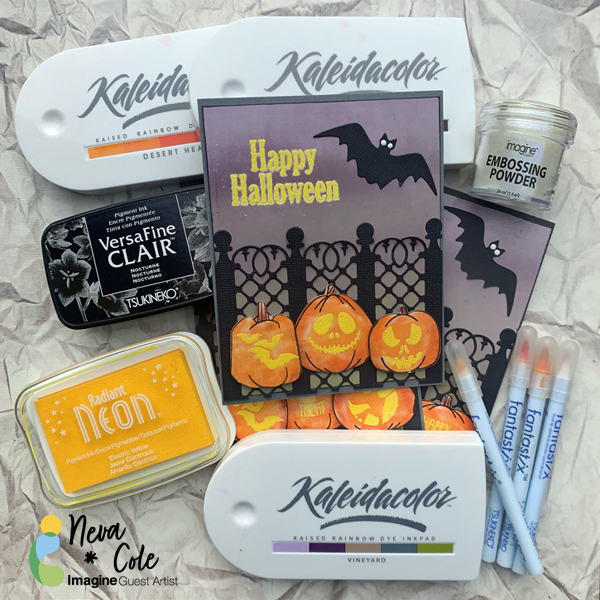
In today’s tutorial I will show you how to put together a quick set of Halloween cards ready to send out.  Ink resist and coloring with Fantastix and Kaleidacolor pads makes for quick images to place on a card.  The background is another Kaleidacolor brayered onto glossy cardstock.

Skill:  Intermediate

Time:  1.5 hours

Directions:
2021-Oct-Neva-PumpkinCard2

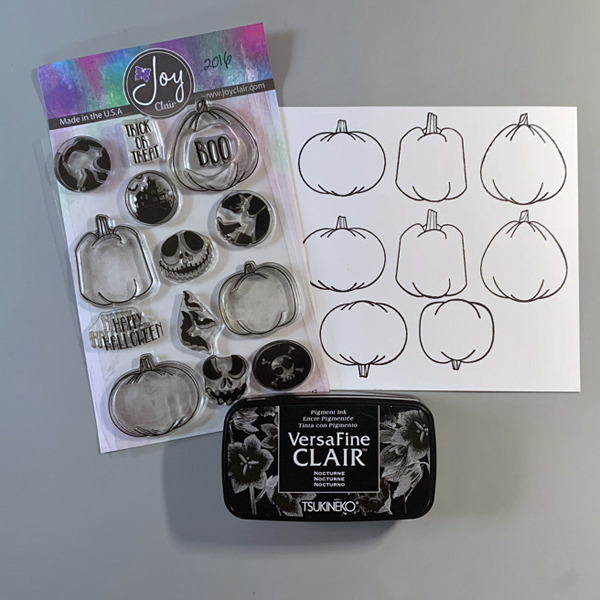
Step 1

Stamp pumpkin images in VersaFine Clair three times each on white cardstock. VersaFine Clair is a perfect ink for this technique as there is no smear when coloring over with other dye based inks.
2021-Oct-Neva-PumpkinCard3
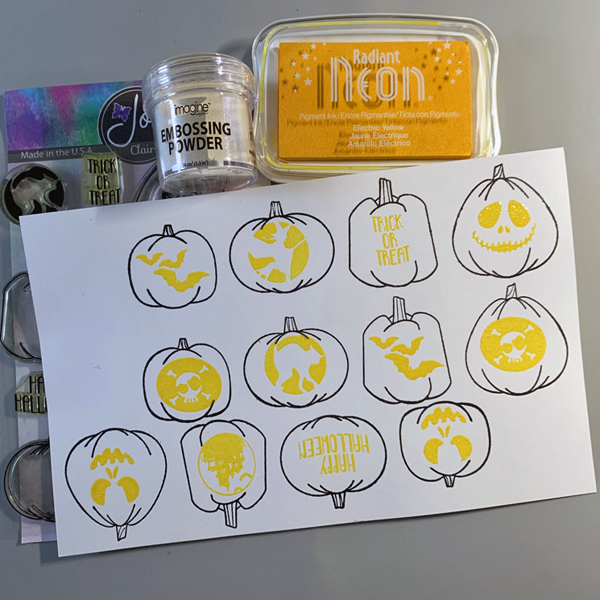
Step 2

Stamp pumpkin carving in Radiant Neon Electric Yellow and heat emboss with Iridescent Embossing Powder.
2021-Oct-Neva-PumpkinCard4

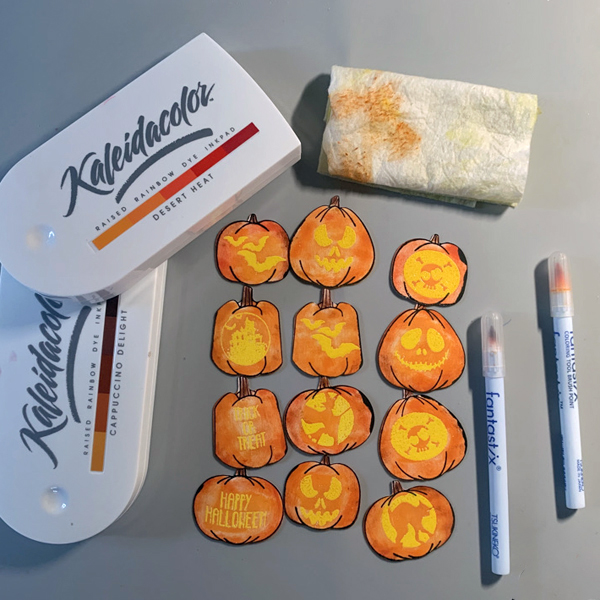
Step 3

Fussy cut or die cut pumpkins.  Use a Fantastix brush tip to color pumpkins using ink from Kaleidacolor Desert Heat and Cappuccino Delight.  The spectrum of colors allows a quick selection to shade different areas of the pumpkins.  Use a paper towel or soft cloth and remove ink from the embossed area so the images pop.
2021-Oct-Neva-PumpkinCard5

Step 4

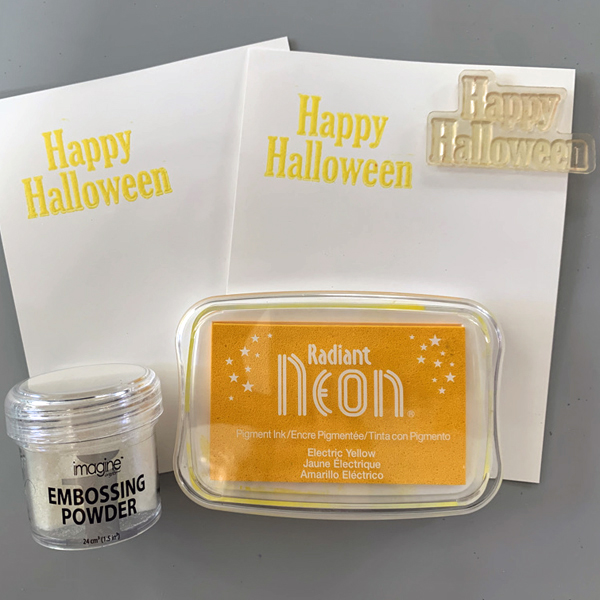
Stamp sentiment on glossy cardstock in Radiant Neon Electric Yellow and heat emboss with Iridescent Embossing Powder.
2021-Oct-Neva-PumpkinCard6

Step 5

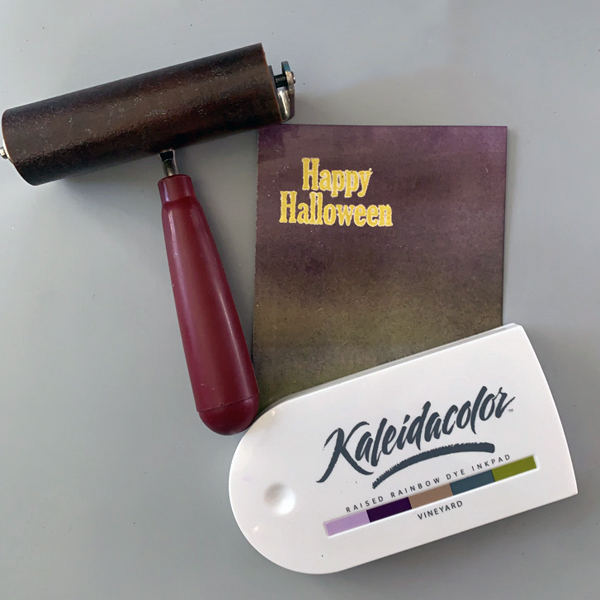
Use a soft rubber brayer to ink cardstock with Kaleidacolor in Vineyard.  Remove ink from the embossed area with a paper towel or soft cloth.
2021-Oct-Neva-PumpkinCard7

Step 6

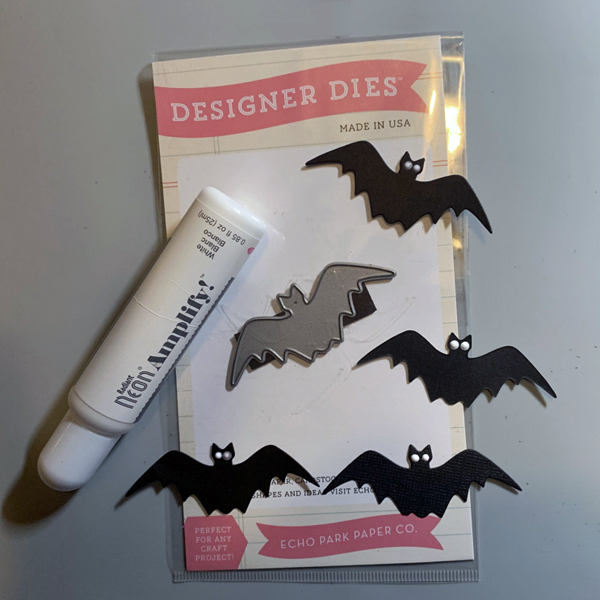
Die cut 4 bats from black cardstock. Use Radiant Neon Amplify! in white to add big white eyes. The Amplify! was not heated.

Step 6

Die cut four fence die cuts from black cardstock.  (Not shown.)
2021-Oct-Neva-PumpkinCard8

Step 8

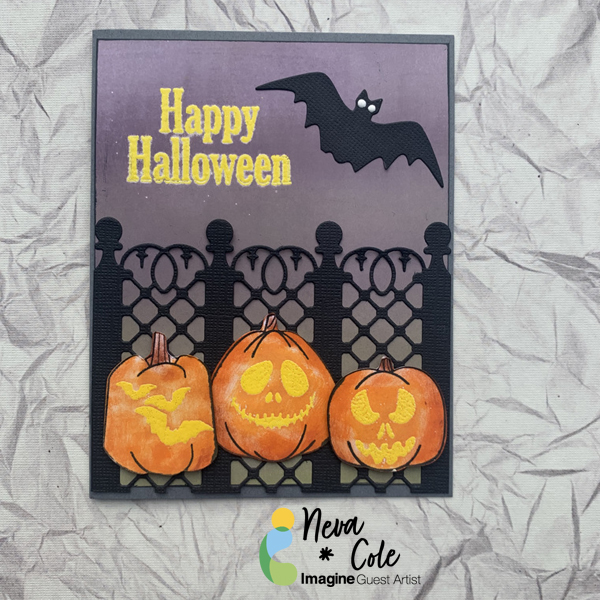
Adhere background to A2 grey card base with Tear It! Tape. Adhere the fence and bat die cuts with On Point Glue.  Adhere center pumpkin with Tear It! Tape.  Adhere side pumpkins with dimensional foam adhesive.

Art Supplies

Imagine
Other
  • Joy Clair Trick or Treat Stamps
  • Heidi Grace Designs Halloween Stamps
  • Echo Park Going Batty Die
  • Heartfelt Creations Lattice Flourish Gateway Die
  • Rubber Brayer
  • Dimensional Foam Adhesive
  • Brother Scan-N-Cut

How to Create Fabric Halloween Treat Bags

Blog - Halloween Treat Bags copy

By Annie Collins

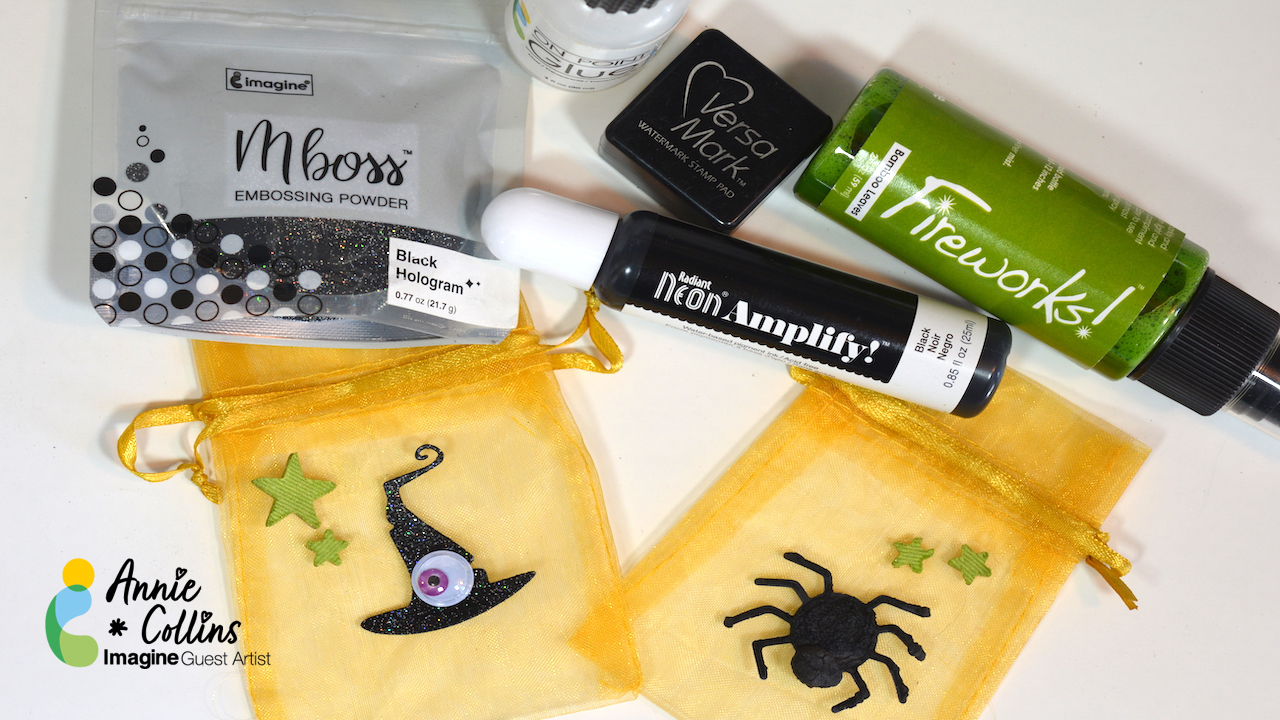
– Hello Crafty Friends – Annie here with some fun Halloween treat bags. I used a variety of Imagine Crafts products to create this cute fabric treat bags.

Directions:

Art Supplies:

Imagine

• Mboss Embossing Powder: Black Hologram

• Neon Radiant Amplify Texture

• Fireworks! Shimmery Craft Spray

• On Point Glue

Other:

• Dollar Tree Organza Bags: Golden
• Dollar Tree Googly Eyes: Purple
• Coco & Reno Dies: Witch
• Maker’s Movement Dies: Spider Set
• Studio Calico Mistable Stars
• Mini Maker Die Cutting Machine

Create Cute Christmas Cards with Puns

2021_Sep_JL_Punny Card_900

By Jessica Lin

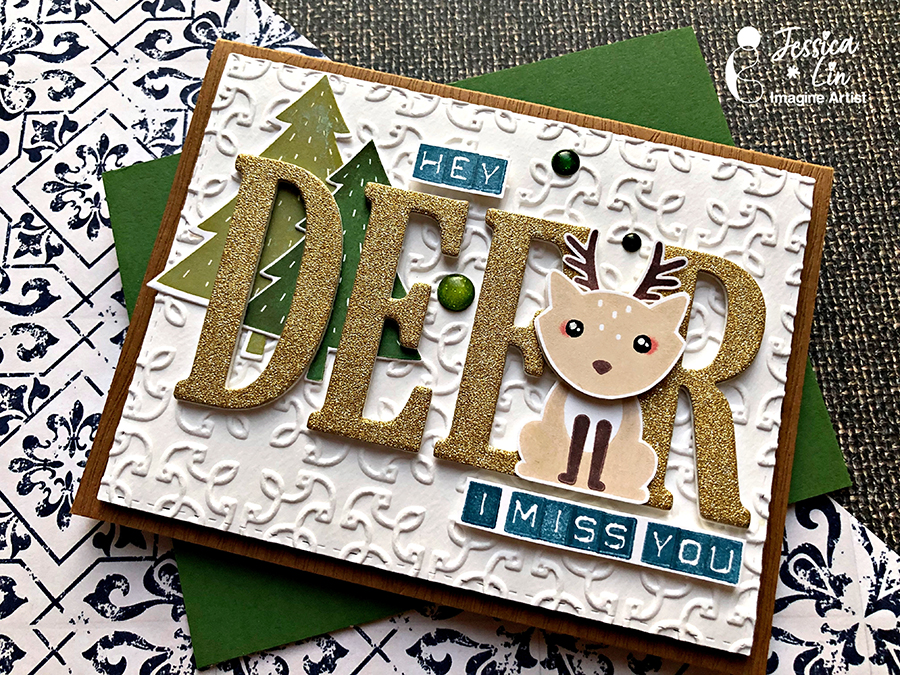
Hi everyone, it’s Jessica here. Can you believe that it’s almost October? I felt like this year went by so fast! I thought I would start making Christmas cards earlier this year, and I wanted to create some “punny” cards. I remember when I first started cardmaking, I loved to make cards with puns or inside jokes because those were so different from store-bought cards. Do you like cards with puns? I would love to know!

Skill: Beginner

Directions:

Supplies Used

Imagine:
Other products:

Stamparatus
Stampin’ Up Foxy Friends bundle
Stampin’ Up Large Letters dies
White Cardstock
White Fun Foam
Stampin’ Up Garden Trellis Embossing Folder
Stampin’ Up Labeler Alphabet stamp set

Make a Welcome Baby Card Using Fireworks! Shimmery Craft Sprays

By Katy Ingram

Hello my friends! Katy here and today I am going to show you how to create this super simple baby card using Fireworks! Shimmery Craft Sprays. In the video I show you how easy it is to add to paint with your fireworks sprays. This will give a nice even coverage allowing you to create your own colored paper. Check out the video below to see how it all came together. I hope you enjoy. Thanks for watching.

Skill: Beginner, Intermediate, Advanced
Time: about 30 minutes

Art Supplies:

Imagine

• Fireworks! Shimmery Craft Sprays
– London Fog
– Rose Bud
– Lilac Posies
– Lulu Lavender
• On Point Glue
• VersaFine Onyx Black

Other Products Used:

• Honey Bee Stamps Baby Stamp Set
• Pinkfresh Studio Slimline Edgers Die Set
• Watercolor Paper
• White Card Base
• Concord and 9th Simple Serif Alphabet die set
• Grey Card Stock

Learn How to Make a Mini Slimline Happy July 4th Card

Happy-July-4th-card-Blog-2

By Annie Collins

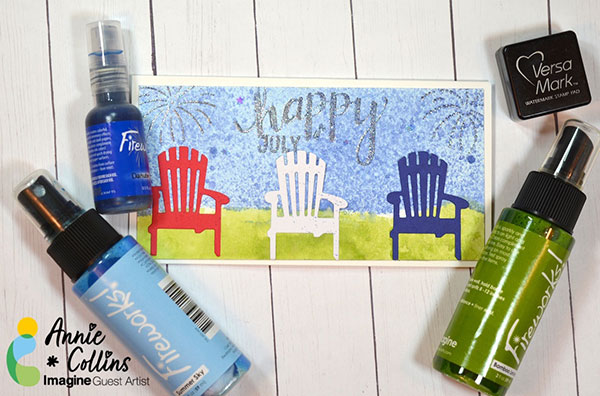
Hello Crafty Friends – Annie here with a fun July 4th mini slimline card, featuring Fireworks! Shimmery Sprays.

Directions:

Art Supplies:

Imagine

• Fireworks! Shimmering Spray: Bamboo Leaves, Summer Sky and Danube Blue

• Mboss Embossing Powder: Shimmering Night Sky, Silver and Irridescent

• Memento Marker: Tuxedo Black

• VersaMark Watermark Ink

• On Point Glue

• Tear It! Tape

Other:

• Hero Arts Stamp & Die Set: DC150 Happy
https://heroarts.com/

• Maker’s Movement Stamp: Sarcastic New Year
https://themakersmovement.com/MOS231-Sarcastic-New-Year-Stamp-Set/

• Gina Marie Designs: Adirondack Beach Chair
Adirondack Beach Chair – Gina Marie Designs

• Recollections Planner Die: Months

• Recollections Brand 110# Cardstock: White

• Recollections Brand 65# cardstock: Red, White & Blue