by Jowilna Nolte

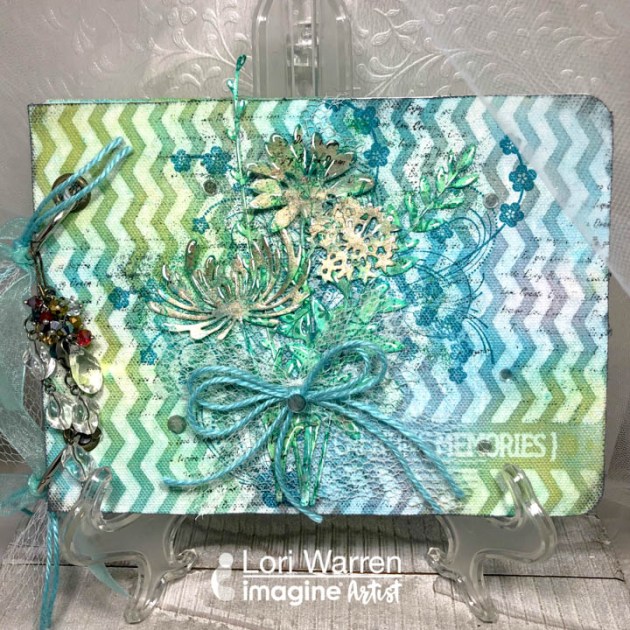
Create a beautiful dimensional Moon and Stars home decor element using resin embellishments and Fireworks Shimmery Craft Spray. Combine warm rich colors to compliment your yellow and the end result is simply stunning. A quick and easy project with lots of colors showcasing the amazing shimmer and shine by using Fireworks.
Skill: Intermediate/Advanced
Time: 30 – 45 minutes
Directions

Step 1
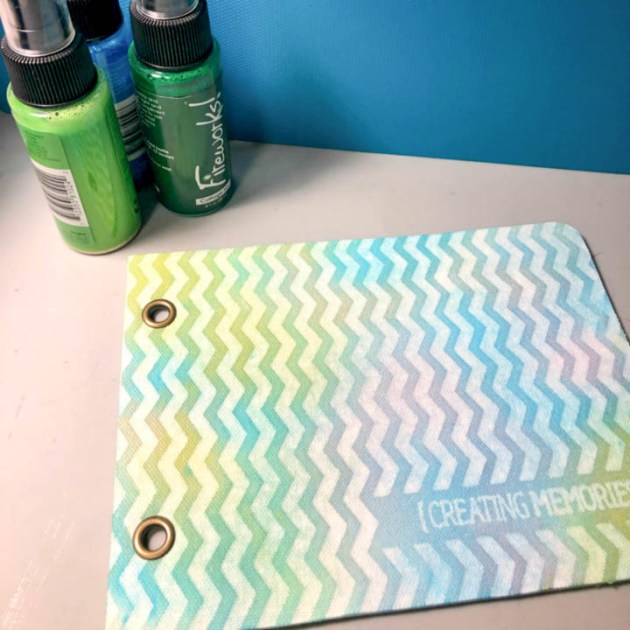
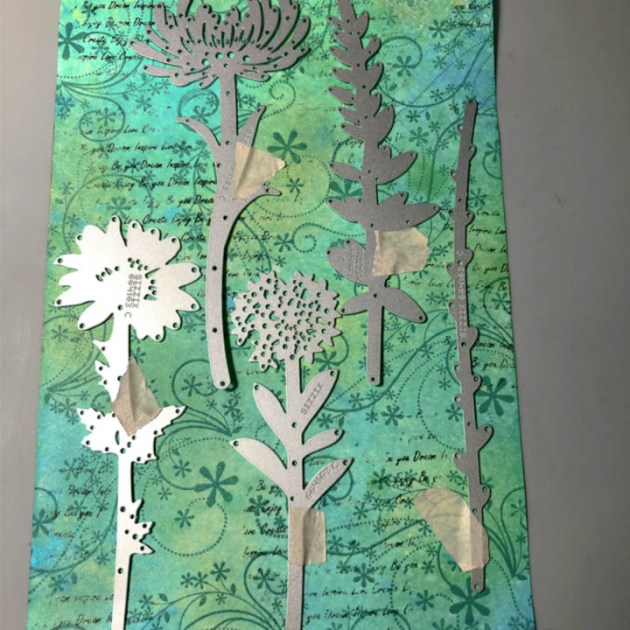
Add stenciling to a piece of wood using texture paste and leave to dry. Adhere resin elements to the block over the stenciling and leave to dry.

Step 2
Paint the entire block with the dimensional elements on using black gesso. Make sure you cover all the pieces and the sides too. Leave to dry.

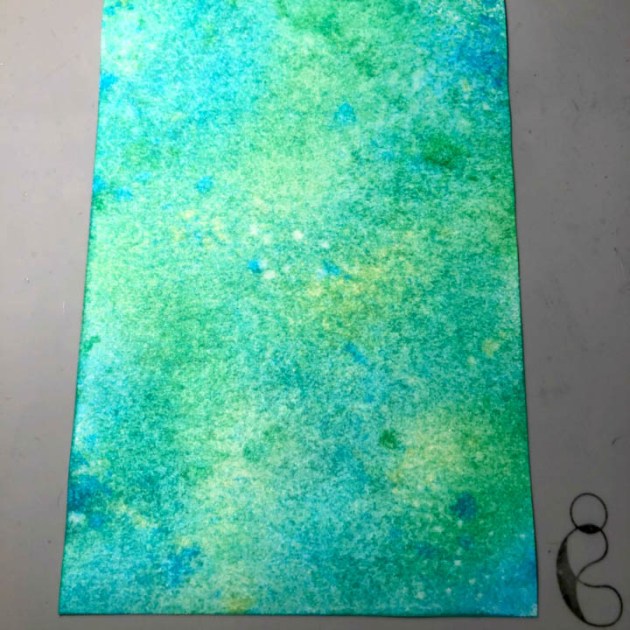
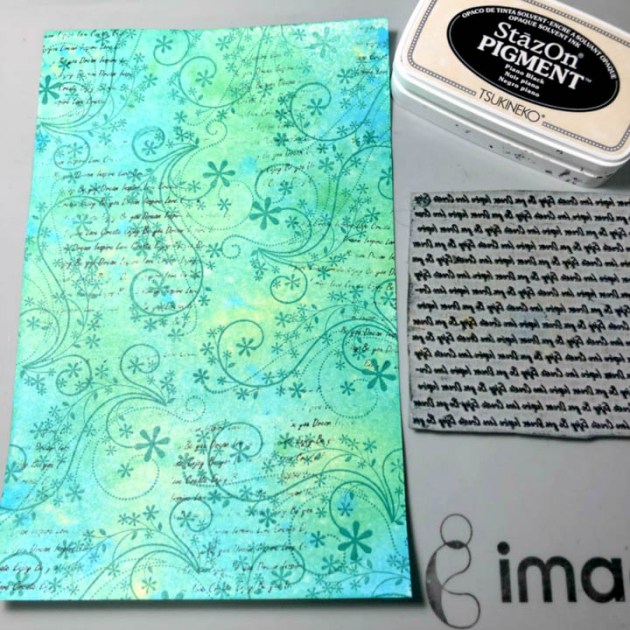
Step 3
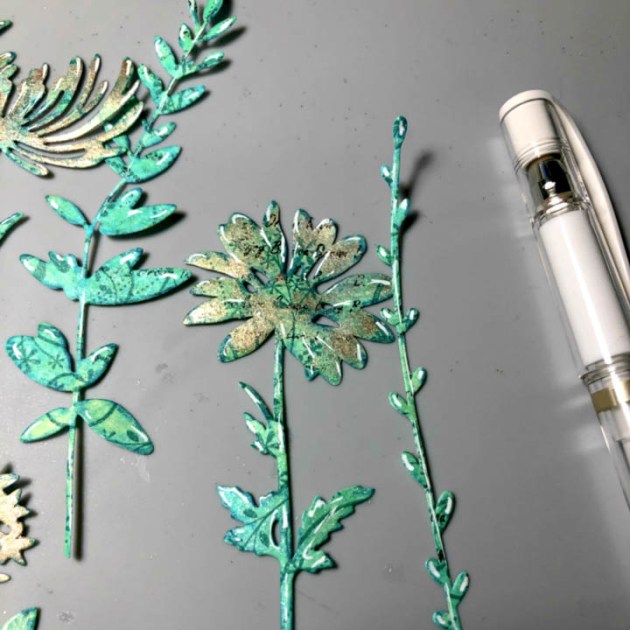
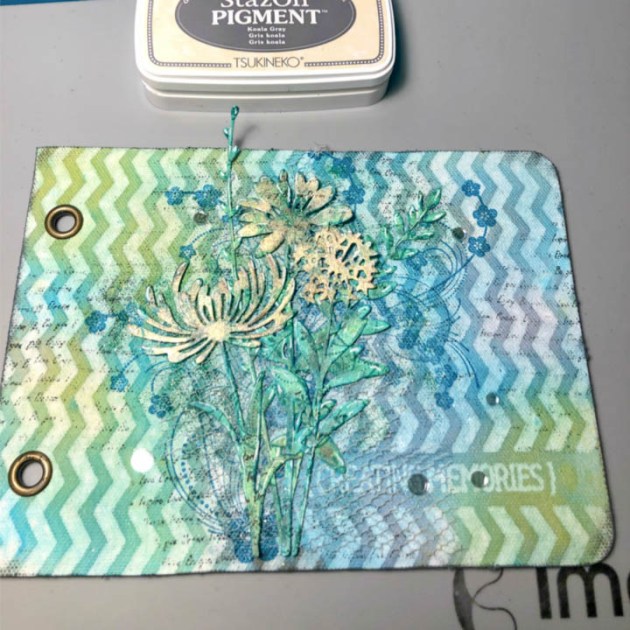
Use 3 to 4 colors of Fireworks Shimmery Craft Spray and mist over the entire design. Layer the colors over each other. Use a heat gun to dry layers in between and then add more color until you are happy with the look.

Step 4
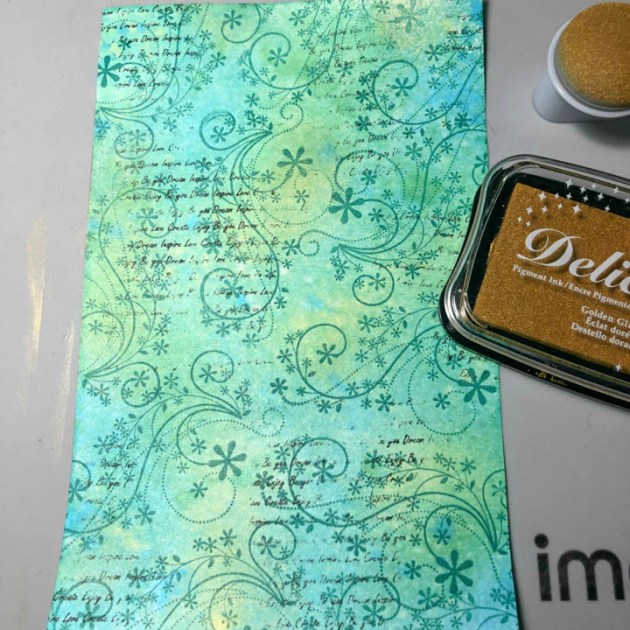
Once the colored layers are dry, give it one last misting of Sheer Shimmer Spray in Sparkle for extra shine. I also added some Delicata Gold inker and rubbed it over the resin elements with a sponge to highlight the details and dimension.
Supplies
Imagine
- Craft Mat
- Fireworks! Shimmery Craft Spray – Dandelion, Lilac Posies, Rose Bud, Cantaloupe
- Sheer Shimmer Spray – Sparkle
- Delicata Inker – Golden Glitz
Other
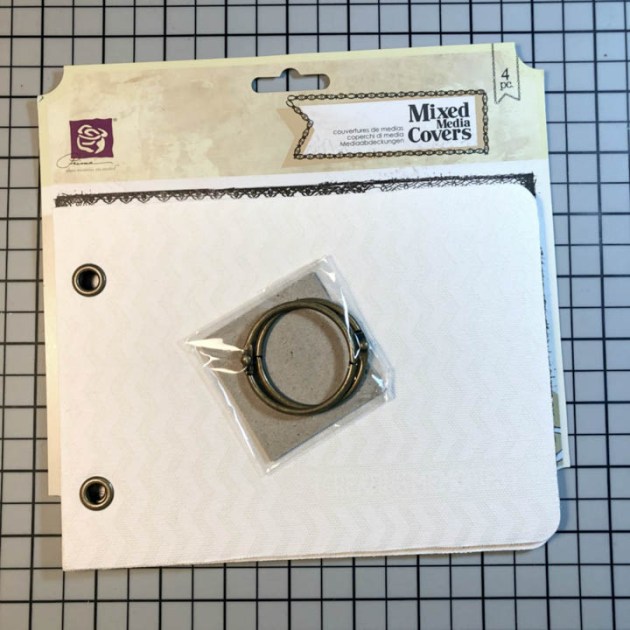
- Wooden block
- Jowilna Nolte stencil
- Prima Moulds Resin
- Texture Paste: Little Birdie