Learn How to Make a Fall Thank You Card

2021-Sept-Neva-FallThanks

By Neva Cole –

In today’s card making tutorial, I will show you how to create a Fall themed “Thanks” card using three different inks. The Autumn colors are vibrant and blend well with kraft card stock and burlap ribbon.  I hope this card inspires you to think of all things pumpkin spice and apple cider as we head into fall!

Skill:  Intermediate

Time:  1.5 hours

Directions:

2021-Sept-Neva-FallThanks-Step1ab2021-Sept-Neva-FallThanks-Step1c

Step 1

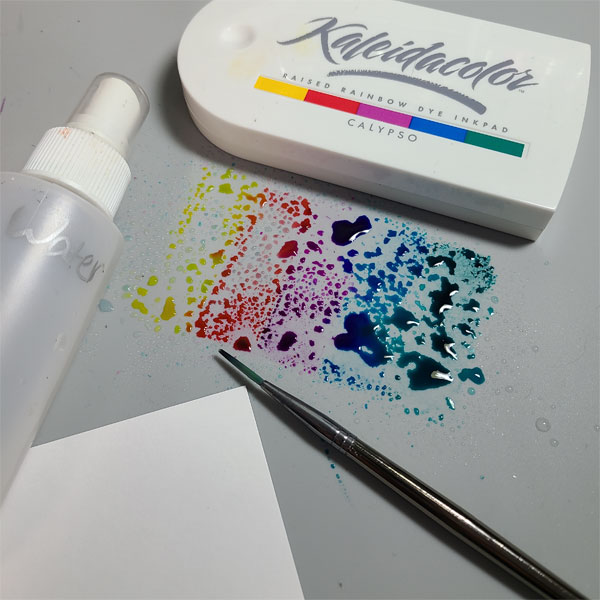
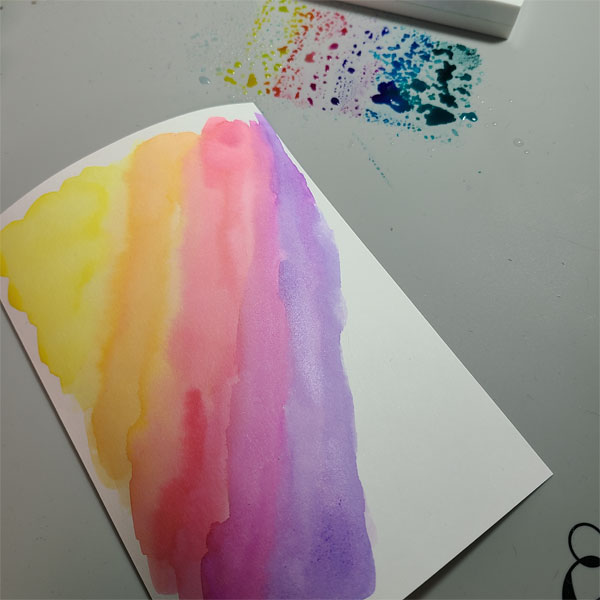
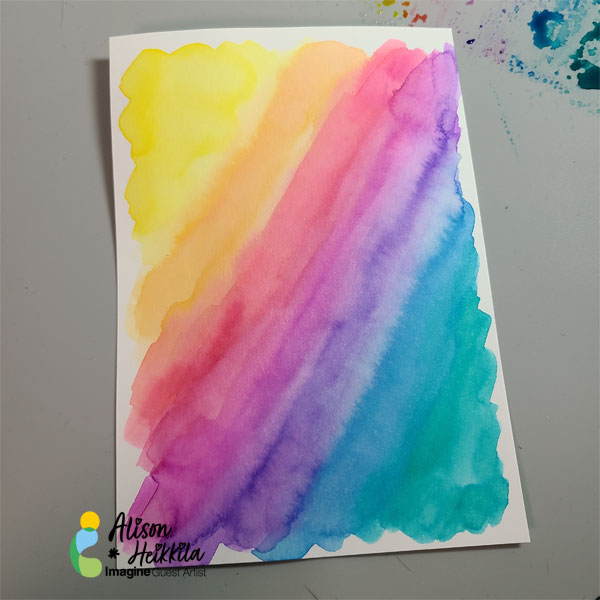
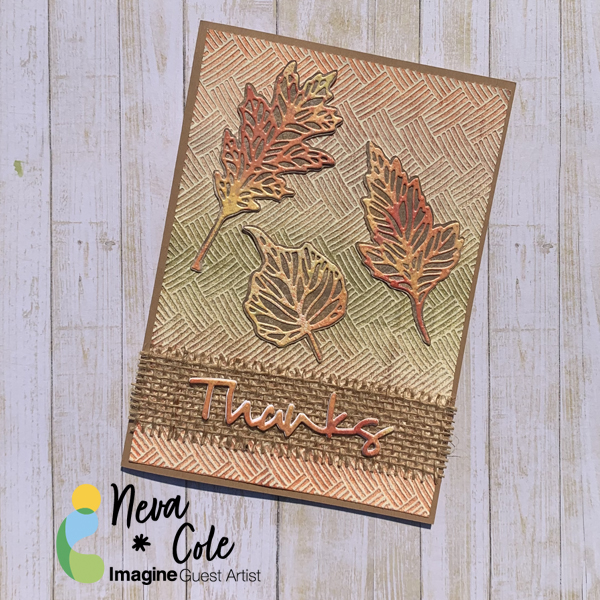
Spritz white cardstock with Fireworks! Lady Bug, Tangelo, and Dandelion.  I like to start with the darkest color first working to the lighter color to fill in the last areas of white.  Set aside to dry.
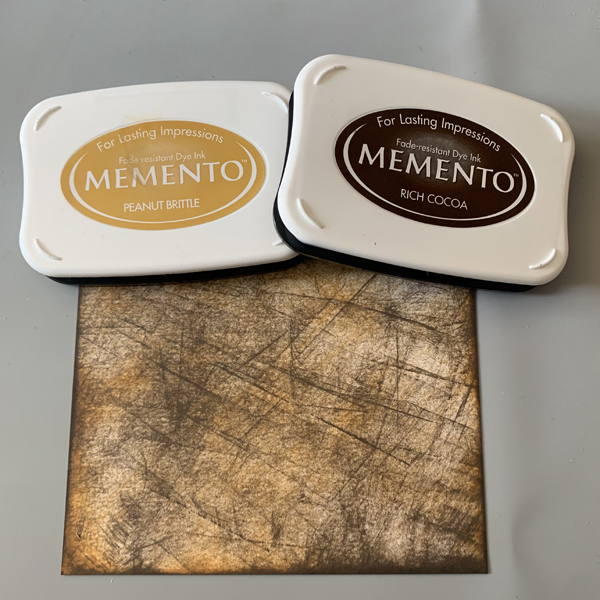
2021-Sept-Neva-FallThanks-Step2
Step 2

Use Memento Peanut Brittle and Rich Cocoa ink pads and press directly on the cardstock. This creates a splotchy look.
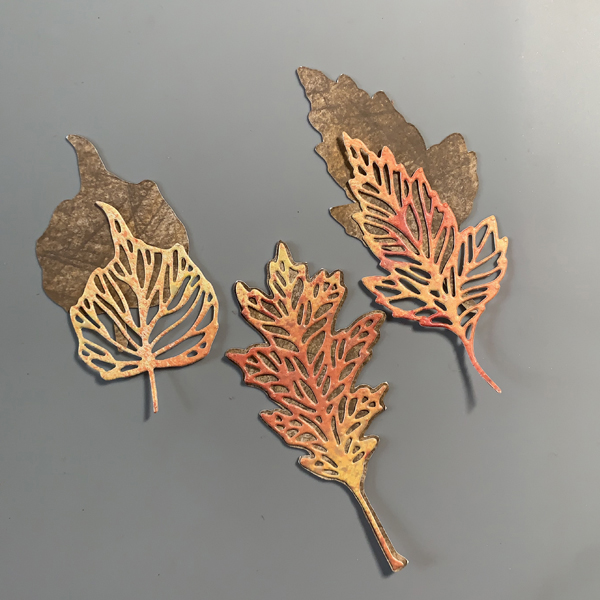
2021-Sept-Neva-FallThanks-Step3

Step 3

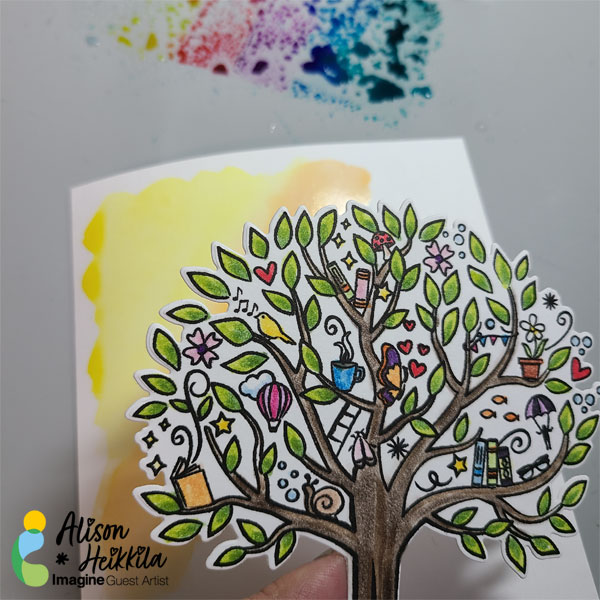
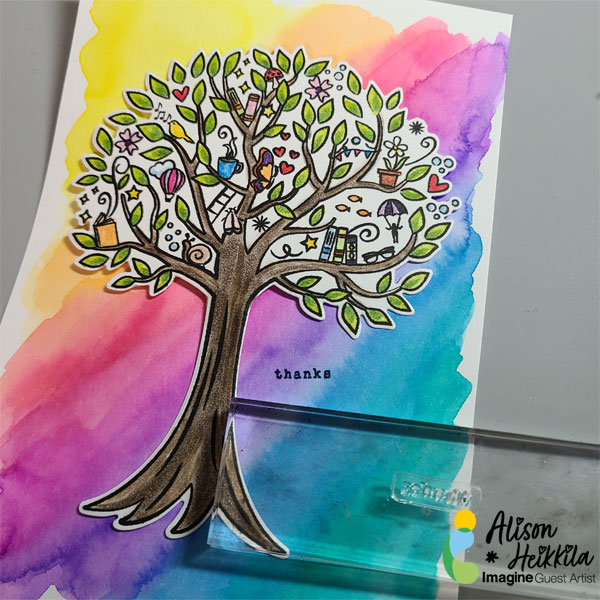
Die cut the Fireworks! colored cardstock with Skeleton Leaves dies.  Cut an outline to back the leaves either by hand or with an electronic die cutting machine.  Adhere the layers together with On Point Glue.  Small dots in the thicker areas of the leaves works best.
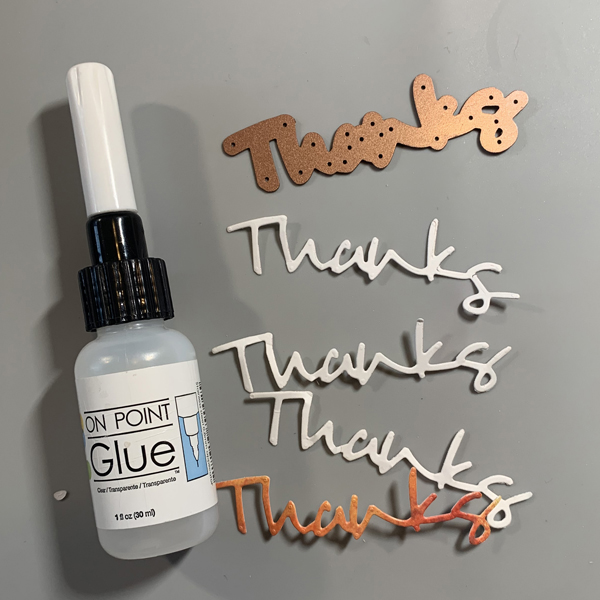
2021-Sept-Neva-FallThanks-Step4

Step 4

Die cut one “Thanks” sentiment from the Fireworks! colored cardstock and three from white cardstock.  Layer together with On Point Glue to create a dimensional sentiment.  To avoid glue from leaking out from between the layers, use small dots of glue on the outside edges.
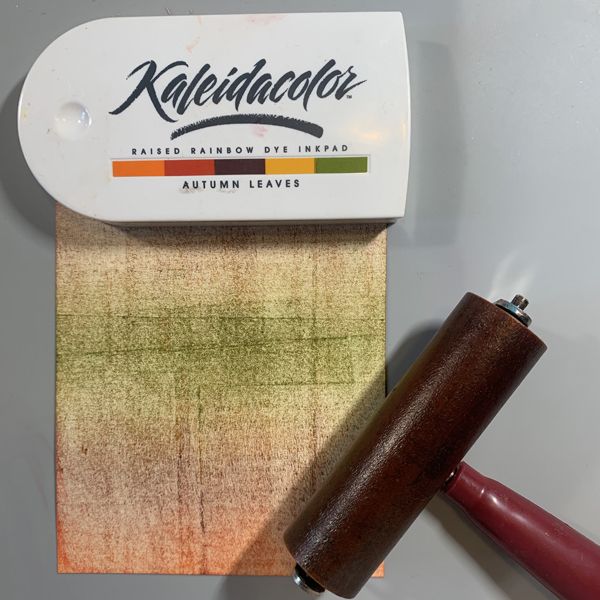
2021-Sept-Neva-FallThanks-Step5

Step 5

Use a soft rubber brayer to ink cardstock trimmed to 4.74” x 5.75”.  Kaleidacolor in Autumn Leaves was used with the green portion in the middle and the light orange on either end of the cardstock.  Flip the cardstock to achieve this look.

2021-Sept-Neva-FallThanks-Step6

Step 6

Pressure emboss the cardstock with Basket Weave embossing folder.  Use a sanding block to remove color and allow the embossed design to pop.

2021-Sept-Neva-FallThanks-Step7

Step 7

Using Tear It! Tape, adhere your A7 kraft card base to background. Then tape the burlap ribbon. The Tear It! Tape, it’s translucent enough that it does not show through the burlap, and will hold the card together.  Adhere the “Thanks” sentiment and the leaves with On Point Glue.

Art Supplies

Imagine
Other
  • Sizzix Thinlets Skeleton Leaves
  • Spellbinders Phrase Set One
  • Darice Basket Weave embossing folder A7 size
  • Recollections A7 card Base
  • Burlap Ribbon
  • Sanding Block
  • Dimensional Foam Adhesive
  • Brother Scan-N-Cut

Make a Thank You Card for Medical Workers with Heat Embossed Ombre Effect

2021_June_JL_Ombre-Mboss-

By Jessica Lin

Hi everyone, it’s Jessica here. Have you gotten your vaccine yet? I recently got my second dose to become fully vaccinated and I made a thank you card to go with it. I love heat embossing because it’s so quick and simple, but always provides such a big wow factor. And I added a twist this time by creating the ombre effect! Let me know if you have ever tried heat embossing with different colors.

Skill: Beginner

Directions:

Art Supplies

Imagine:
Other products:
  • Honey Bee Stamps Bless Your Heart  
  • Heat Gun
  • Neenah Solar White cardstock 
  • Stamparatus 
  • Antistatic powder tool 


Create Beautiful Appreciation Card for Your Teacher

Grow-1-600

By Alison Heikkila

Hello! It’s getting close to the end of the school year, and between last year and this year, teachers have been champions, in my opinion. They’ve done so much for our students, learned so many new things themselves over the past year, that honoring them with a handmade card is a simple way to thank them for all of their dedication. I decided to combine Memento Markers with the Calypso Kaleidacolor Ink Pad and the March 2021 My Monthly Hero Kit to create a special card that’s perfect for any teacher.

Skill Level: Beginner

Time: 45 Minutes, plus drying time

Directions:

Grow-2

Step 1

Stamp the tree from the My Monthly Hero March 2021 kit on to Memento-friendly paper with VersaFine Ink. I used Smooth Bristol Cardstock.


Grow-3

Step 2

Color the tree using Memento Markers. My list of colors is below.

Step 3

Die cut the tree.


Grow-4

Step 4:

Cut an additional piece of Smooth Bristol cardstock, cut to 4 3/4″ x 6 3/4.”

Step 5

Push the Calypso Kaleidacolor Ink pad directly into your Imagine Craft Mat and spray with water. *Please note, I opted to use a larger brush than the one pictured here. Please see the supplies list for details.


Grow-5

Step 6

Begin painting the Calypso inks on to the Bristol cardstock. Use waters to help blend colors, and hold the tree up to the cardstock occasionally to see if you like your placement of colors. I worked diagonally, in the order the colors are in the ink pad.


Grow-6

Step 7

Continue working your way down the cardstock, blending colors as you go. I left a bit of a border around the edge of (most) of the Bristol.


Grow-7

Step 8

Once the panel is fully painted, let dry. Or, you can speed up the process with a heat tool. You can see how beautiful and vibrant the colors are, even after they’ve been watered down.


Grow-8

Step 9

Stamp your sentiment with VersaFine Clair Ink in Twilight. I assembled my sentiment with words from a Recollections stamp set.


Grow-9


Step 10

Create your card base out of black cardstock, cut to 10″ x 7.”

Step 11

Adhere the painted panel to the card base.

Step 12

Apply foam tape or pop dots to the back of the tree and adhere it to the card.


Grow-10

Step 13

Adhere Sparkle Blends to the card using On Point Glue.


Art Supplies

Imagine

VersaFine Ink in Onyx Black

Memento Markers in Rick Cocoa, Toffee Crunch, Bamboo Leaves, Pear Tart, Ladybug, Potter’s Clay, Dandelion, Summer Sky, Desert Sand, Angel Pink, Rose Bud, Lulu Lavender, Tangelo, Elderberry, Grape Jelly, Cantaloupe, Bahama Blue. 

Kalediacolor Ink in Calypso

VersaFine Clair Ink in Twilight

On Point Glue


Other

Hero Arts: My Monthly Hero March 2021 Kit

Doodles Paper Playground: Clearly in Love

Canson: Smooth Bristol Cardstock

Princeton: Snap! Size 10 Round Watercolor Brush

Recollections: Sentiment stamps and Black 110 lb cardstock


How To Make Your Own DIY Thank You Card

by LeeAnn McKinney

LeeAnn here with my last video of 2020. This year sure did go by fast, however, I am so ready for 2021 to begin, what about you?

For my final cardmaking project, I am bringing you a fun and gorgeous Gold Thank You card on black paper.  I love creating and crafting with embossing powders, so I did a lot of it with this one. Here you will see a silver and gold theme expressing, “Thanks for everything you do!”

Art Supplies

Imagine

Other Products Used:

  • Recollections 110lb Cardstock White and Black
  • Picket Fence Studios Background Stamp
  • Create And Inkspire Thanksgiving Stamp

5-minute Card – Stunning One-layer Denim & Copper Card for Guys

thanks card for guys

by Nicole Watt 

Whether a coworker, family member, or friend, guys need to know they’re appreciated too! Whip up this amazing one-layer thank you card inspired by your favorite denim jeans. Ink blending and simple stenciling with Tsukineko inks make this a breeze!

Skill: Intermediate to Advanced
Time: 5 minutes

Directions

Art Supplies

Other

Learn How to Make a Butterfly Thank You Card

Hello Crafty Friends! Annie Collins here with a quick and easy stenciled butterfly thank you card. See how I make two different versions of the same card design by a simple color change from pink to blue. 

Skill: Intermediate 
Time: 10 minutes

Directions

Art Supplies

Imagine

Other

  • Mroowvibes – Thank You Stamp and Die
  • Glossy Cardstock
  • Strathmore Cold – Press Watercolor Cardstock
  • Recollections Brand 110# Cardstock – White
  • Recollections Brand Mandala Stencil
  • Michelle’s Sparkling Creations: Jewels – Fuchsia, Pink and Teal