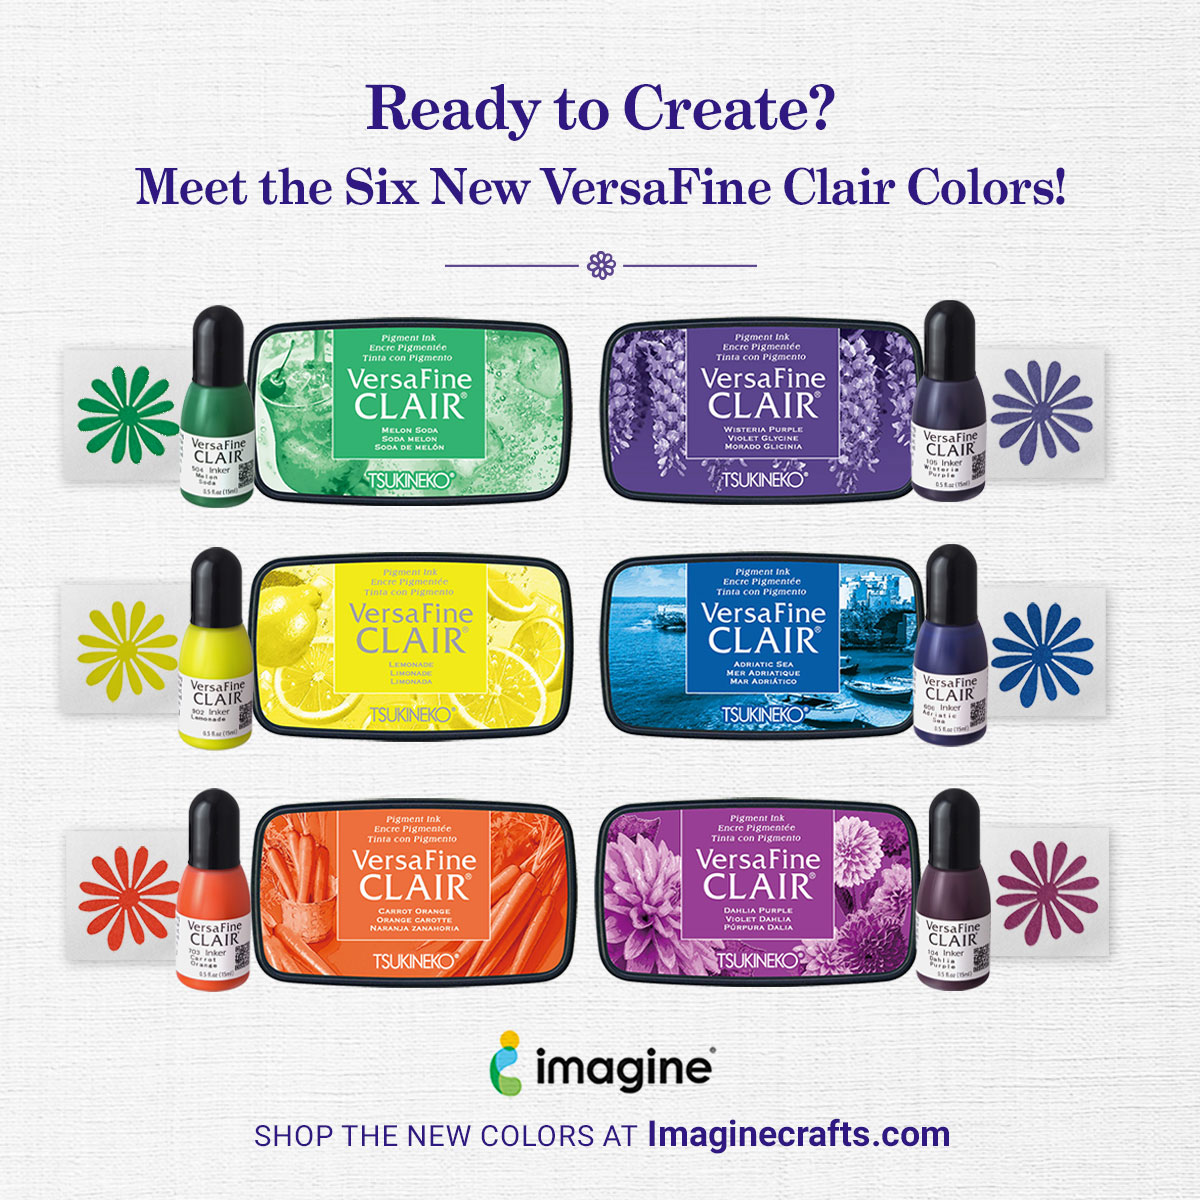
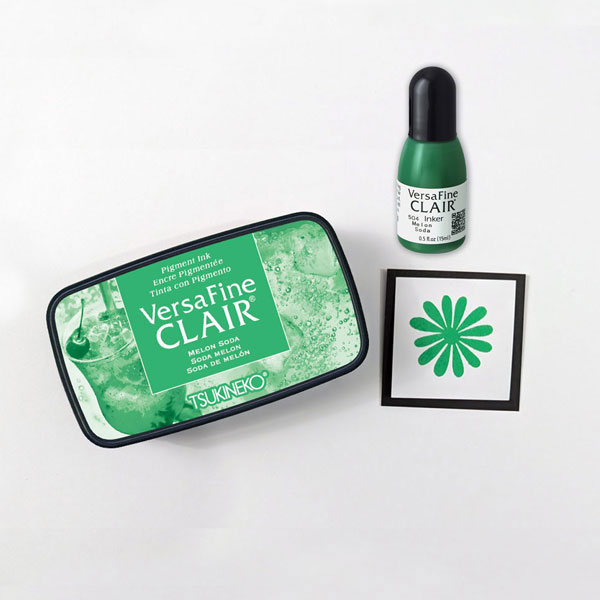
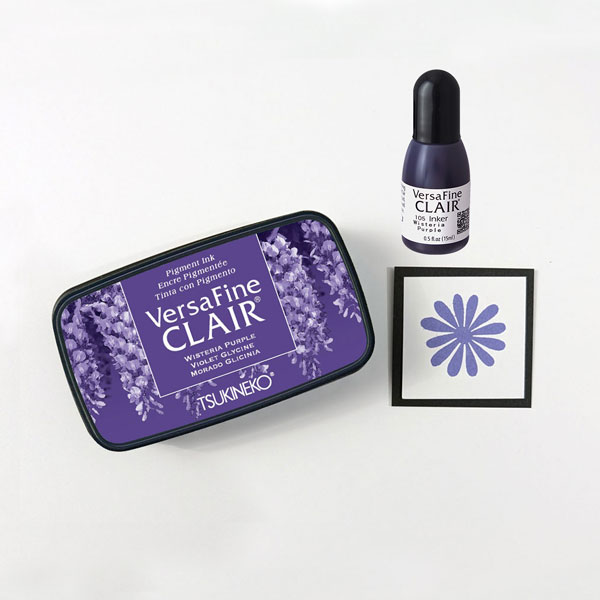
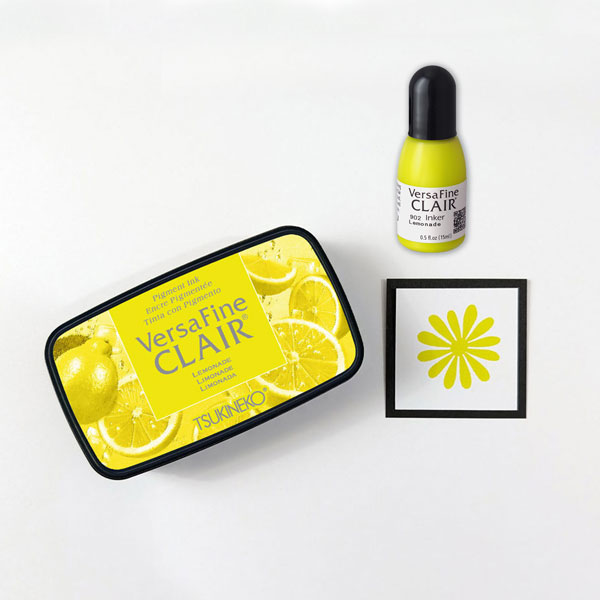
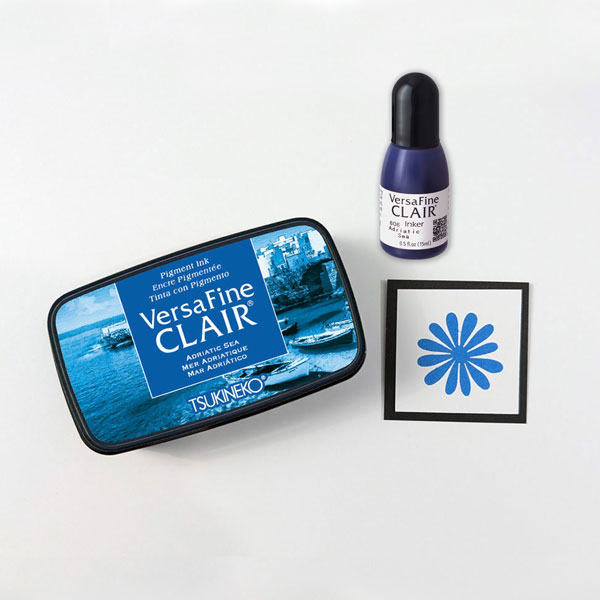
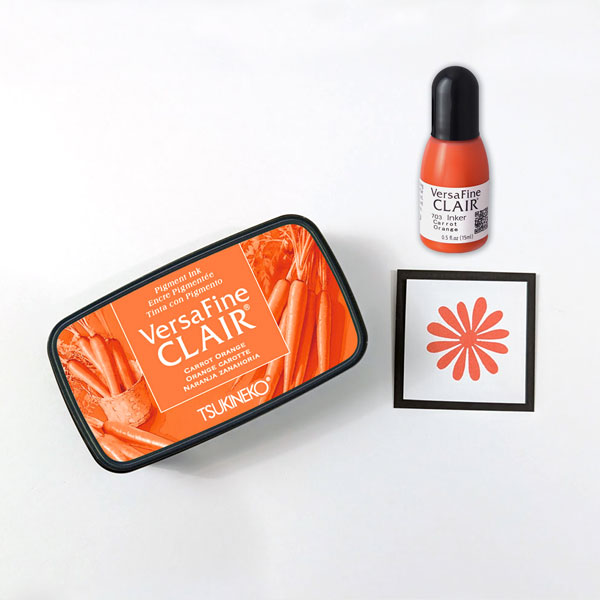
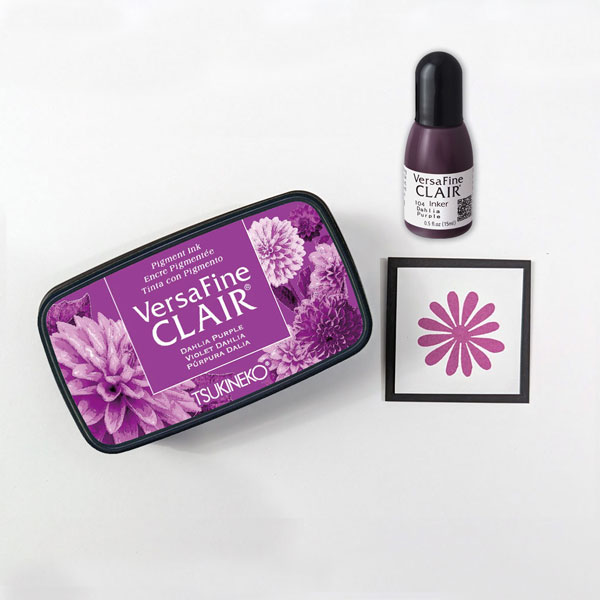
Whether you’re stamping detailed images, creating handmade cards, journaling, or experimenting with mixed media, the six newest VersaFine Clair colors are ready to inspire your next creation!
From vibrant citrus hues to rich florals and deep ocean blues, these beautiful additions expand the VersaFine Clair family with fresh, versatile shades you’ll reach for again and again.
Why Crafters Love VersaFine Clair
VersaFine Clair has become a favorite among stampers for a reason. Its richly pigmented formula creates crisp, detailed impressions that capture even the finest lines.
Perfect for card making, mixed media, journaling, and more, VersaFine Clair also:
Produces exceptionally detailed stamped images
Dries quickly, making it ideal for heat embossing
Becomes water resistant when dry
Works beautifully on a variety of papers
Features an airtight case that helps keep your ink pad fresh longer
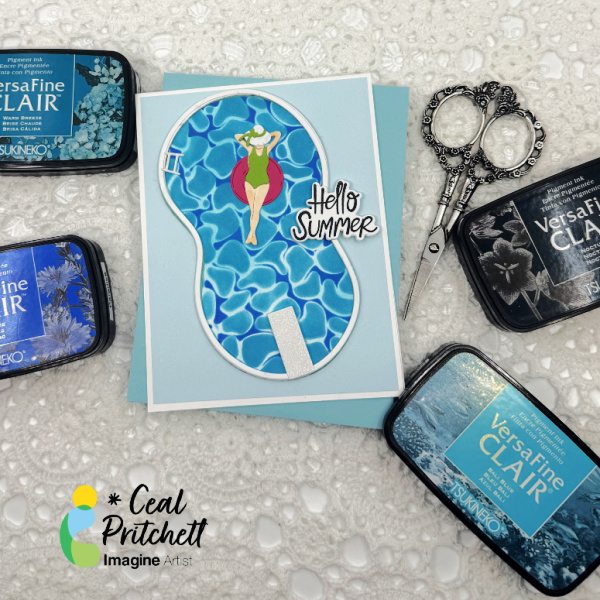
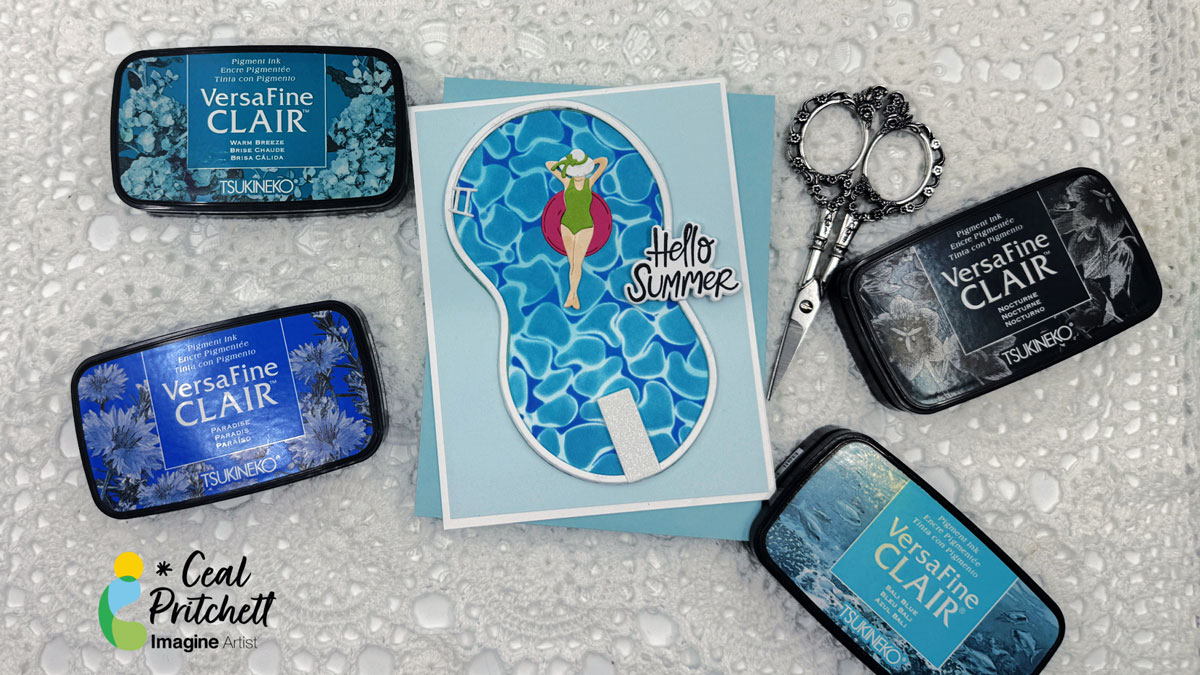
Hello friends, it’s Ceal here. Today I am sharing a summer card with you.
Skill: Intermediate Time: 45 minutes
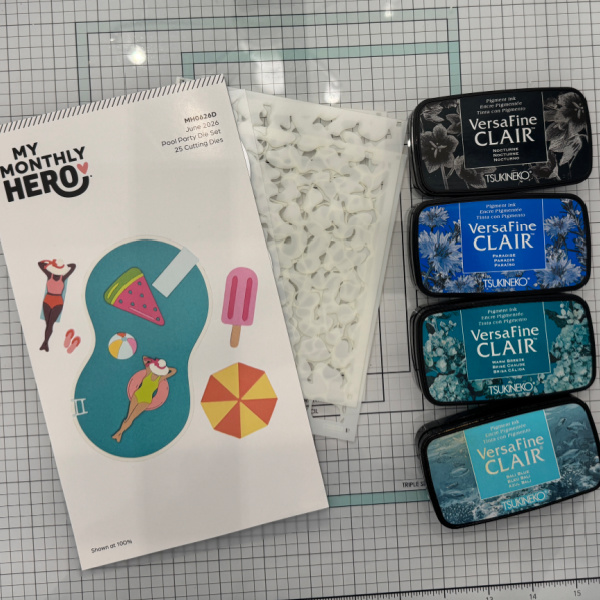
Directions: Gather your supplies. You will need a summer themed die set, layering stencils, three different shades of blue ink, a grip mat, a stamp positioning tool and a summer sentiment set.
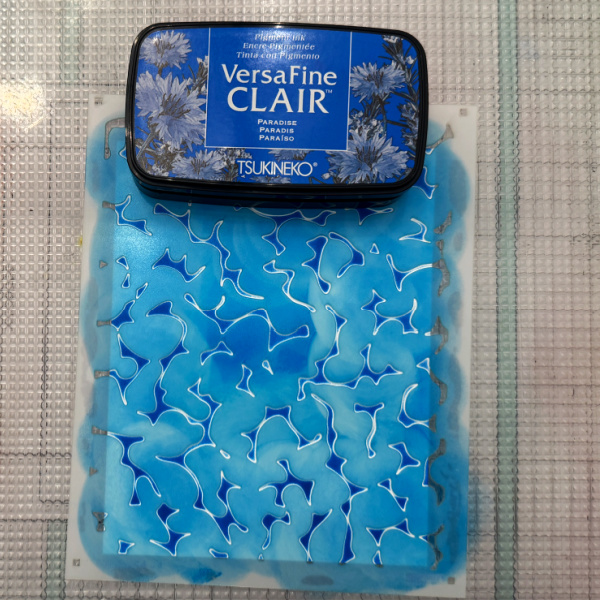
Step 1: Using a blending tool and the first layering stencil, ink blend blue ink over the stencil. I used VersaFine Clair Paradise.
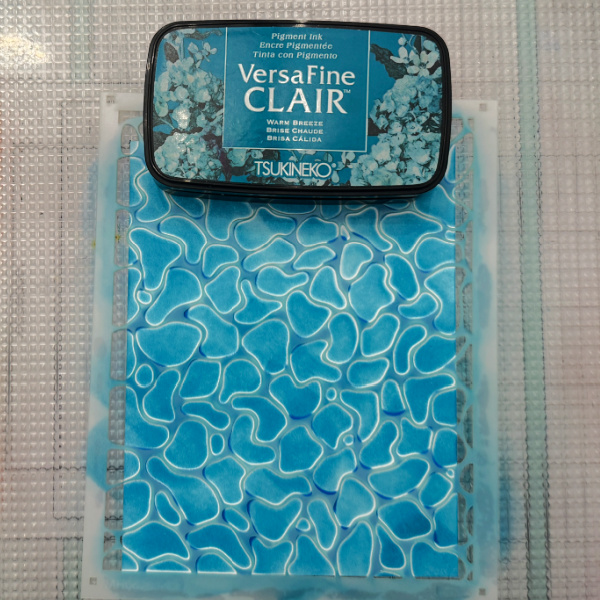
Step 2: Using a blending tool and the second layering stencil, ink blend a different shade of blue over the stencil. I used VersaFine Clair Warm Breeze.
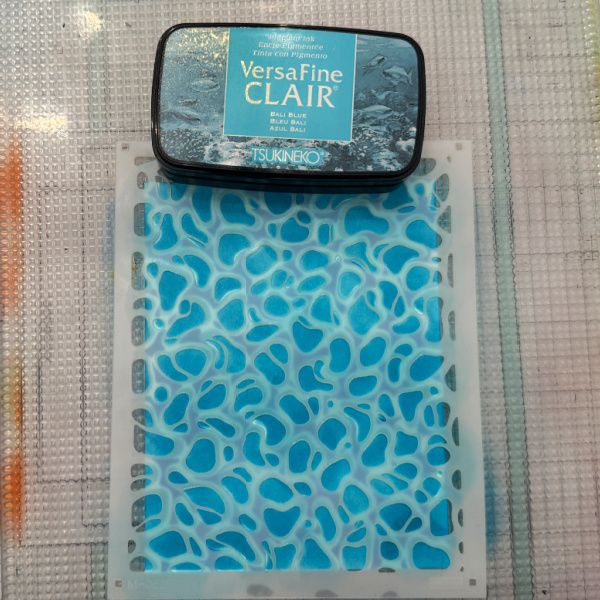
Step 3: Using a blending toll and the third layering stencil, ink blend the third color of blue over the stencil. I used VersaFine Clair Bali Blue.
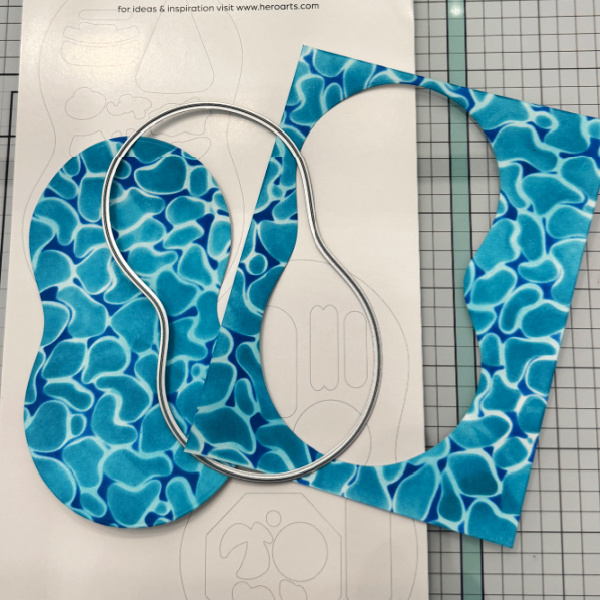
Step 4: Using the “water” die and the finished panel of water, cut out the water for the pool.
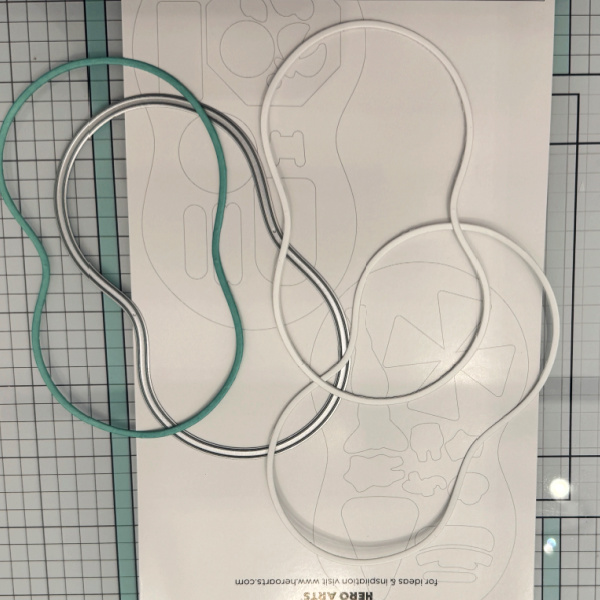
Step 5: Using the “pool” die cut out the pool. Cut several but only use the pool outline.
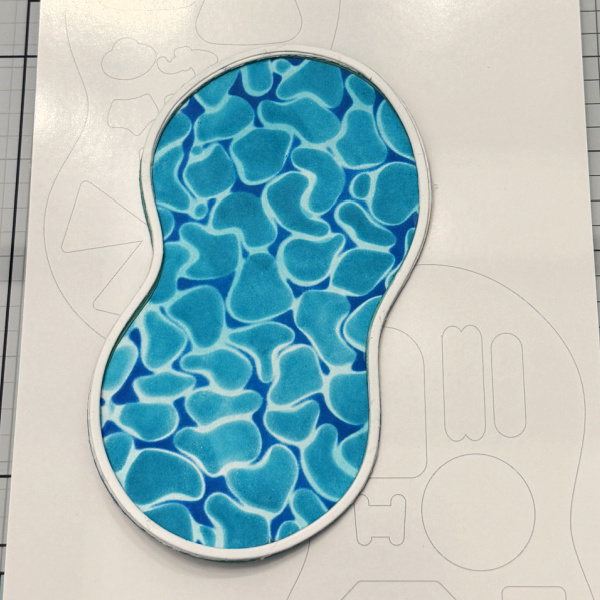
Step 6: Stack the pool outline around the water, where the water will be lower than the sides to make it more realistic
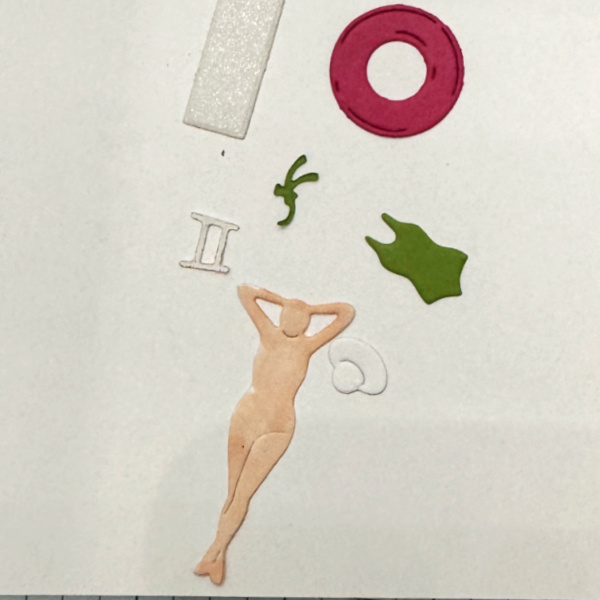
Step 7: Cut out all the die cut pieces to place in the pool. For the girl I colored her with a Copic marker. The others are cut out of colored cardstock.
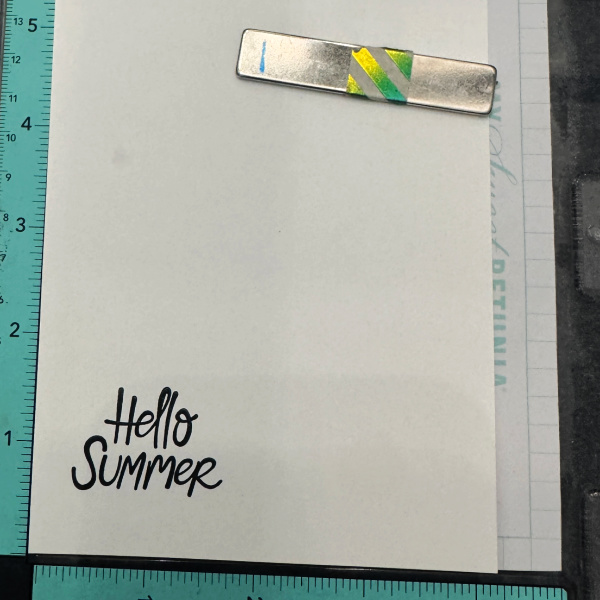
Step 8: Stamp and cut out the sentiment.
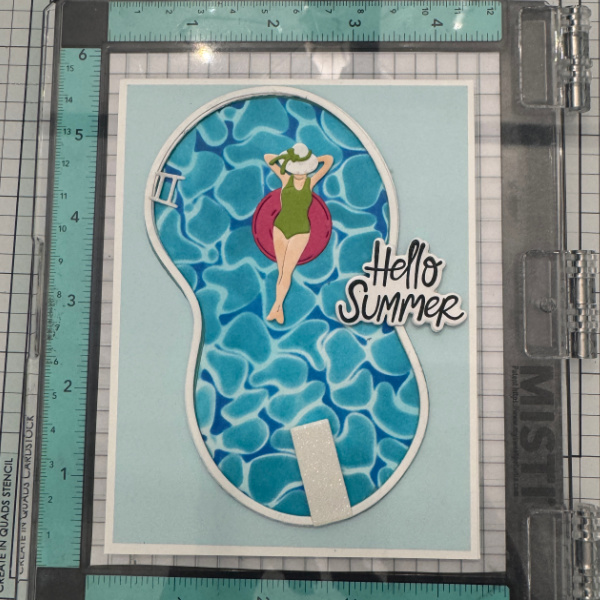
Step 9: Place all the elements in the pool and the sentiment on the side.
Other Products My Monthly Hero Pool Party Die set – Hero Arts MMH Reflection Layering Stencil set – Hero Arts Hello Summer Stamp & Cut – Hero Arts Grip Mat – Altenew Mini Misti – My Sweet Petunia
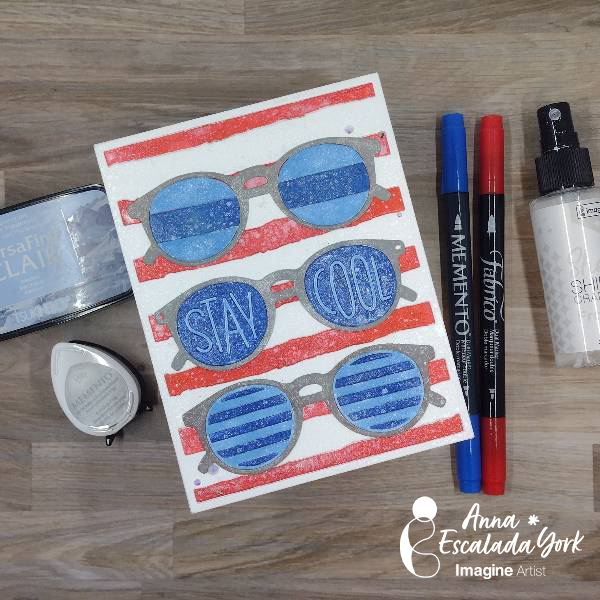
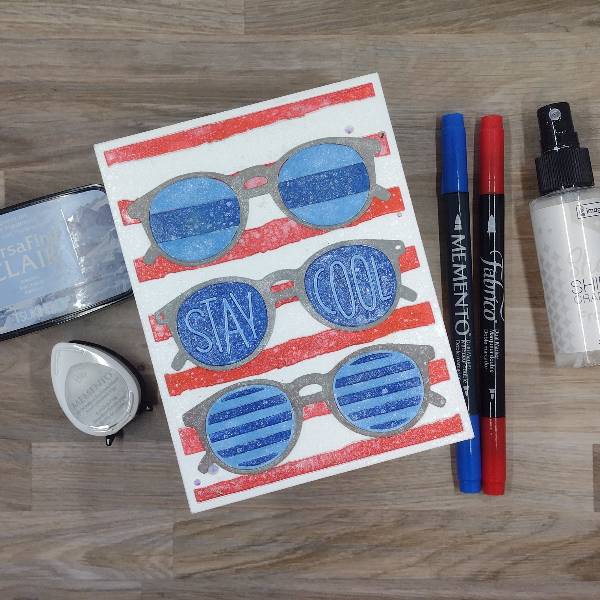
– Summertime means wearing sunglasses here in the Pacific Northwest and getting ready to spend time out of doors! I wanted to celebrate the return of the warm sun and the 4th of July with this red, white and blue card that could be used anytime during the summer.
Skill: Intermediate Time: 1.5 hours
Directions:
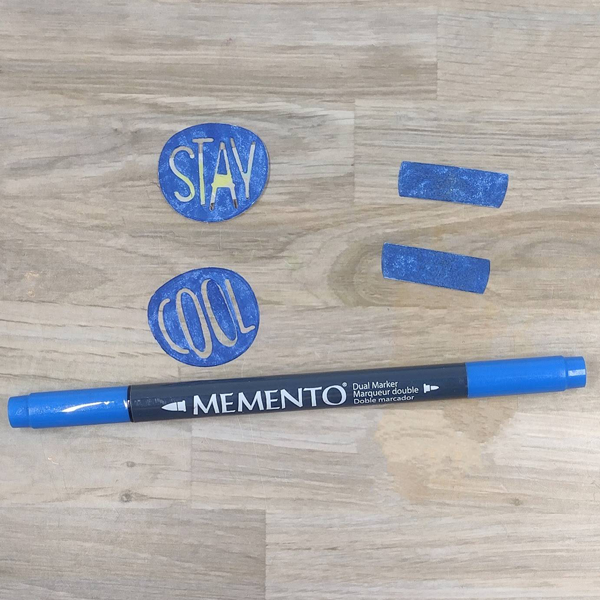
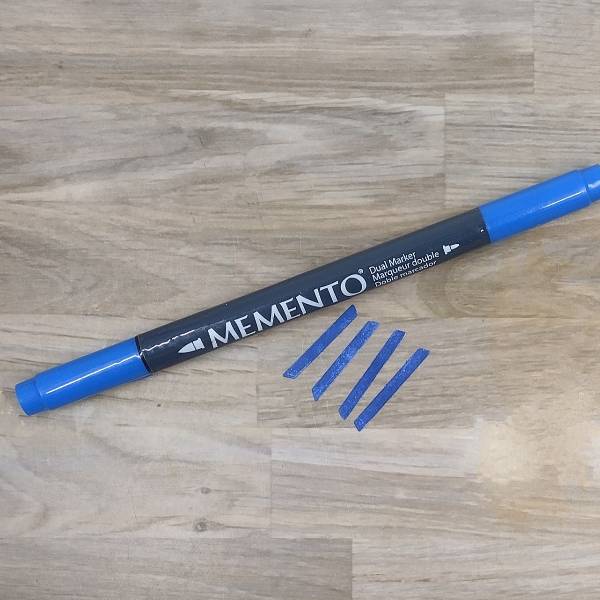
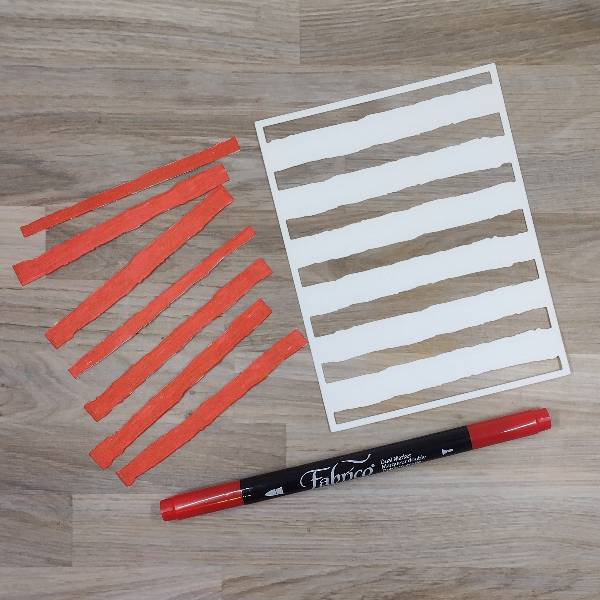
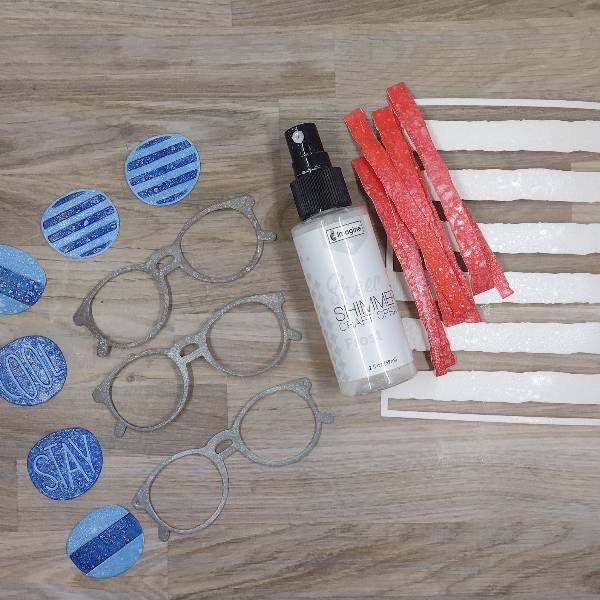
Step 1: After die cutting the three pairs of sunglasses as well as their lenses (which are separate in the die set), color part of the lenses’ elements with Danube Blue Memento Dual Marker.
Step 1.5: Remember that you need to color all of the parts of the lenses that you intended to color with the Danube Blue Memento Dual Marker. (Whoops!)
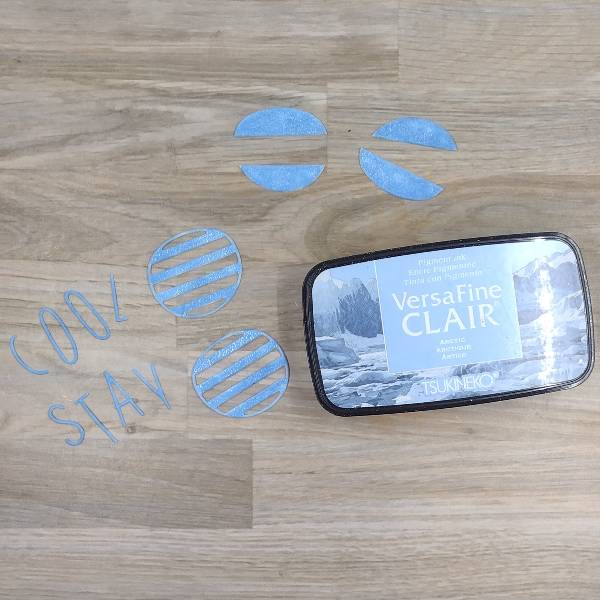
Step 2: Press other parts of the die cut lenses into the Arctic VersaFine Clair ink pad. Heat emboss the larger die cuts with clear embossing powder if desired. (I chose not to heat emboss the letters since they were so small.) Then assemble all of the lenses using washi tape on the back of each lens to hold the pieces together.
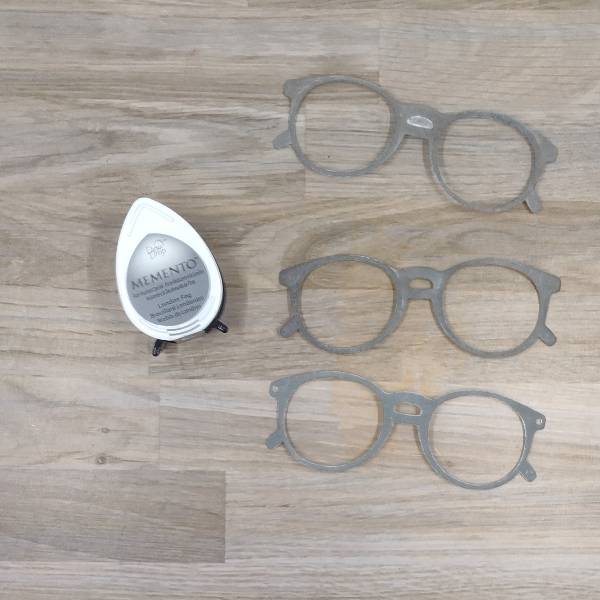
Step 3: Press the three die cut sunglass frames into the London Fog Memento ink pad.
Step 4: After die cutting the striped background panel, color the stripes with Poppy Red Fabrico Dual Marker
Step 5: Spray all of the components of the card–the sunglass frames, the lenses and the striped background panel–with Frost Sheer Shimmer Craft Spray and allow to dry.
Step 6: Assemble the card. Adhere the striped panel to an A2 white card base, then inlay the red die-cut stripes. Then glue the three frames onto the panel and inlay the frames into the frames. Glue clear rhinestones on the lower left and upper right part of the card to finish the card.
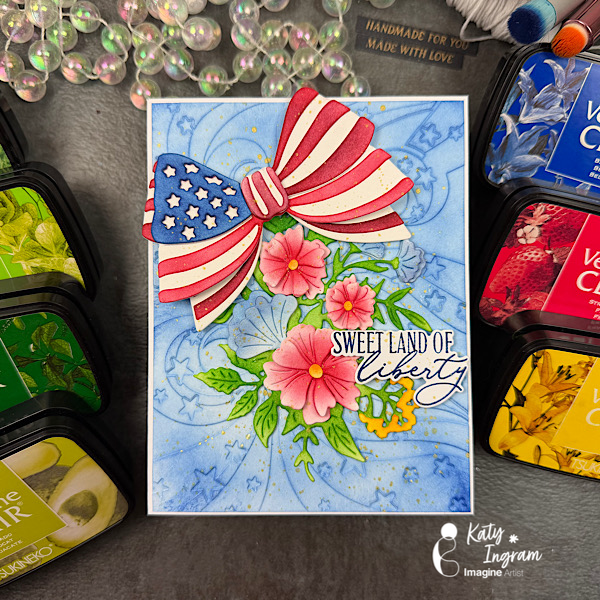
Hello Friends! Katy here with my latest video showcasing VersaFine Clair inks once again to create a floral and patriotic theme card. Video has all the details. Thanks for watching.
Other Products Used 100% Cotton or Watercolor Paper The Greetery Stars & Stripes Bow Die The Greetery Best Bouquet Details Die The Greetery Star Stream 3D Embossing Folder Papertrey Ink Land that I love stamp and die set White Cardstock Blending Brushes
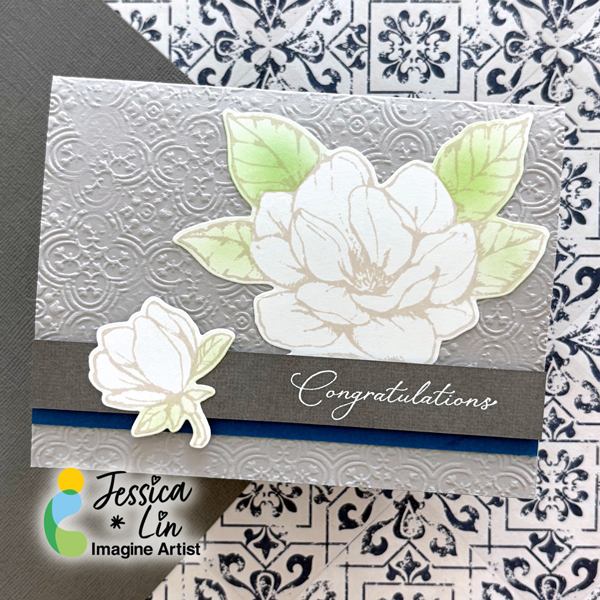
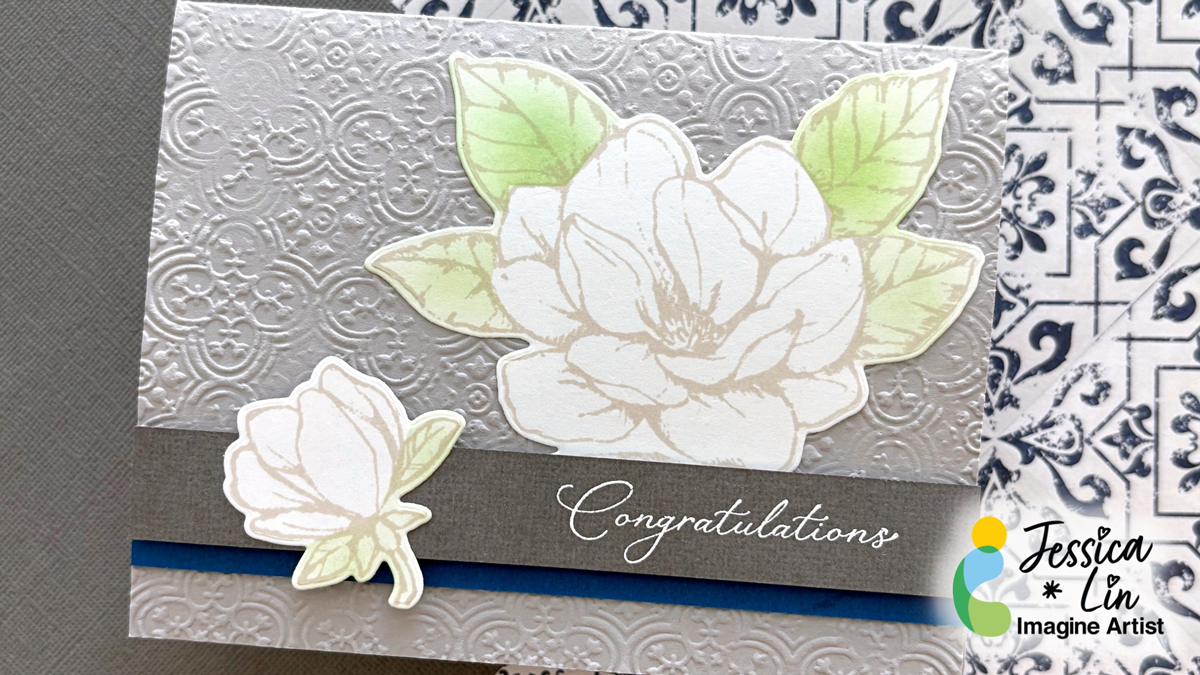
Hi everyone! It’s Jessica here. Wedding season is right around the corner, so I wanted to share a wedding card idea that features a gender-neutral palette. I often struggle with cards that are for male recipients, but this color combination I have in mind today is less-feminine and perfect for the groom.
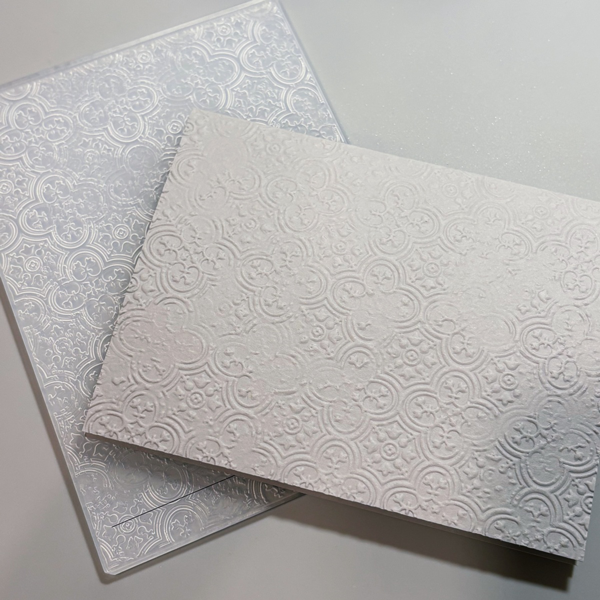
Step 1: Trim a piece of DCS Dolphin Gray cardstock to 5 ½’’ x 8 ½’’ and score in the middle at 4 ¼’’ to create the card base. Cut CardStock offers many beautiful shades of gray cardstock; I chose DCS Dolphin Gray because it is a nice weight of cardstock that can still be easily embossed. The embossing folder I used here is called Distressed Tile by Stampin’ Up.
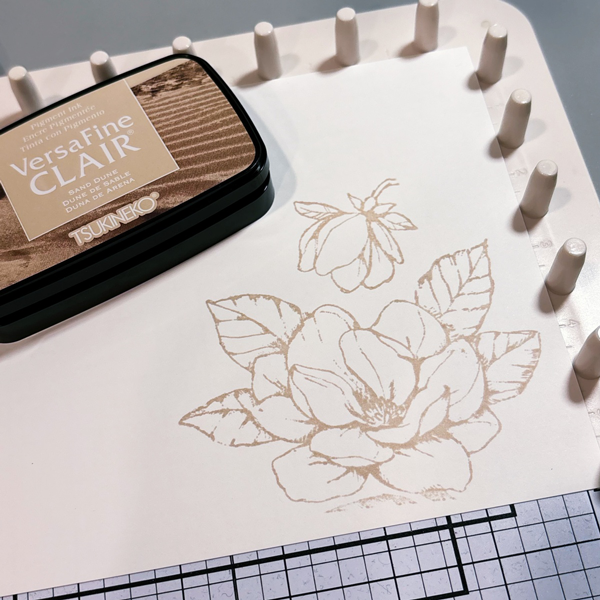
Step 2: Next, stamp the focal image with VersaFine Clair Sand Dune ink on Classic Crest Solar White cardstock. VersaFine Clair Sand Dune has been a new favorite ink of mine for outline images; I used to only stamp the outlines with VersaFine Clair Nocturne ink, but this Sand Dune color is such a great neutral alternative. This large and elegant flower is from the Good Morning Magnolia stamp set.
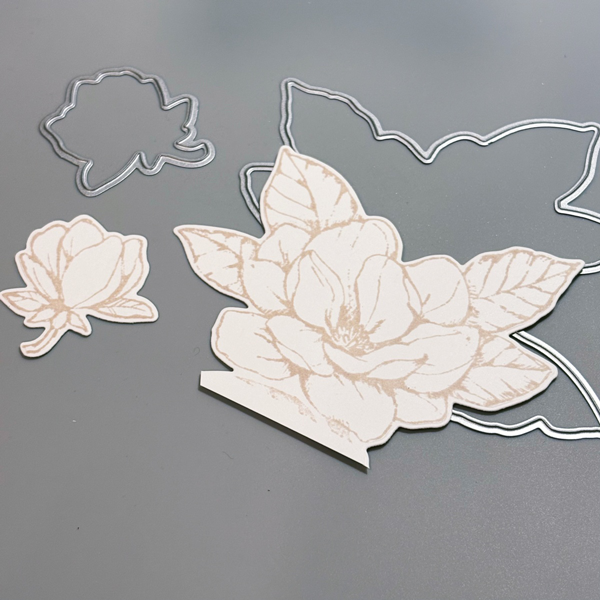
Step 3: After stamping, die cut the images with the coordinating dies.
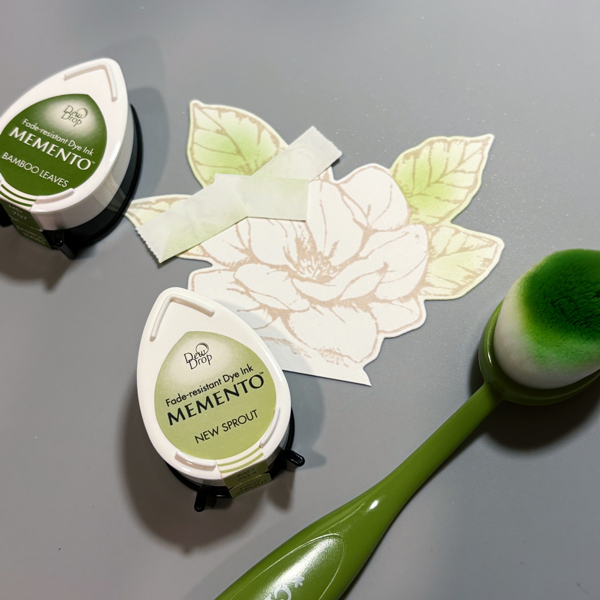
Step 4: I decided to ink blend on the leaves to add some color. Since the flower petals are large, they were easy to mask off. Classic Crest Solar White cardstock is ultra smooth and ink blends beautifully with Memento New Sprout and Bamboo Leaves inks.
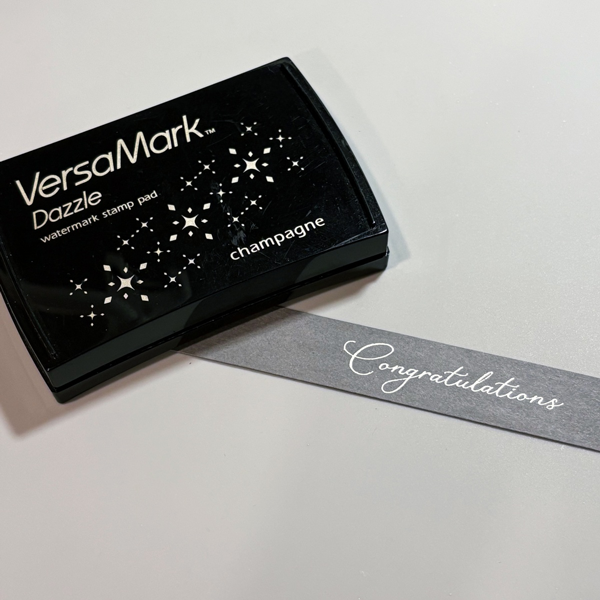
Step 5: Then, trim DCS Canvas Textured Lava Stone Gray cardstock to a ¾’’ x 5 ½’’ strip, and heat emboss on the smooth side. The darker shade of gray really makes the sentiment stand out.
Step 6: Finally, add a strip of DCS Indigo Blue for an additional pop of color. A dark green cardstock would actually look great, too. Adhere all of the layers to complete this gender-neutral wedding card.
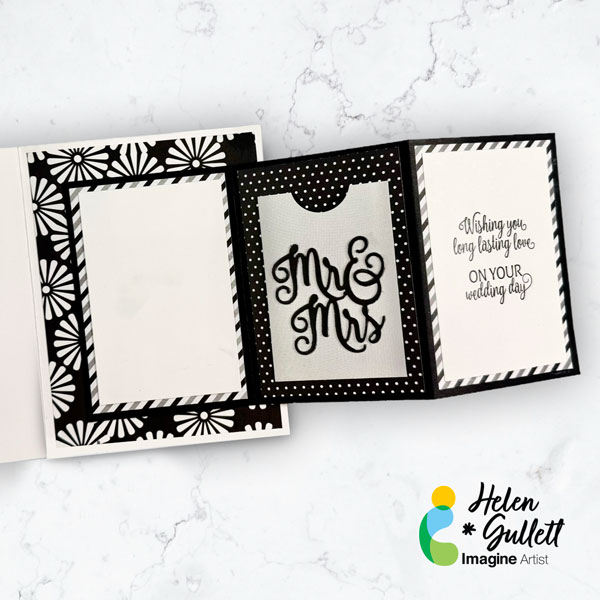
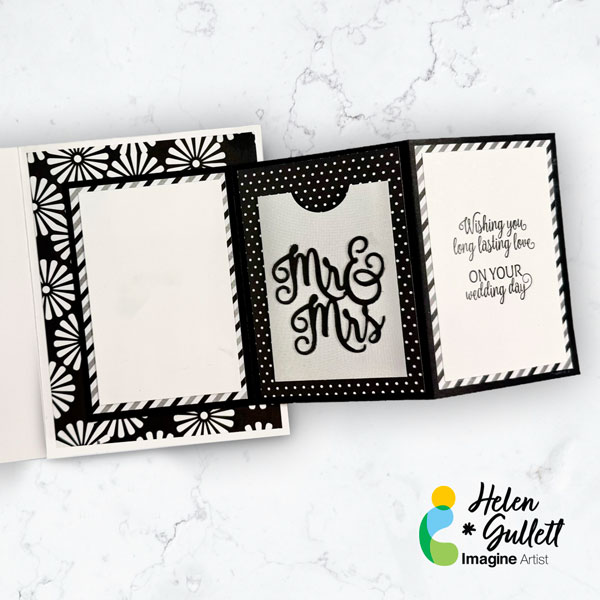
Hello crafty friends! Today, we are going to make a wedding card with a Z-fold gift card holder inside. This is a fun card to make for other occasions, too. So, let’s get crafting!
Skill: Intermediate Time: 30 Minutes
Direction:
Step 1
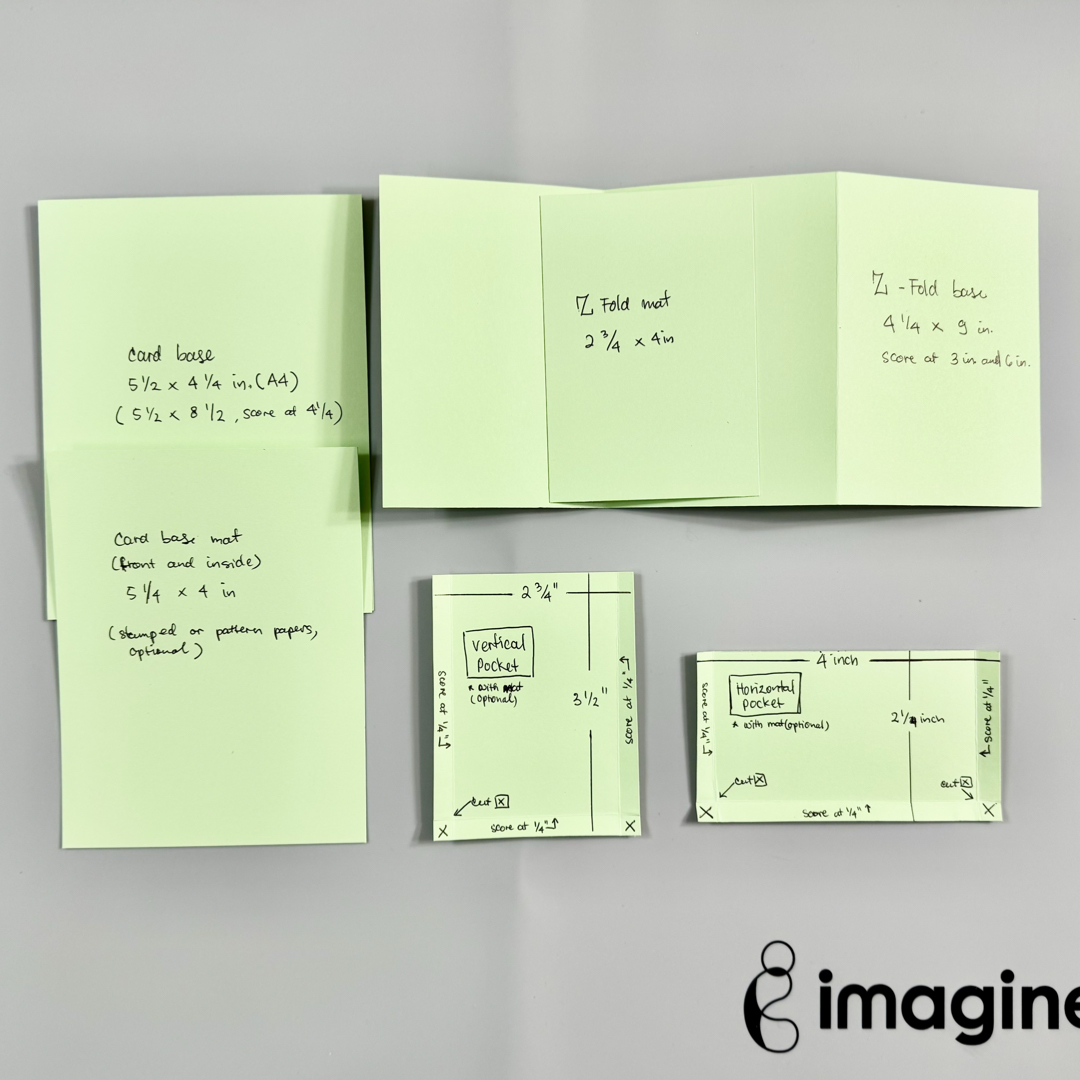
I would suggest cutting all the pieces you will need for this card ahead. You can find all the measurements for all the pieces in the picture above.
On today’s card I use the “Vertical Pocket” size.
And for the mats, you can use either any color cardstocks or patter papers.
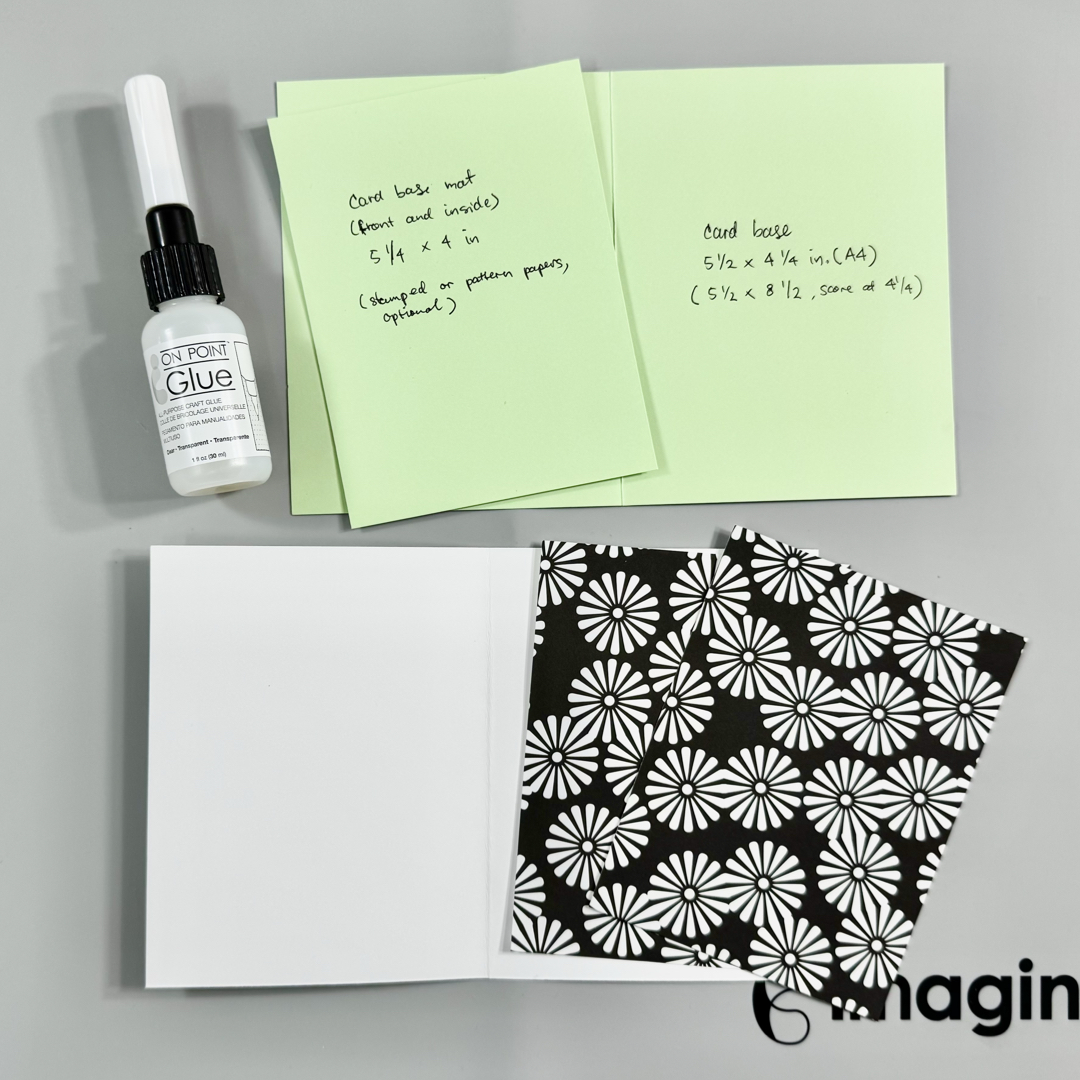
Step 2 For the card base, it is an A2 card size (5.5 inch x 4.25 inch) with side fold that you can make with a panel of 8.5 inch x 5.5 inch heavy weight white cardstock and score and fold at 4.25 inch.
Cut the 2 cardstock or papers into 5.25 inch x 4 inch for the background mats.
Add one mat to the front card and one mat to the inside card with On Point Glue. Set aside to dry.
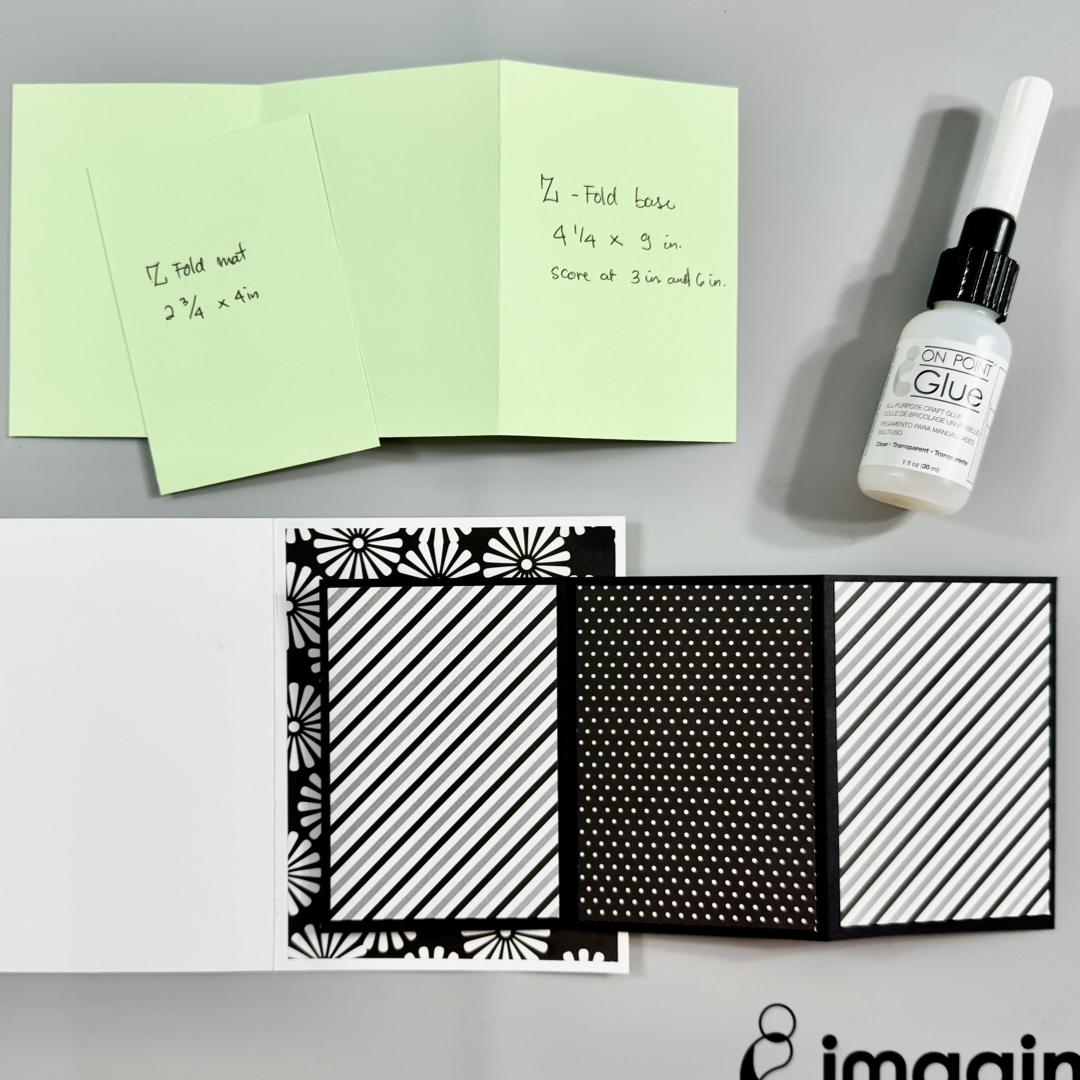
Step 3 For the Z-fold base, cut a piece of cardstock into 4.25 inch x 9 inch, score it at 3 inch and 6 inch, and then fold it like the letter “Z” and use a bone folder to press the scored lines.
Cut 3 piece cardstock or pattern papers into 2.75 inch x 4 inch for the background mats. Add each of the background mats to each section of the Z-fold card base with the On Point Glue.
Add the Z-fold base to the inside card (center) with the On Point Glue.
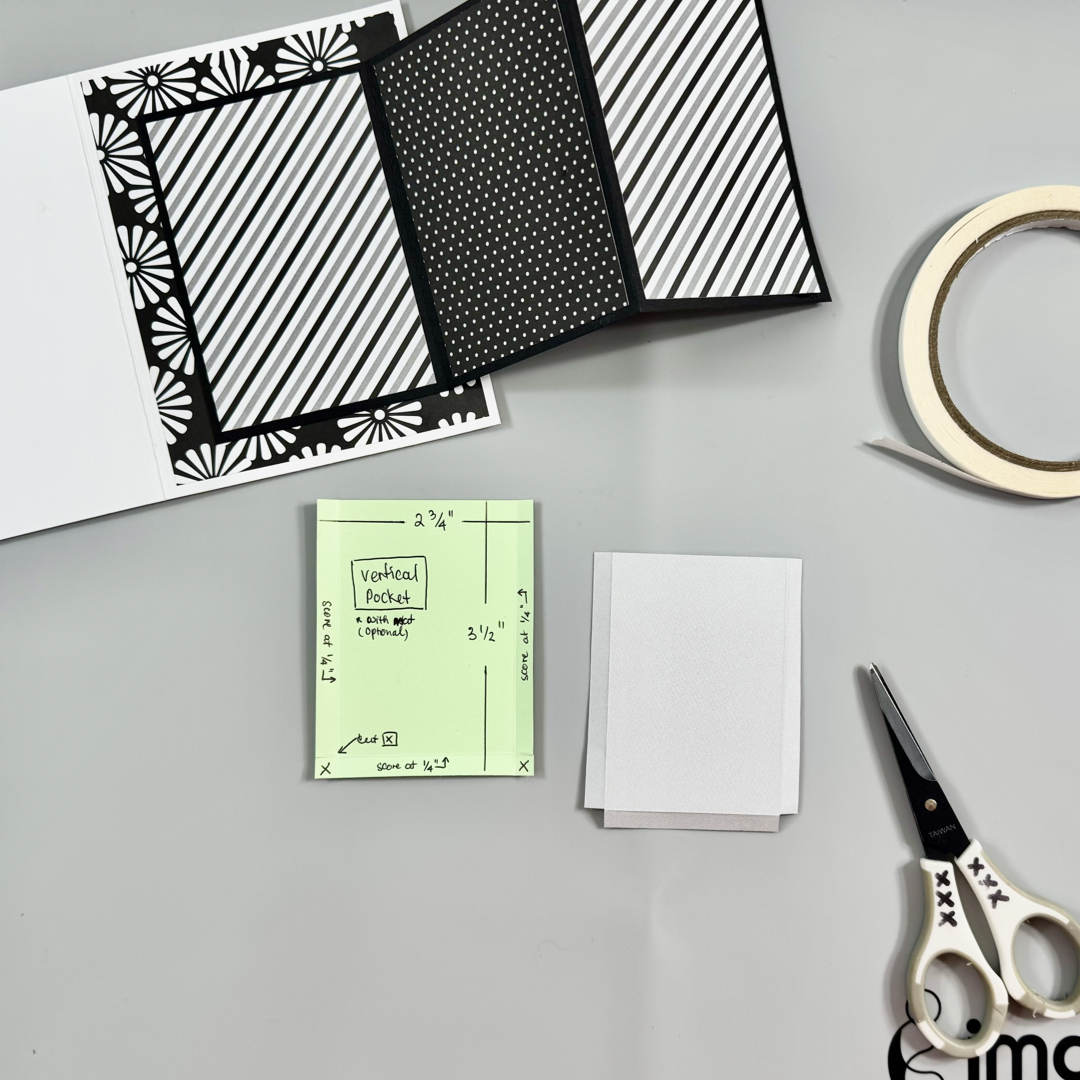
Step 4 To make the gift card pocket, first cut a piece of matching cardstock (or pattern paper) into 2.75 inch x 3.5 inch, and then score 2 sides (lengthwise) at 0.25 inch and at the bottom at 0.25 inch.
Snipe off the 2 bottom corners (x) with scissors.
Add some of the Tear It! Tape on all three flaps.
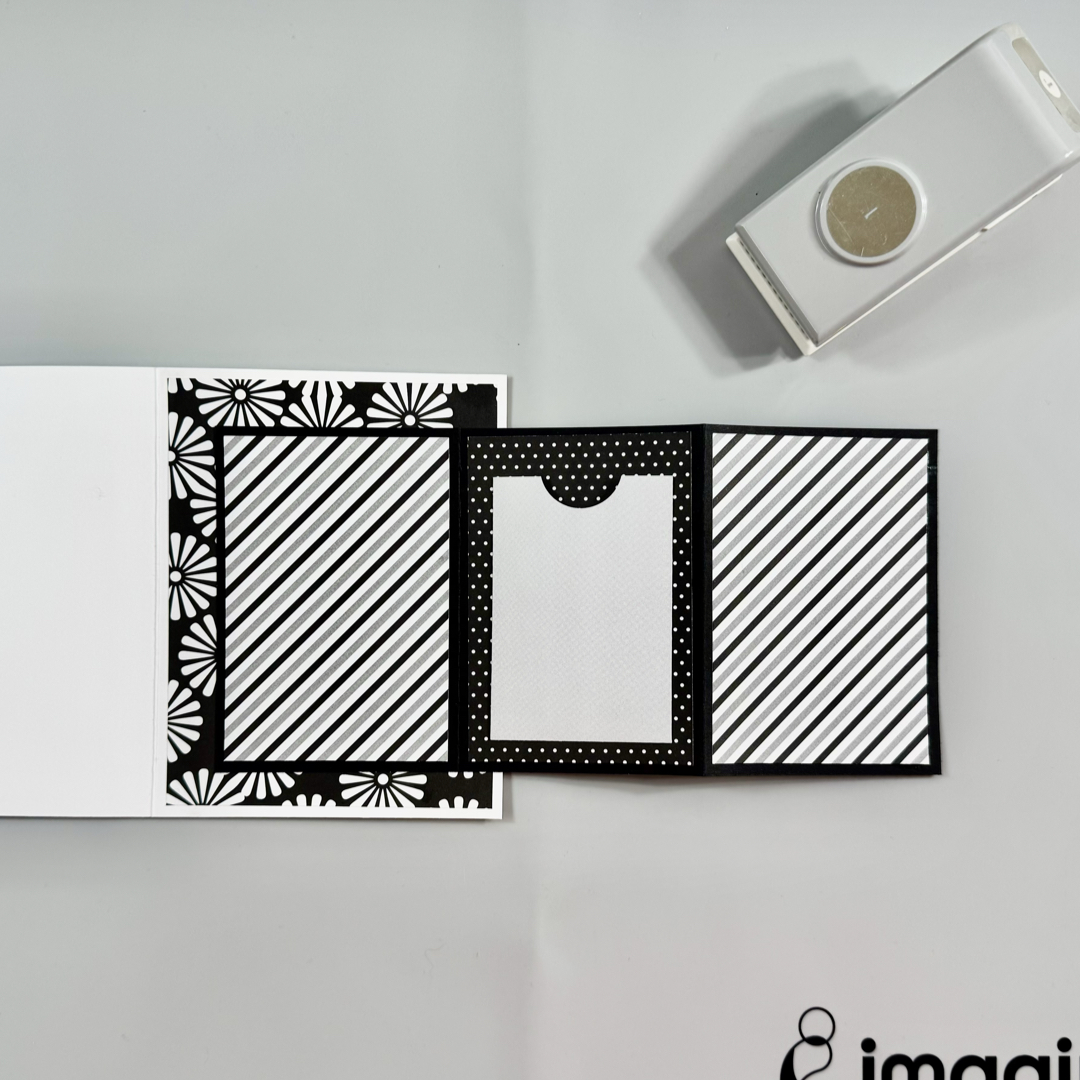
Step 5 Use the 1 inch circle punch to punch the top of the gift card pocket; insert the gift card pocket half way through and punch the half-circle shape on the top of the gift card pocket.
Remove the liners from the double-sided tape and add the gift card pocket to the middle of the Z-fold card.
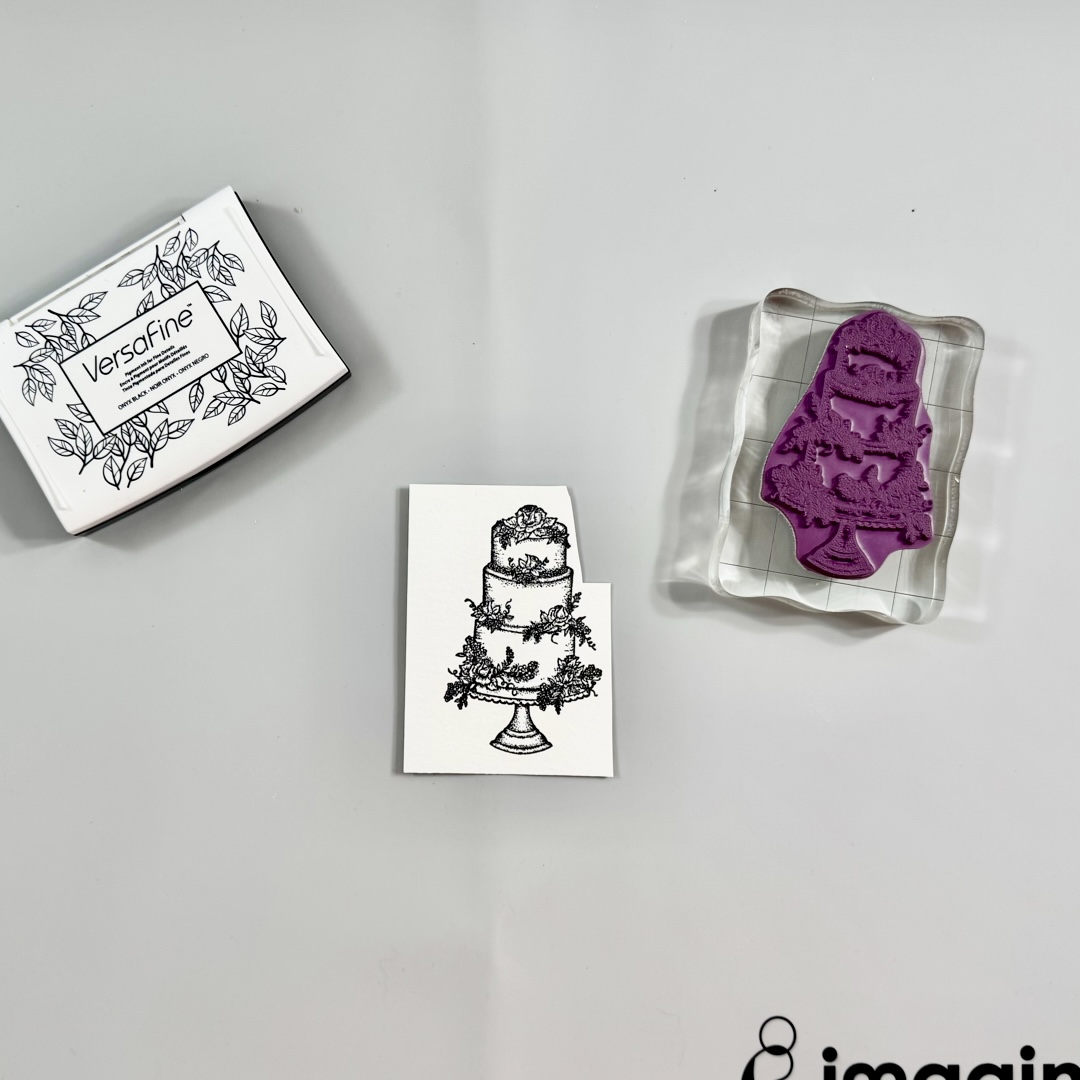
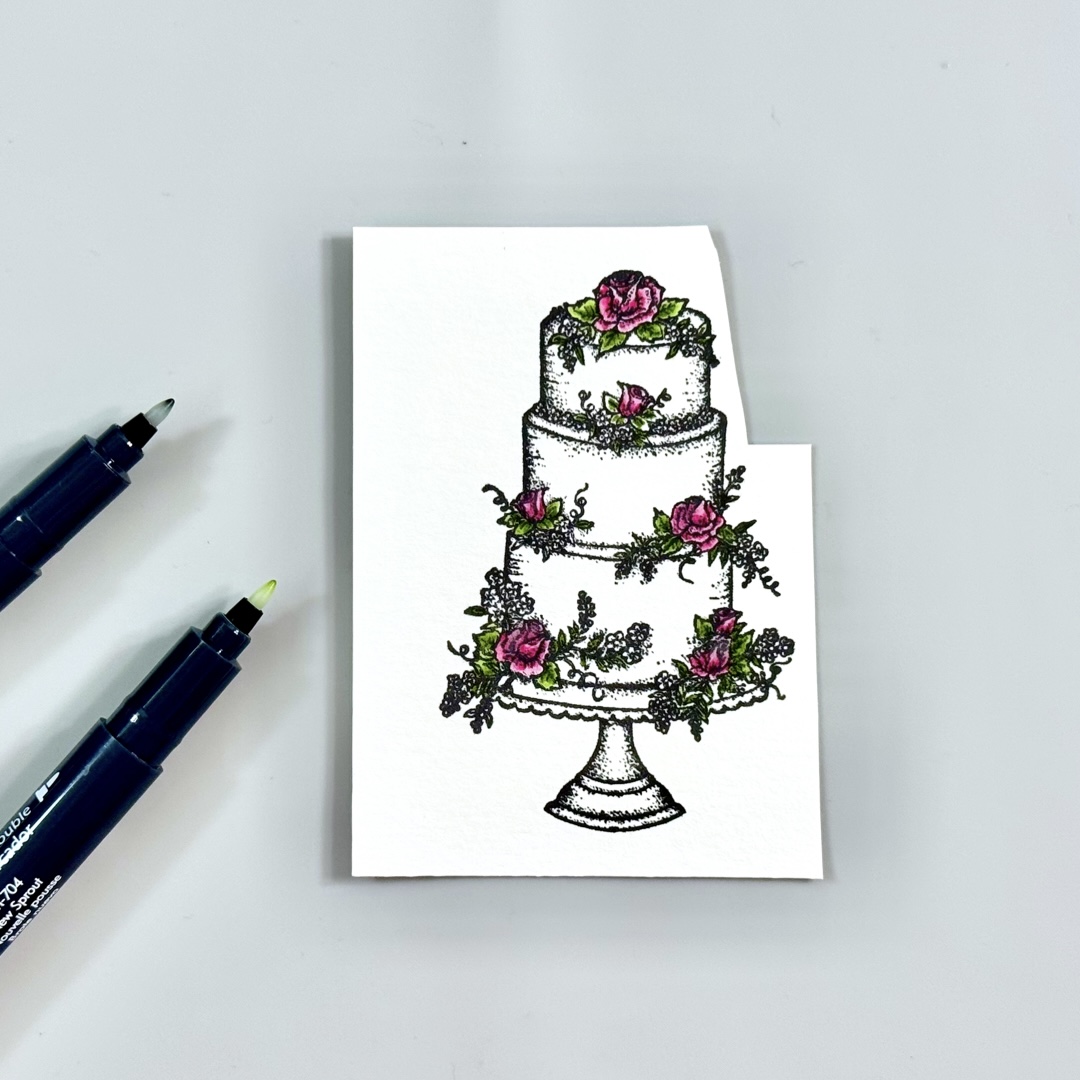
Step 6 Stamp the cake image on a piece of cold-press watercolor cardstock with the Versafine Onyx Black ink pad.
Clean the ink off the stamp with Staz-On All-Purpose Stamp Cleaner.
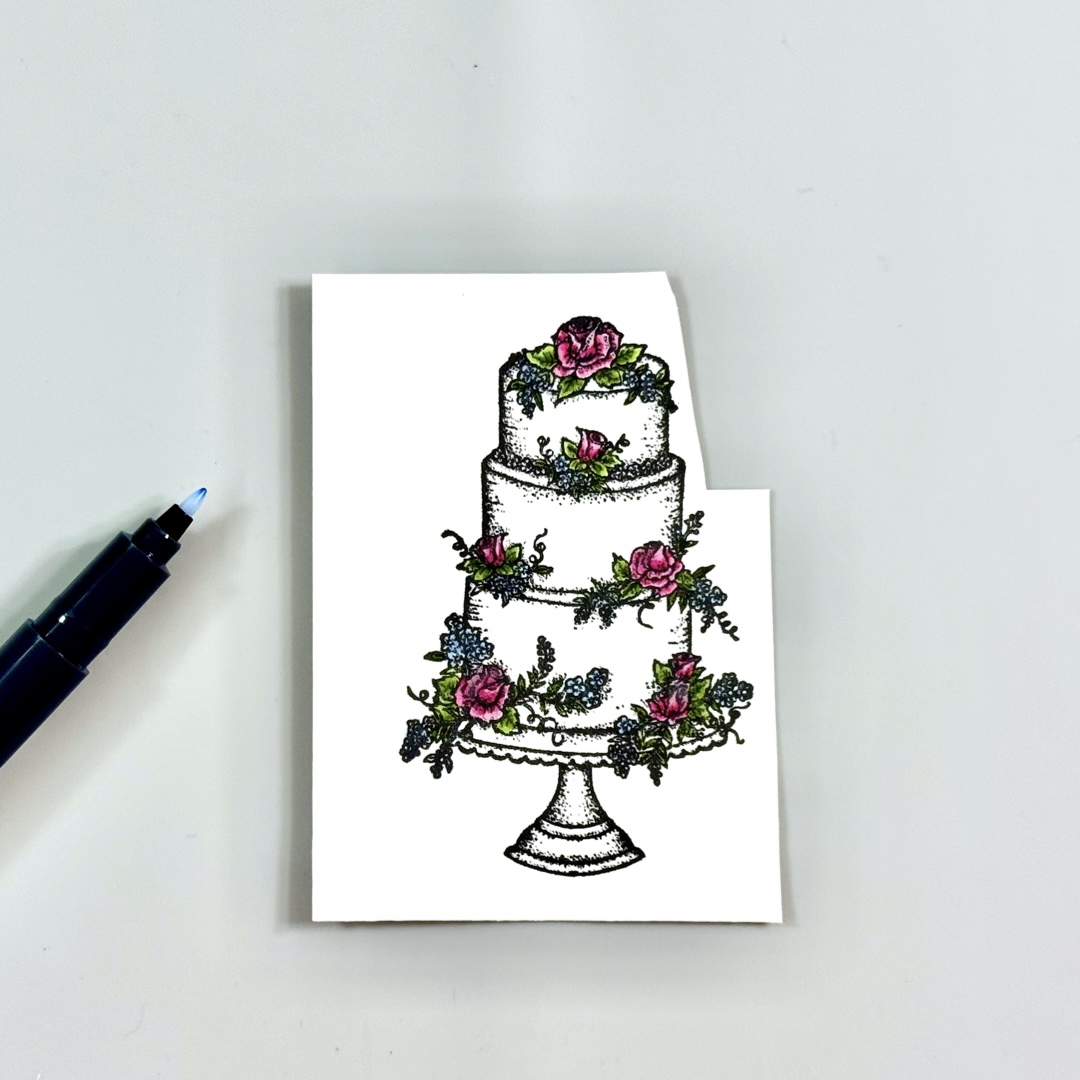
Step 7 The Memento fine tip markers work well with small intricate images and the inks can blend well.
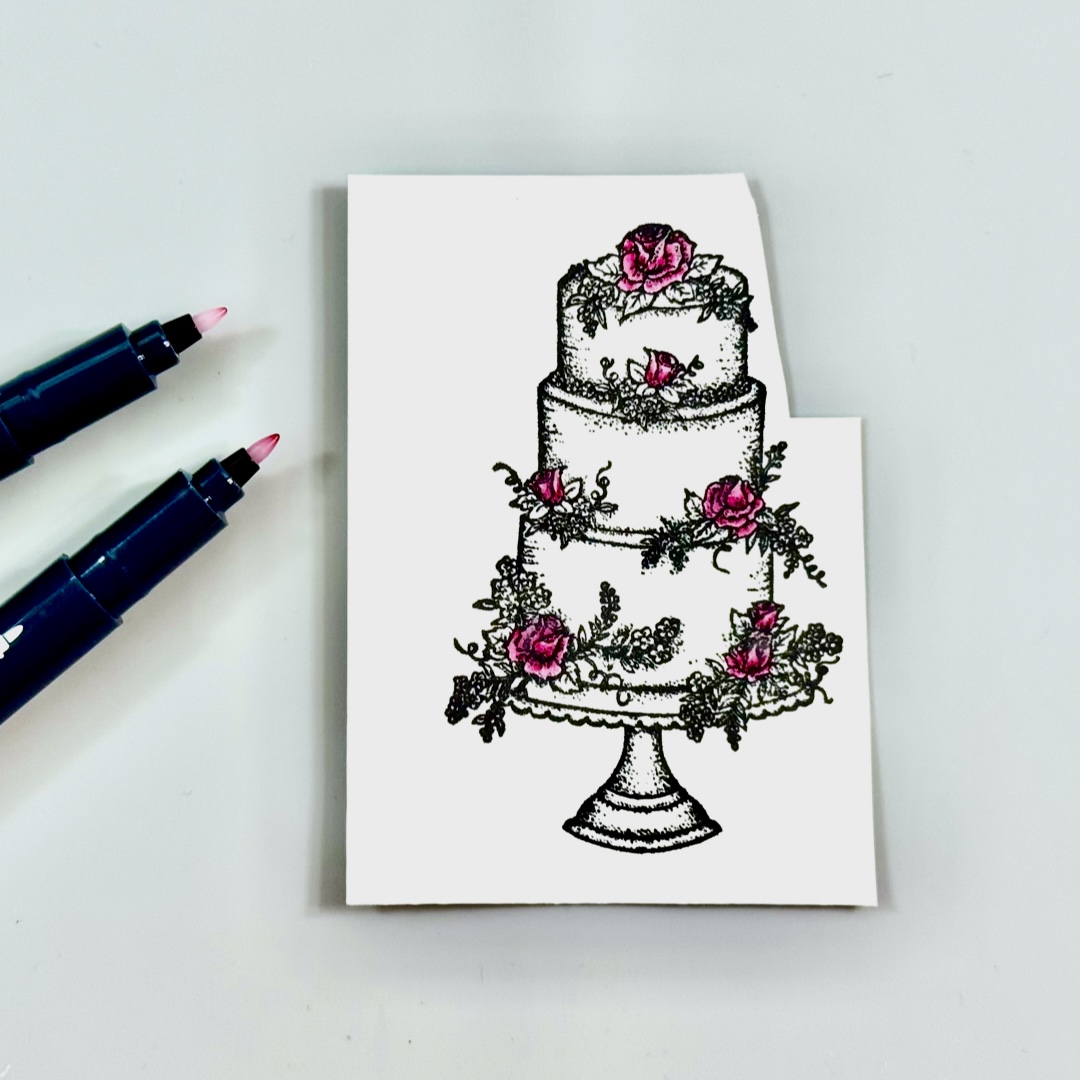
First, color the roses on the cake using 2 shades of the Memento Markers.
Use the Rose Bud Memento Marker to color the bottom part of the petals, and then color the rest of the petals with the Angle Pink Memento Marker.
Step 8 Use the fine tips of the Bamboo Leaves Memento Marker to color the bottom part of the leaves.
And then, use the New Sprout Memento Marker to finish color the whole leaves.
Step 9 Color the rest of the tiny flowers on the cake using the fine tip of the Summer Sky Memento Marker.
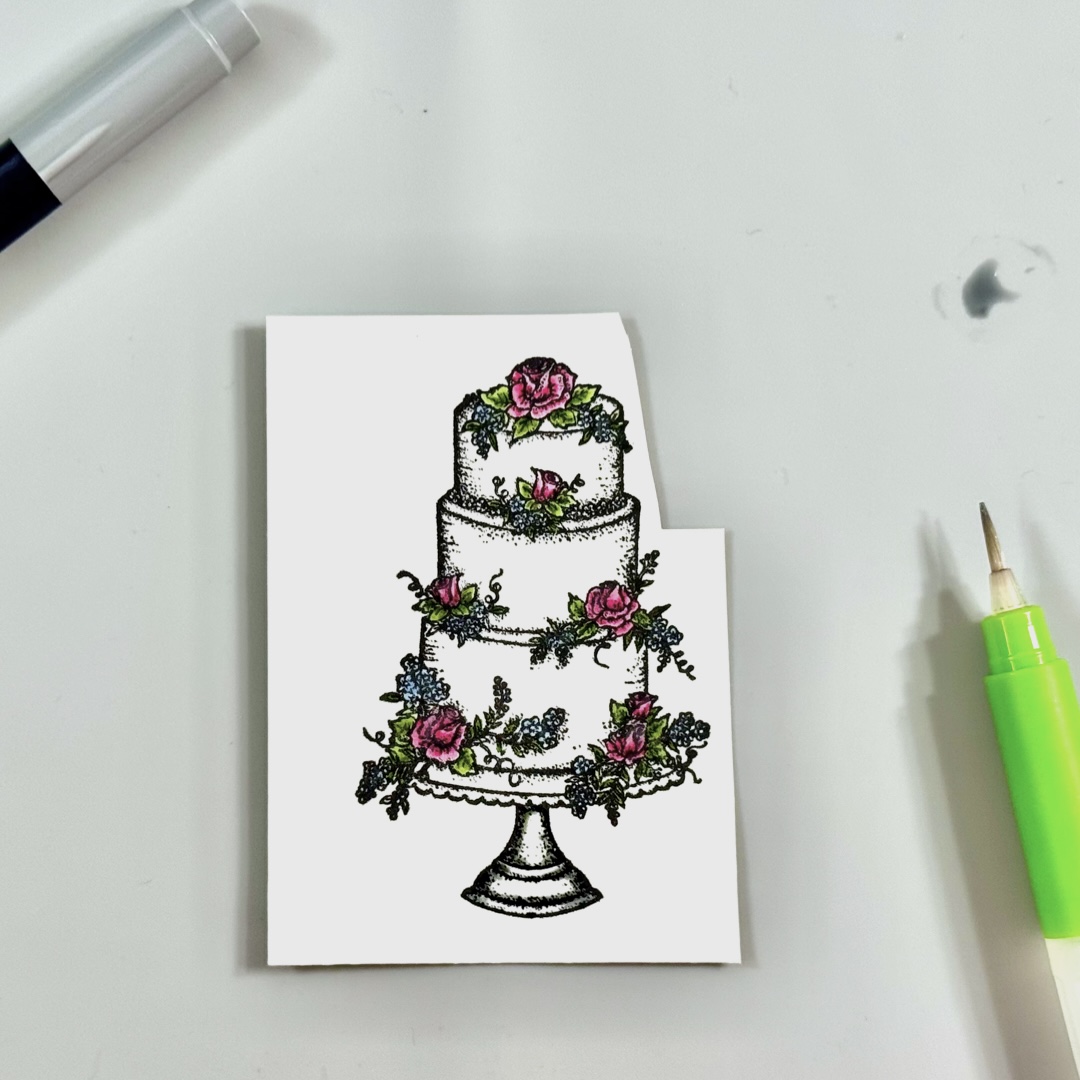
Step 10 Scribble some of the ink from the London Fog Memento Marker and then pick it up with a wet water brush to color the cake stand. Build up the color and shadow with adding more color to it.
Dry the watercolored image with a craft heat gun.
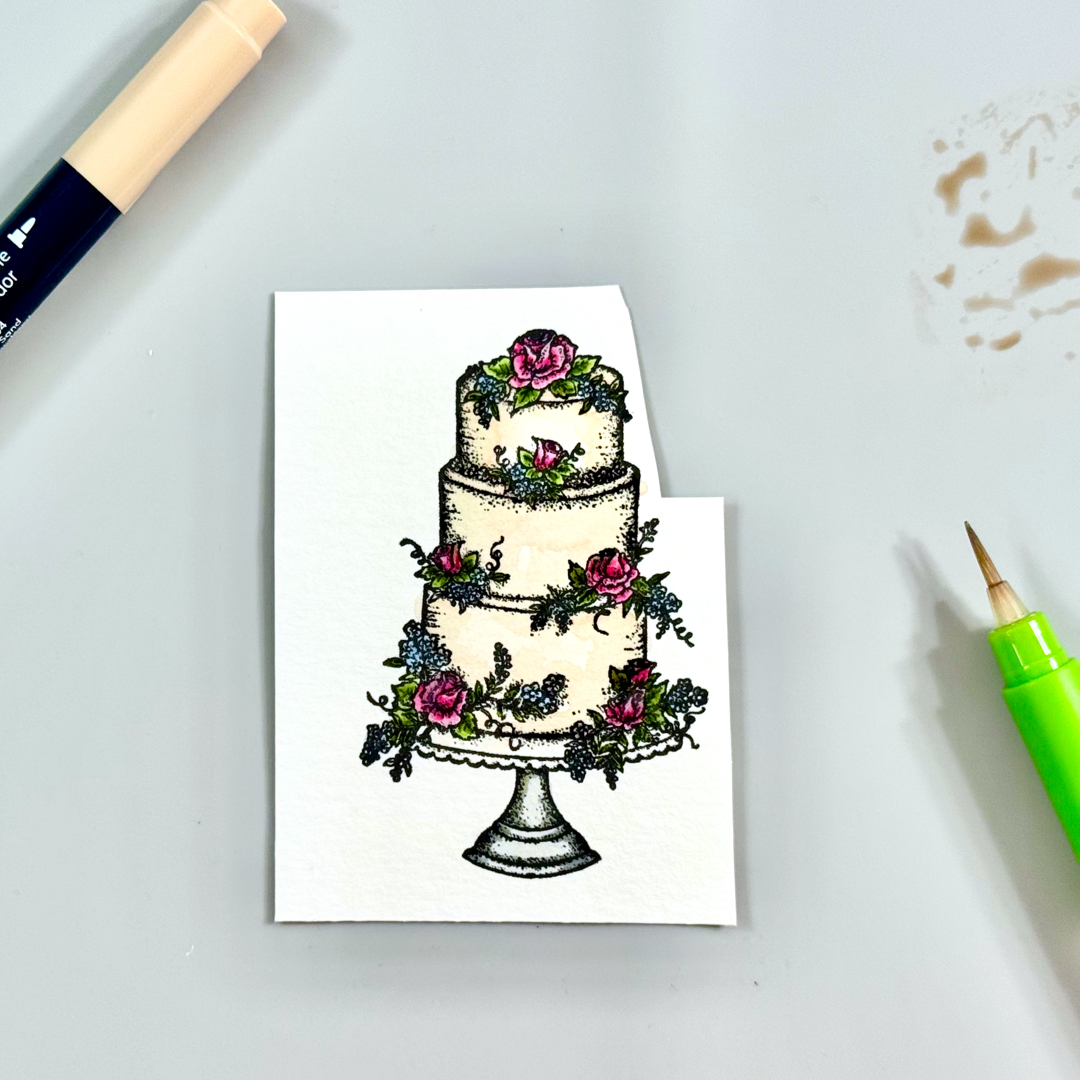
Step 11 Scribble some of the ink from the Dessert Sand Memento Marker and then pick it up with a wet water brush to color the cakes. Build up the colors and shadow by adding more color to it.
Dry the watercolored image with a craft heat gun.
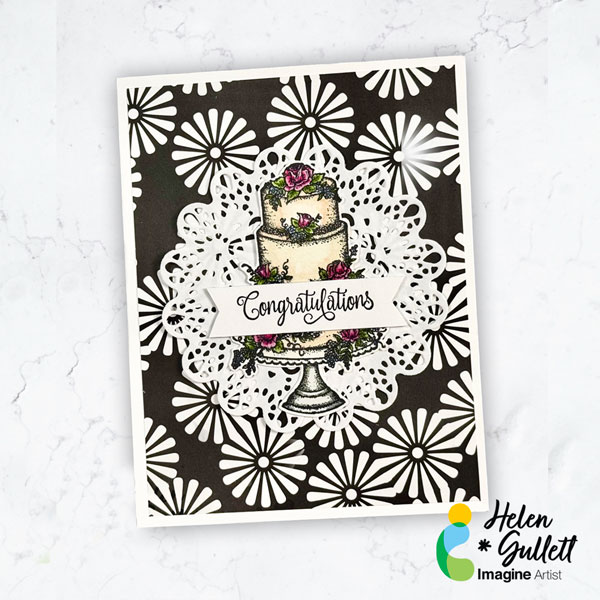
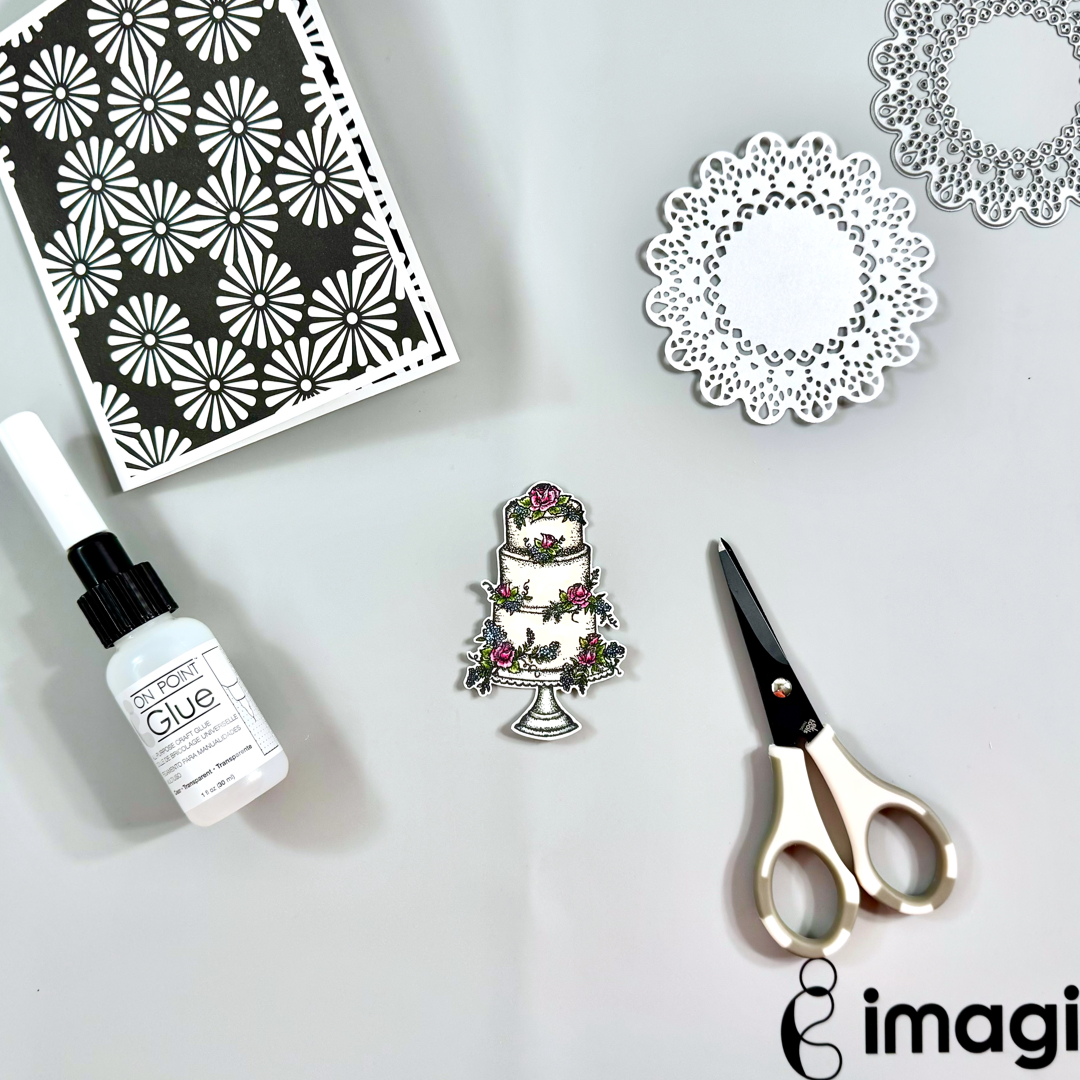
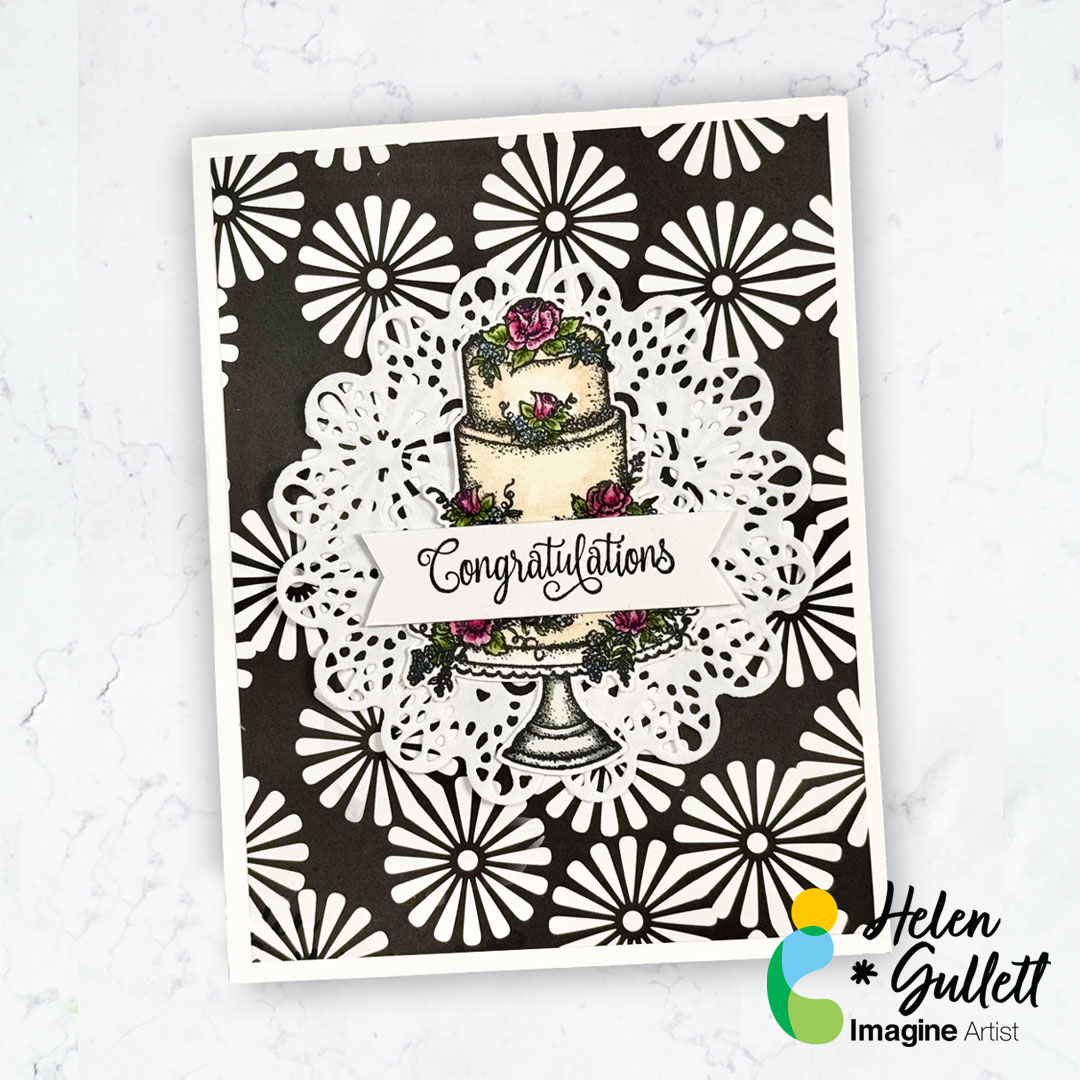
Step 12 Fussy cut the colored wedding cake image with the micro-tip scissors.
Cut a piece of white copy paper with the doily die cut.
Add both pieces to the front of the card with On Point Glue.
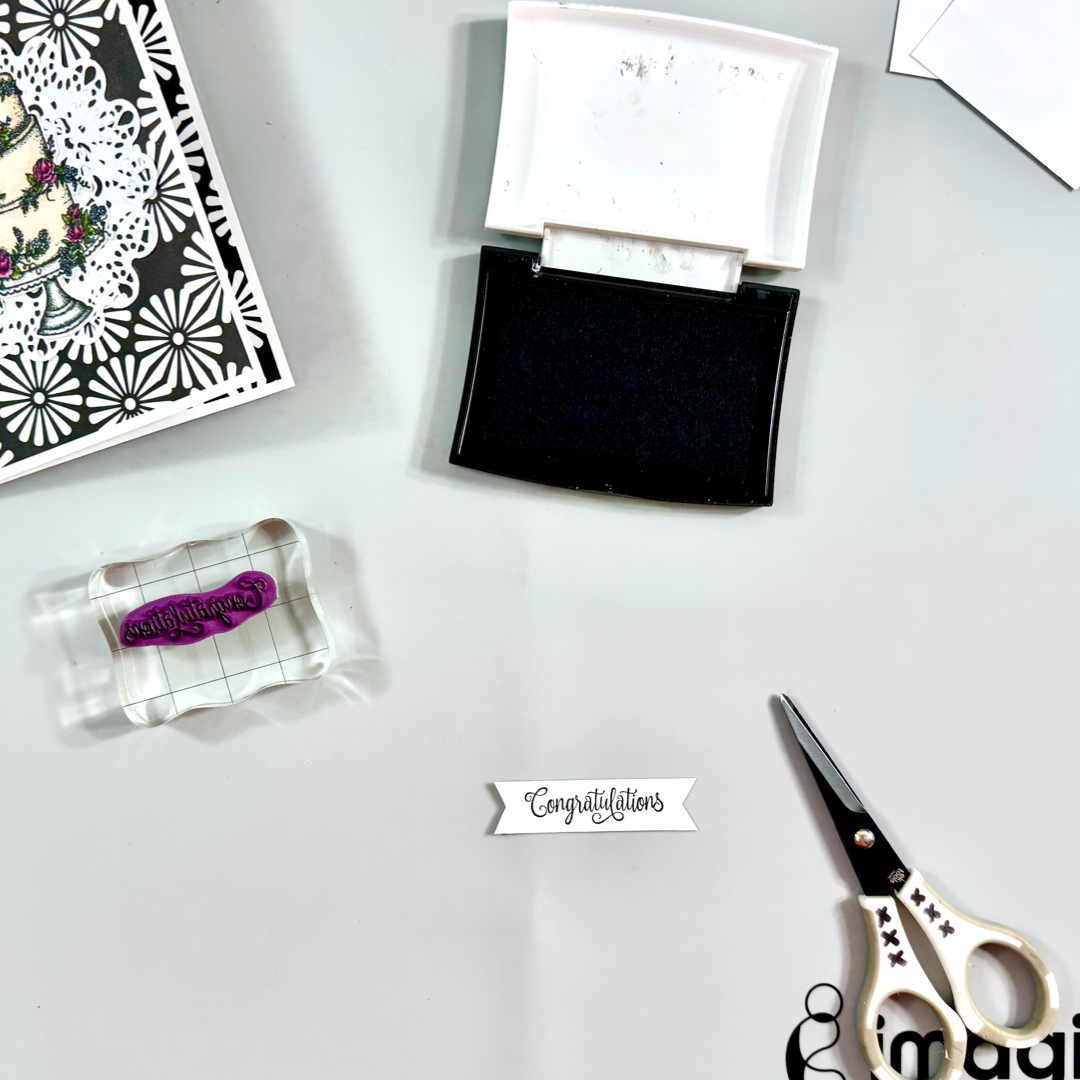
Step 13 Stamp the sentiment on a piece of white cardstock with the Versafine Onyx Black ink pad.
Trim it into a banner sentiment with paper trimmer and micro-trip scissors.
Add to the front of the card (on the cake) with On Point Glue.
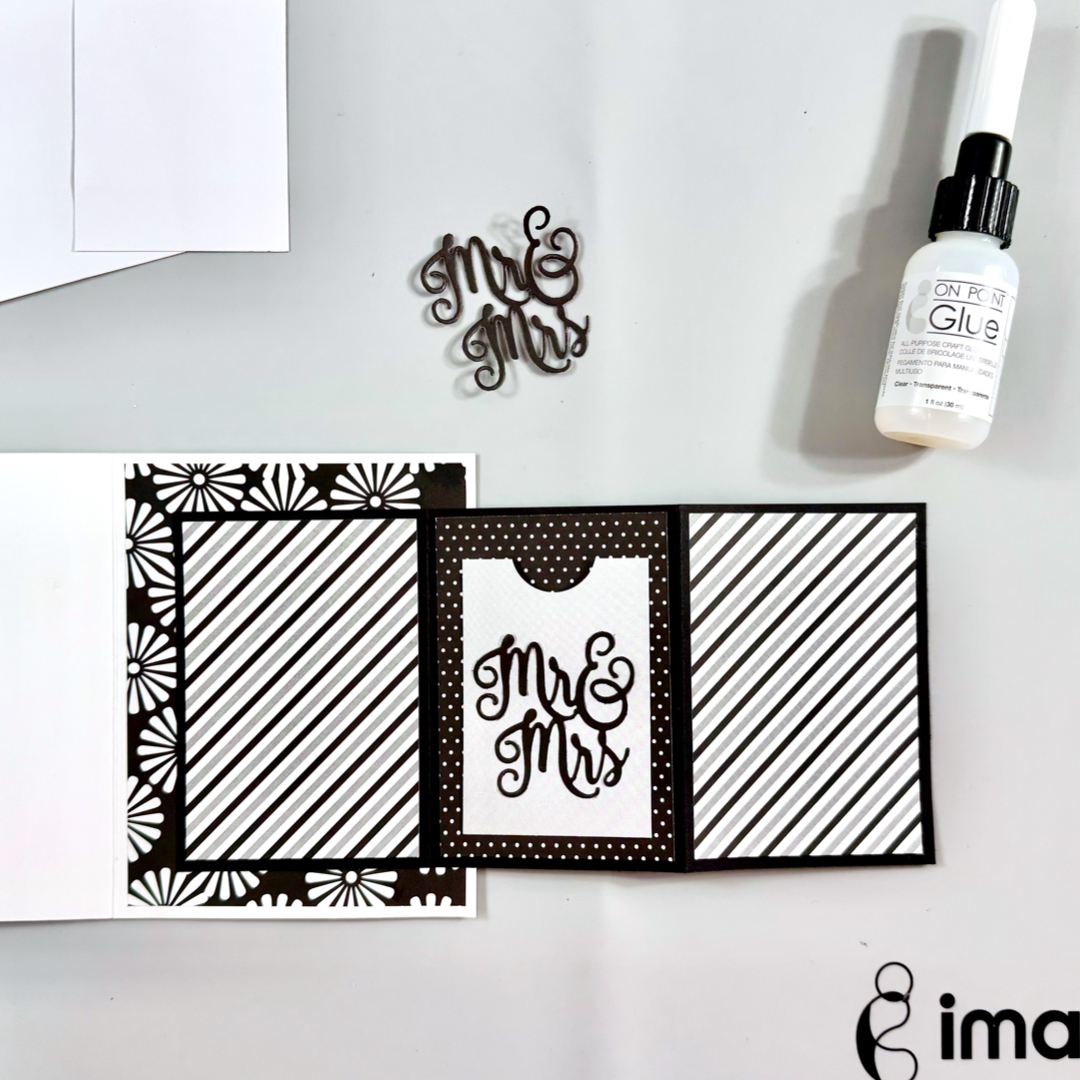
Step 14 Cut out the word “Mr & Mrs” out of black cardstock with the word die twice and stack them together with On Point Glue. If you want a more thicker chipboard look, you can cut the word sentiment 3-4 times and stack them together.
Add them to the front of the gift card pocket with On Point Glue.
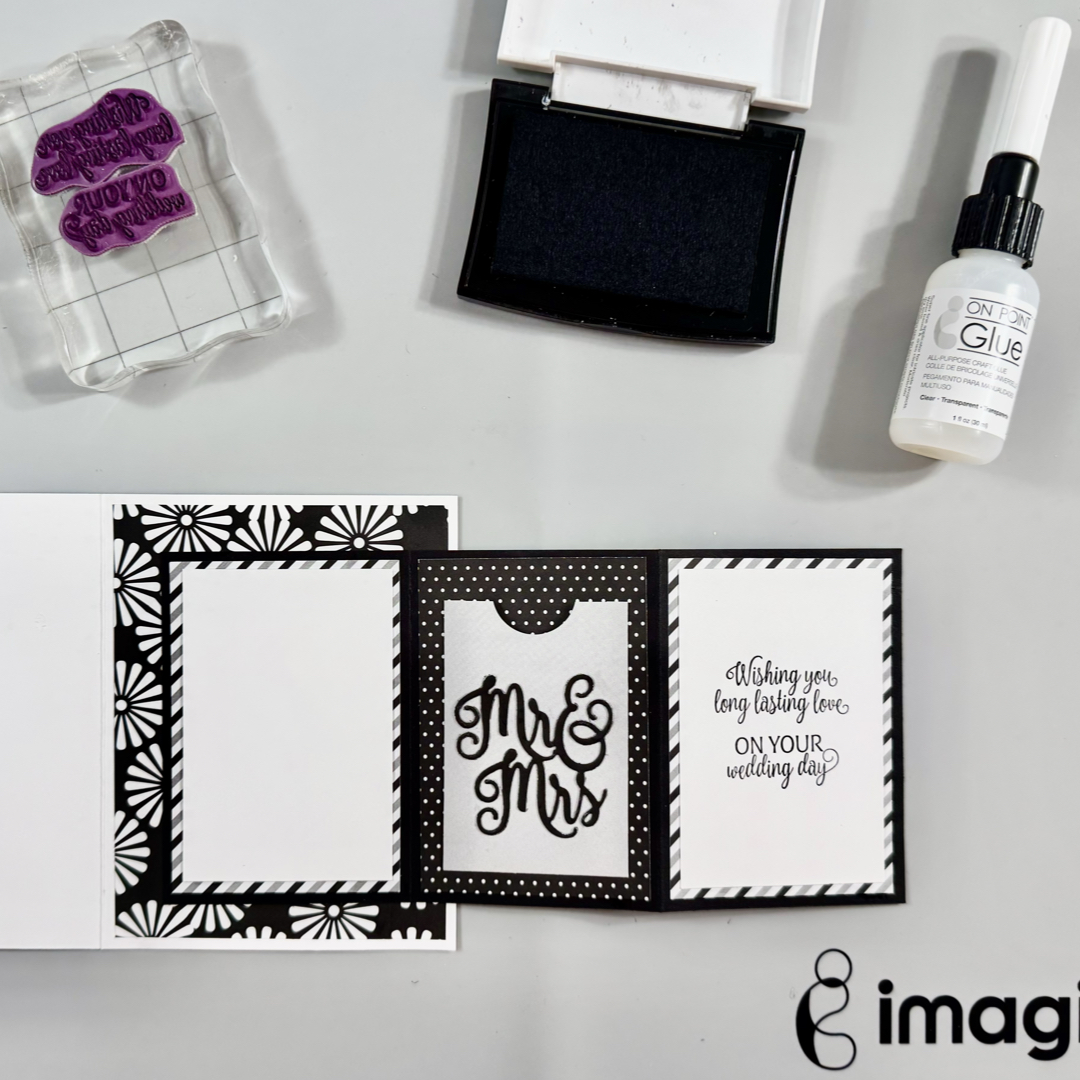
Step 15 Cut another 2 piece white cardstock into 3.75 inch x 2.5 inch for the background mats, and and each of the background mat to the Z-fold base (right and left) with the On Point Glue.
Stamp the sentiment on one of the white mats (the right side of the gift card pocket) with Versafine Onyx Black ink pad.
This Z-fold gift card holder can be pulled out to the right side when they open the card.
You can insert the gift card inside the pocket and you can write your message on the empty side.
Even though this card has some layers, it still can fit nicely inside a regular envelope to mail it out.
I hope you like this wedding card with a gift card holder idea and maybe you can give this tutorial a try by making it for birthdays, graduations, or other occasions.
Thanks so much for stopping by our blog today. Have a wonderful day!
Craft Supplies
Imagine Crafts:
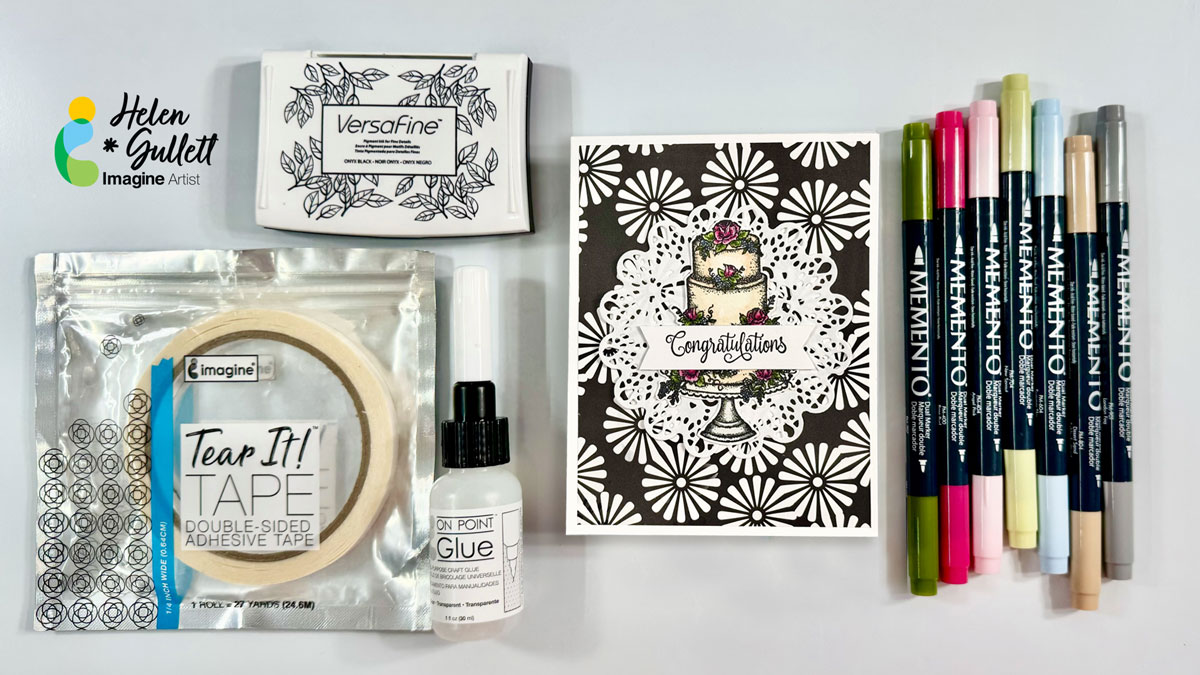
Memento Markers (Angle Pink, Rose Bud, New Sprout, Bamboo Leaves, Summer Sky, Dessert Sand, and London Fog)

 Imagine Blog