By Martha Lucia Gomez –
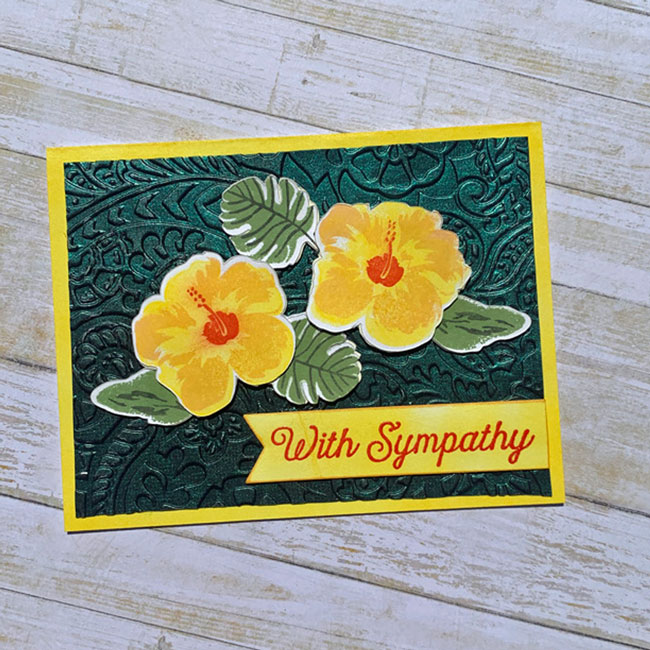
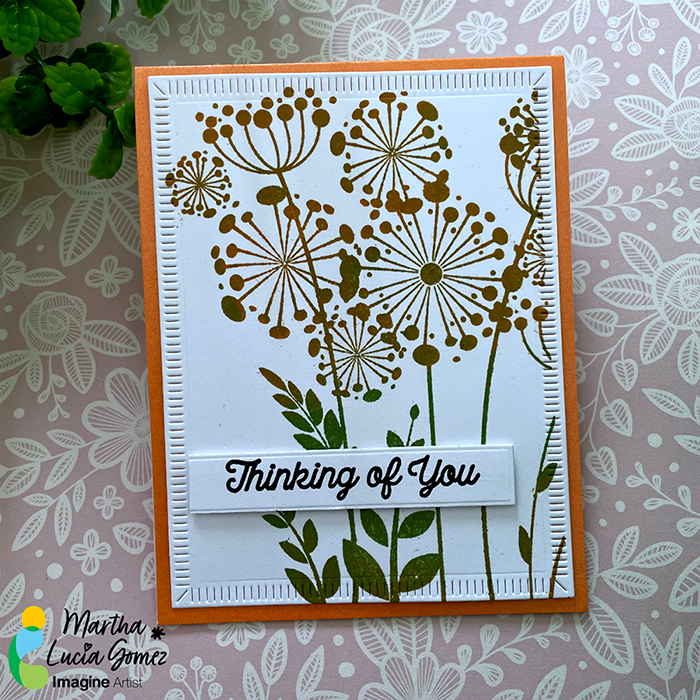
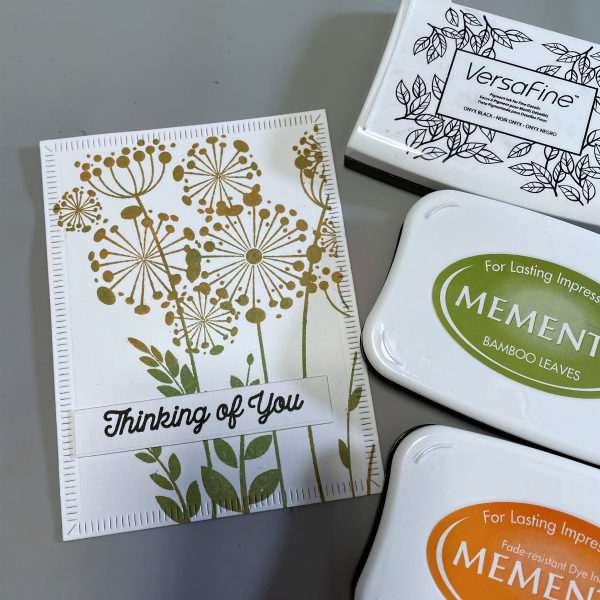
Hello there! In today’s crafting tutorial I want to show you how to make the traditional thumping technique but this time using ink pads and not markers! To make my card, I used the large size of Memento Inks but it can be made with the Memento Drops too or with any other type of ink. This is an easy and fun summer card for any occasion.
Skill Level: Beginner
Time to Complete: 30 Minutes
Directions:
Step 1:
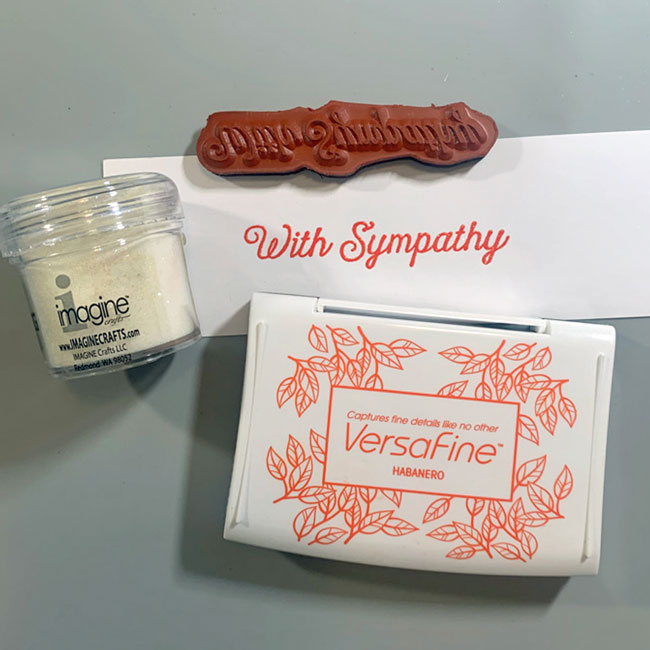
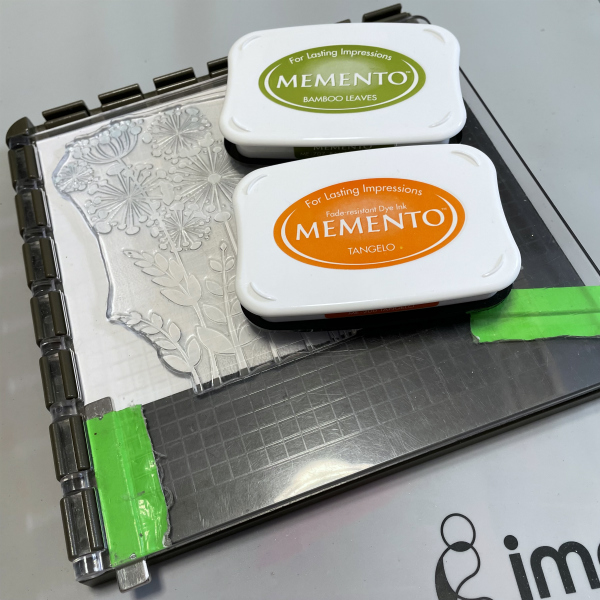
Select the stamp set that you prefer. To make most evident this technique you can use solid stamps. Additionally, pick the colors of ink that you wanted to use. I am using two, Memento Ink Bamboo Leaves and Tangelo.
Step 2:
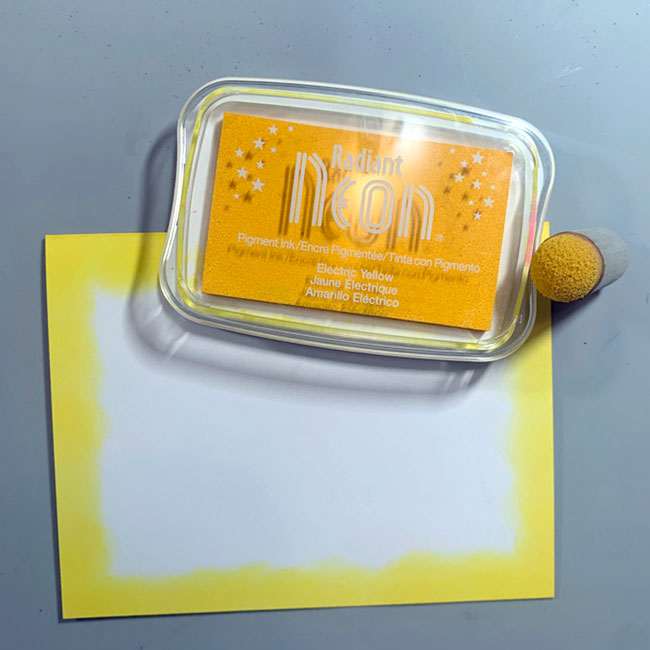
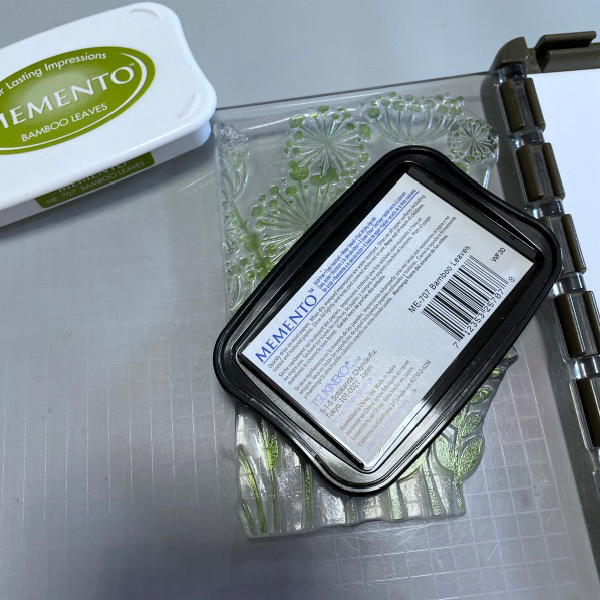
Ink your stamp with the first color. In my case Memento Bamboo Leaves.
Step 3:
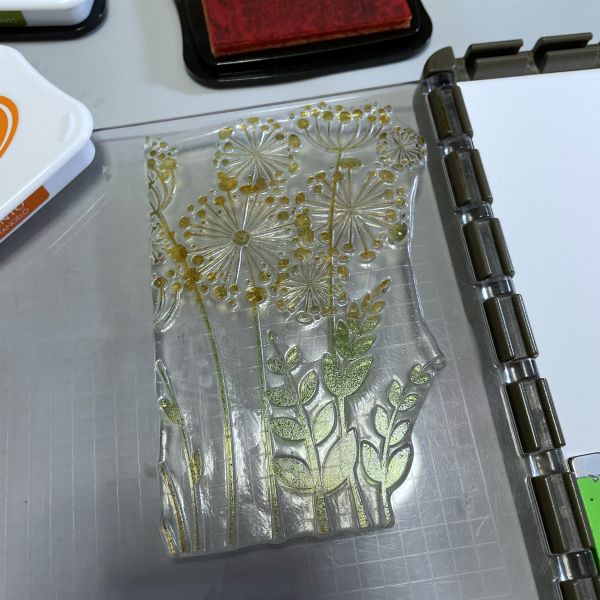
Without stamp the image over the cardstock, ink the stamp partially with the second colors. Keep in mind the parts that you want to look with different shadows.
Step 4:
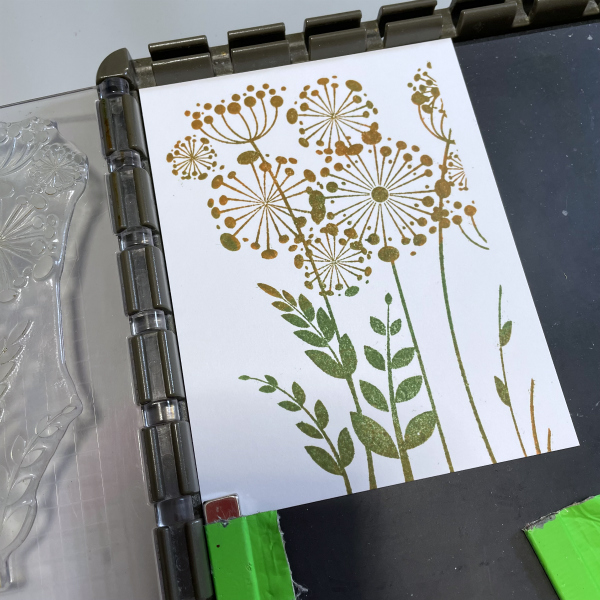
Stamp the image over a piece of cardstock.
TIP: Clean the second ink pad with a dry towel to avoid contamination of the colors.
Step 5:
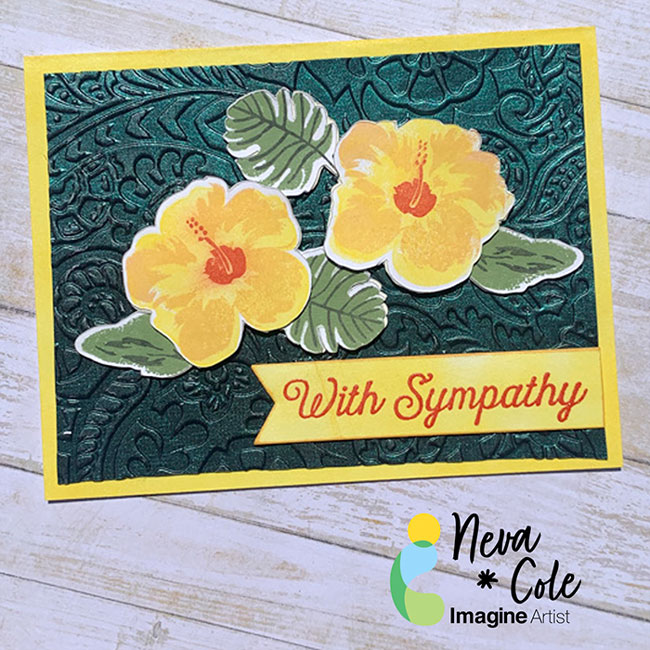
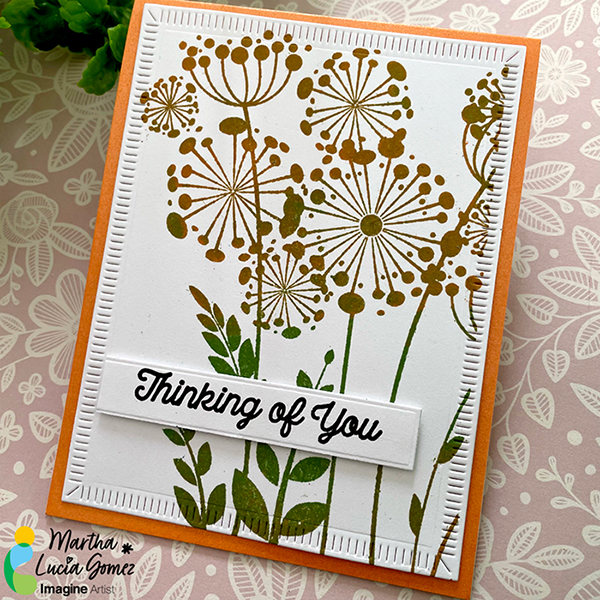
You can repeat the above step if you want to obtain darker colors. Stamp a sentiment using a contrast color to complete your card.
Step 6:
Resize the layer with, paste the sentiment and add the decorative layer over a card base. If you want, you can use your favorite crafty foam to add more dimension to your card.
Art Supplies:
Imagine:
• Memento – Bamboo Leaves and Tangelo
Other:
• 88 and Clear – Clear Stamp Set Kissable Dandelion
• Scrapbook.com – Clear Stamp Set Handmade Essentials
• Joy Clair Designs – White Smooth Cardstock
• Positional Stamp Tool.
• The Greetery LLC – Crimped Frame Die
• Die Cut Machine
• Scrapbook Adhesives Crafty Foam.