Hello Crafty Friends! Annie here with a Thanksgiving Card featuring VersaMagic Chalk Inks, Brilliance Pearlescent Pigment Inks, and StazOn Metallic Inks. This Thanksgiving papercraft can be used as a greeting card to give to your host or sent to a family member to let them know you are thinking about them during this holiday season.
This simple stamping and assembly can be finished in a crafting afternoon session. Additional supplies include scrapbooking paper and cardstock.
Skill: Intermediate to Advanced
Time: 20 minutes
Directions
Art Supplies
Imagine
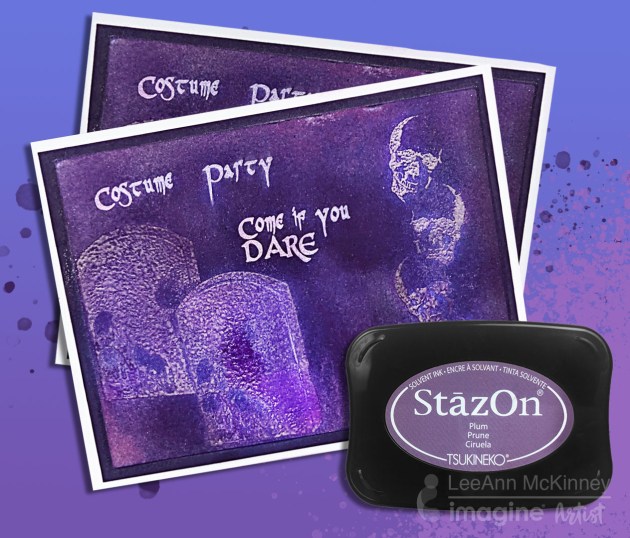
- Stazon Metallic Ink Pad – Copper
- VersaMagic Inks Pad – Pumpkin Spice, Gingerbread, Tea Leaves, Turquoise Gem, Sage, Red Magic
- Brilliance Ink Pad – Rocket Red Gold, Crimson copper, Coffee Bean, Pearlescent Sky Blue, Lighting Black
- Mboss Embossing Powder – Clear
- Tear It! Tape
- On Point Glue
Other
- Stampendous Stamps: Fall Season Set
- Queen & Co. Jellies Gems: Copper Brown
- Studio Calico: Wood Veneer Leaf
- DCWV Pattern Paper: Fall & Halloween Stack
- Recollections Brand 110# Cardstock: White
- Recollections Brand 65# Cardstock: Brown
- Jot Brand Foam Tape