By Katy Ingram
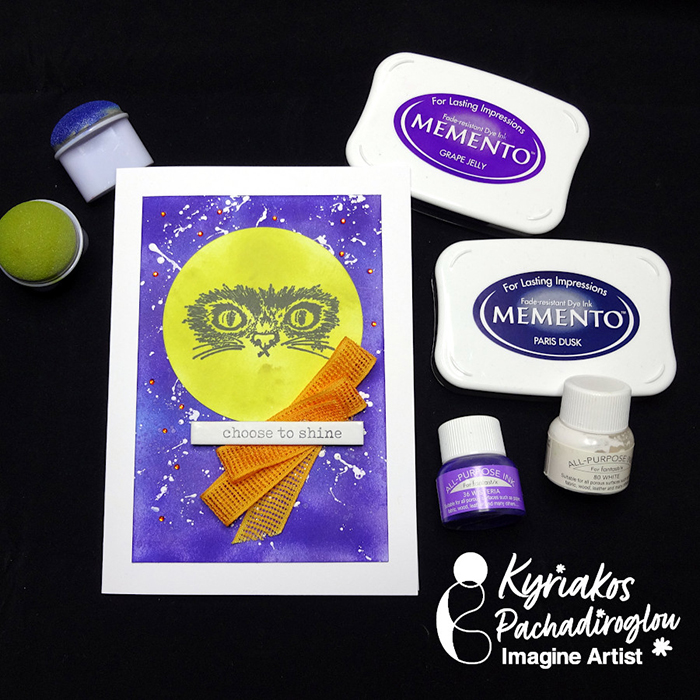
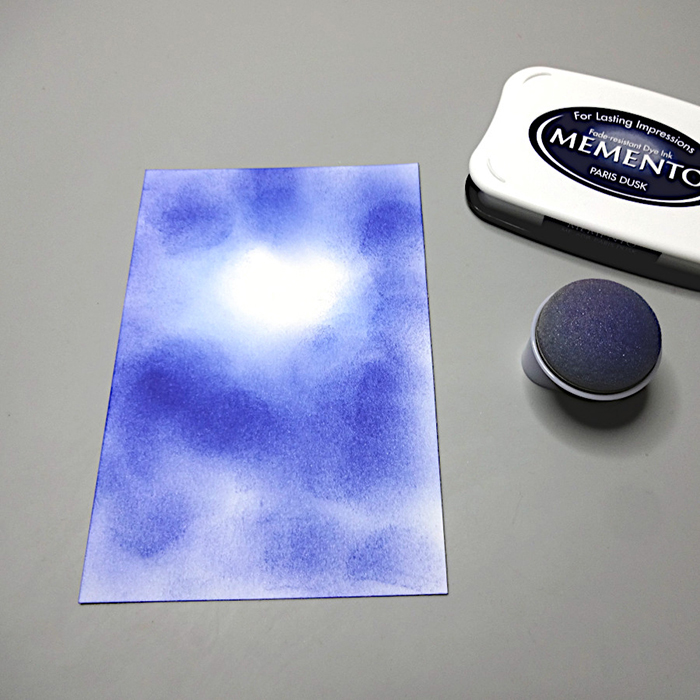
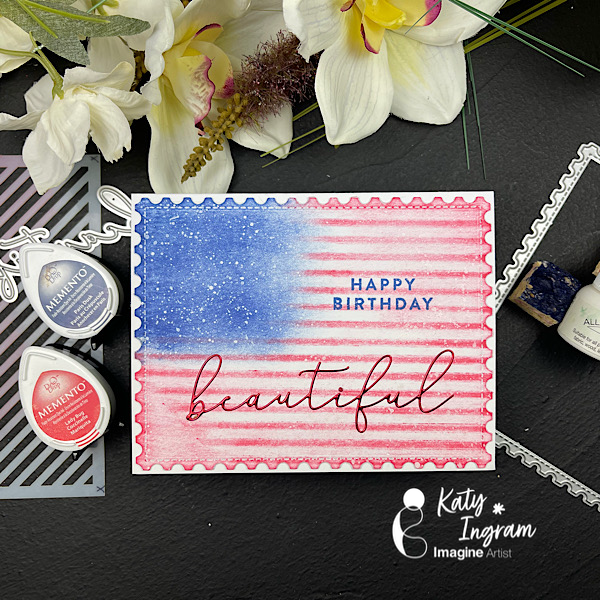
Hello Friends! Katy here with another quick project for you. Today’s card is for Independence Day here in America, coming up on July 4th and I thought I would use my supplies to create an American Flag. I used a diagonal stencil to create my stripes and some sponge swiping to create my blue section and some splatter for my stars. Some simple techniques with minimal supplies to add to your card making arsenal.
Video below has all the details. I hope you enjoy.
Skill: Beginner
Time: 15 minutes
Video Link:
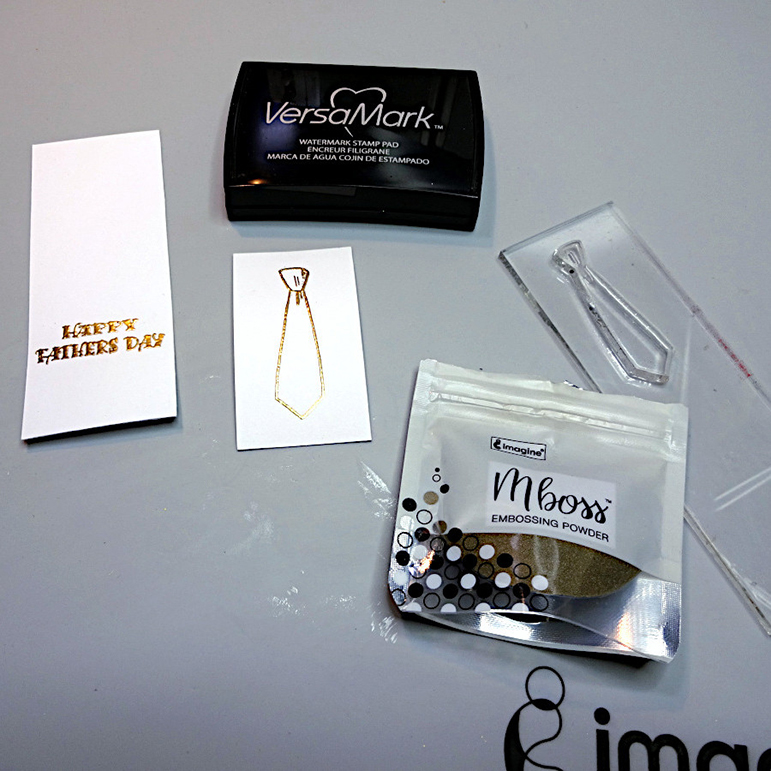
Art Supplies
Imagine Products
Memento Ink Lady Bug
Memento Ink Paris Dusk
All Purpose Ink White
Other Products Used
Affiiate links used at no additional cost to you. Thank you for your support
Simon Says Stamp Diagonal Stencil https://ldli.co/e/e263m92
Kitchen Sponge https://ldli.co/e/e263m92
Red Foil Cardstock https://ldli.co/e/e263m92
White Cardstockhttps://ldli.co/e/e263m92
Kat Scrappiness Postage Rectangle Die https://ldli.co/e/e263m92
Pixie Spray https://ldli.co/e/e263m92