By Kathy Pisupati –
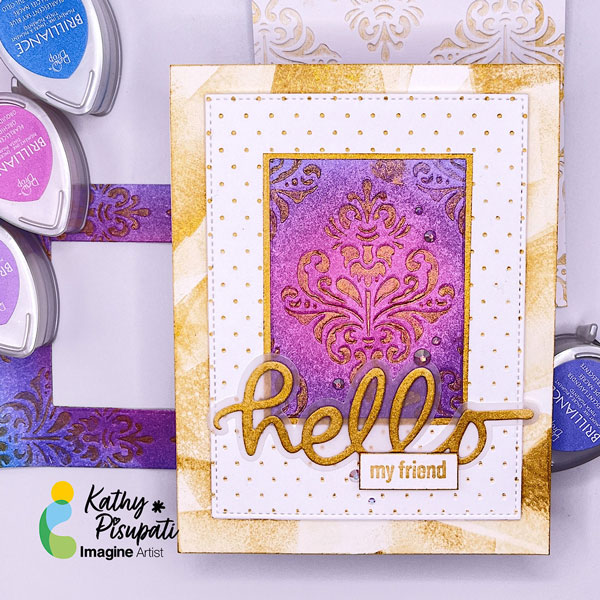
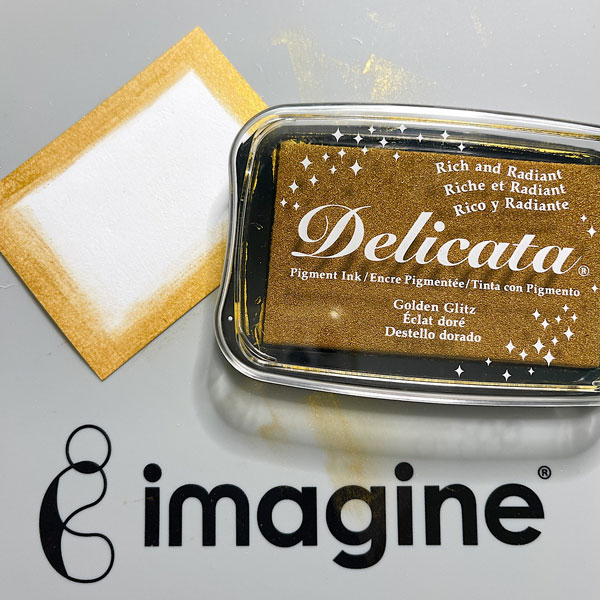
Hi there! Kathy here. Today I have a new tutorial for you that uses Delicata Golden Glitz and Ruby Red. The shimmering quality of Delicata inks is perfect for this happy hour, wine card. It may be hard to see all the shimmer but trust me it’s there!
Skill Level: Intermediate
Time to Complete: 1 hour
Directions:

Step 1
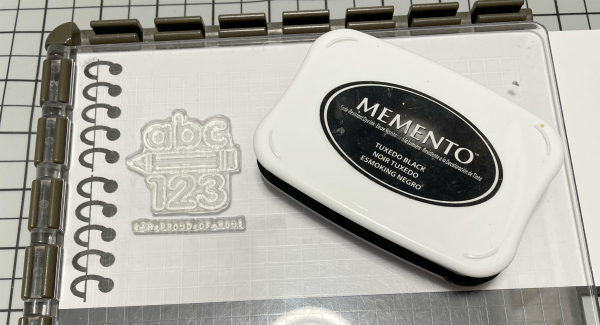
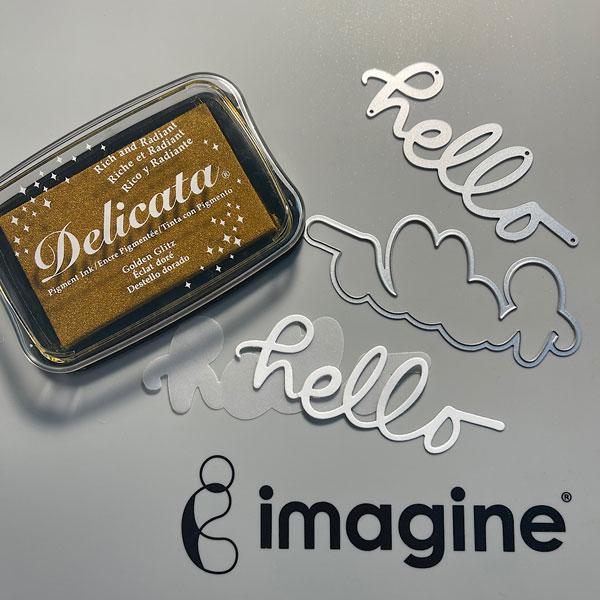
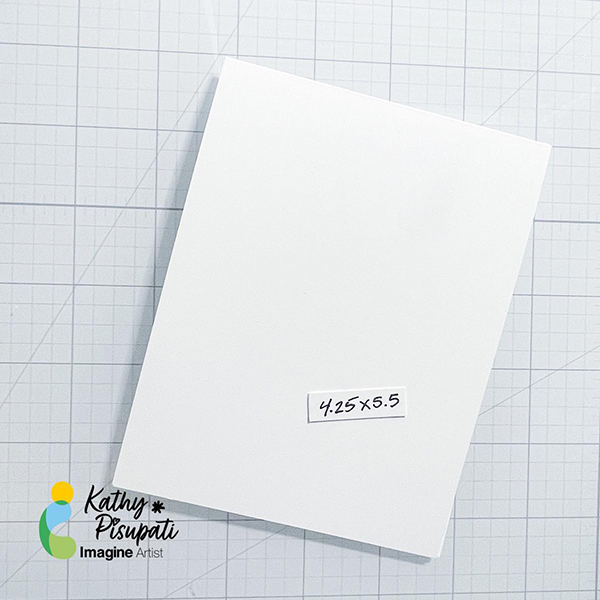
You will need a top-folding card base measuring 4 1/4 x 5 1/2“. The rest of the panels we will create as we go. I have listed the size of each panel on the pictures for you. After cutting this panel I used the Essentials by Ellen Rectangles for Stitching dies. I don’t stitch but these dies cut beautiful little holes as a frame that will show the color below in the end. Using Delicata Golden Glitz ink and clear embossing powder I stamped this image from Picket Fence Studio’s Just Wanna Have Wine stamp set. I then heat embossed the sentiment.

Step 2a
Next, I stamped and embossed the wine bottle from the same Picket Fence Studio set. Using the coordinating die I did this 3 times.

Step 2b
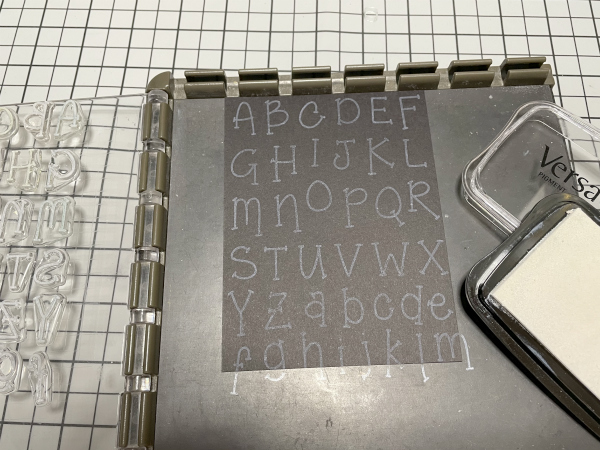
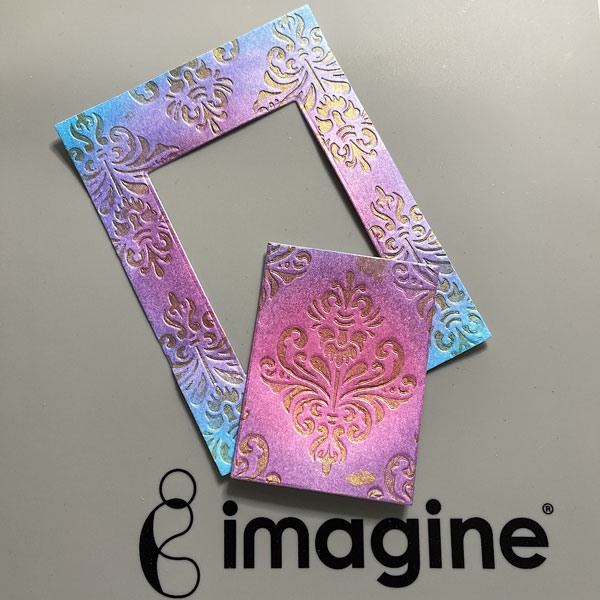
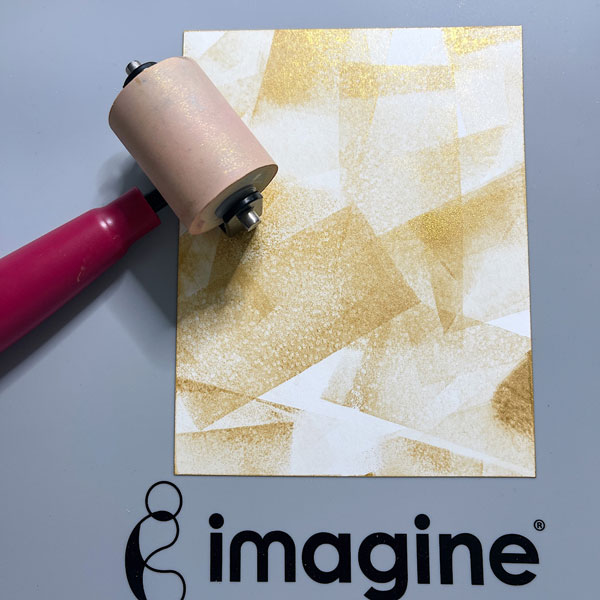
For the background I used the Picket Fence Studio Montage 6 x 6 stencil with the Delicata Ruby Red Ink.
Step 3
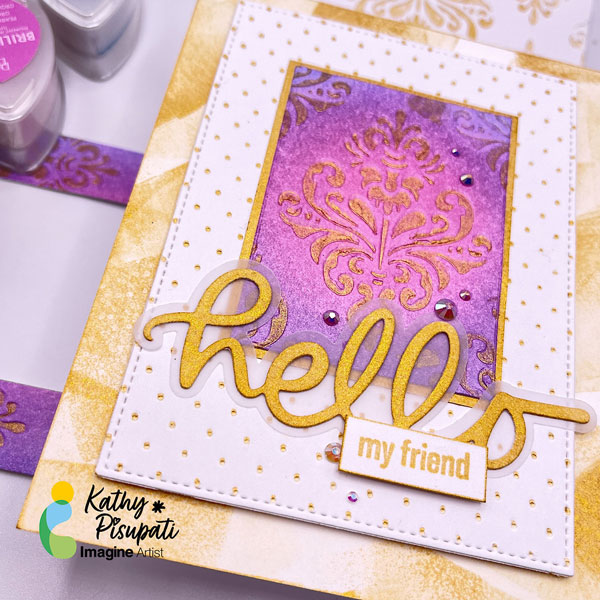
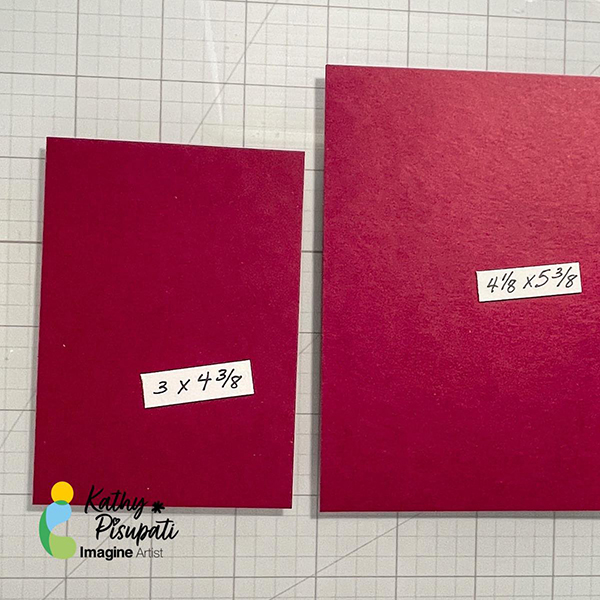
From a coordinating-colored card stock cut two panels to the sizes in the picture below. Adhere the sentiment panel on top of the small background and the stenciled panel to the larger panel with On Point Glue.
Step 4
The stenciled panel was adhered directly to an A2 top-folding card base with the Tear It Tape. The sentiment panel was added with foam tape and the wine bottles were popped up with foam tape as well.
Step 5
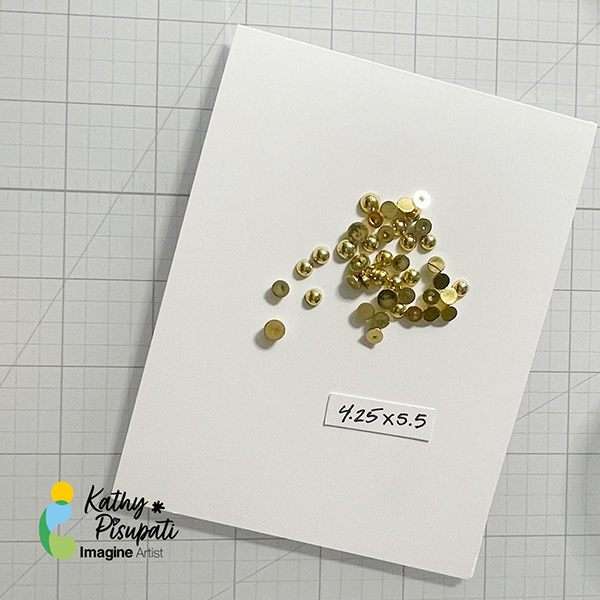
Finally, I added a few Kat Scrappiness Gold Pearls for a bit of bling.
I hope you enjoy this card and the tutorial. Thanks for stopping by. I appreciate all of you!

Supplies Used:
Imagine Crafts
Other
• Picket Fence Studio Montage 6 x 6 Stencil
• Picket Fence Studio Just Wanna Have Wine Stamps and Dies
• Kat Scrappiness Gold Pearls
• Clear embossing powder
• Embossing tool
• Spellbinders Platinum 6 Die-Cutting machine
• Colored card stock
• Neenah Classic Crest Solar White 110lb
• Paper Trimmer
• Teflon bone folder
• Foam Tape