Hello! Alison Heikkila here and I have a new YouTube video for Imagine today. We are going to start off with a little experimenting with a Gel Press, and then we’ll move on to finish a card. I love to try different inks and techniques on the Gel Press, and even if they don’t work out as I had hoped, the monoprints can always be used at a later date in a different way.
Skill: Intermediate-Advanced Time to Complete: 30 minutes
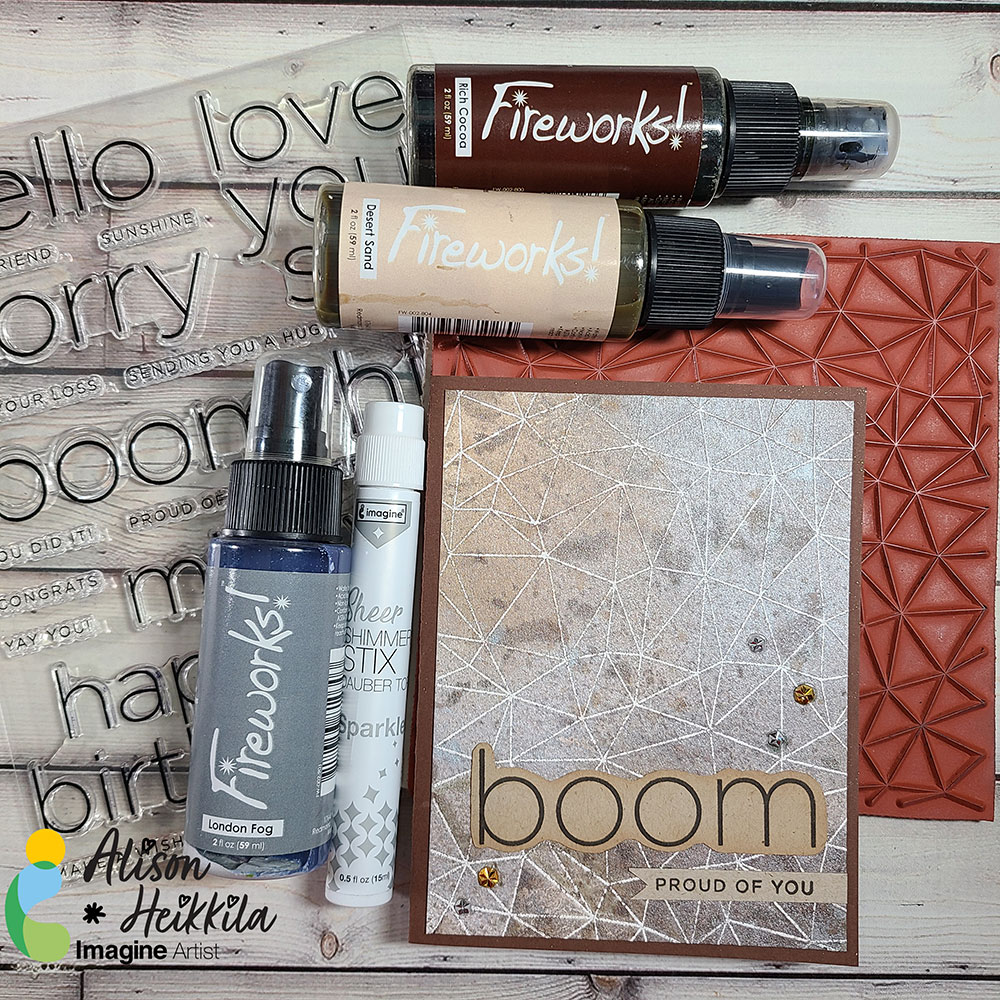
– Hello! It’s Alison Heikkila. Today we’re going to play with some Fireworks! Sprays on an emboss resist background. It’s a great masculine card, but I prefer to call it non-gendered. By changing up the background stamp and/or the colors, you can make this card as unique as the person you’re giving it to.
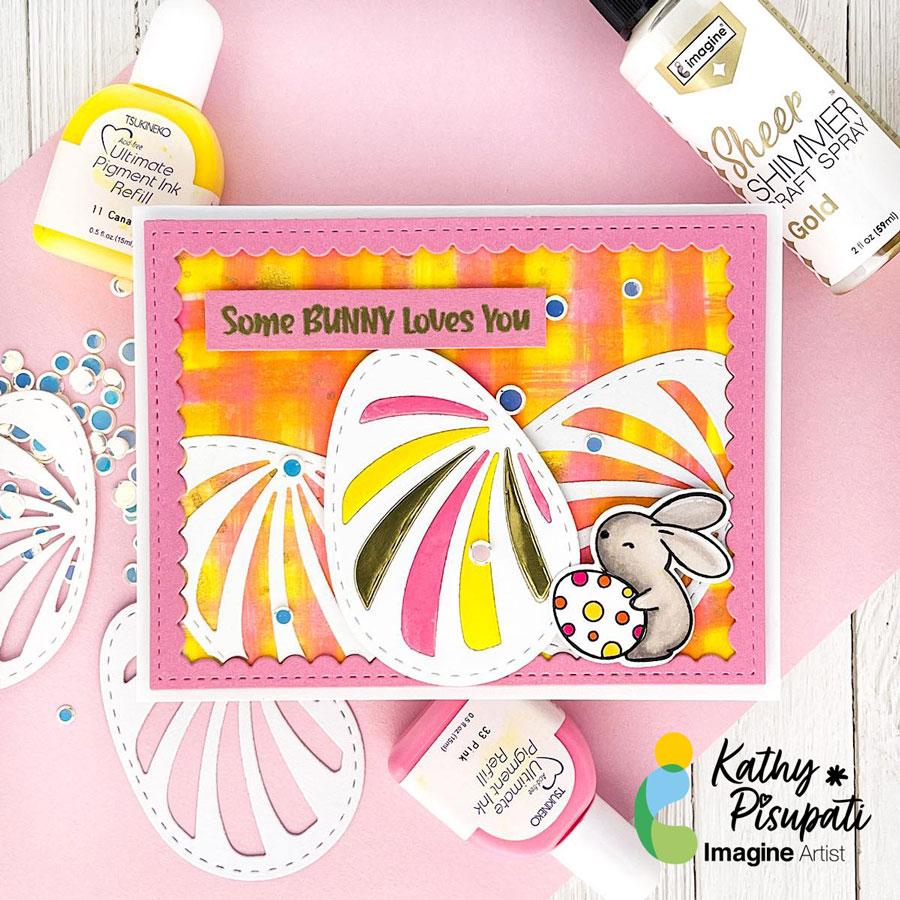
Good morning! Kathy here, creating art for Imagine Crafts! Today I have a new tutorial for you. Today’s project is an Easter card but it is also about creating your own backgrounds with Imagine Craft’s Ultimate Pigment Ink Refills! If you don’t have much patterned paper this is an easy background using the refills and baby wipes!
Skill Level: Easy
Time to complete: 1 hour
Step 1
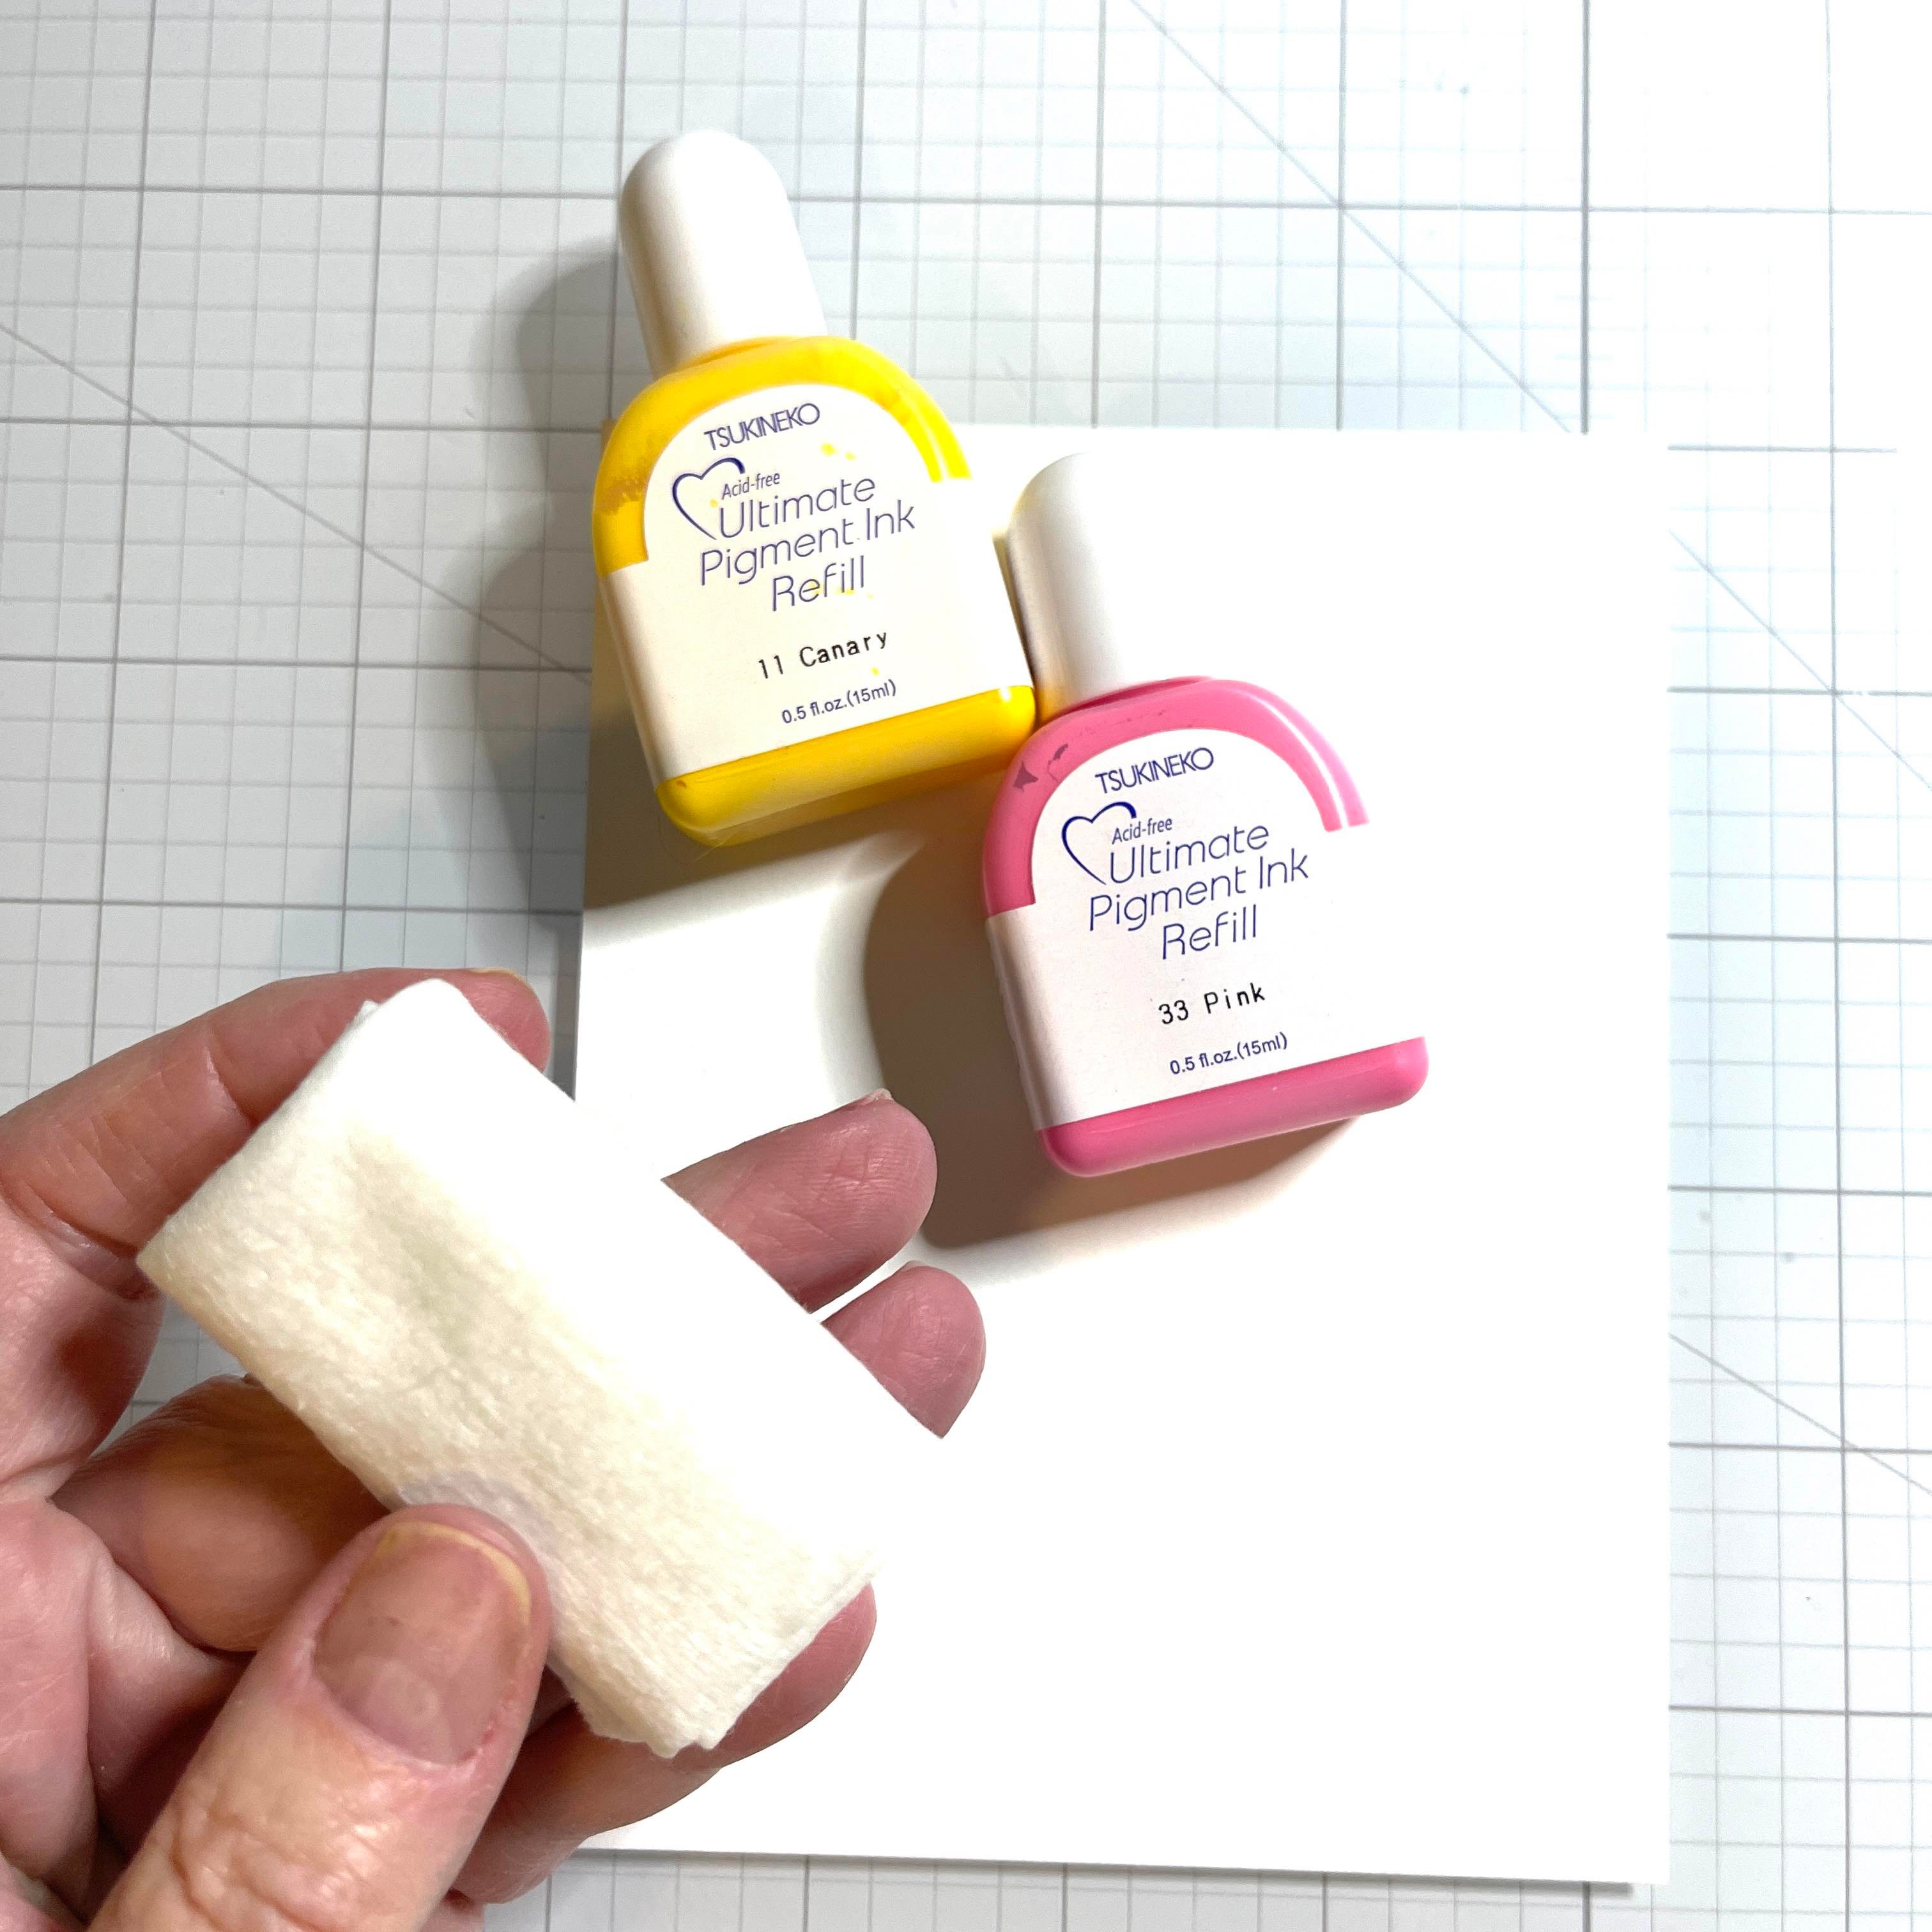
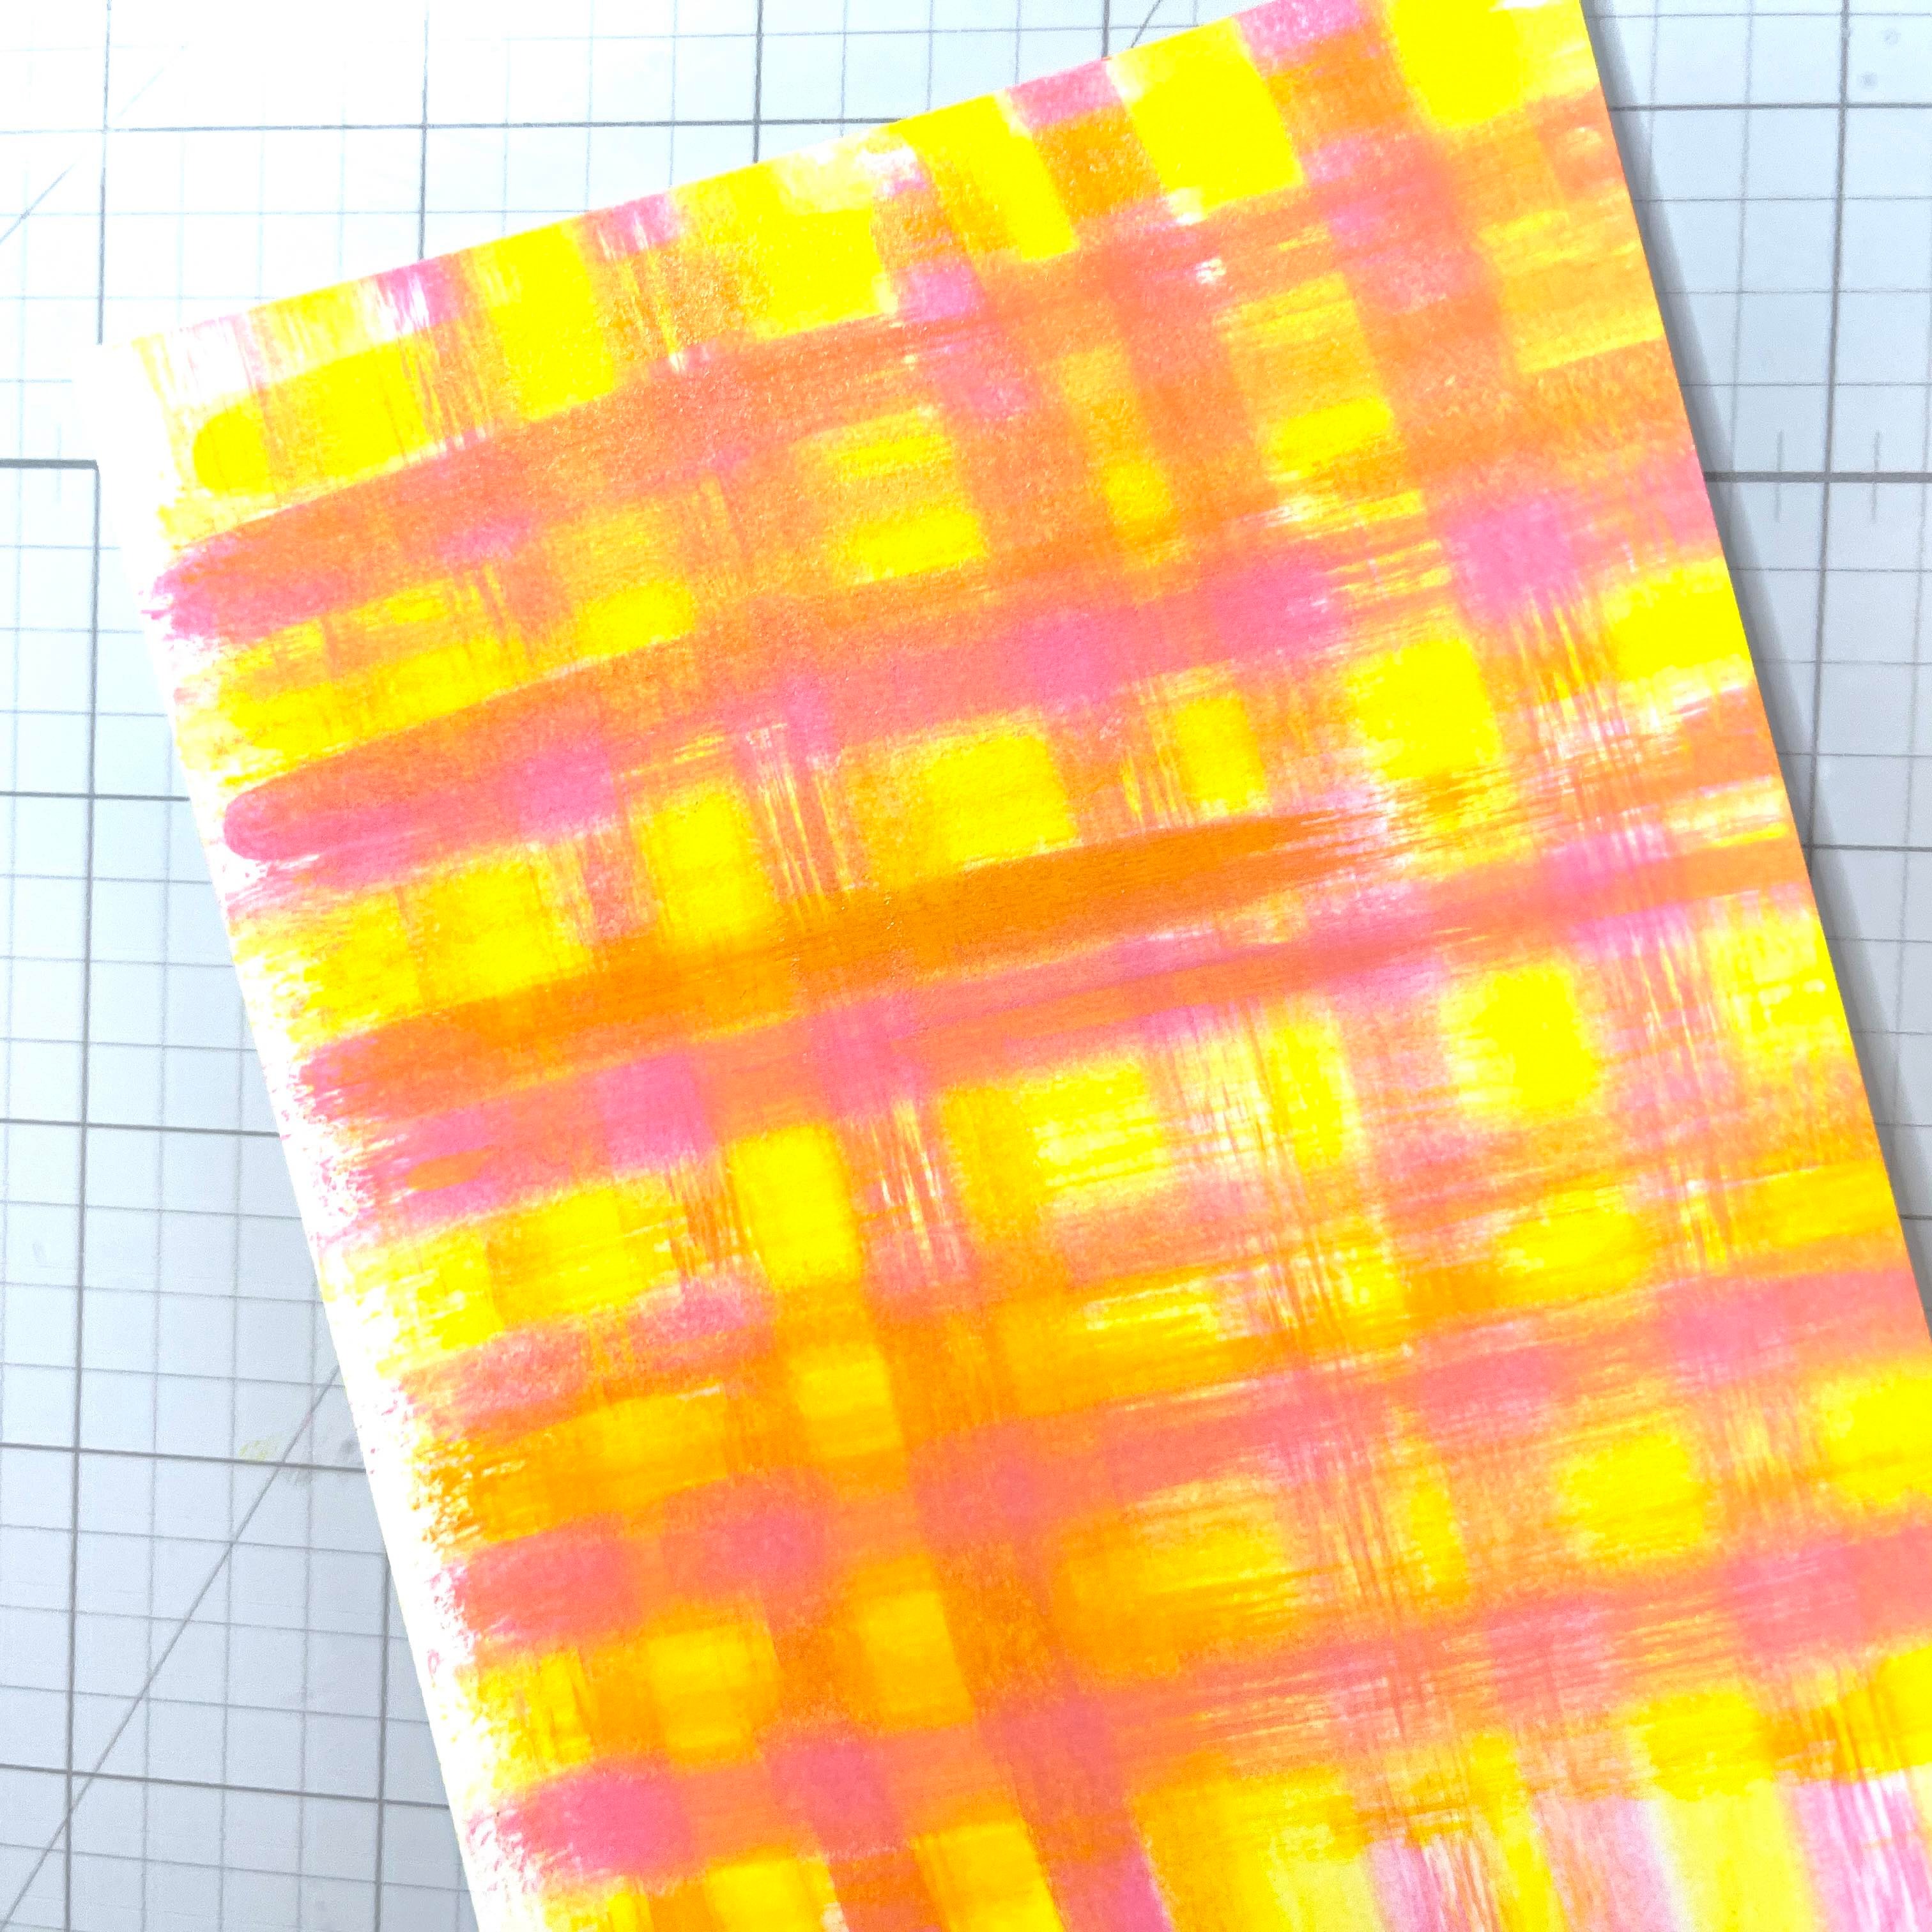
Cut a piece of a layering weight, white card stock to 4.25” x 5.5”. This will be enough for three holders. Grab your favorite ink refills. For today’s card I used Imagine Craft’s Ultimate Pigment Ink Refills in Canary and Pink. Grab a baby wipe and fold it up nicely.
Step 2
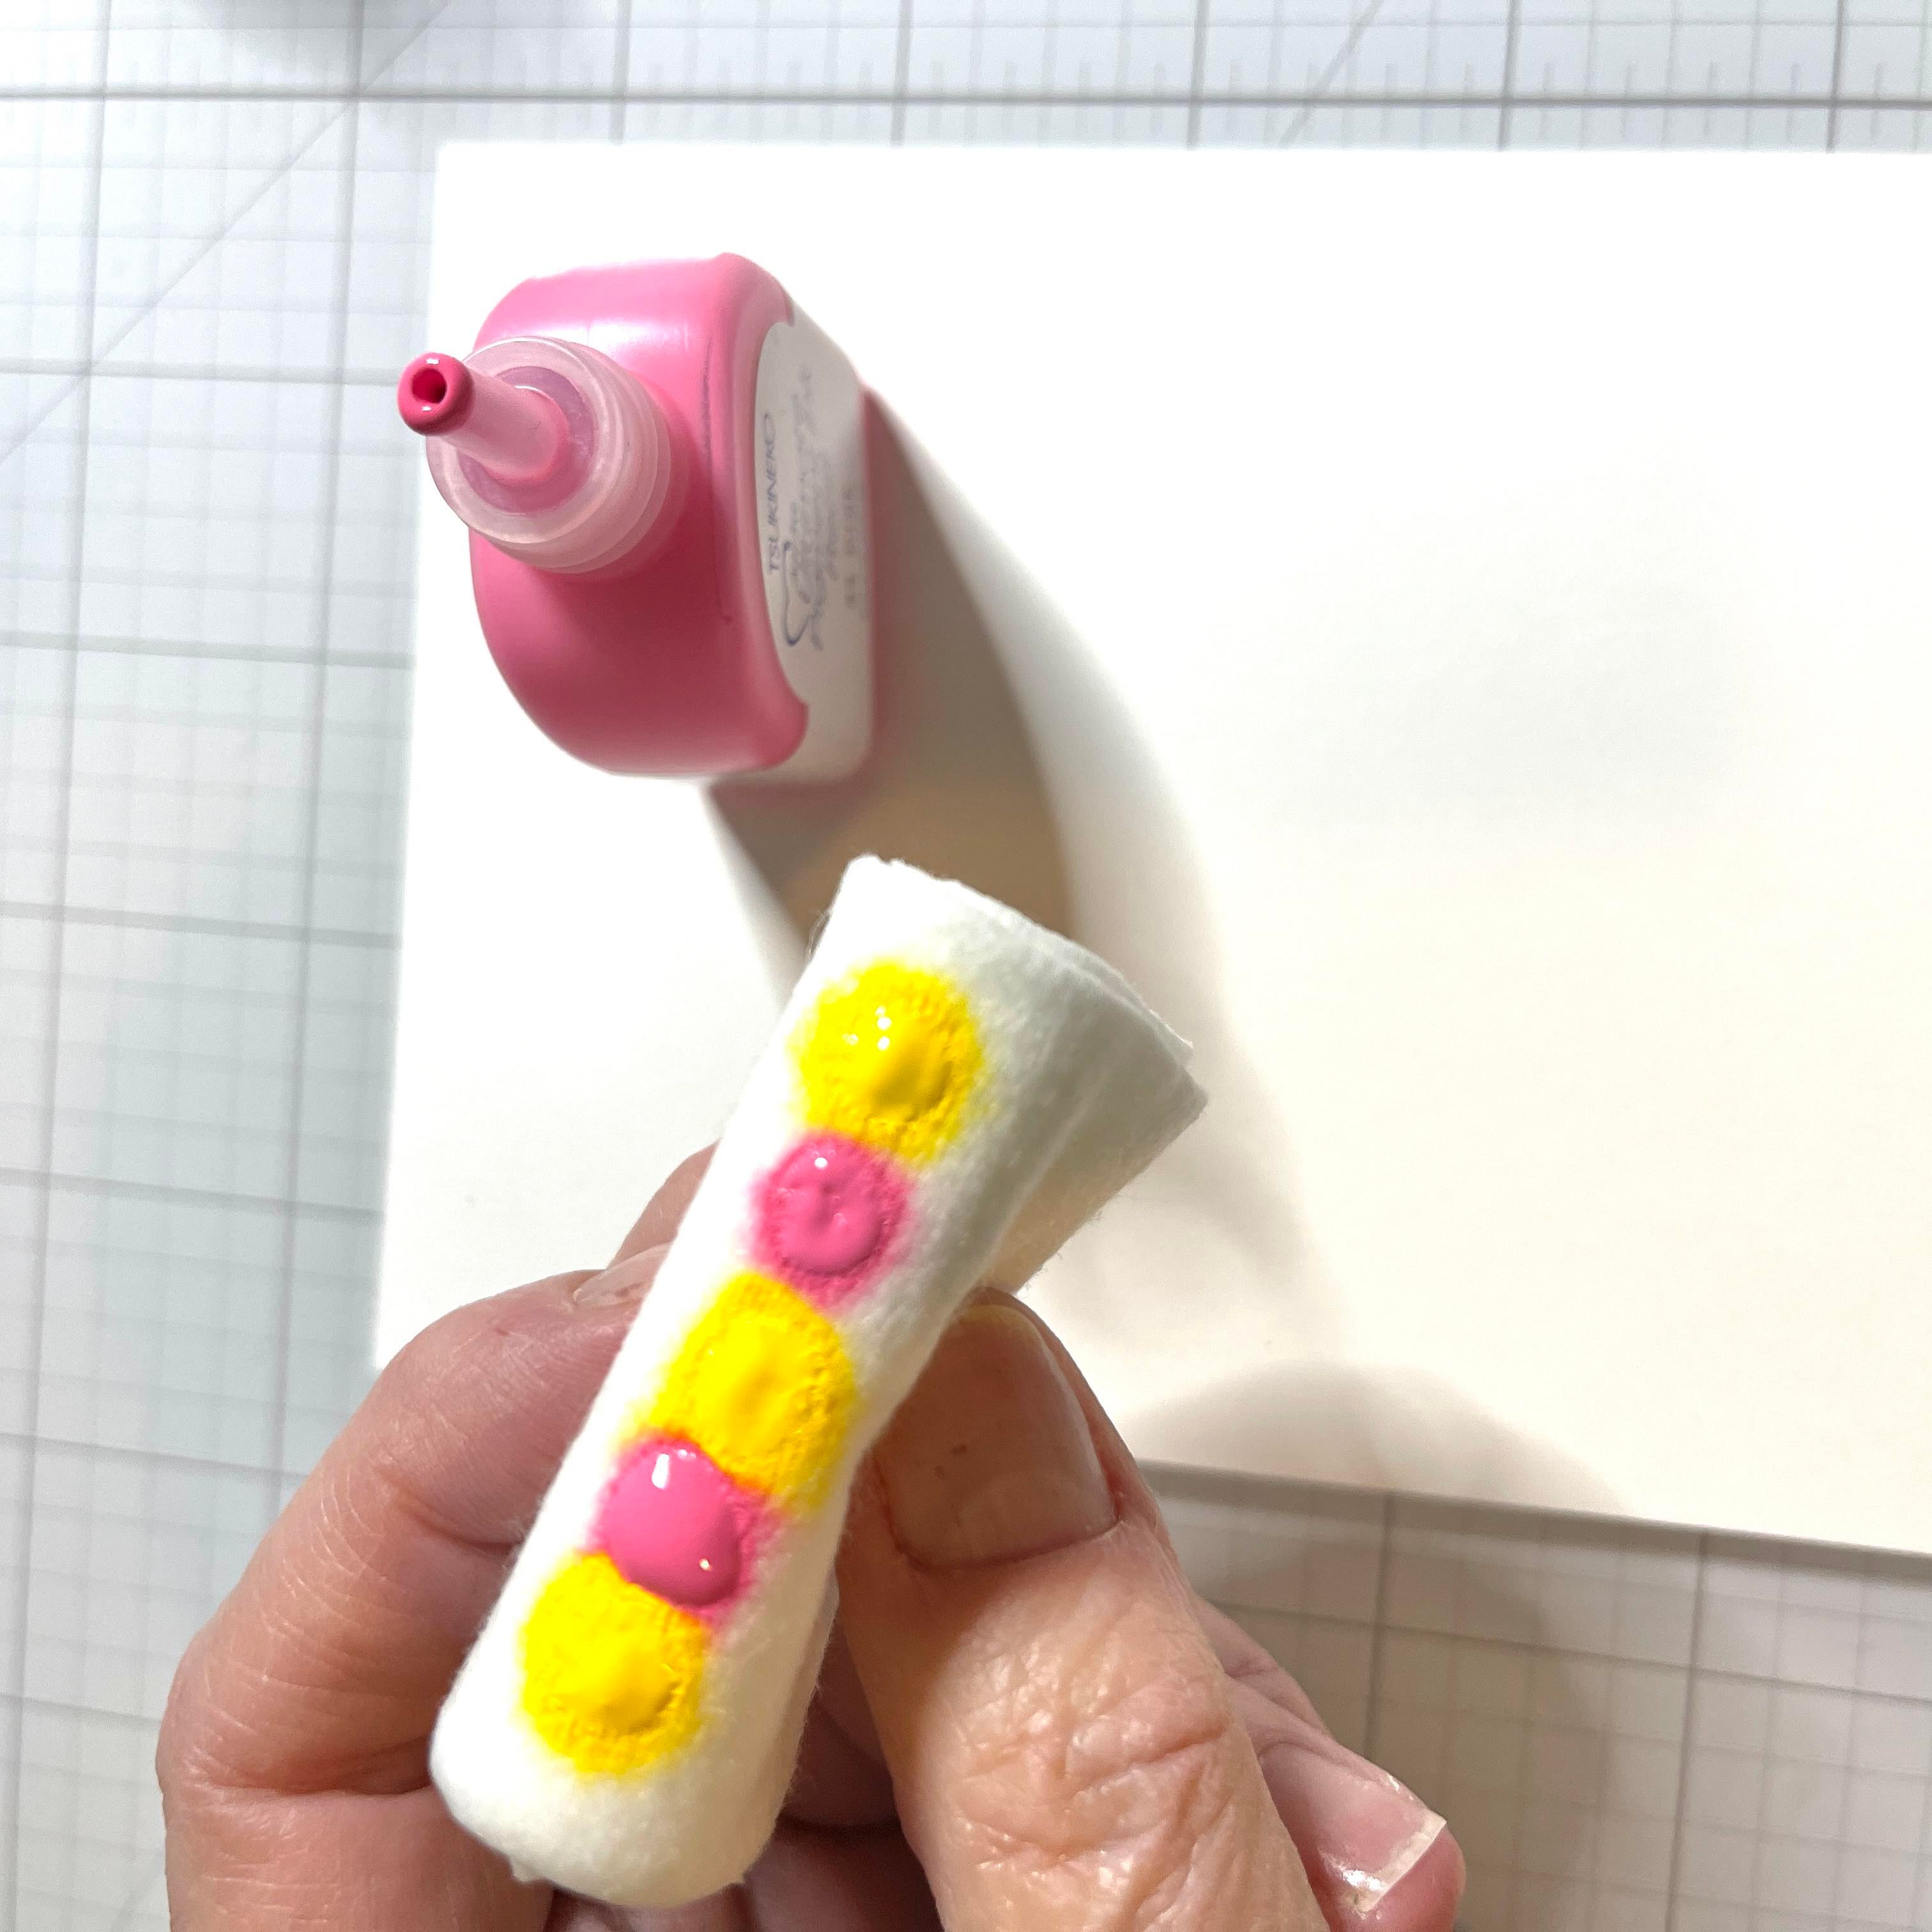
Dab your ink onto the baby wipe in an alternating order.
Step 3
Now just swipe across your card stock. YES you will get messy! But it’s fun. You may need to add some more drops. Make sure when swiping that you line up your baby wipe with the last swiped color as you move along.
Step 4
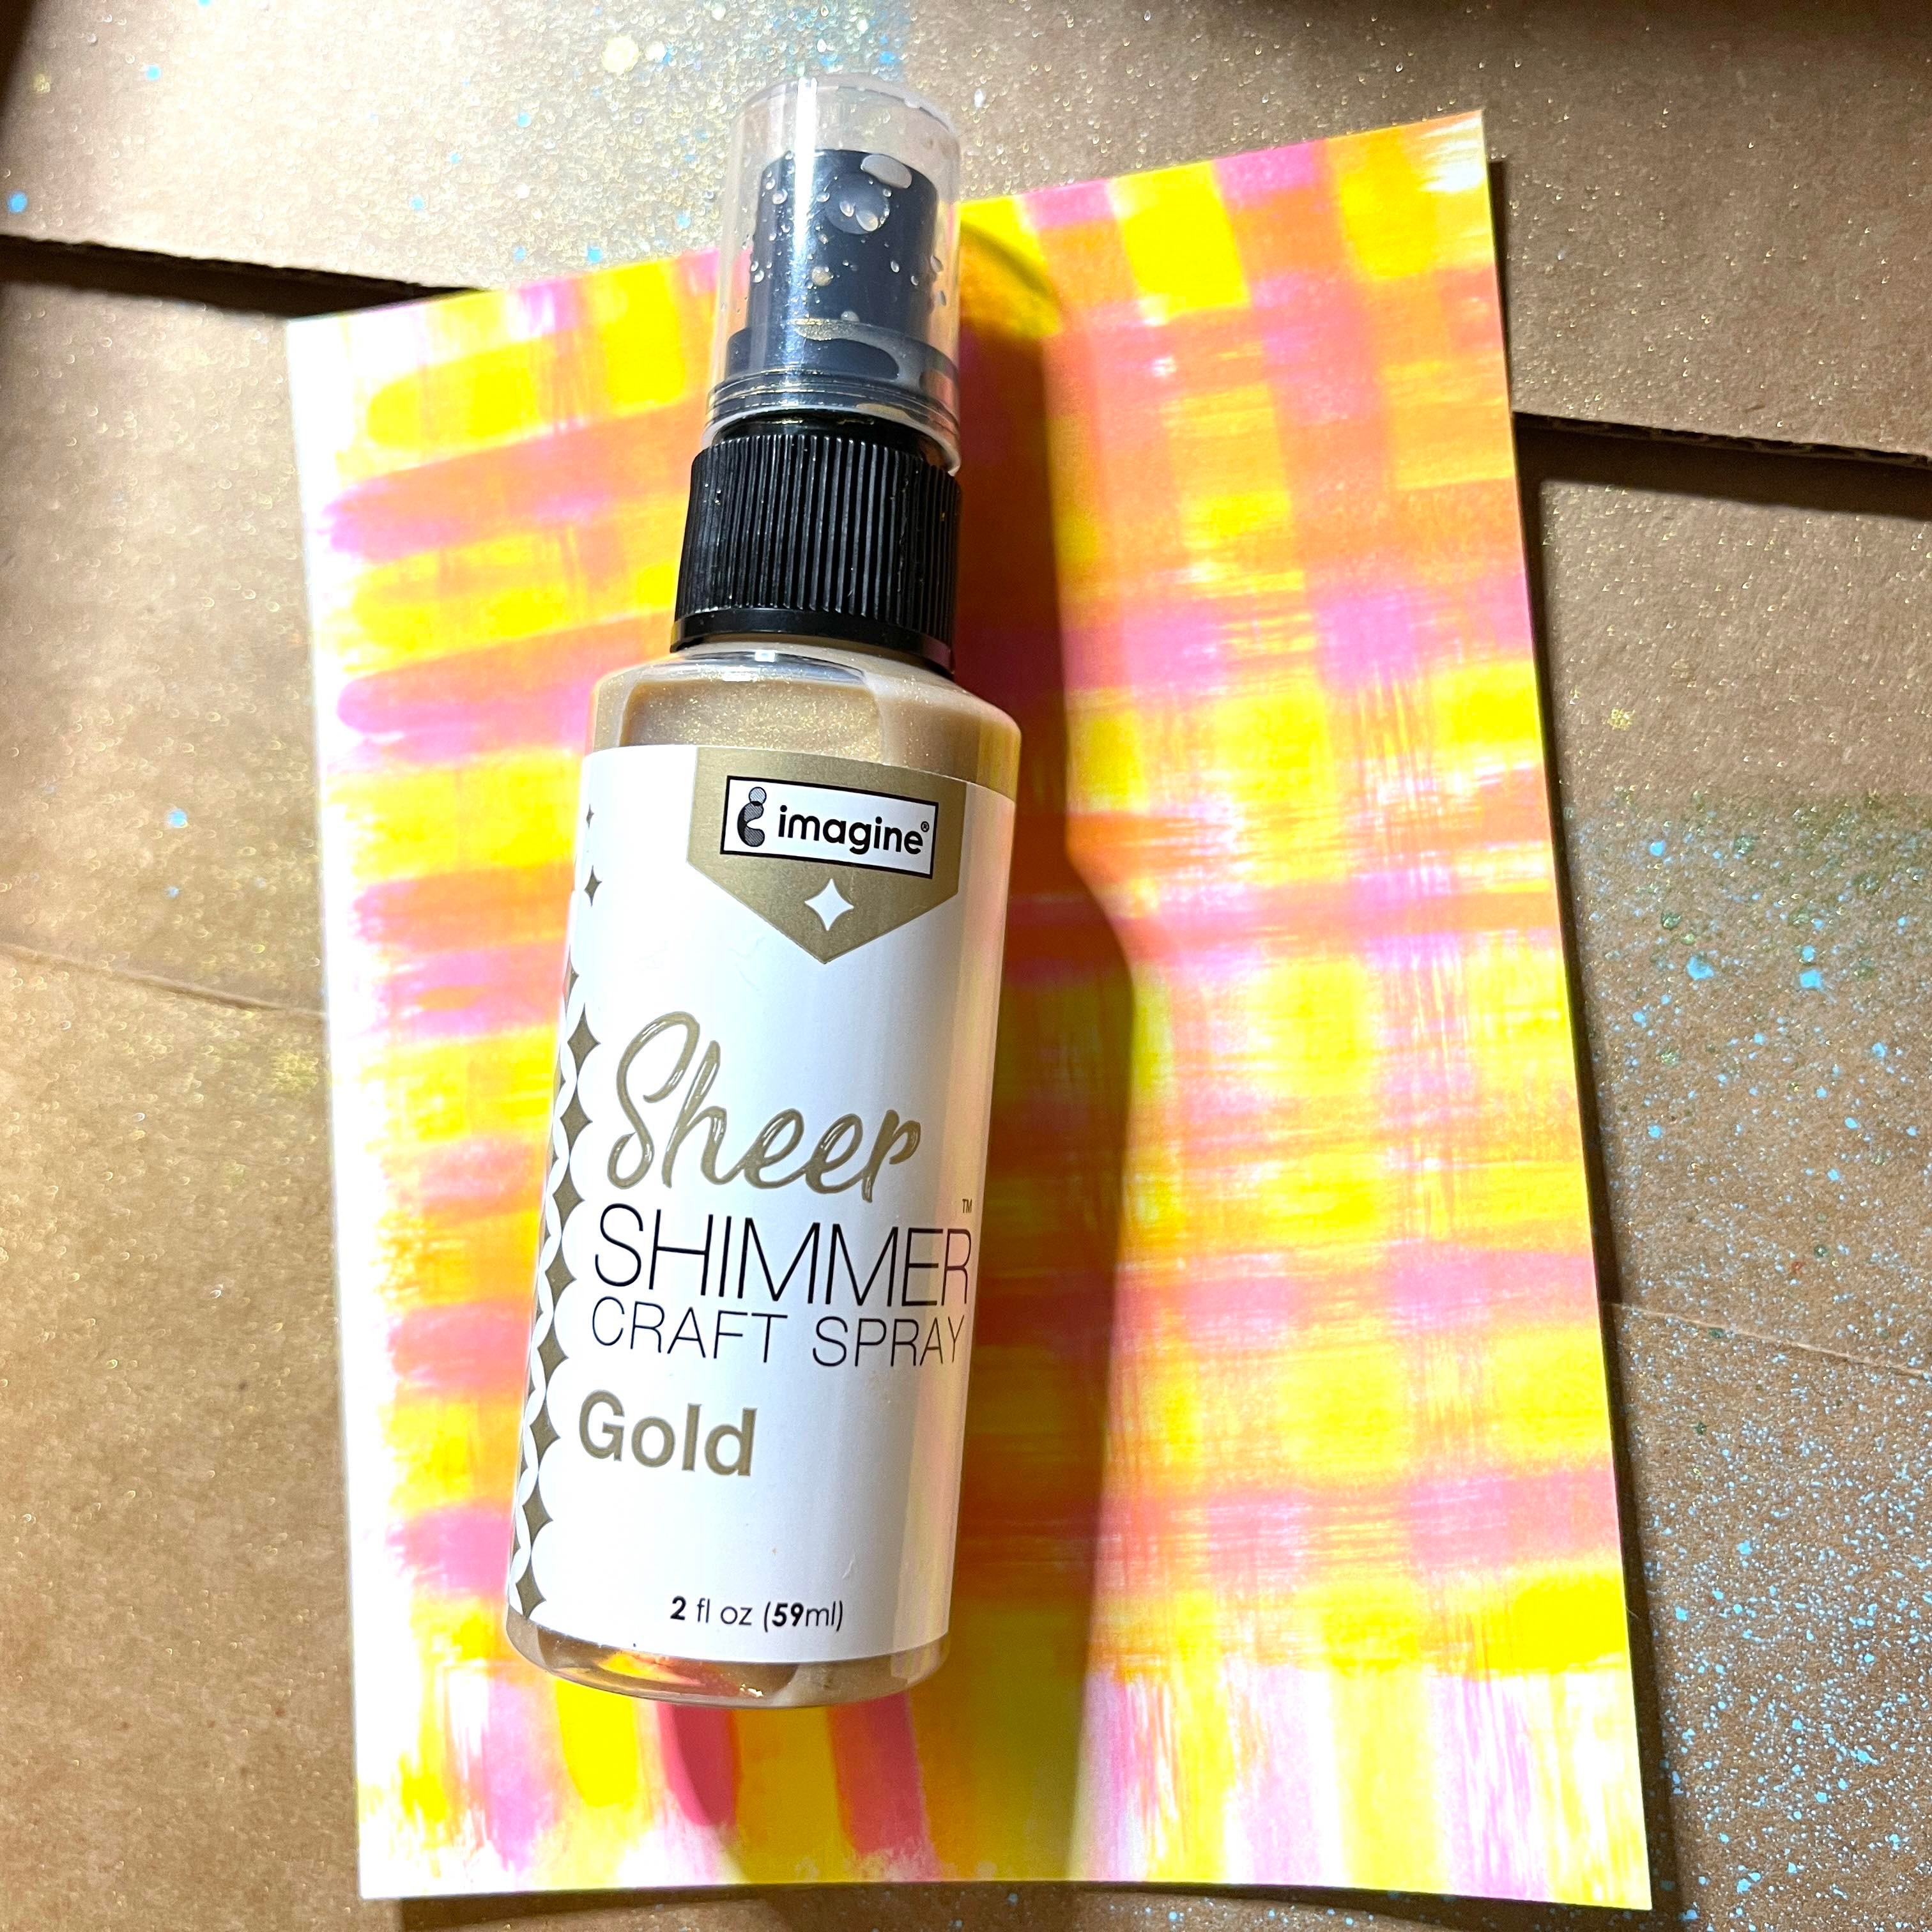
Time to get messy again! We will spray Sheer Shimmer Spray in Gold all over the panel. I use an old box and lay the panel inside. This contains the spray a bit. The sparkle of these sprays is so pretty and available in so many colors!
.
Step 5
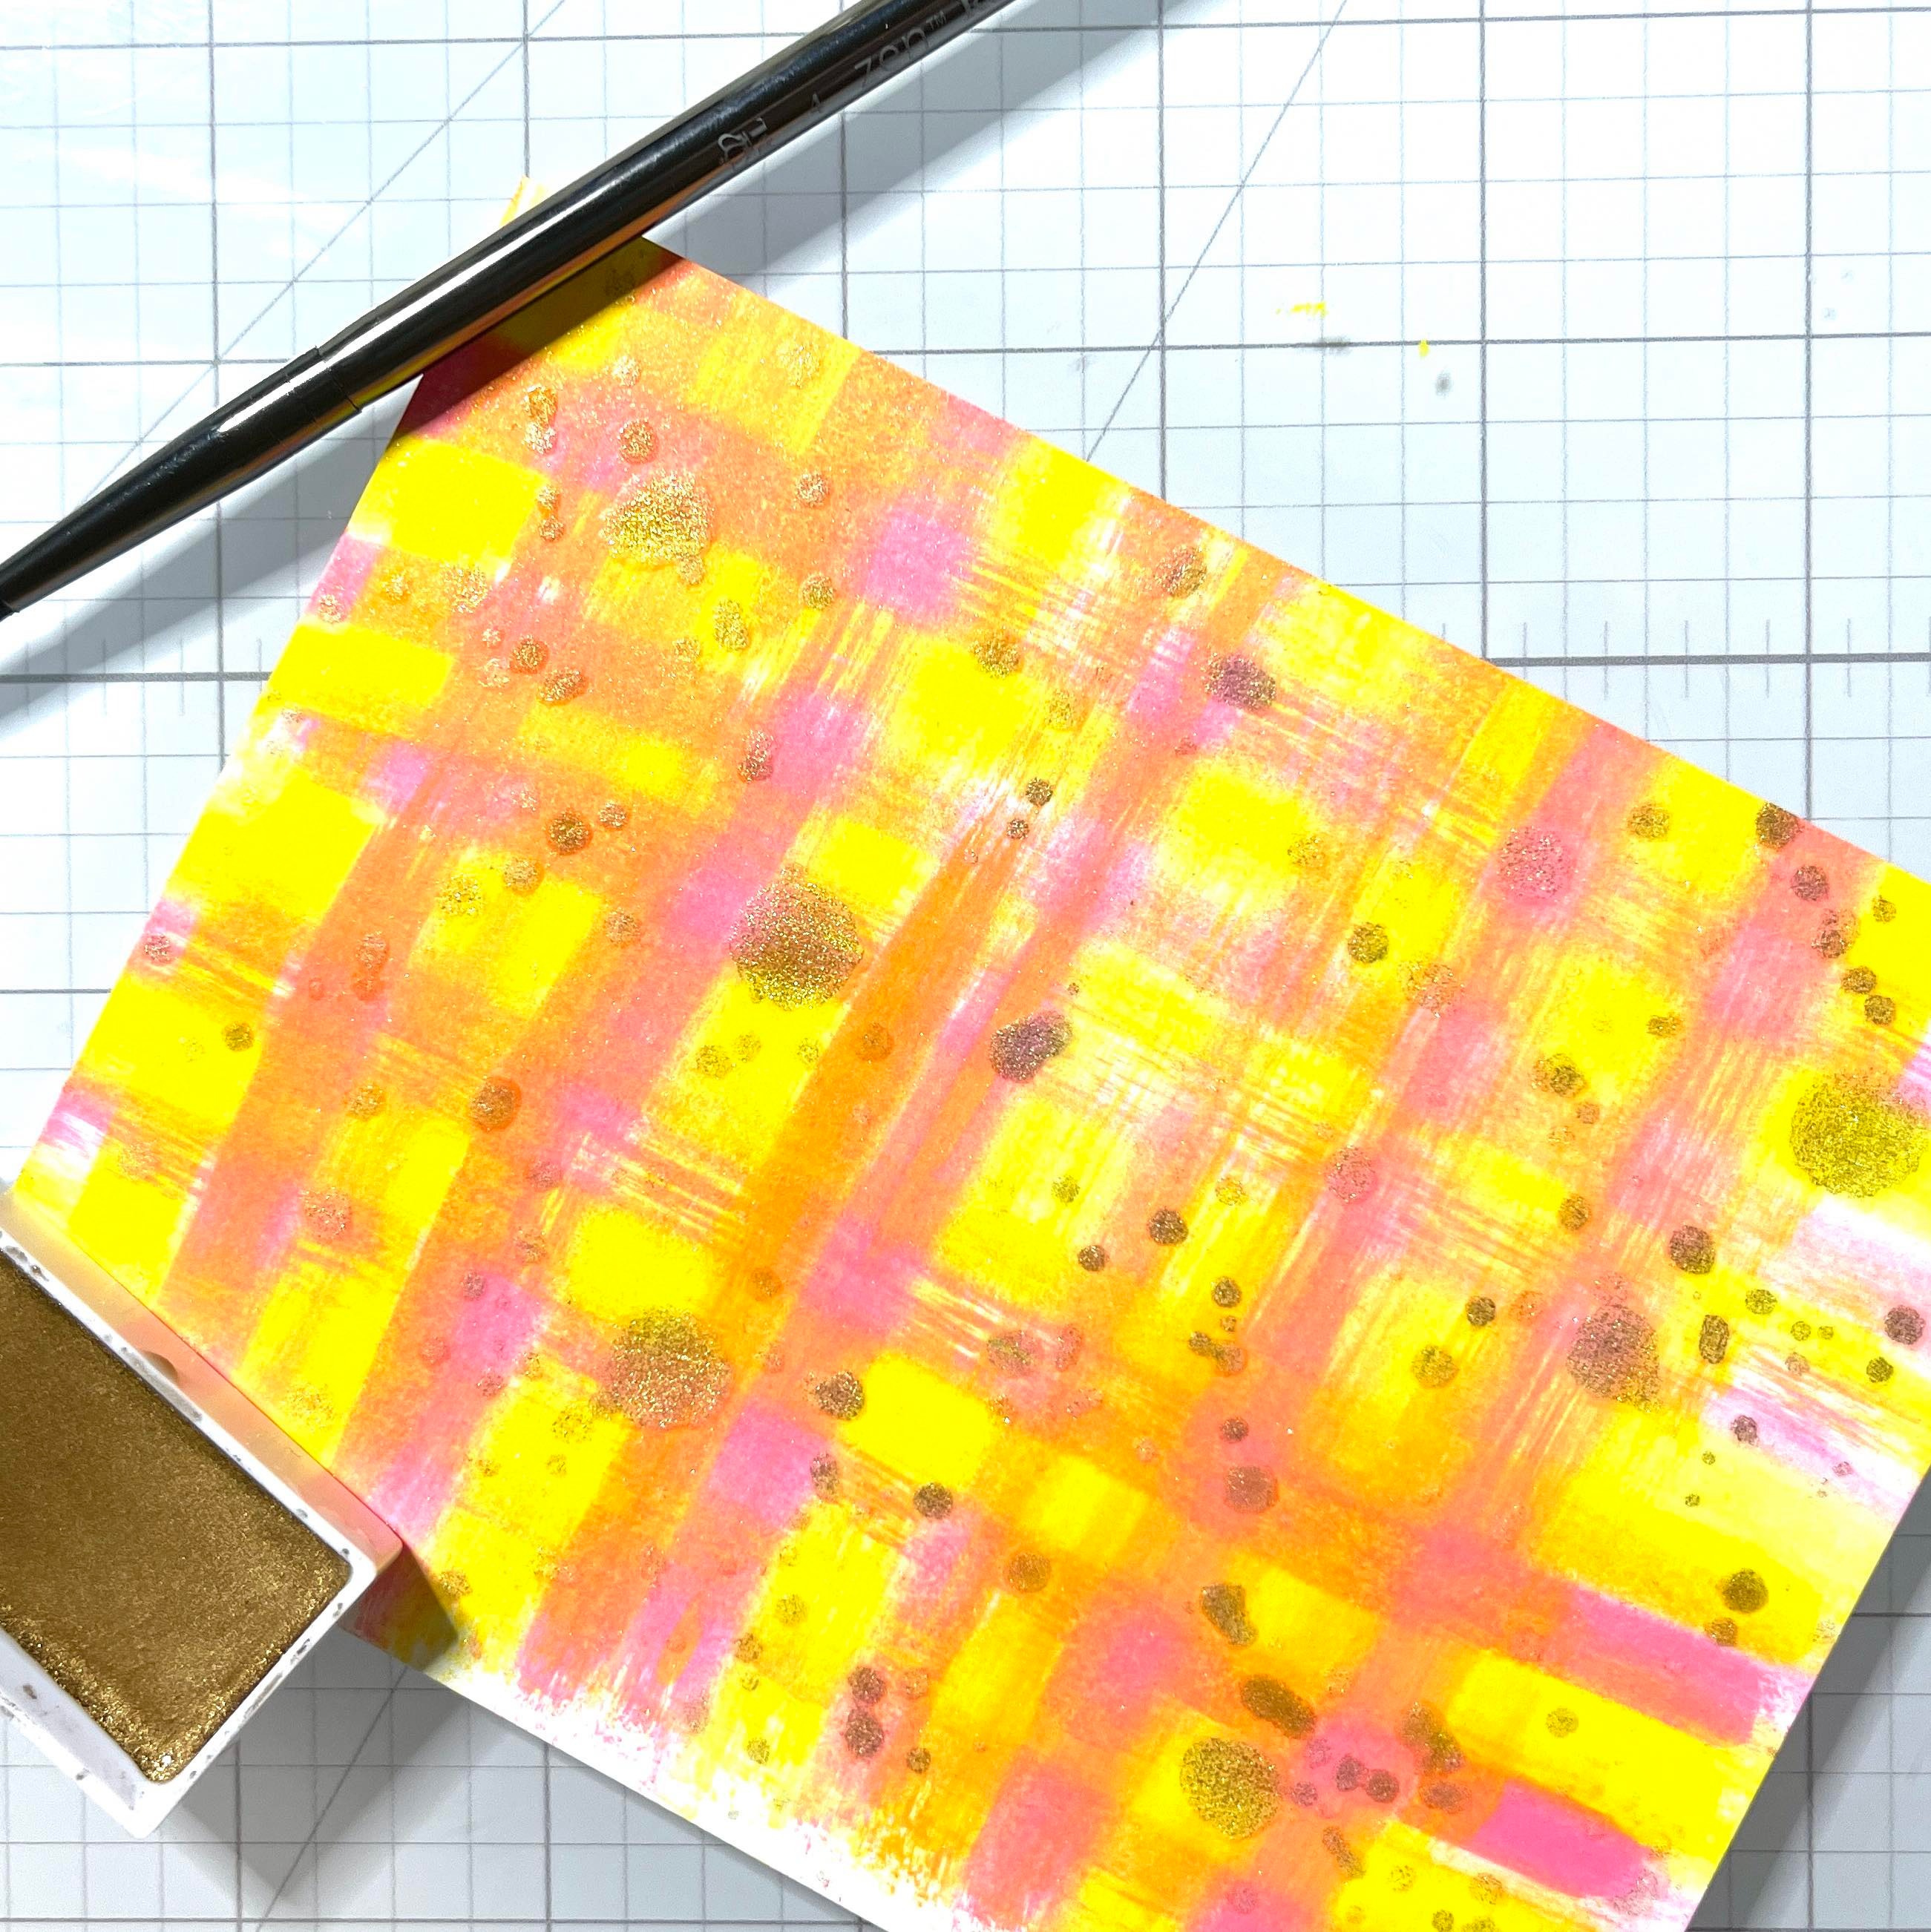
I also unscrewed the top of the Shimmer Spray and splattered some random spots. I splattered some small spots using metallic watercolor paint.
Step 6
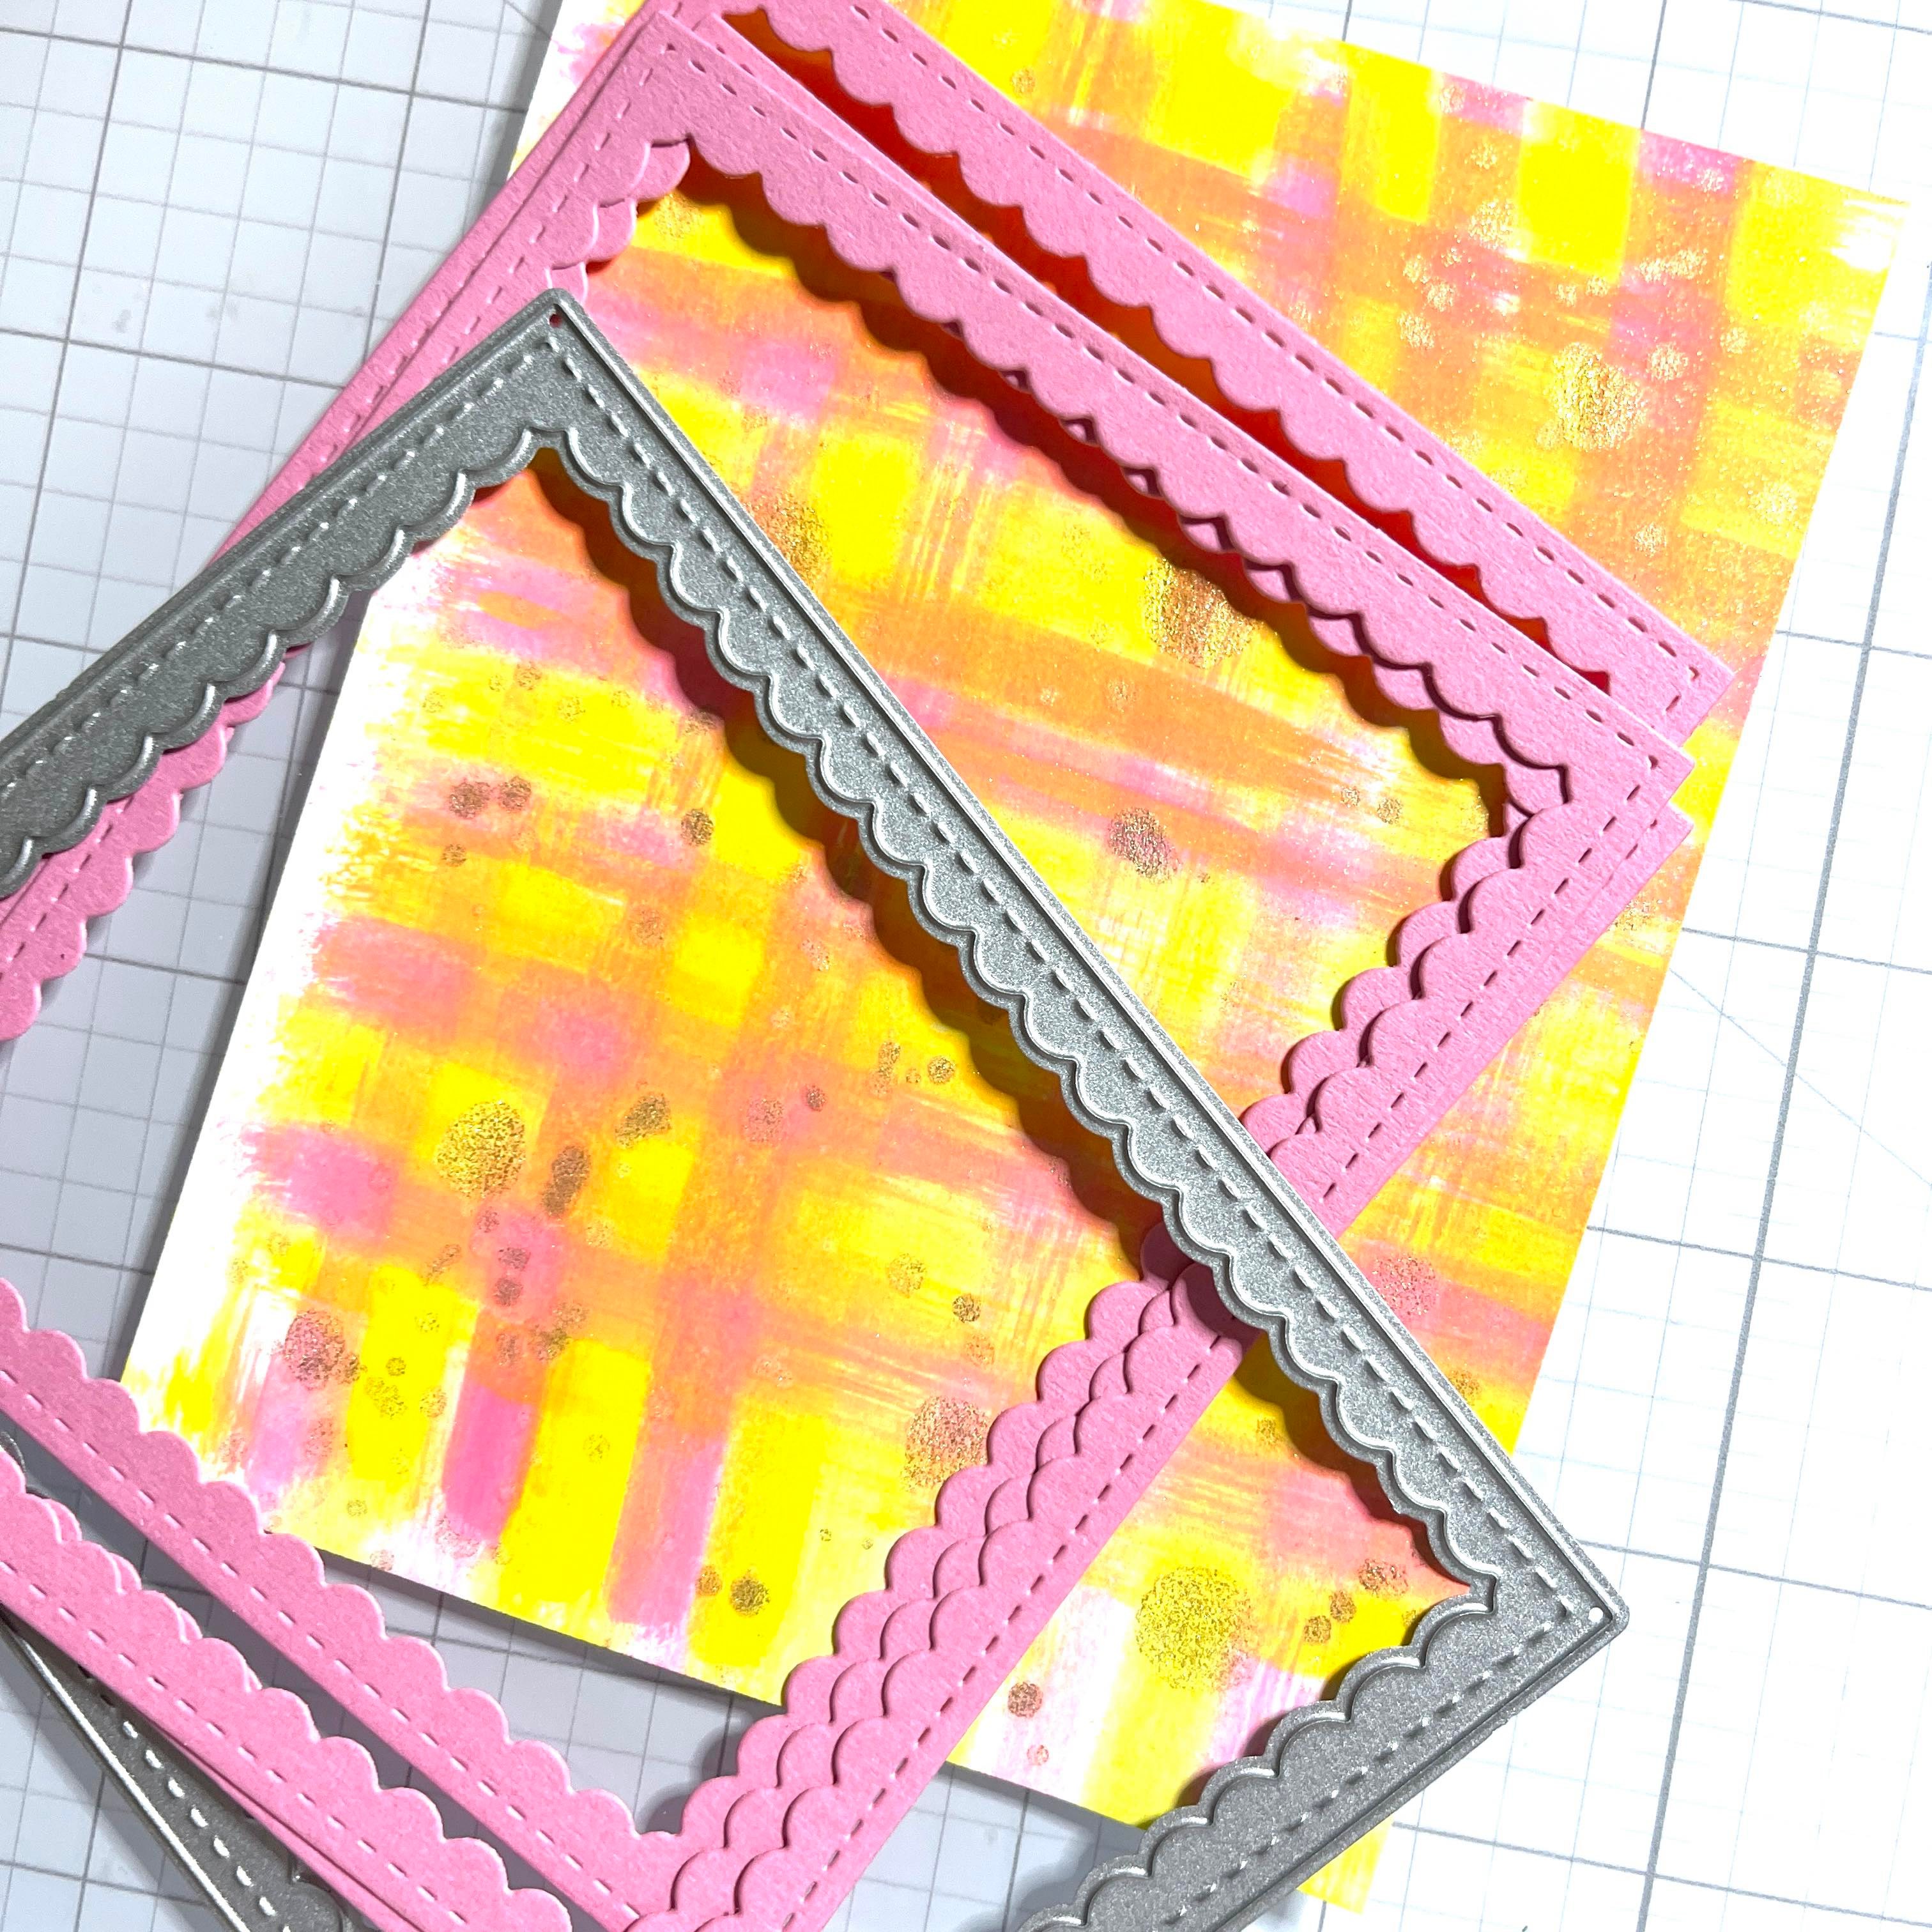
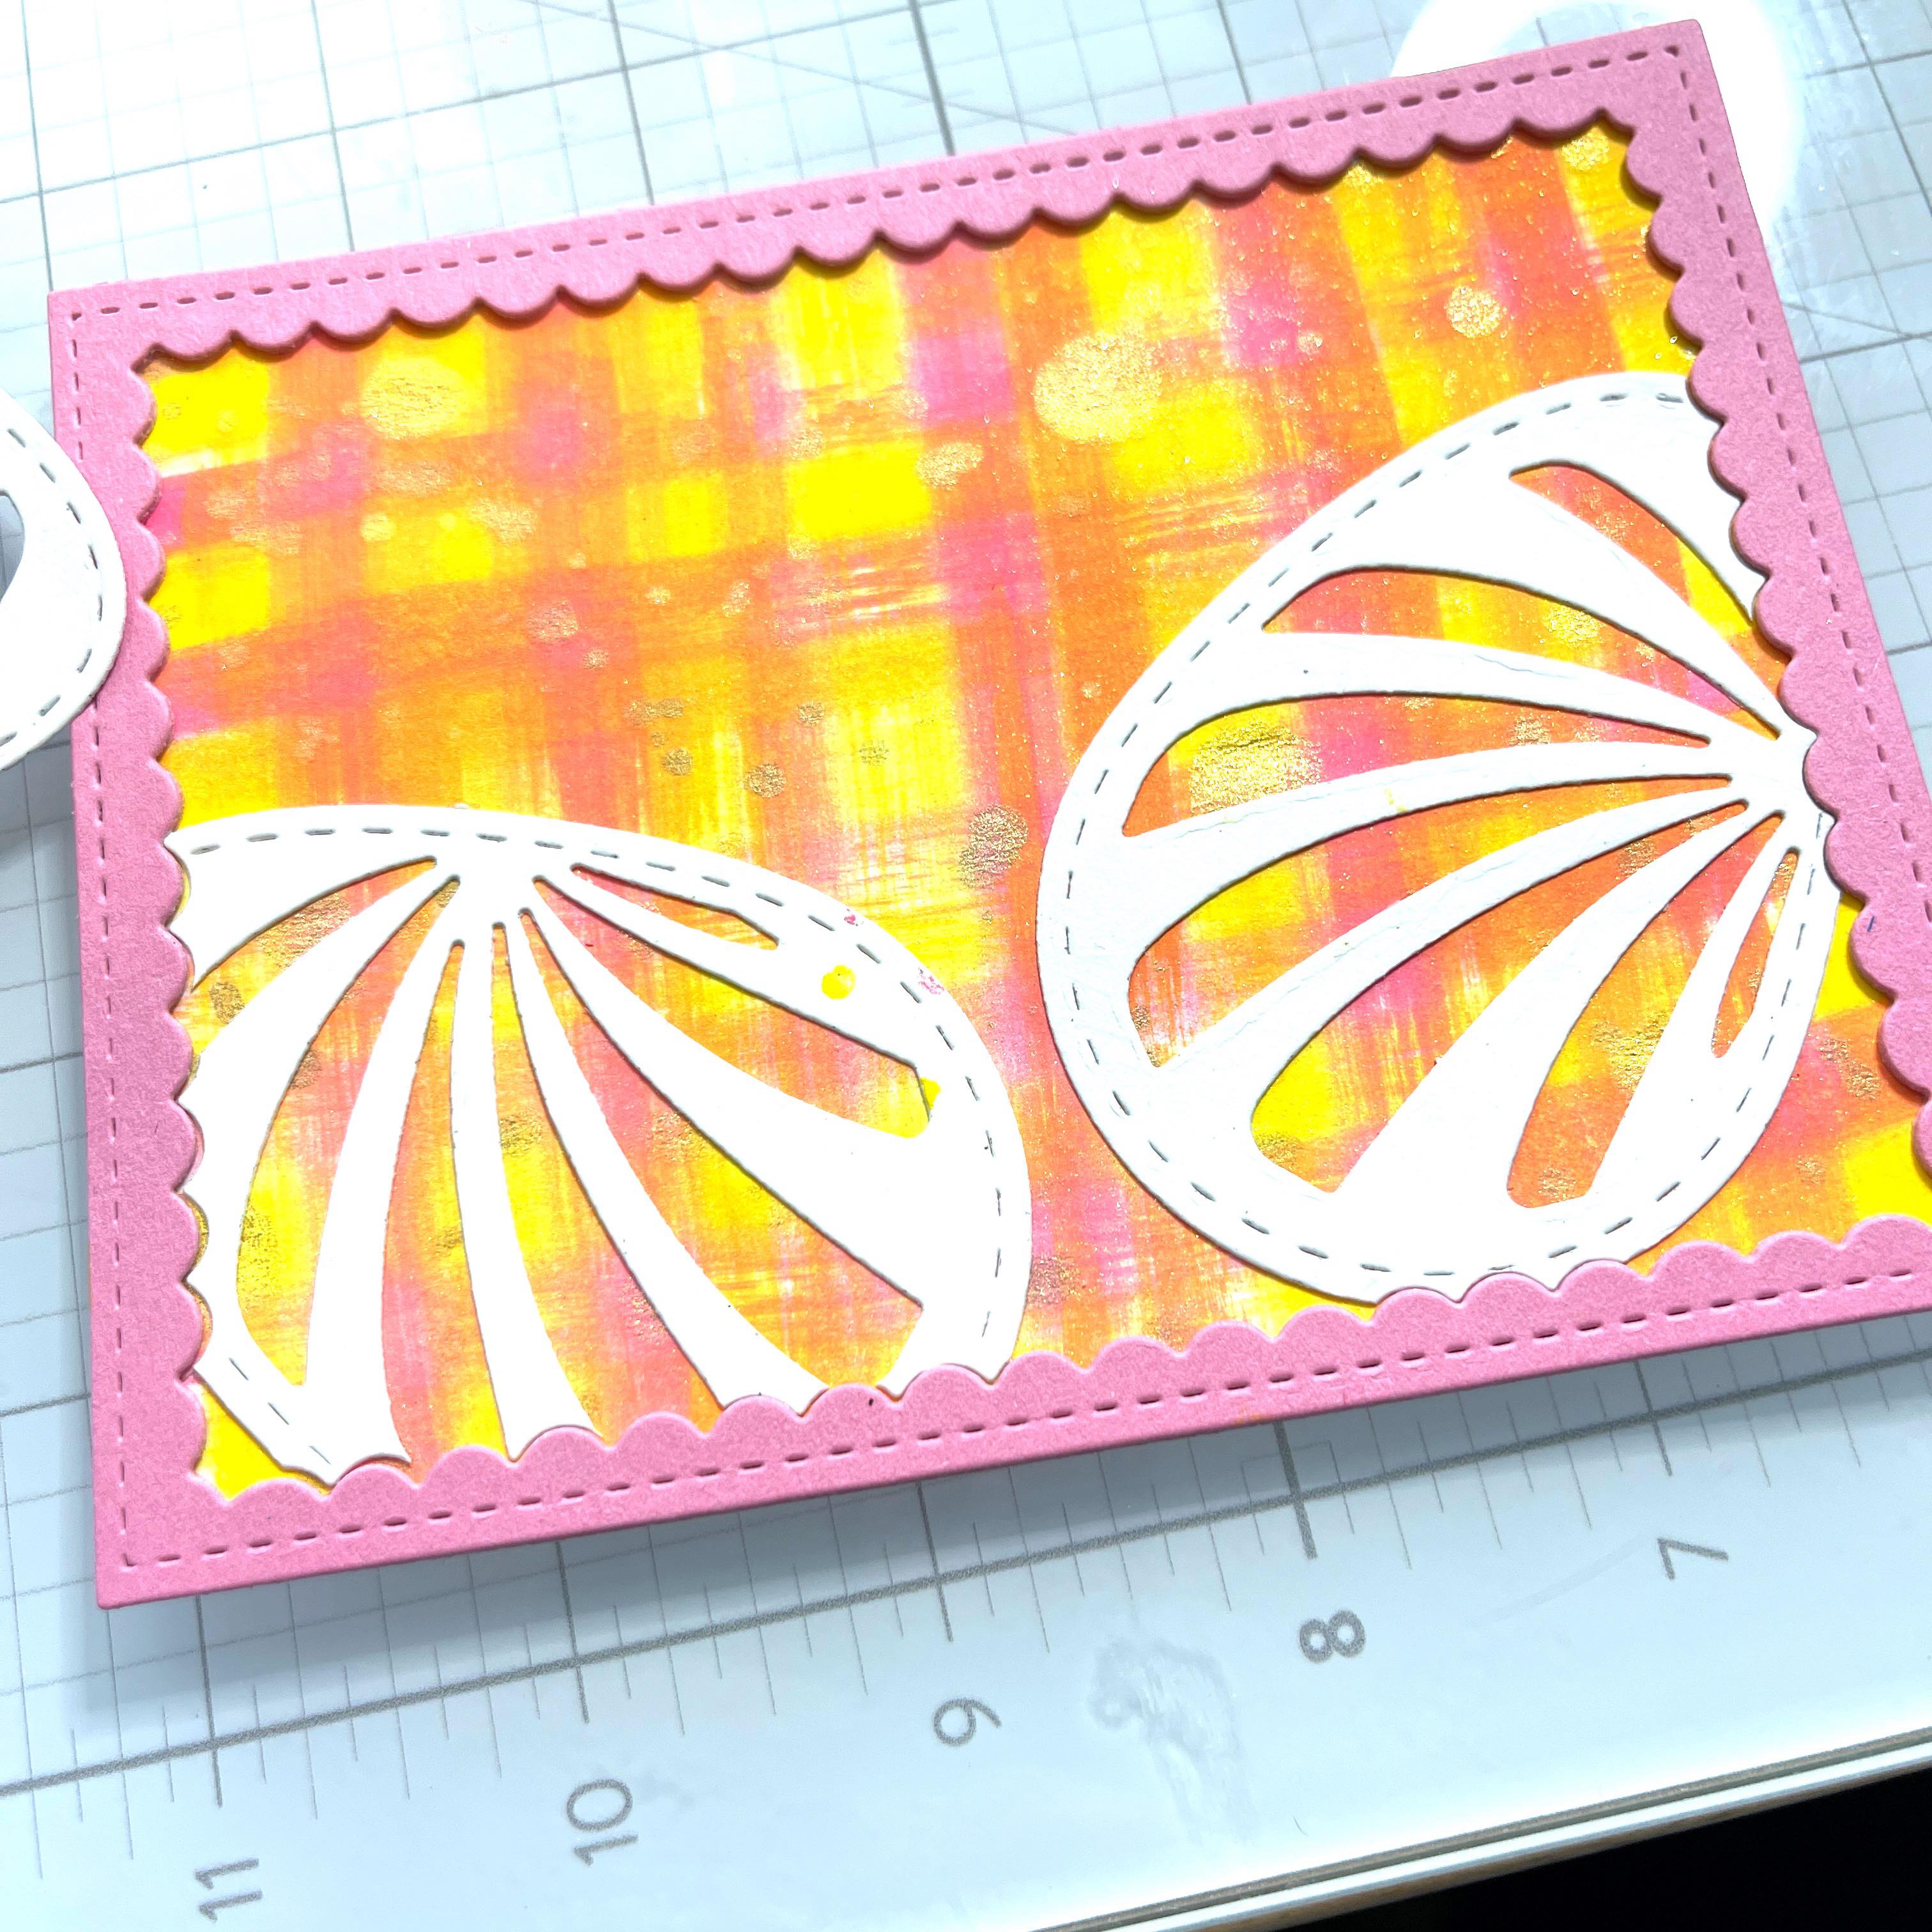
Next, I cut some scalloped frames and glued them together with On Point Glue. I used a coordinating pink card stock. Trim the background panel to fit behind the frame and adhere with On Point Glue from Imagine Crafts.
Step 7
I die-cut some an Easter Egg I had in my stash several times. I used the scalloped frame to die-cut the edges so they would fit perfectly against the frame. I also cut an additional egg to use as the main focal point.
Step 8
I traced the actual die and cut a solid egg out. I adhered this behind the main egg and adhered with glue. I took the insides of the die cut and just painted some of the pink and yellow refill ink on alternating stripes I also added 2 gold stripes from a metallic card stock.
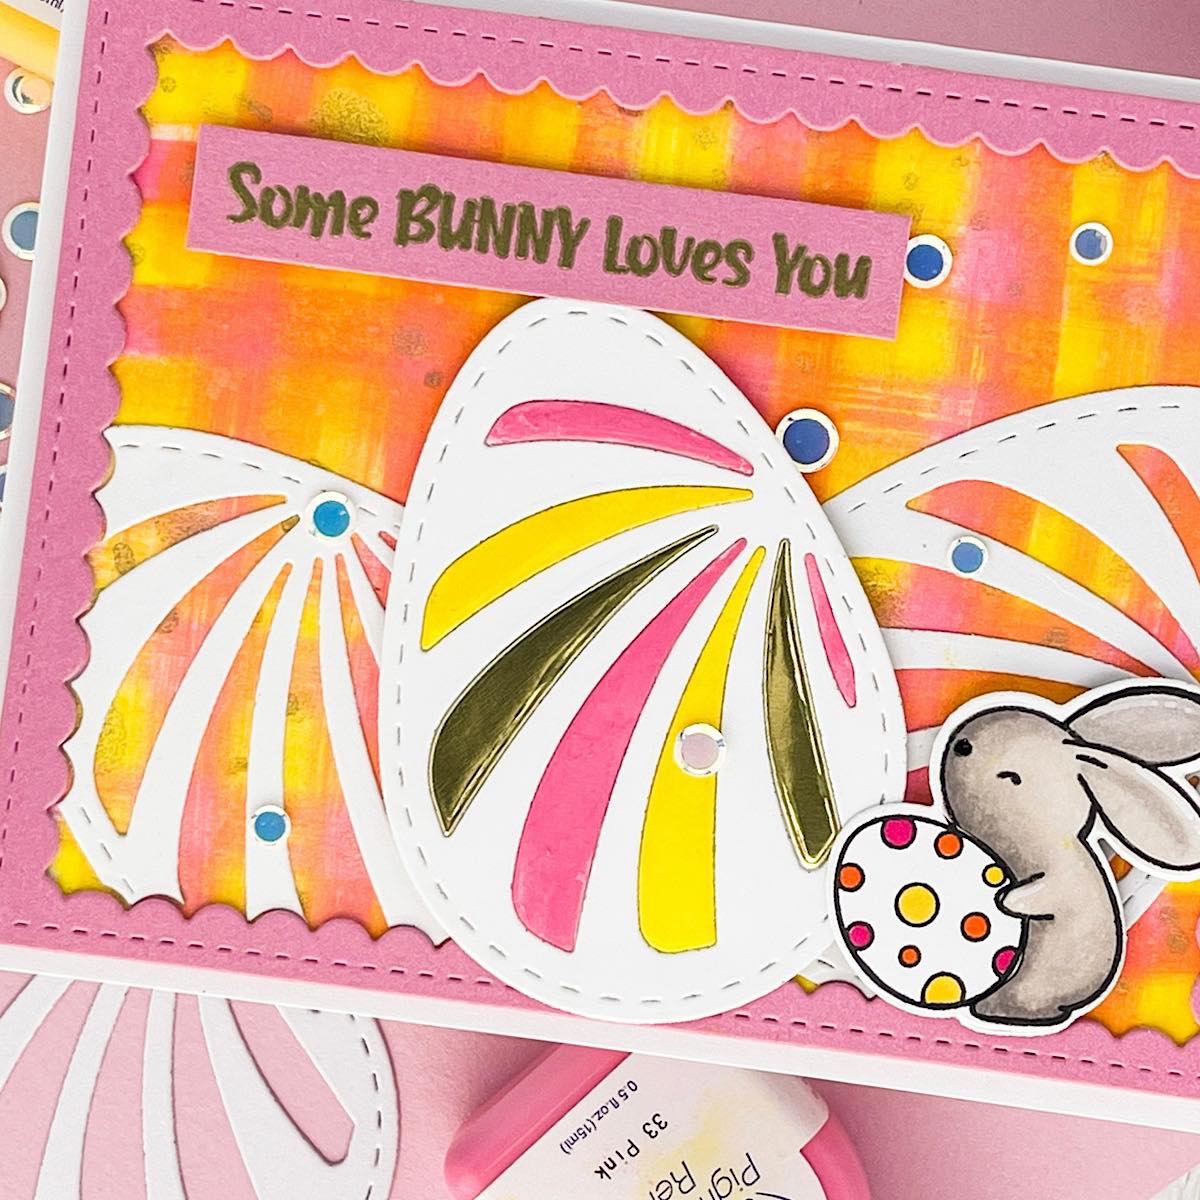
I stamped, colored and die-cut a cute bunny. I used alcohol markers but any coloring medium will work. I stamped the Easter sentiment on the same pink card stock. I used VersaMark Ink, covered with gold embossing powder and heated. The sentiment, main egg and bunny are popped up with foam tape. The entire panel is added to a horizontal folded A2 card base with foam tape as well. The last thing I did was add a few confetti sequins!
I hope you enjoy this card and the tutorial. Thanks for stopping by I appreciate all of you! Please head over to the Imagine Crafts website to see all the beautiful products. Here is the link IMAGINE CRAFTS.
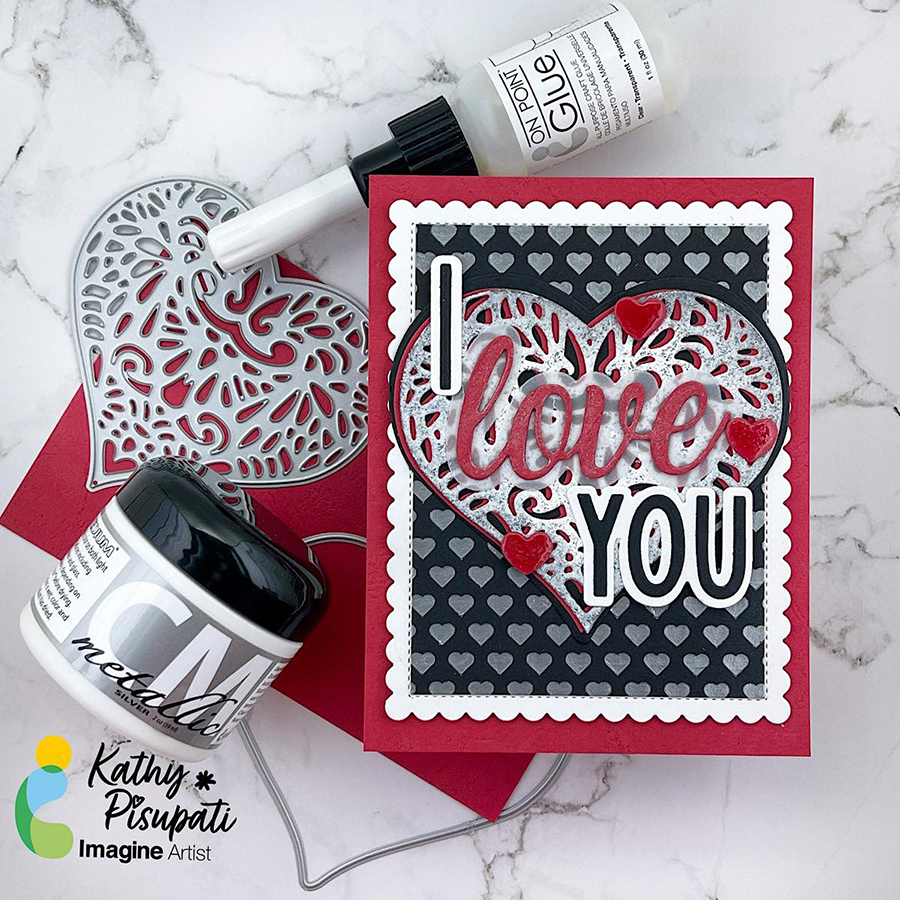
Good morning! I have a new tutorial for you using the beautiful Silver Metallic Creative Medium. It is the perfect medium to add dimension to your cards, scrapbooks, journals or any paper craft! Today I am creating a Valentine’s Day card for you so let’s get started!
Skill Level: Medium
Time to Complete: 1.5 hour
Directions:
Step 1
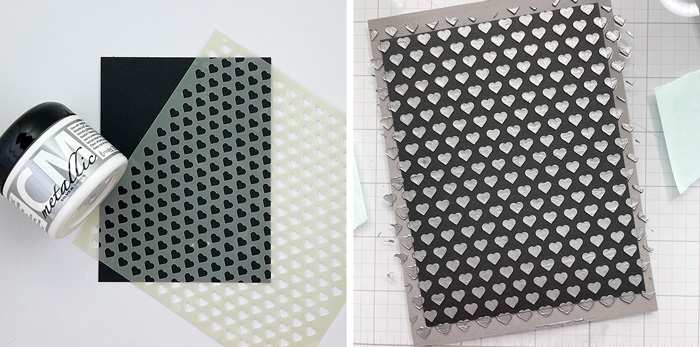
Cut, score and fold a piece of red card stock to create an A2 top-folding card base. Die-cut a piece of white card stock using the scalloped rectangle from the Gina K Design’s Master Layout 4 die set. Cut a piece of black card stock to roughly 4.25” x 5.5”
Step 2
Tape your stencil to the black card panel. Using and Imagine Crafts Spatula and the Silver Metallic Creative Medium, swipe the medium over the entire panel. Remove and clean your stencil and allow panel to dry. Once dry cut the panel to 3 3/8” x 4.5”.
Step 3
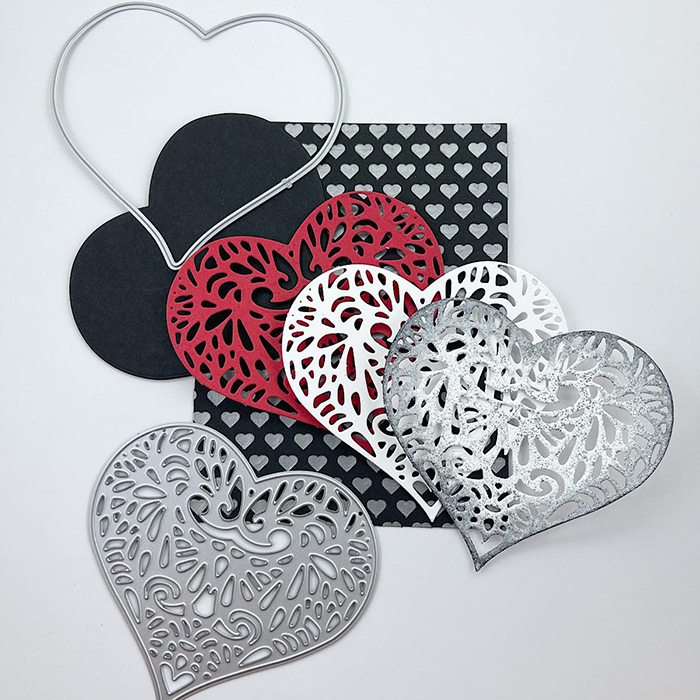
Using the Lacy Layered Heart Die from Kat Scrappiness cut 2 white hearts, 1 red and use the solid heart die to cut a heart from black card stock. Now we will emboss one of the white hearts. Cover the heart with VersaMark watermark ink and then sprinkle with your choice of embossing powder. I used WOW Antique Silver Powder. After heat embossing I glued the two white panels together with On Point. The using Imagine Craft Mixed Media Brush I blended some Versafine Clair Nocturne Ink around the edges. Then offset the red heart and glue it on. This was then glued to the center of the black, solid heart.
Step 4
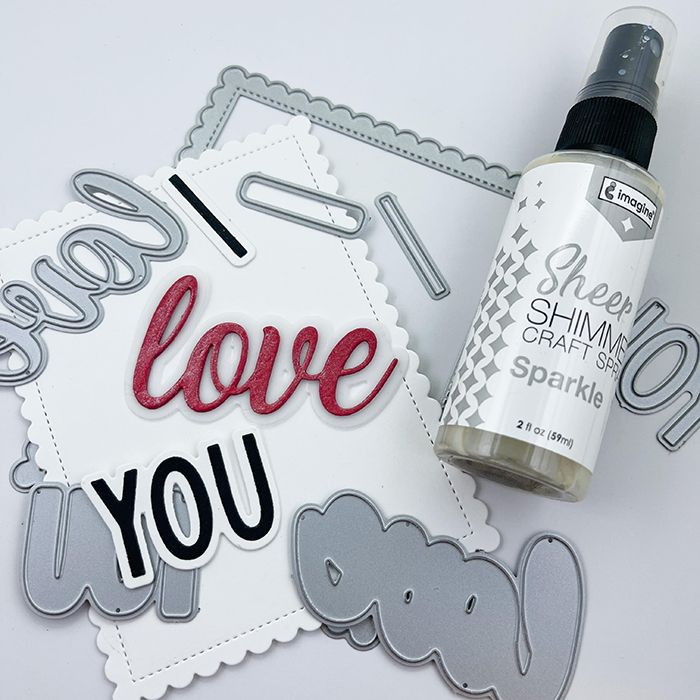
From the same red card stock cut three of the word LOVE from the Kat Scrappiness I Love You Sentiment w/Shadow. I cut the shadow from vellum. I spritzed the word LOVE with Sheer Shimmer Craft Spray in Silver. Cut the I and the YOU from black card stock and the shadows from white. Glue these together.
Step 5
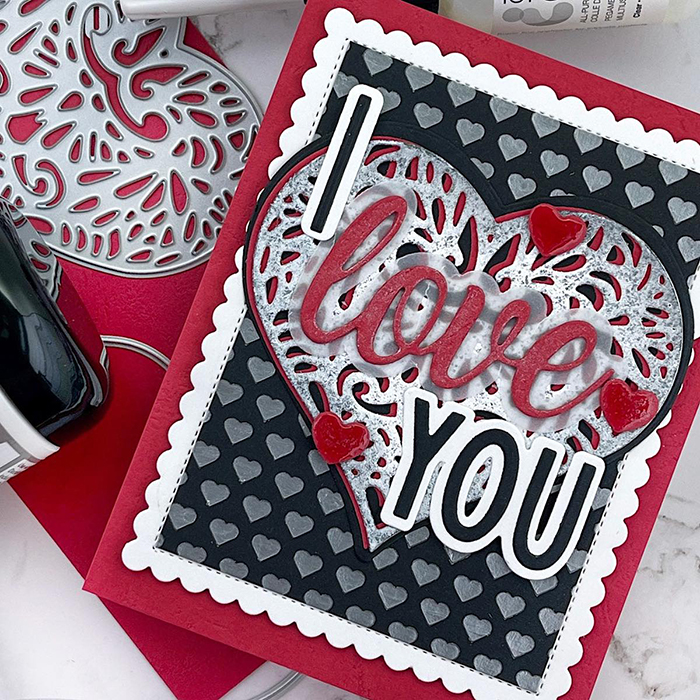
I also cut a few hearts using the die from Concord & 9th’s Sweet Summer die set and the red card stock. I covered them with Glossy Accents and used them as embellishments. For assembly I glued the main heart towards the top of the stenciled panel. the words were glued directly to the heart. For any of the sentiment that hung over the edge, I added a small piece of foam tape. Foam tape was added to the entire panel and then adhered to the red card base.
Thank you so much for stopping by and checking out this tutorial. I hope you have an amazing crafty day and a wonderful Valentine’s Day!
creating art for Imagine Crafts! Today I have a new tutorial for you. This is an OLD technique it is still fun, but messy! What do you need? A fabulous VersaColor Ink and some painter’s tape or any masking tape!
Skill Level: Intermediate
Time to complete: 1 hour
Step 1
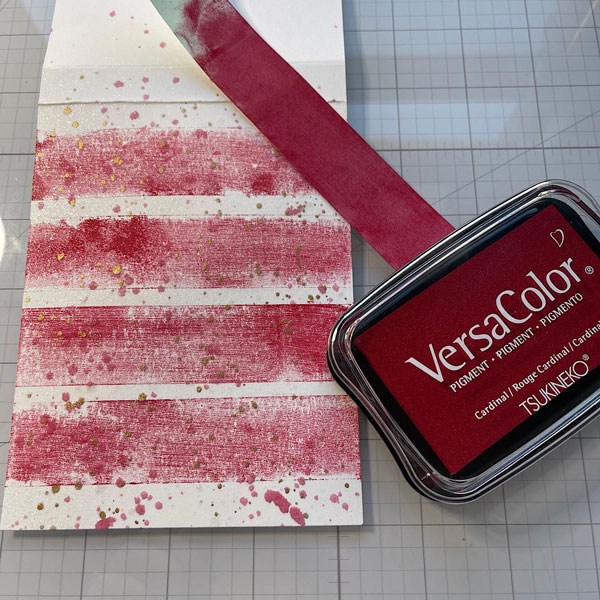
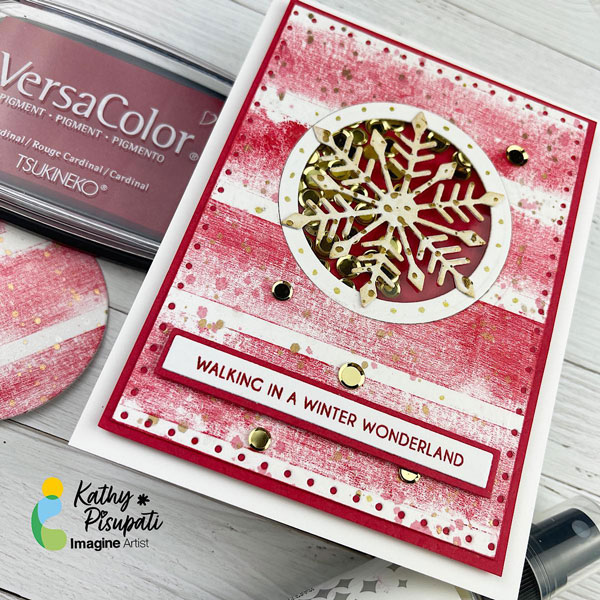
You will need a top-folding card base measuring 4 1/4 x 5 1/2“. You will also need another white panel measuring 3.75” x 5”. Grab your masking tape and a VersaColor ink. I used Cardinal. At this point you can put on some gloves if you want but I didn’t. I swiped the ink across a 5”piece of tap. I then laid the tape across the white card stock panel, put a piece of copy paper over it and pressed. I repeated this stripe 4 times. I like the texture of the stripe.
Step 2
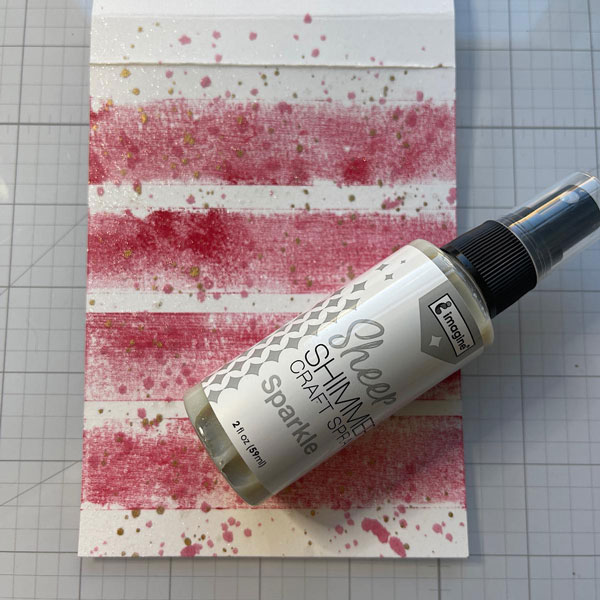
Next I smushed some of the Cardinal ink on my glass mat, added water and with a paint brush I splattered the panel. I did the same with some gold water color paint. Finally, I spritzed the Sheer Shimmer Craft Spray in Sparkle all over the panel. Can you see the shimmer? It is pretty!
Step 3
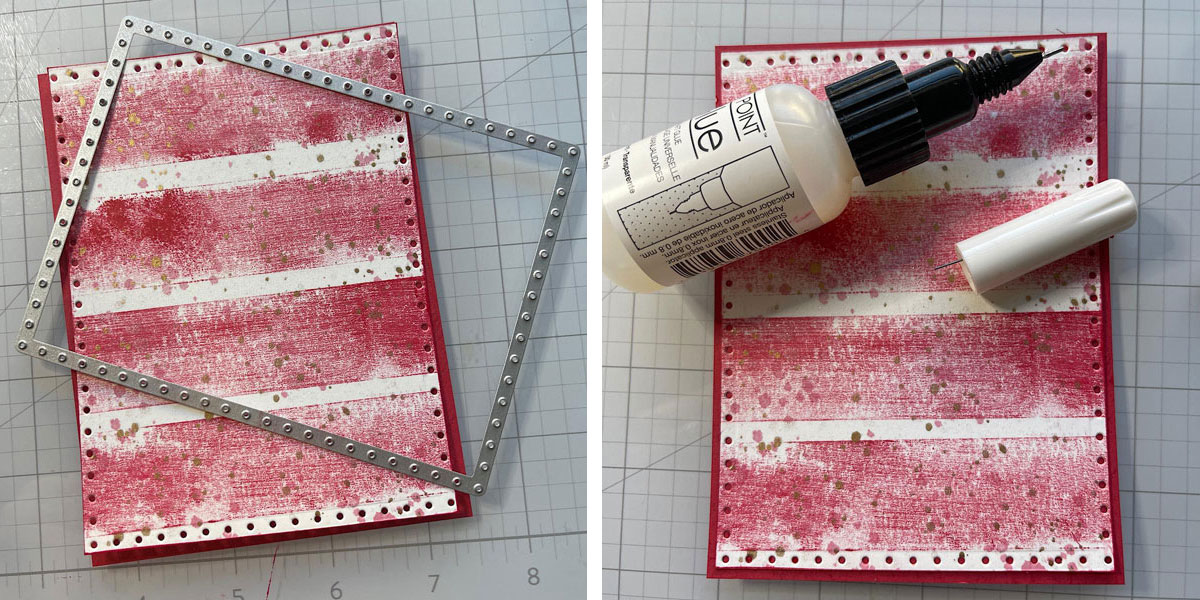
Next, I cut the panel with a die and added a piece of red stock to the back. The red card stock is 1/4’’ larger than the striped panel. Adhere with some On Point liquid glue.
Step 4
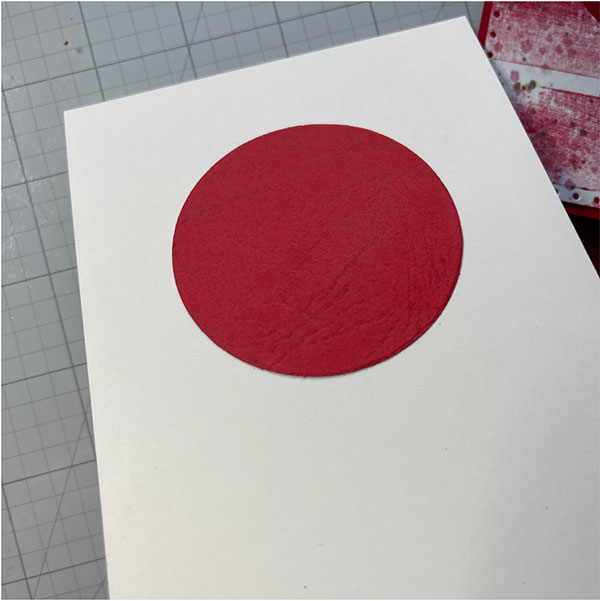
Now cut a hole from the panel and the red card stock you used for the frame.
Step 5
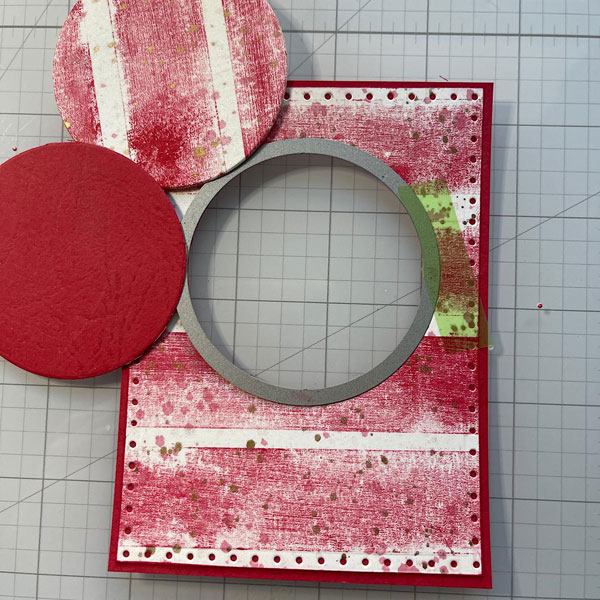
Cut a panel of white card stock slightly smaller than your main panel. Add liquid glue to the back of the red circle. Use your main panel as a guide, place over the white panel and press your circle into place.
Step 6
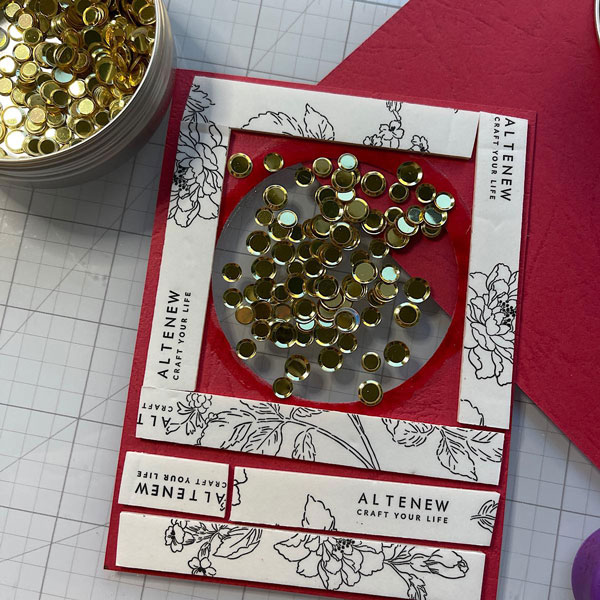
Cut a slightly larger circle from acetate or old packing and glue to the back of the main panel. Add foam tape all around and add flat embellishments to the center. I used gold confetti from Kat Scrappiness.
Step 7
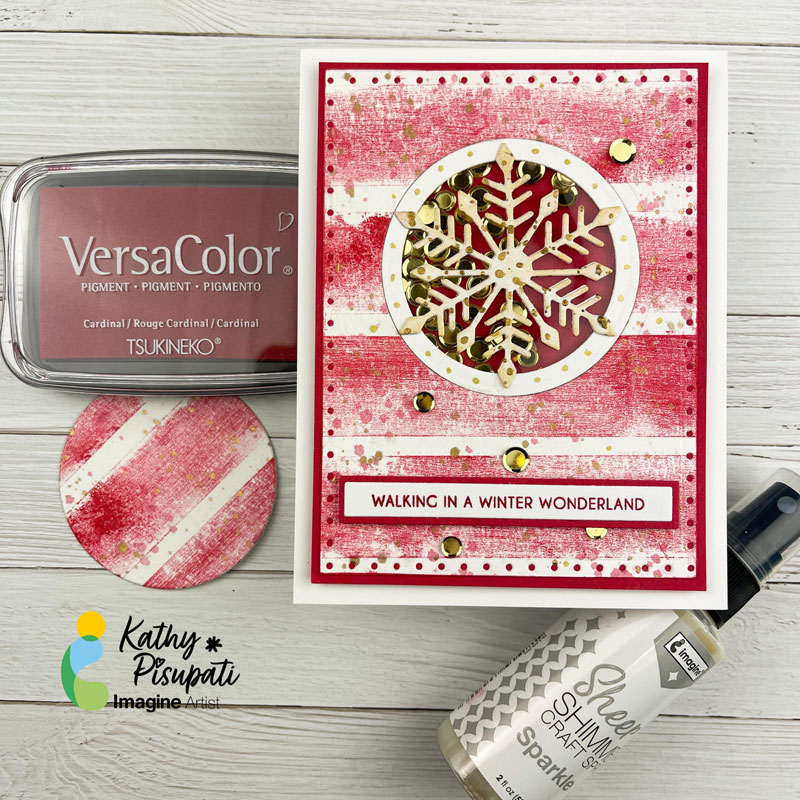
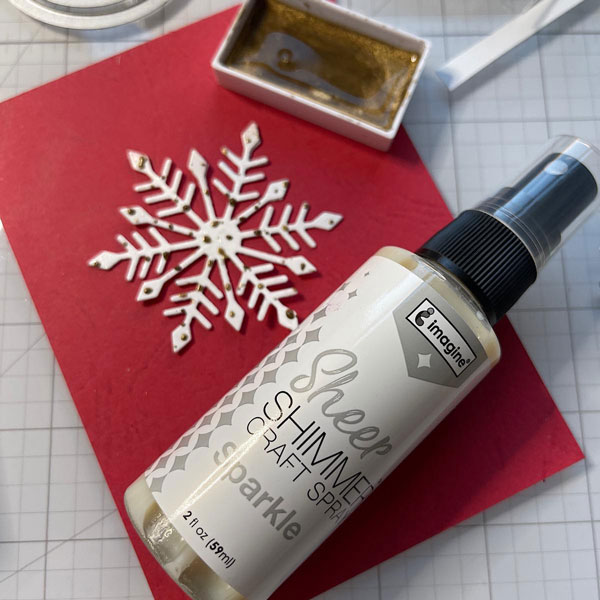
Die-cut a few of the medium sized snowflakes from the Kat Scrappiness Snowflake Trio and glue together. Then I used the Sheer Shimmer Craft Spray and spritzed the snowflake. I also splattered it with gold water color paint. It was still a bit too white so I pressed the snowflake into my Delicata Golden Glitz ink pad.
Step 8
Cut a circle frame using the die you used for the front panel and a slightly smaller one. Glue this inside the cut out on top of the acetate. Adhere the snowflake on top of the acetate and allow to dry. Add a sentiment, I used the Christmas Stack Sentiment from LDRS Creative with the Sentiment Stack Shadow. I glued these together and then popped it up with foam tape. I also added a few of the gold confetti around the outside of the card and some dots to the frame with a gold gel pen. I added foam tape to the back of the panel and adhered to an A2 top-folding, white card base.
I hope you enjoy this card and the tutorial. Thanks for stopping by.