By Neva Cole –
In today’s card making tutorial, I will show you how to use your Fireworks! Shimmery Spray inks in different ways rather than just spraying them! All of the blooming sunflowers during my travels were the inspiration for this late summer birthday card. It is very cool that sunflower heads follow the sun throughout the day, and they are always bright and cheery!
Skill: Intermediate
Time: 1.5 hours
Directions:
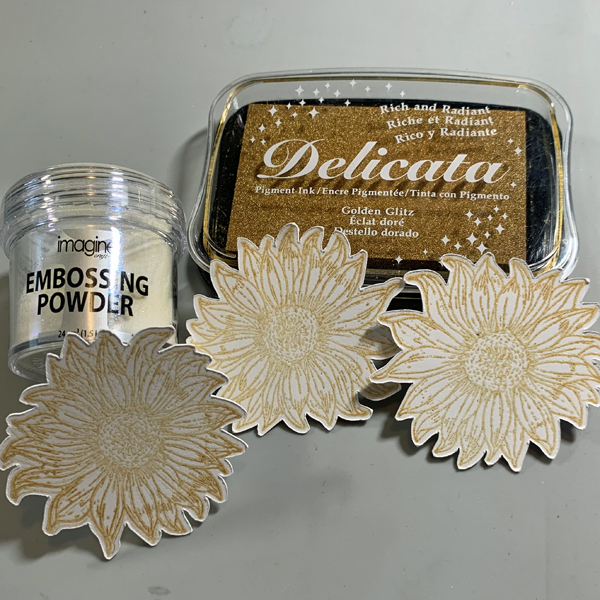
Step 1
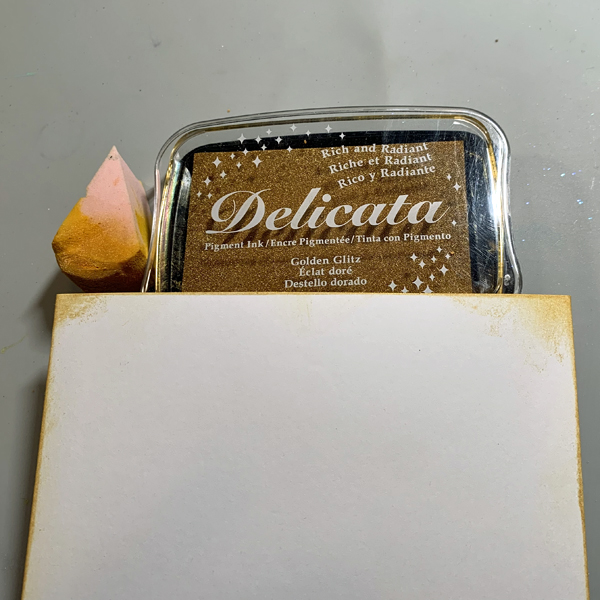
Stamp sunflower image in Delicata Golden Glitz and heat emboss with Iridescent Embossing Powder. The Delicata Golden Glitz is one of the brightest gold inks, and works best for a sunflower. Die cut with an electronic die cut machine, or fussy cut with scissors.
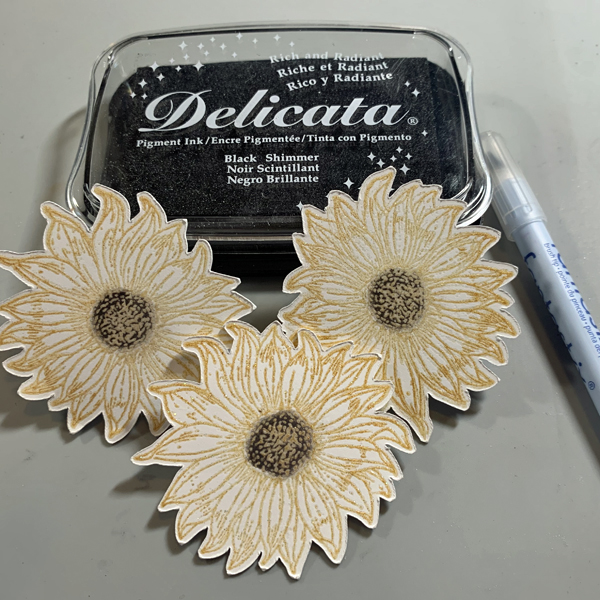
Step 2
Use a brush tip Fantastix to color in the center of the sunflower with Delicata Black Shimmer.

Step 3
Shake the Fireworks! spray until all of the shimmer is mixed in. When the spray sits for awhile, the shimmer settles to the bottom and can be seen as a thin layer through the bottle. Remove the spray lid and tap a bit of Fireworks! on your work mat from the end of the plastic tube. Use a fine tip paint brush to paint the sunflowers a beautiful iridescent Dandelion Yellow. Yellow ink is one of the more difficult inks to use, and this method solves that dilemma!
Step 4
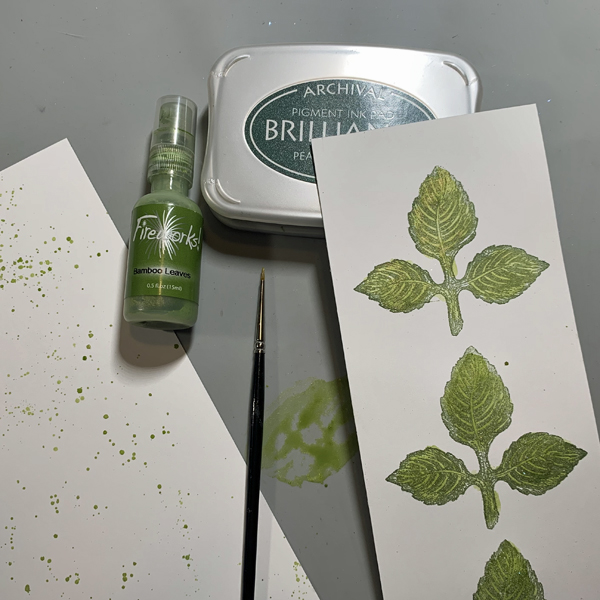
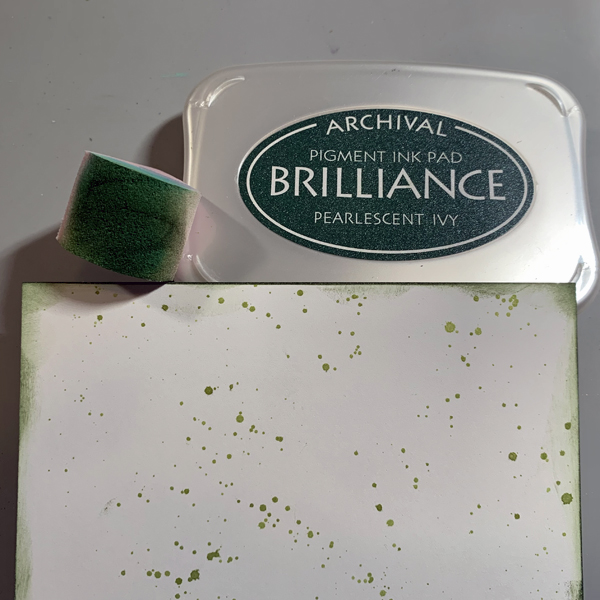
Stamp the leaf image in Brilliance Pearlescent Ivy and heat emboss with Iridescent Embossing Powder. Using embossing powder helps maintain the original ink color of the image while painting over with Fireworks! spray. It also allows you to color inside the lines much more easily! Use a fine point paint brush to add Fireworks! in Bamboo Leaves. Die cut or fussy cut the leaves.
Step 5
To get a finer sprinkling of more carefully located drops of Fireworks!, use the same paint brush and gently tap over the card stock to create a fine splatter pattern. When using the spray nozzle, the color is denser on the cardstock. Finish the edges by inking with an ink blusher and Brilliance Pearlescent Ivy.
Step 6
Edge the base card with an ink blusher and Delicata Golden Glitz. Using inks throughout the card allows for perfect coordination.

Step 7
Position the leaves and sunflowers on the card front to determine the location for the sentiment. Stamp the sentiment in Brilliance Pearlescent Ivy and heat emboss with Iridescent embossing powder. Adhere the layers of the card together. The card front and leaves are adhered with Tear-It! Tape, and the sunflowers are adhered with thin dimensional foam adhesive.
Art Supplies
Imagine
- Delicata—Golden Glitz, Black Shimmer
- Brilliance—Pearlescent Green
- Embossing Powder—Iridescent
- Fireworks!—Shimmery Craft Sprays – Dandelion, Bamboo Leaves
- Fantastix
- Tear It! Tape
Other
- Auntie Amy Sunflower image
- Heartfelt Creations Bold Leaf stamp
- Technique Tuesday Large Birthday sentiment stamp
- Fine point paint brush