By Katy Ingram
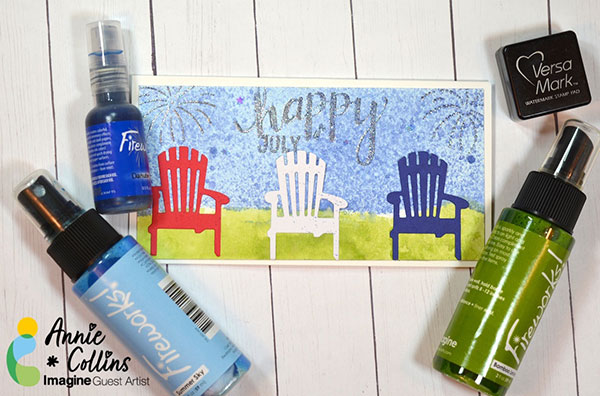
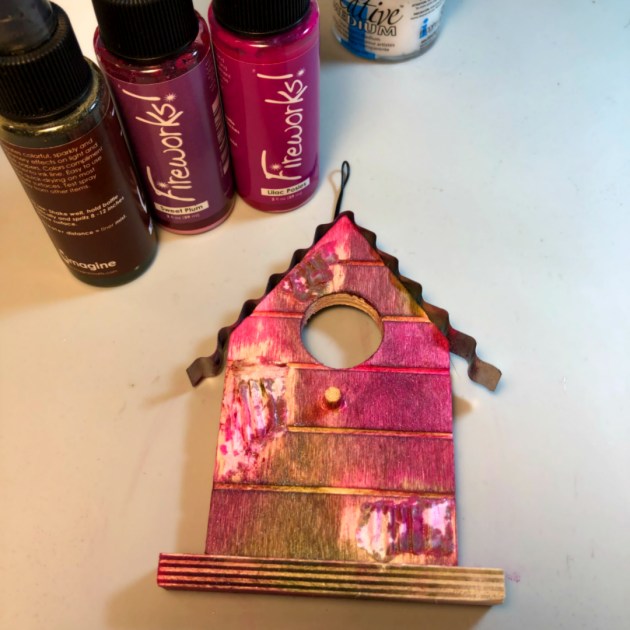
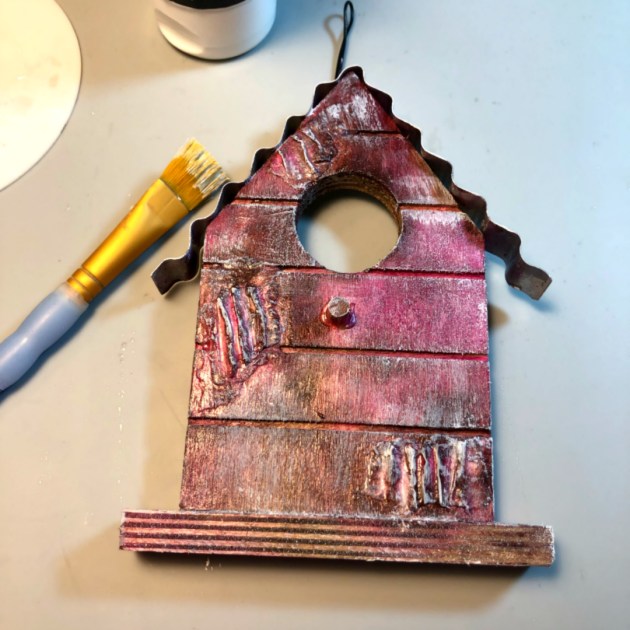
Hello my friends! Katy here and today I am going to show you how to create this super simple baby card using Fireworks! Shimmery Craft Sprays. In the video I show you how easy it is to add to paint with your fireworks sprays. This will give a nice even coverage allowing you to create your own colored paper. Check out the video below to see how it all came together. I hope you enjoy. Thanks for watching.
Skill: Beginner, Intermediate, Advanced
Time: about 30 minutes
Art Supplies:
Imagine
• Fireworks! Shimmery Craft Sprays
– London Fog
– Rose Bud
– Lilac Posies
– Lulu Lavender
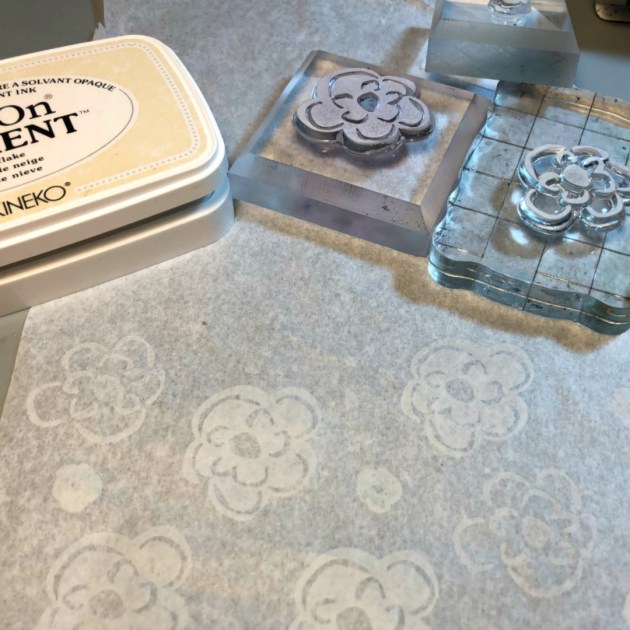
• On Point Glue
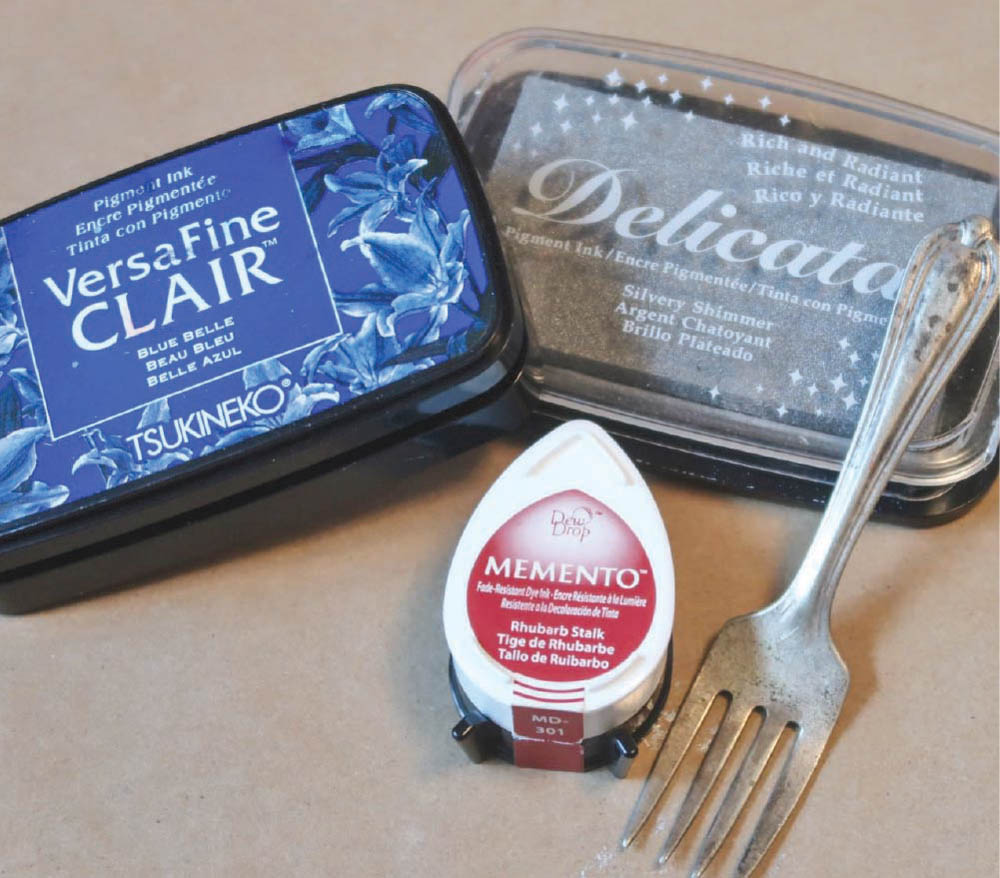
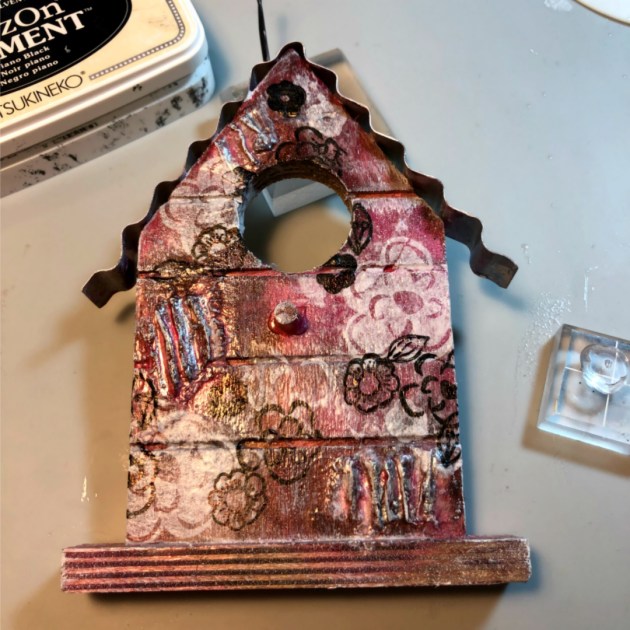
• VersaFine Onyx Black
Other Products Used:
• Honey Bee Stamps Baby Stamp Set
• Pinkfresh Studio Slimline Edgers Die Set
• Watercolor Paper
• White Card Base
• Concord and 9th Simple Serif Alphabet die set
• Grey Card Stock