Fall Themed Note Cards Using First and Second Generation Stamping With Memento Inks  

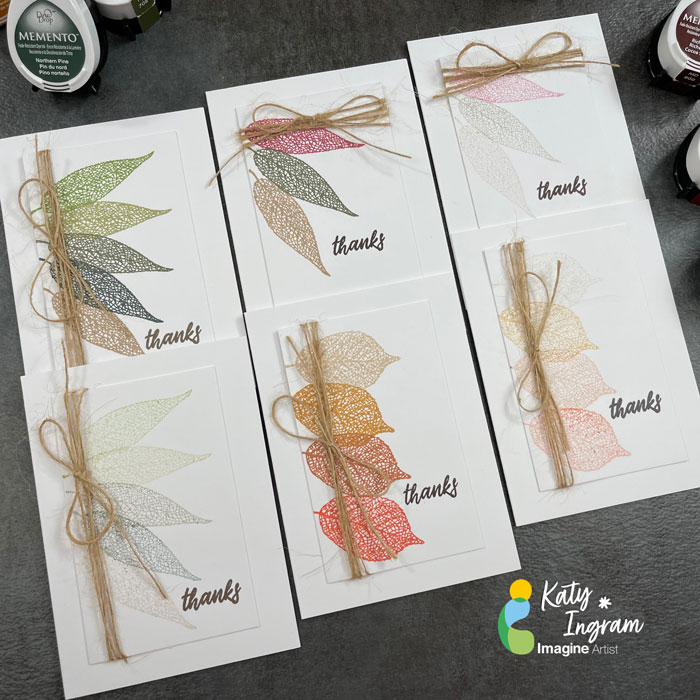
Sept-2022_Katy-Ingram_Fall-Thanks_Group-IG-1

By Katy Ingram –

Hello Friends! Katy here and today I am creating some fall themed note cards with second generation stamping. This is a great way to get more from your inks and create a beautiful subtle look to your projects. 

In todays video tutorial you will see both first and second generations stamping with a variety of fall color Memento Inks and a quick way to add interest with a bit of twine. Video has all the details. Thanks for joining me today.

Skill: Intermediate
Time: 10 minutes

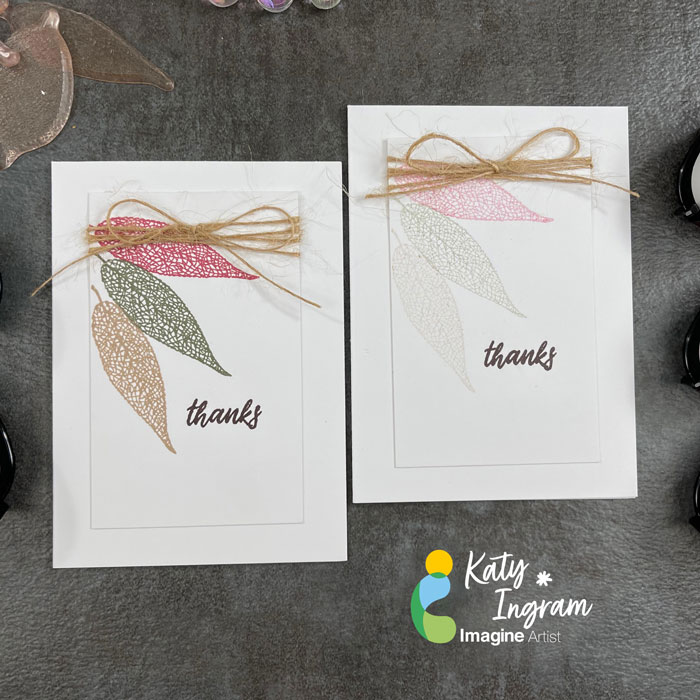
Sept-2022_Katy-Ingram_3-leaf-cards_4

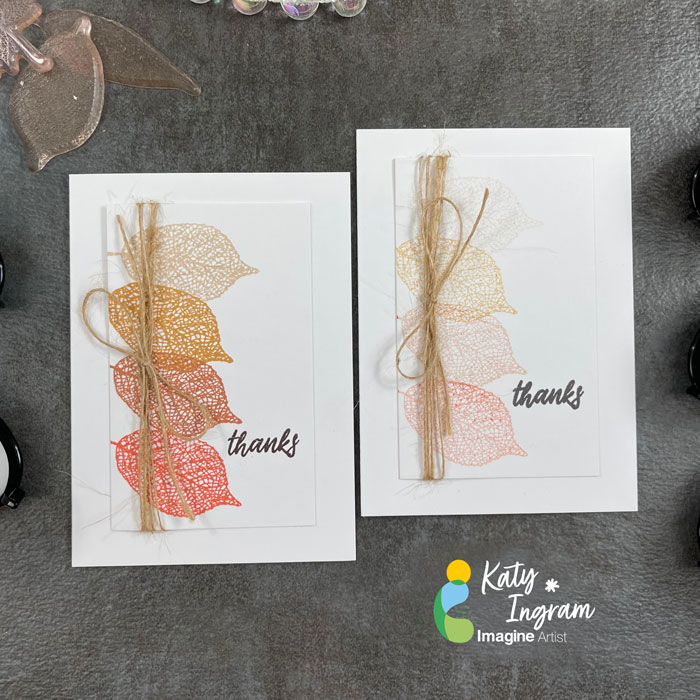
Sept-2022_Katy-Ingram_4-leaf-cards_IG-2

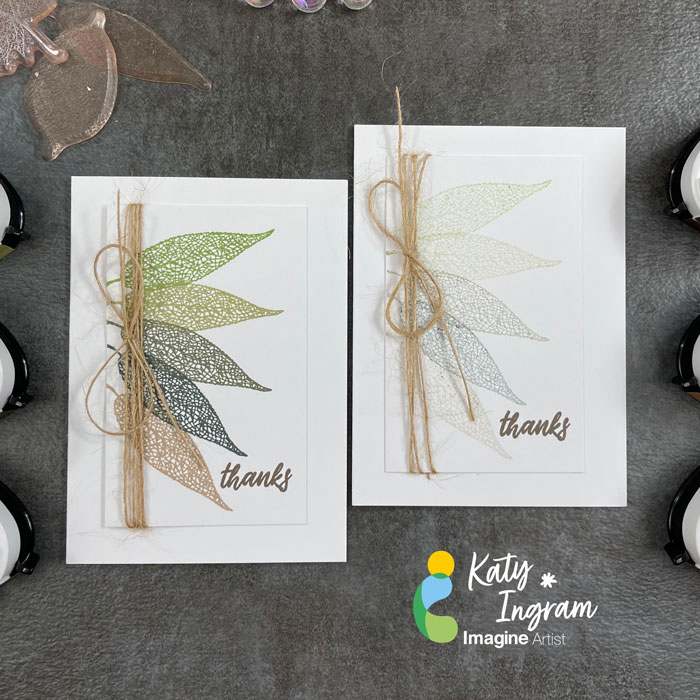
Sept-2022_Katy-Ingram_5-Leaf-Cards_IG-3

Art Supplies:

Imagine:

• 5 Leaf Card 

– Memento Inks: Bamboo Leaves, Pistachio, Olive Grove, Northern Pine, Toffee Crunch

“Thanks” Sentiment: Memento Rich Cocoa

• 4 Leaf Card

– Memento Inks: Desert Sand, Peanut Brittle, Potters Clay, Morocco

“Thanks” Sentiment: Stamped with VersaFine Clair Pinecone and Memento EspressoTruffle

• 3  Leaf Card

Memento Inks: Rhubarb Stalk, Olive Grove, Toffee Crunch

“Thanks” Sentiment: VersaFine Clair Pinecone

– Tear It! Tape

Other Products Used:

• Gina K Designs Skeleton Leaves Stamp Set

• May Arts Jute Twine

• MISTI Stamping Tool

• Heavyweight White Cardstock panel 2 1/2 inches wide by 4 inches long

• Heavyweight White Cardstock Base 7 inches by 4 7/8 inches score at 3 1/2 inches on the 7 inch side.

Follow Katy Here:

Youtube: https://youtube.com/c/eastwickspaperandink 

facebook: fb.me/eastwickspaper 

Instagram: https://www.instagram.com/eastwickspaperandink/ 

Blog: https://www.eastwickspaperandink.com/

Let’s Make an Autumn Card 

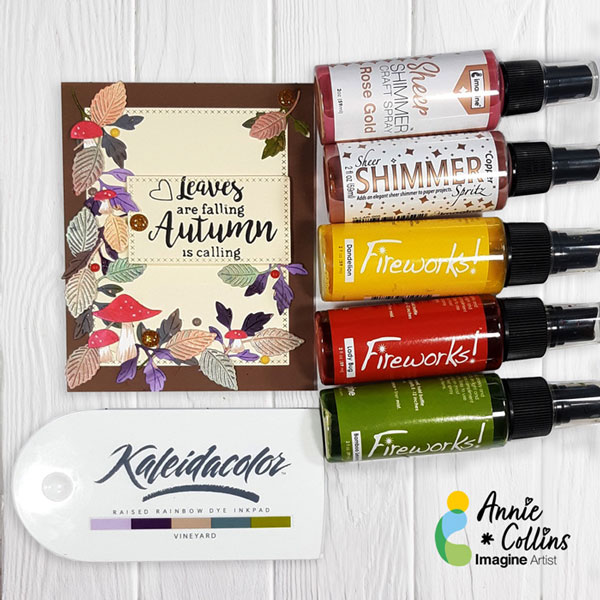
Annie_Collins_Autumn_600x600

By Annie Collins

Hello Crafty Friends – Annie here with a fall card featuring a variety of Imagine Crafts products.

Skill Level: Beginner to Intermediate

Time to Complete: 30-40 Minutes depending on dry time

Art Supplies:

Imagine:

• Sheer Shimmer Craft Spray: Copper & Rose Gold

• Fireworks! Shimmer Craft Spray: Cottage Ivy, Dandelion, Ladybug, Paris Dust, & Rose Bud

• KaleidaColor Ink: Vineyard

• Memento Markers: Desert Sand

• VersaFine Ink: Onyx Black

• Tear It! Tape

• On Point Glue

• Imagine Craft Mat

Other products:

• PoppyStamps: Orchard Leaves Dies

• PoppyStamps: Mushroom & Toadstools Dies

• Lawn Fawn Cross-Stitch Rectangle Dies

• Sakura Gelly Roll Pen: White # 10

• Recollection Brand 110# Cardstock: White & Brown

• Recollections Brand 65# Cardstock: Cream

• Echo Park Enamel Dots

Let’s Make a Cheery Happy Hour Card

kathy_Pisupati_Sept_600x600_2-

By Kathy Pisupati –

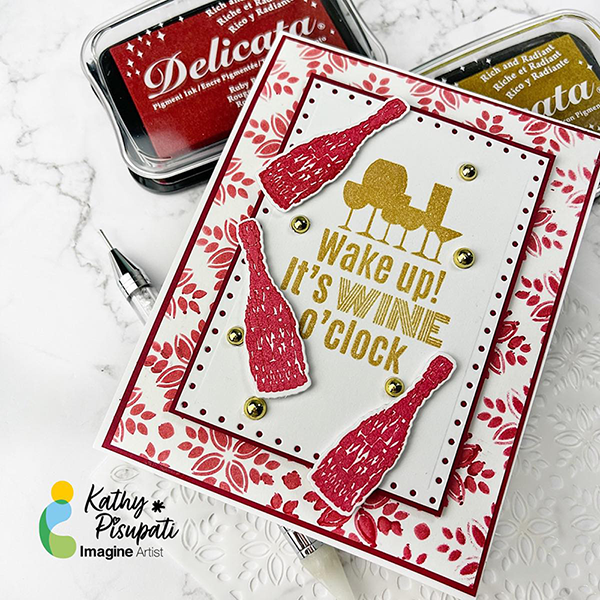
Hi there!  Kathy here. Today I have a new tutorial for you that uses Delicata Golden Glitz and Ruby Red.  The shimmering quality of Delicata inks is perfect for this happy hour, wine card.  It may be hard to see all the shimmer but trust me it’s there!

Skill Level: Intermediate
Time to Complete: 1 hour

Directions:

 
Step 1
Step 1

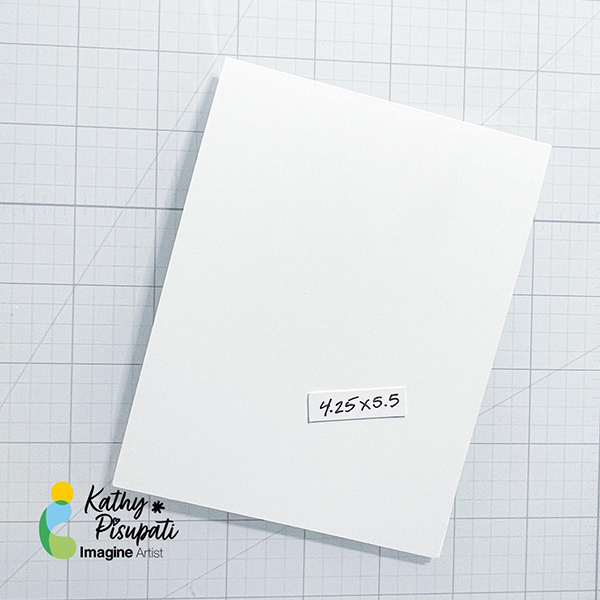
You will need a top-folding card base measuring 4 1/4 x 5 1/2“. The rest of the panels we will create as we go. I have listed the size of each panel on the pictures for you.  After cutting this panel I used the Essentials by Ellen Rectangles for Stitching dies.  I don’t stitch but these dies cut beautiful little holes as a frame that will show the color below in the end.  Using Delicata Golden Glitz ink and clear embossing powder I stamped this image from Picket Fence Studio’s Just Wanna Have Wine stamp set.  I then heat embossed the sentiment.

Step 2A

Step 2a

Next, I stamped and embossed the wine bottle from the same Picket Fence Studio set.  Using the coordinating die I did this 3 times.

Step 2B

Step 2b

For the background I used the Picket Fence Studio Montage 6 x 6 stencil with the Delicata Ruby Red Ink.

Step 3

Step 3

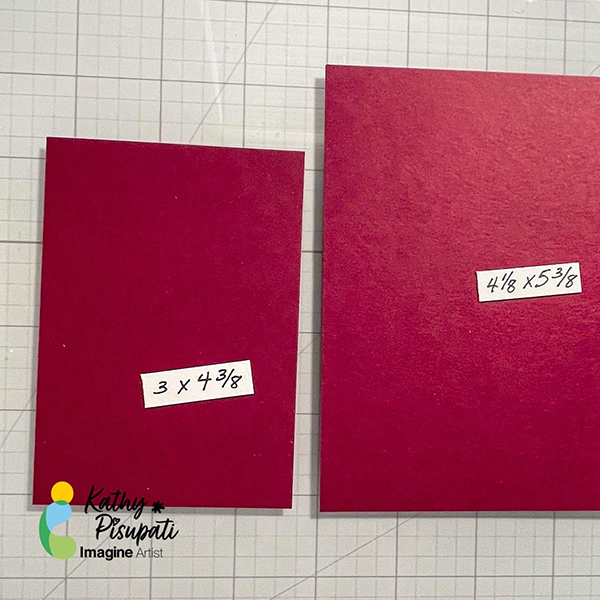
From a coordinating-colored card stock cut two panels to the sizes in the picture below.  Adhere the sentiment panel on top of the small background and the stenciled panel to the larger panel with On Point Glue.

Step 4

Step 4

The stenciled panel was adhered directly to an A2 top-folding card base with the Tear It Tape.  The sentiment panel was added with foam tape and the wine bottles were popped up with foam tape as well.

Step 5
Step 5

Finally, I added a few Kat Scrappiness Gold Pearls for a bit of bling.

I hope you enjoy this card and the tutorial. Thanks for stopping by.  I appreciate all of you! 

Step-6

Supplies Used:

Imagine Crafts

Delicata Golden Glitz

Delicata Ruby Red

Imagine Craft Mat

Sponge Daubers

On Point Glue

Tear-It! Tape

Other

• Picket Fence Studio Montage 6 x 6 Stencil

• Picket Fence Studio Just Wanna Have Wine Stamps and Dies

• Kat Scrappiness Gold Pearls

• Clear embossing powder

• Embossing tool

• Spellbinders Platinum 6 Die-Cutting machine

• Colored card stock

• Neenah Classic Crest Solar White 110lb

• Paper Trimmer

• Teflon bone folder

• Foam Tape

Let’s Make a Fun Inspirational Card

Lee_Ann_Aug_600x600

By LeeAnn McKinney –

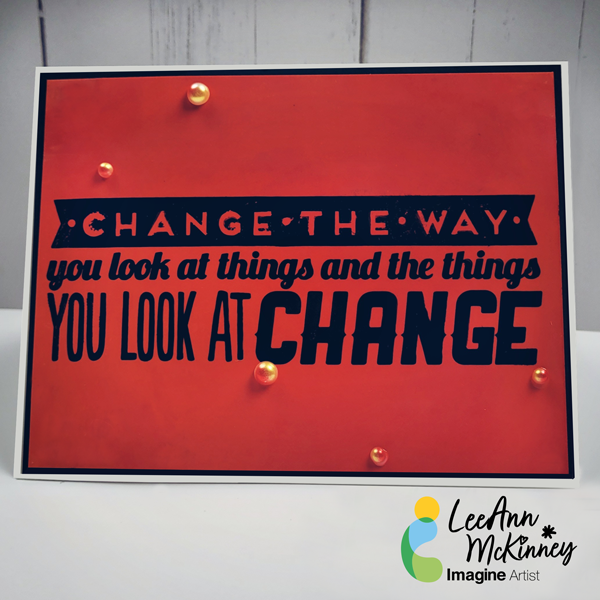
Hey there friends and fellow crafters, LeeAnn here with a fun Inspirational Card I made using my absolute favorite technique, and those of you that have been here for a while know I love Kaleidacolors.

Skill level: Beginner

Time: 30 minutes


Art Supplies

Imagine:

• Imagine Craft Mat

• On Point Glue

• Tear It! Tape

• StazOn Stamp Cleaner

• Desert Heat Kaleidacolor Dye Ink

• VersaFine Clair Nocturne

Other Products:

• Accent Opaque 120lb Cardstock 

• Kromecote Paper Marco’s Paper

• Stampers Anonymous Motivational 2 Stamps

Learn to Make a Rose Themed Congratulations Card 

2022-Annie-Aug-700x700

By Annie Collins

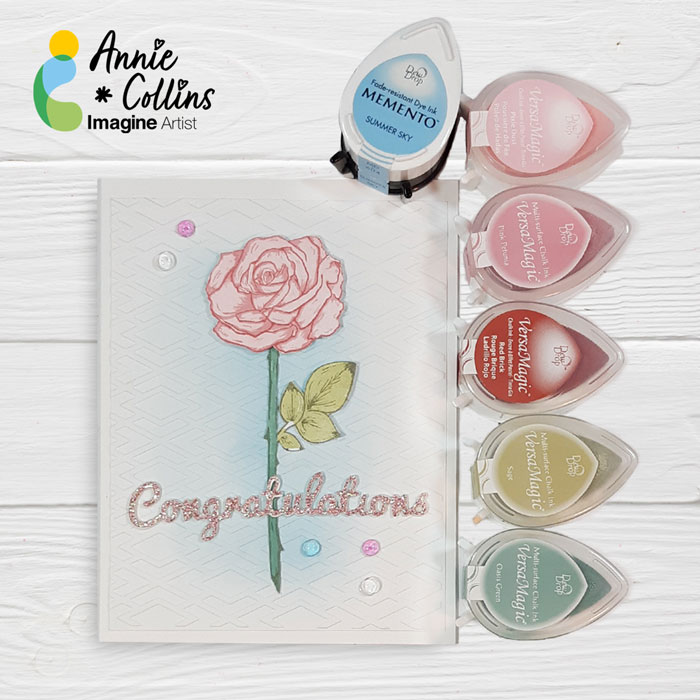
– Hello Crafty Friends – Annie here with a fun summer themed card featuring a variety of Imagine Crafts products.

Skill Level: Beginner

Time to Complete: 30 Minutes

Art Supplies:

Imagine:

• VersaMagic Inks: Pixie Dust, Pink Petunia, Red Brick, Sage, Oasis Green, & Hint of Pesto

• Memento Ink: Summer Sky

• magine Crafts: Tear It! Tape

• Imagine Crafts: On Point Glue

• Imagine Crafts: Craft Mat

Other products

• Hero Arts Stamps: Color Layering Set: Layering Rose CM243

• Recollections Brand 110# Cardstock: White

• Accent Ultra Smooth 80# Cardstock: Opaque White

• Lifestyle Crafts Embossing Folder: Lattice

• Blending Brush

• Tiny Acrylic Bubbles: Clear, Pink and Light Blue

Let’s Make a Dazzling Friendship Card

Kathy_Aug_Main-600

By Kathy Pisupati –

Good morning!  Kathy here, creating art for Imagine Crafts!  Today I have a new tutorial for you.   I must admit I am in LOVE with the Delicata Golden Glitz pigment ink. There are several reasons:

• The color is AMAZING!

• When I don’t feel like using gold embossing powder this works fabulous (and is less messy!).

• It works fabulous with sentiments.

• It is easy to clean up.

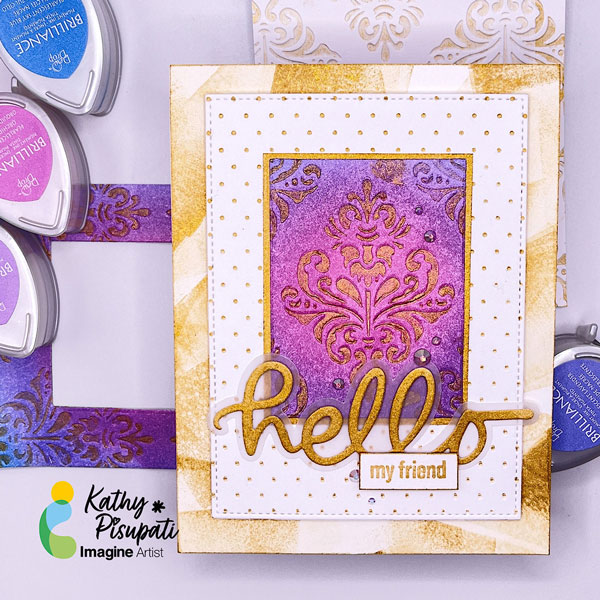
So today I have a project for you that uses the Delicata Golden Glitz and some beautiful Tsukineko Brilliance Dew Drops. The card didn’t start out as I planned but I am happy with the finished result. Please let me know what you think in the comments! Let’s make a card. 

Skill Level: Intermediate
Time to Complete: Two hours

Directions:
image_Step1
Step 1:

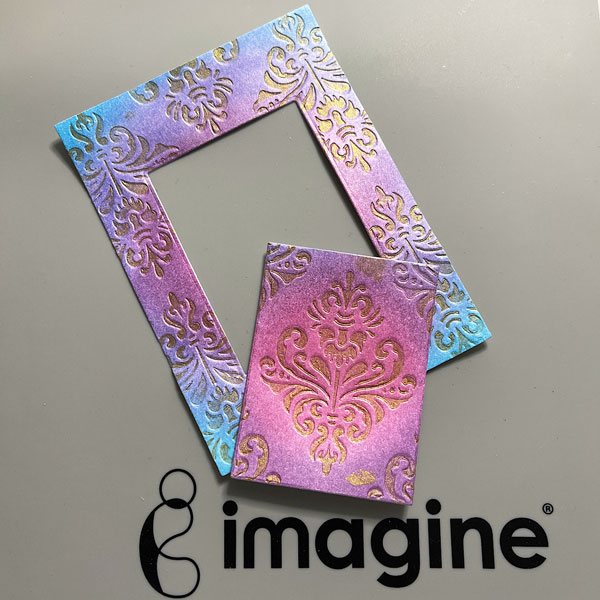
You will need a top-folding card base measuring 4 1/4 x 5 1/2“. The rest of the panels we will create as we go. So, the first thing I wanted to play with was the Brilliance Dew Drops. I ink blended them all over a piece of Neenah Classic Crest Solar White 110lb card stock. I then found an embossing folder. I chose an older folder from Spellbinders. I am not sure if it is still available, but it was called the Large Medallion. I dug out my brayer, inked it up with some Delicata Golden Glitz, and rolled it over the RAISED area of the embossing folder. I put in my ink blended panel and ran it through my die-cutting machine. Here is where the plan changed. I pulled out my Gina K Designs Master Layout 2 to get the “perfect” rectangle. I taped the die to the panel. Now here is a tip when you have a panel that is loaded up with ink like mine, BEFORE you pull off the tape, heat it with your heat tool on LOW. Yeah….I didn’t do that and ripped a chunk out of the frame I was going to use. Oh well, moving right along……I used a rectangle die from GKD Master Layout 7 to cut the middle out. I WILL save this card! 


image_Step2

Step 2:

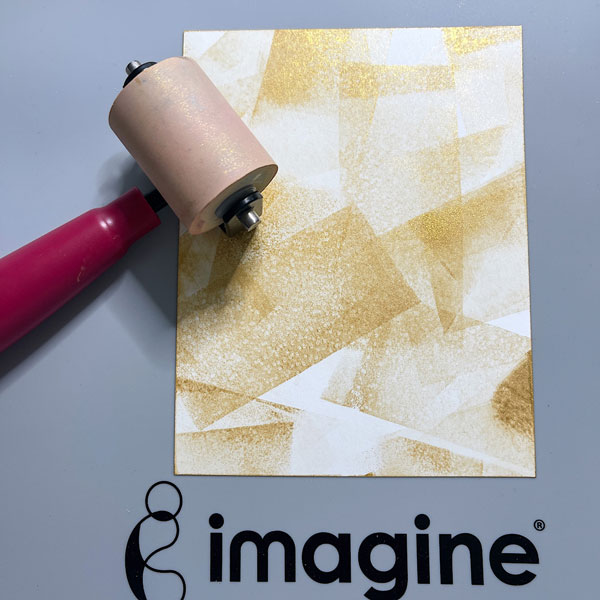
I had a lot of gold ink on my brayer, so I inked up a Swiss Dot embossing folder and ran another piece of white card stock through my machine.
 

image_Step_3

Step 3:

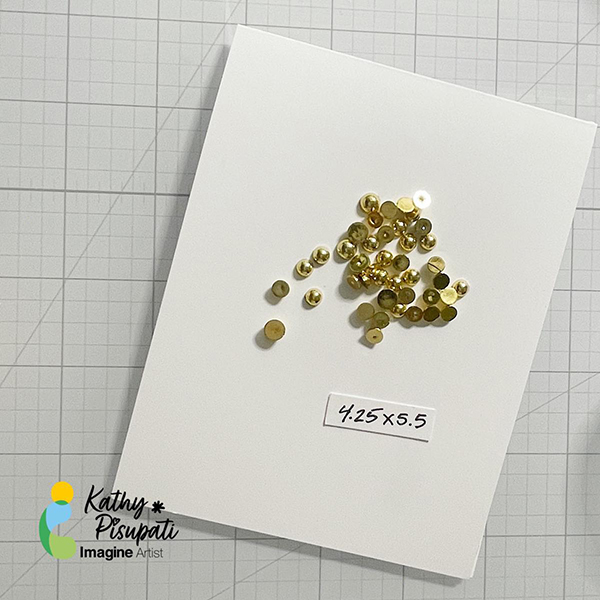
I then rolled the excess ink on a piece of white card stock measuring 4.25” x 5.5”. Isn’t it pretty? I HAD to incorporate it!
 

image_Step-4

Step 4:

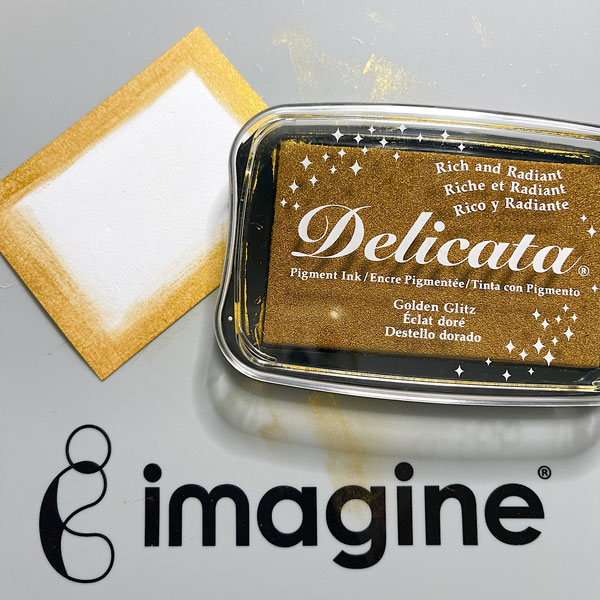
Cut a piece of white card stock an 1/8” larger than the focal point and with your Sponge Dauber, ink the edges of the rectangle with the Golden Glitz.
 

Image_Step-5

Step 5:

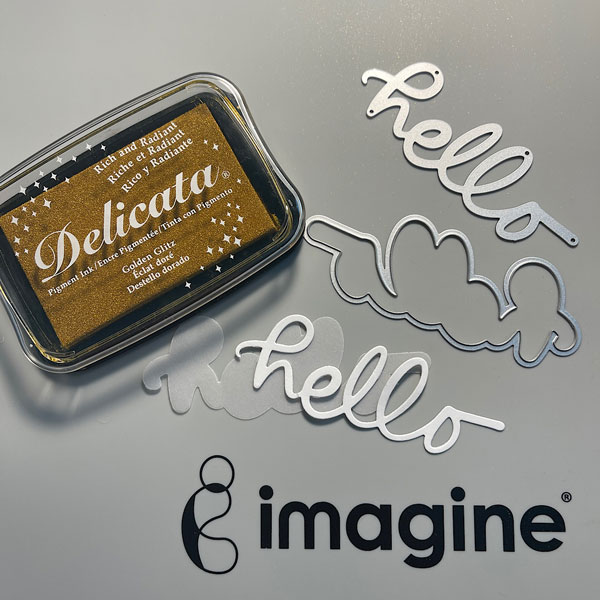
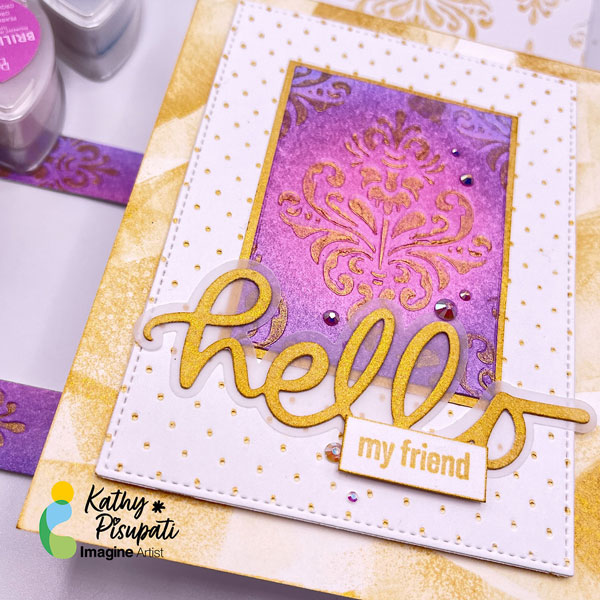
Die-cut your sentiment and using the Golden Glitz ink, use Imagine Crafts sponge daubers to apply your ink to the sentiment. Cut a shadow from the vellum. Glue these together.  Using the Delicata Golden Glitz stamp the smaller, MY FRIEND, sentiment. Cut this sentiment to size. I also inked the edges of this sentiment.


Image_Step-6

Step 6:

Now we can assemble the card. The focal point is glued to the gold border and then adhered to the Swiss dot panel with Imagine On Point Glue. The sentiment is also adhered to the panel with glue. The MY FRIEND strip sentiment was popped up with foam tape. Then I added foam tape to the Swiss dot panel and attached it to the background panel.

Finally, I used Imagine Tear It! Tape and attached it to the card base. I added a few gems, and the card is done!


Supplies Used:

Imagine Crafts

Delicata Golden Glitz

Brilliance Dew Drops: Pearlescent Lavender, Pearlescent Sky Blue, Orchid and Pearlescent Purple

Imagine Craft Mat

Sponge Daubers

On Point Glue

Tear-It! Tape


Other

Gina K Designs Master Layout 2

Gina K Designs Master Layout 7

SCT Let’s Stamp Together Kit July 2022-Sentiment

Cuttlebug Swiss Dot Embossing Folder

Crafty Meraki Gems

Brayer

Neenah Classic Crest Solar White 110lb

Paper Trimmer

Die-Cutting Machine

Foam Tape