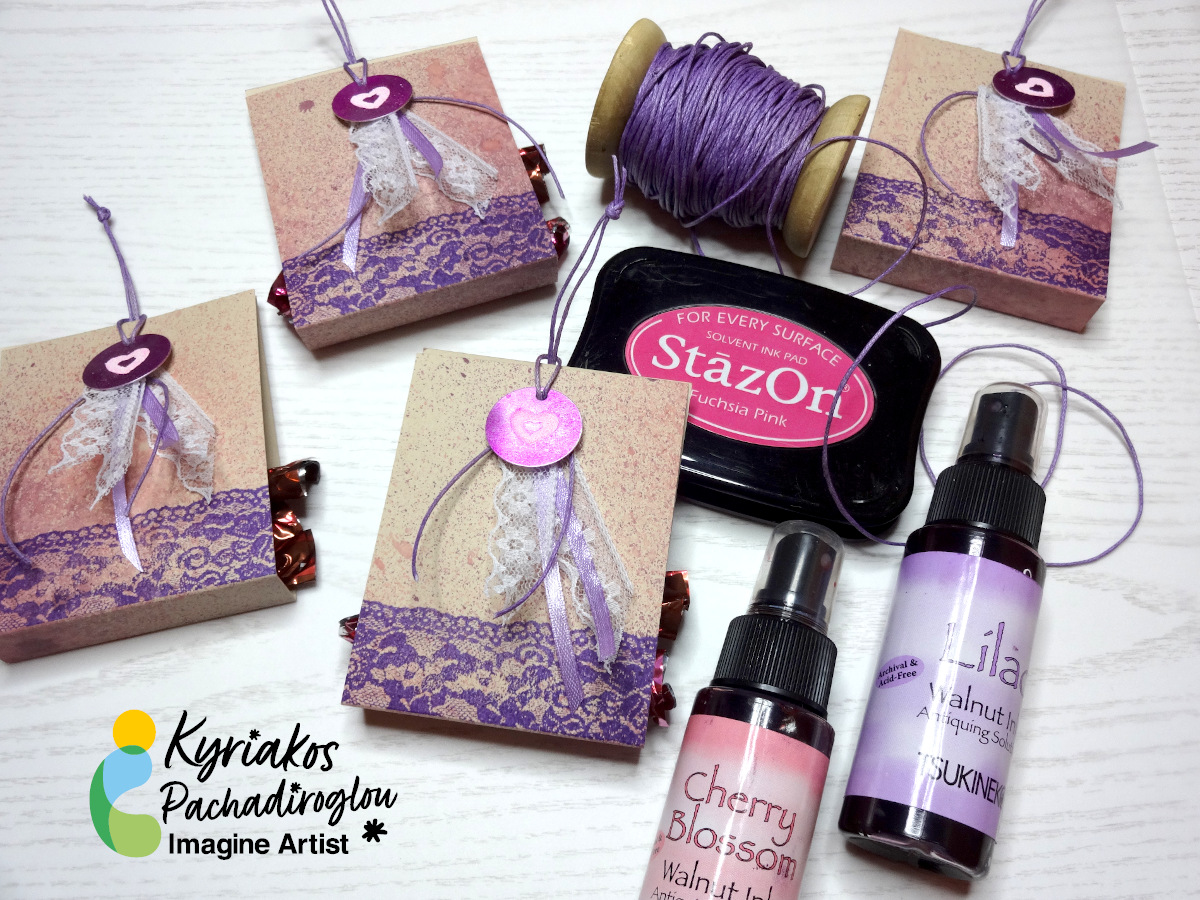
By Jowilna Nolte
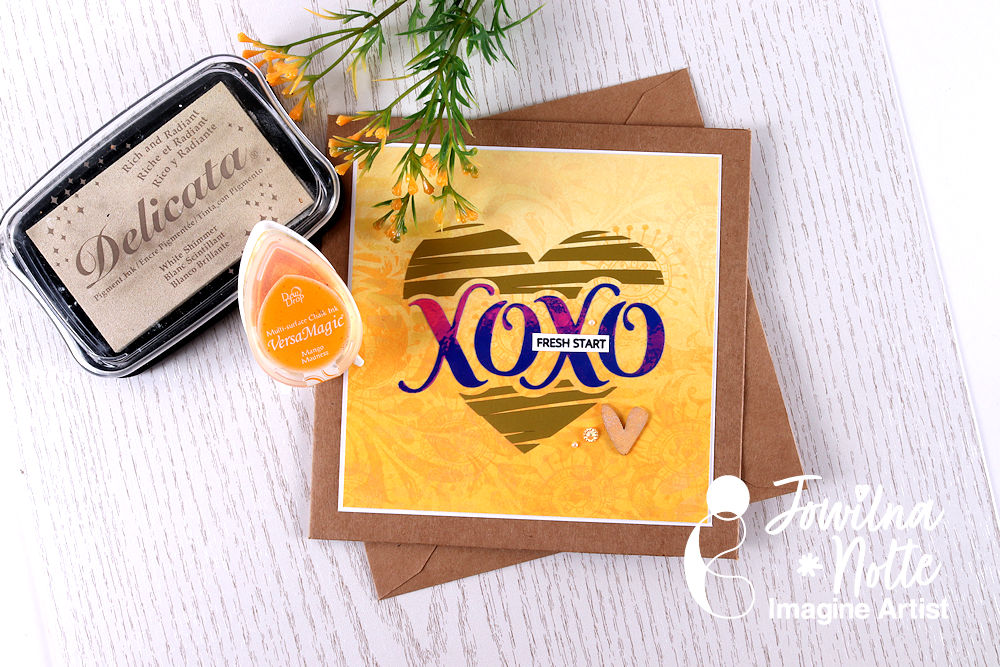
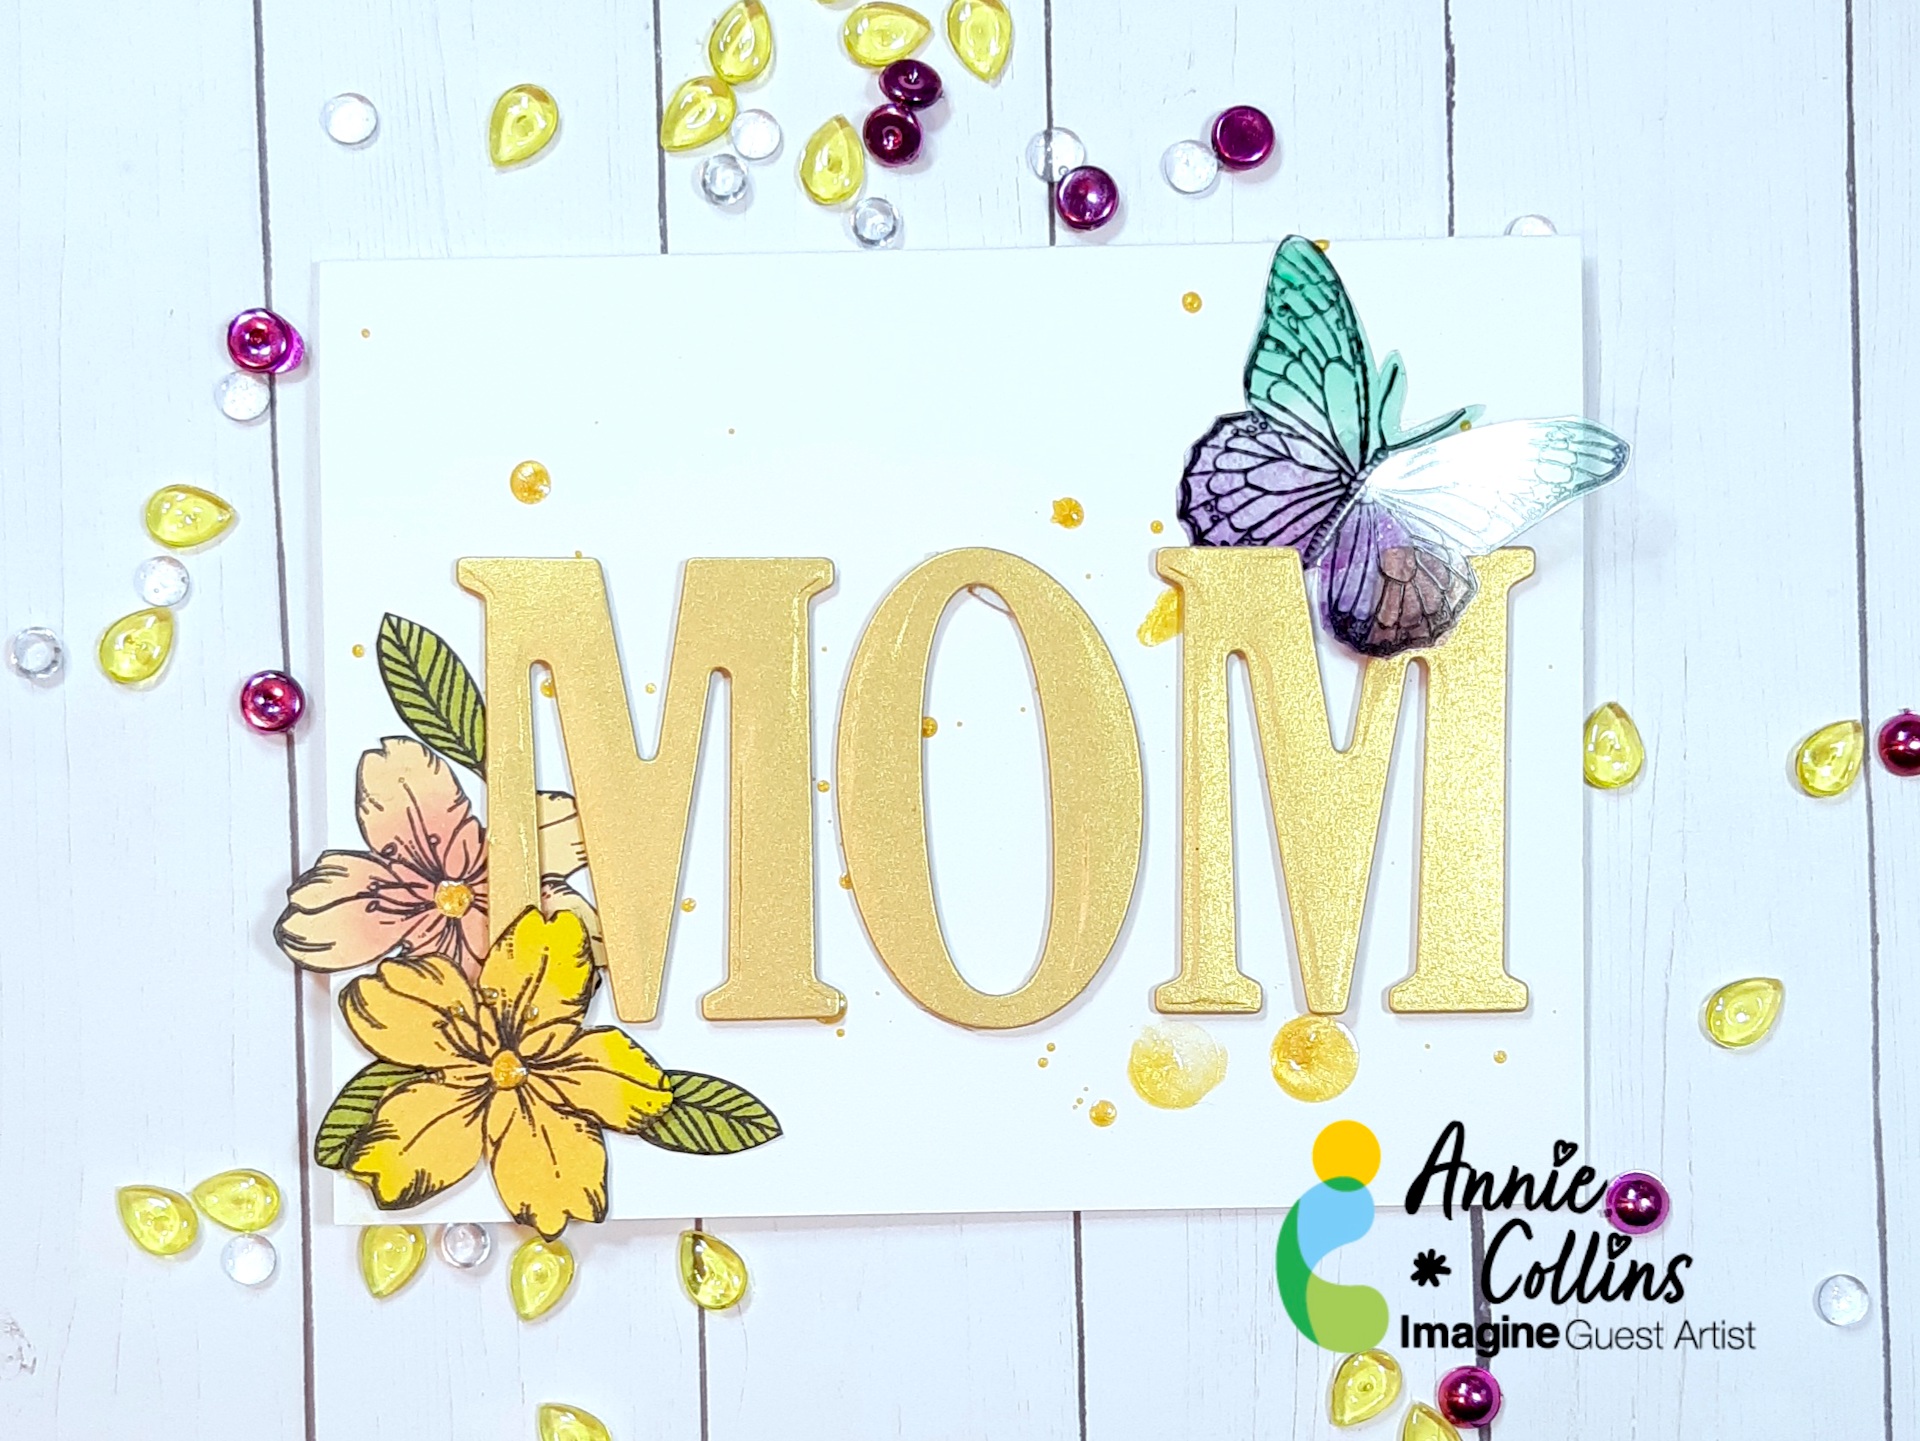
Recently I had to make a quick wedding card for a fun and vibrant couple. Instead of going the traditional route I opted for just having fun – mimicking their personalities.
Skill Level: Beginner
Time: 20 minutes
Directions:

Step 1
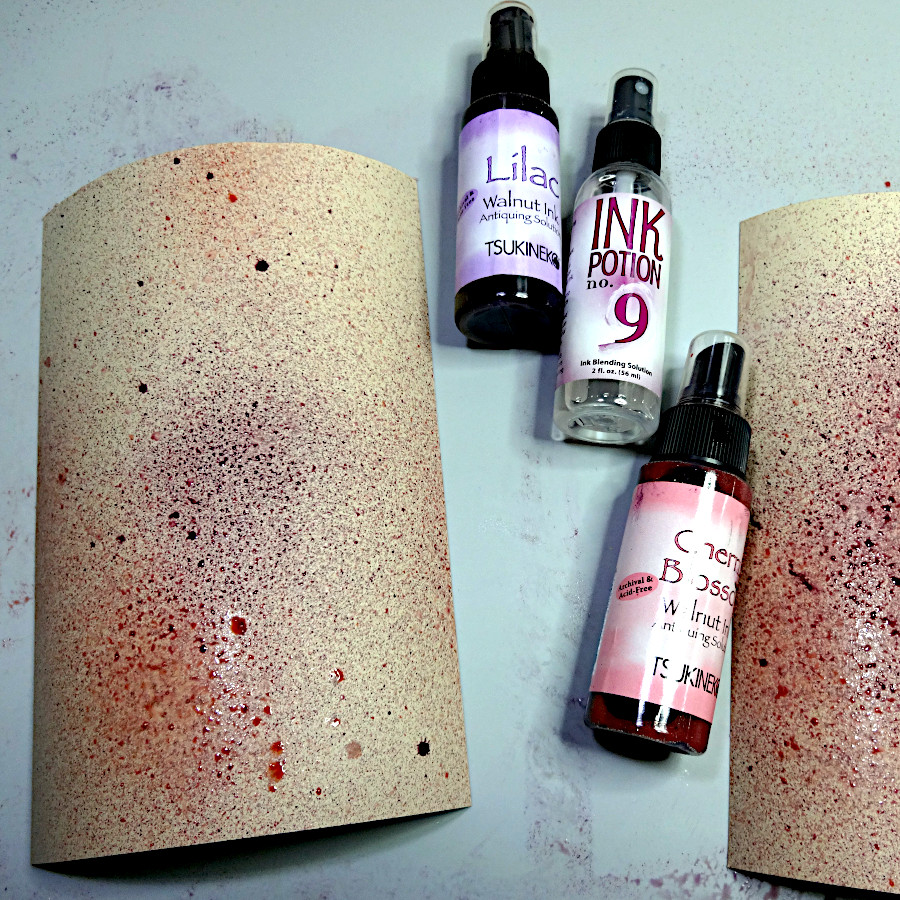
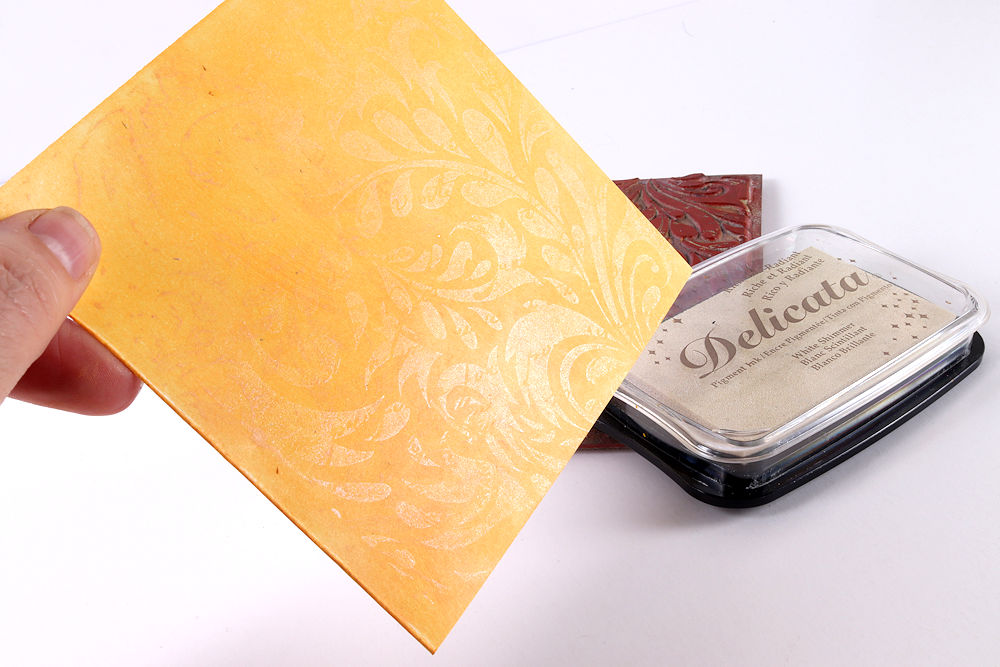
On a smooth white background panel used your StazOn ink Cherry Blossom and swipe the ink pad across the panel.

Step 2
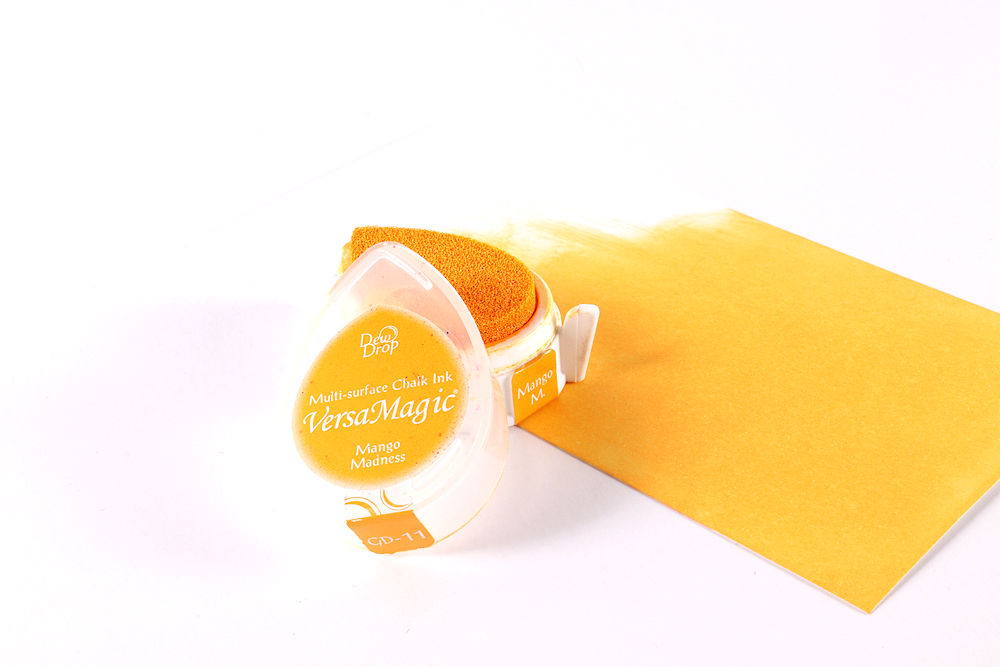
Repeat the process this time using Versamagic ink to swipe across the background.

Step 3
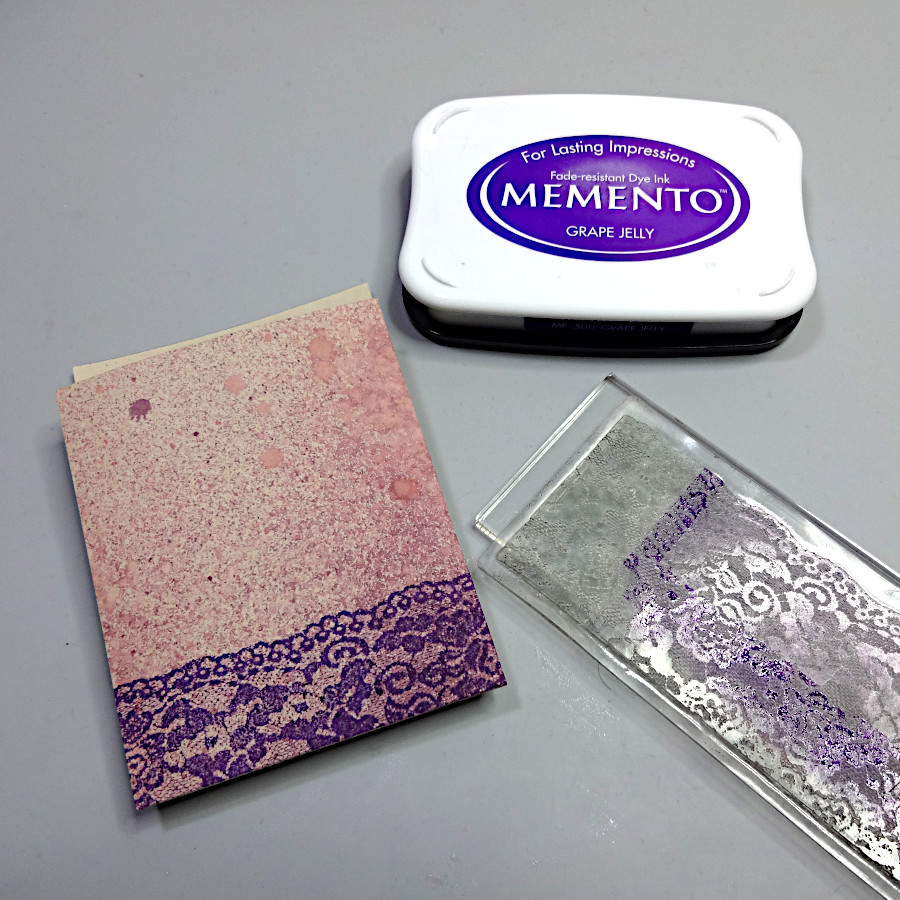
Stamp a sentiment across the bottom of the panel using VersaFine Clair Nocturne.

Step 4
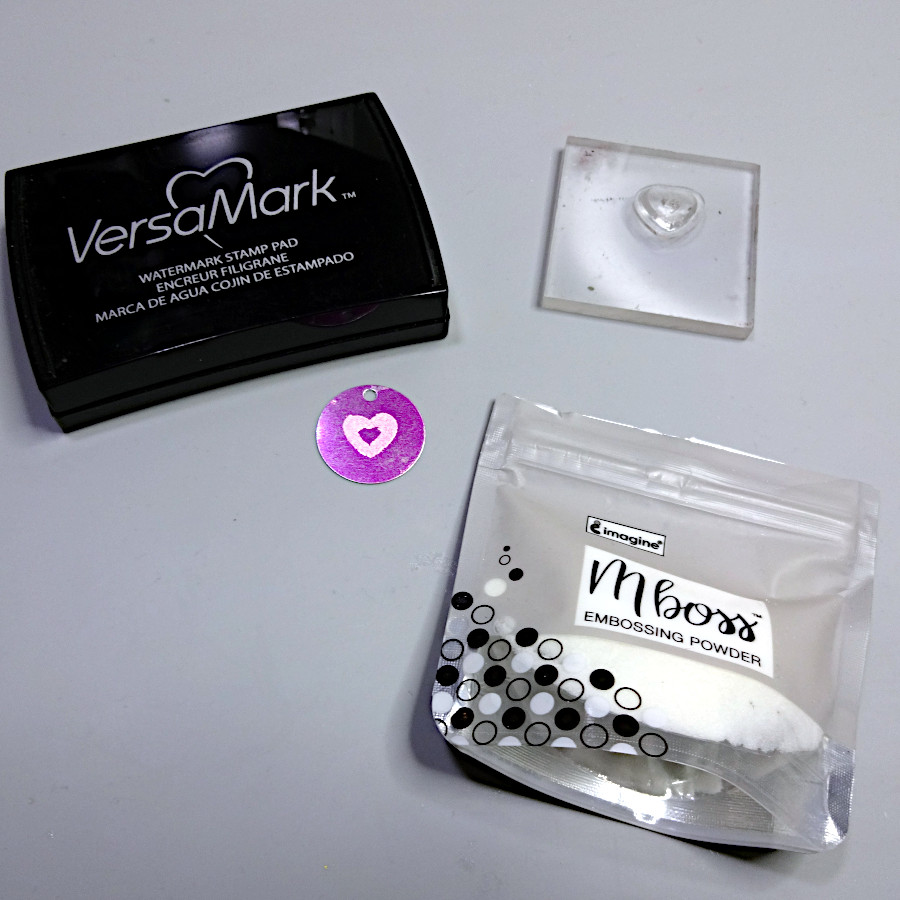
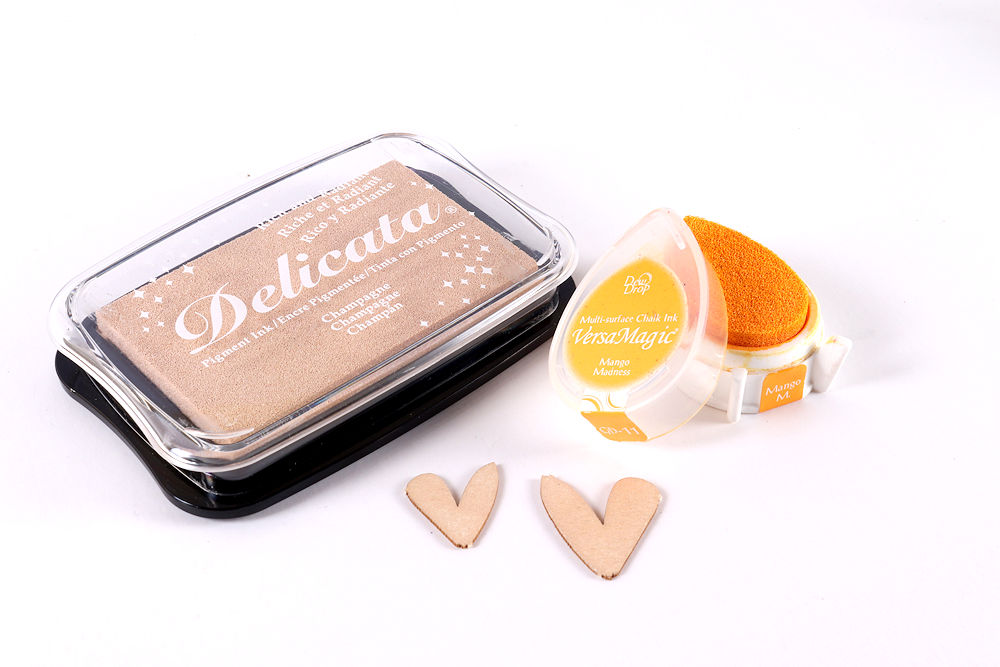
Emboss a scrap cardstock strip using Indigo Pealr Mboss embossing powder and VersaMark Frost. Then cut the strip with a scallop edge. Emboss a chipboard heart using the same Indigo Pearl Mboss embossing powder.

Step 5
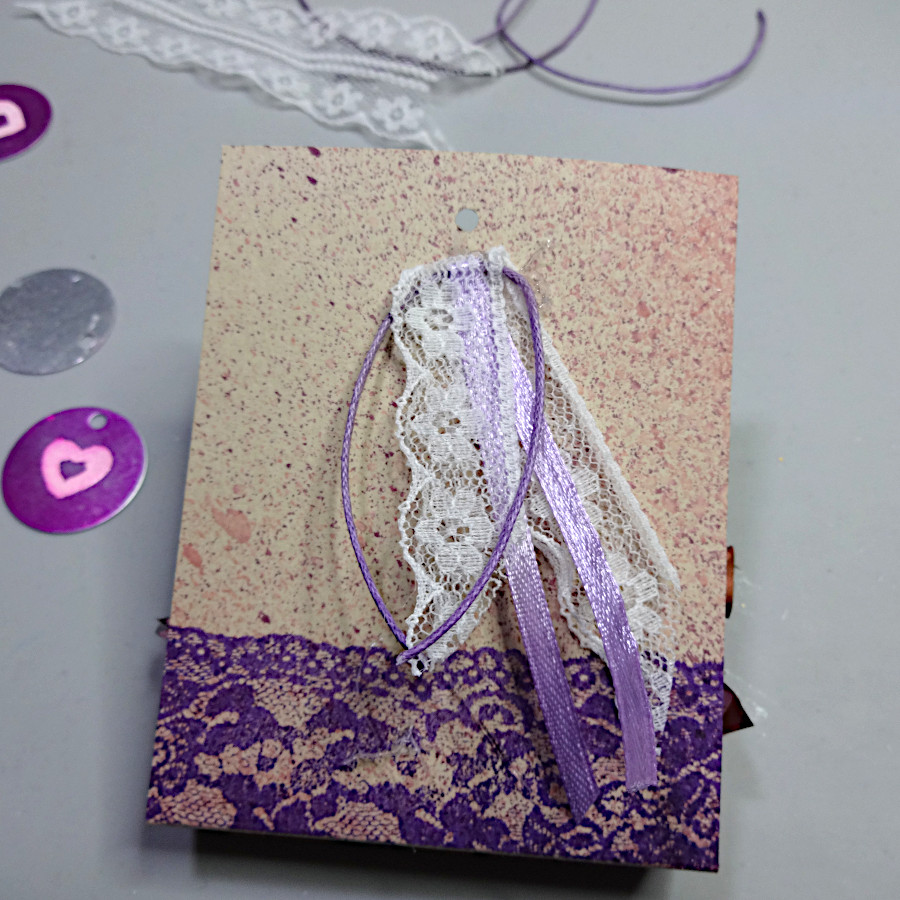
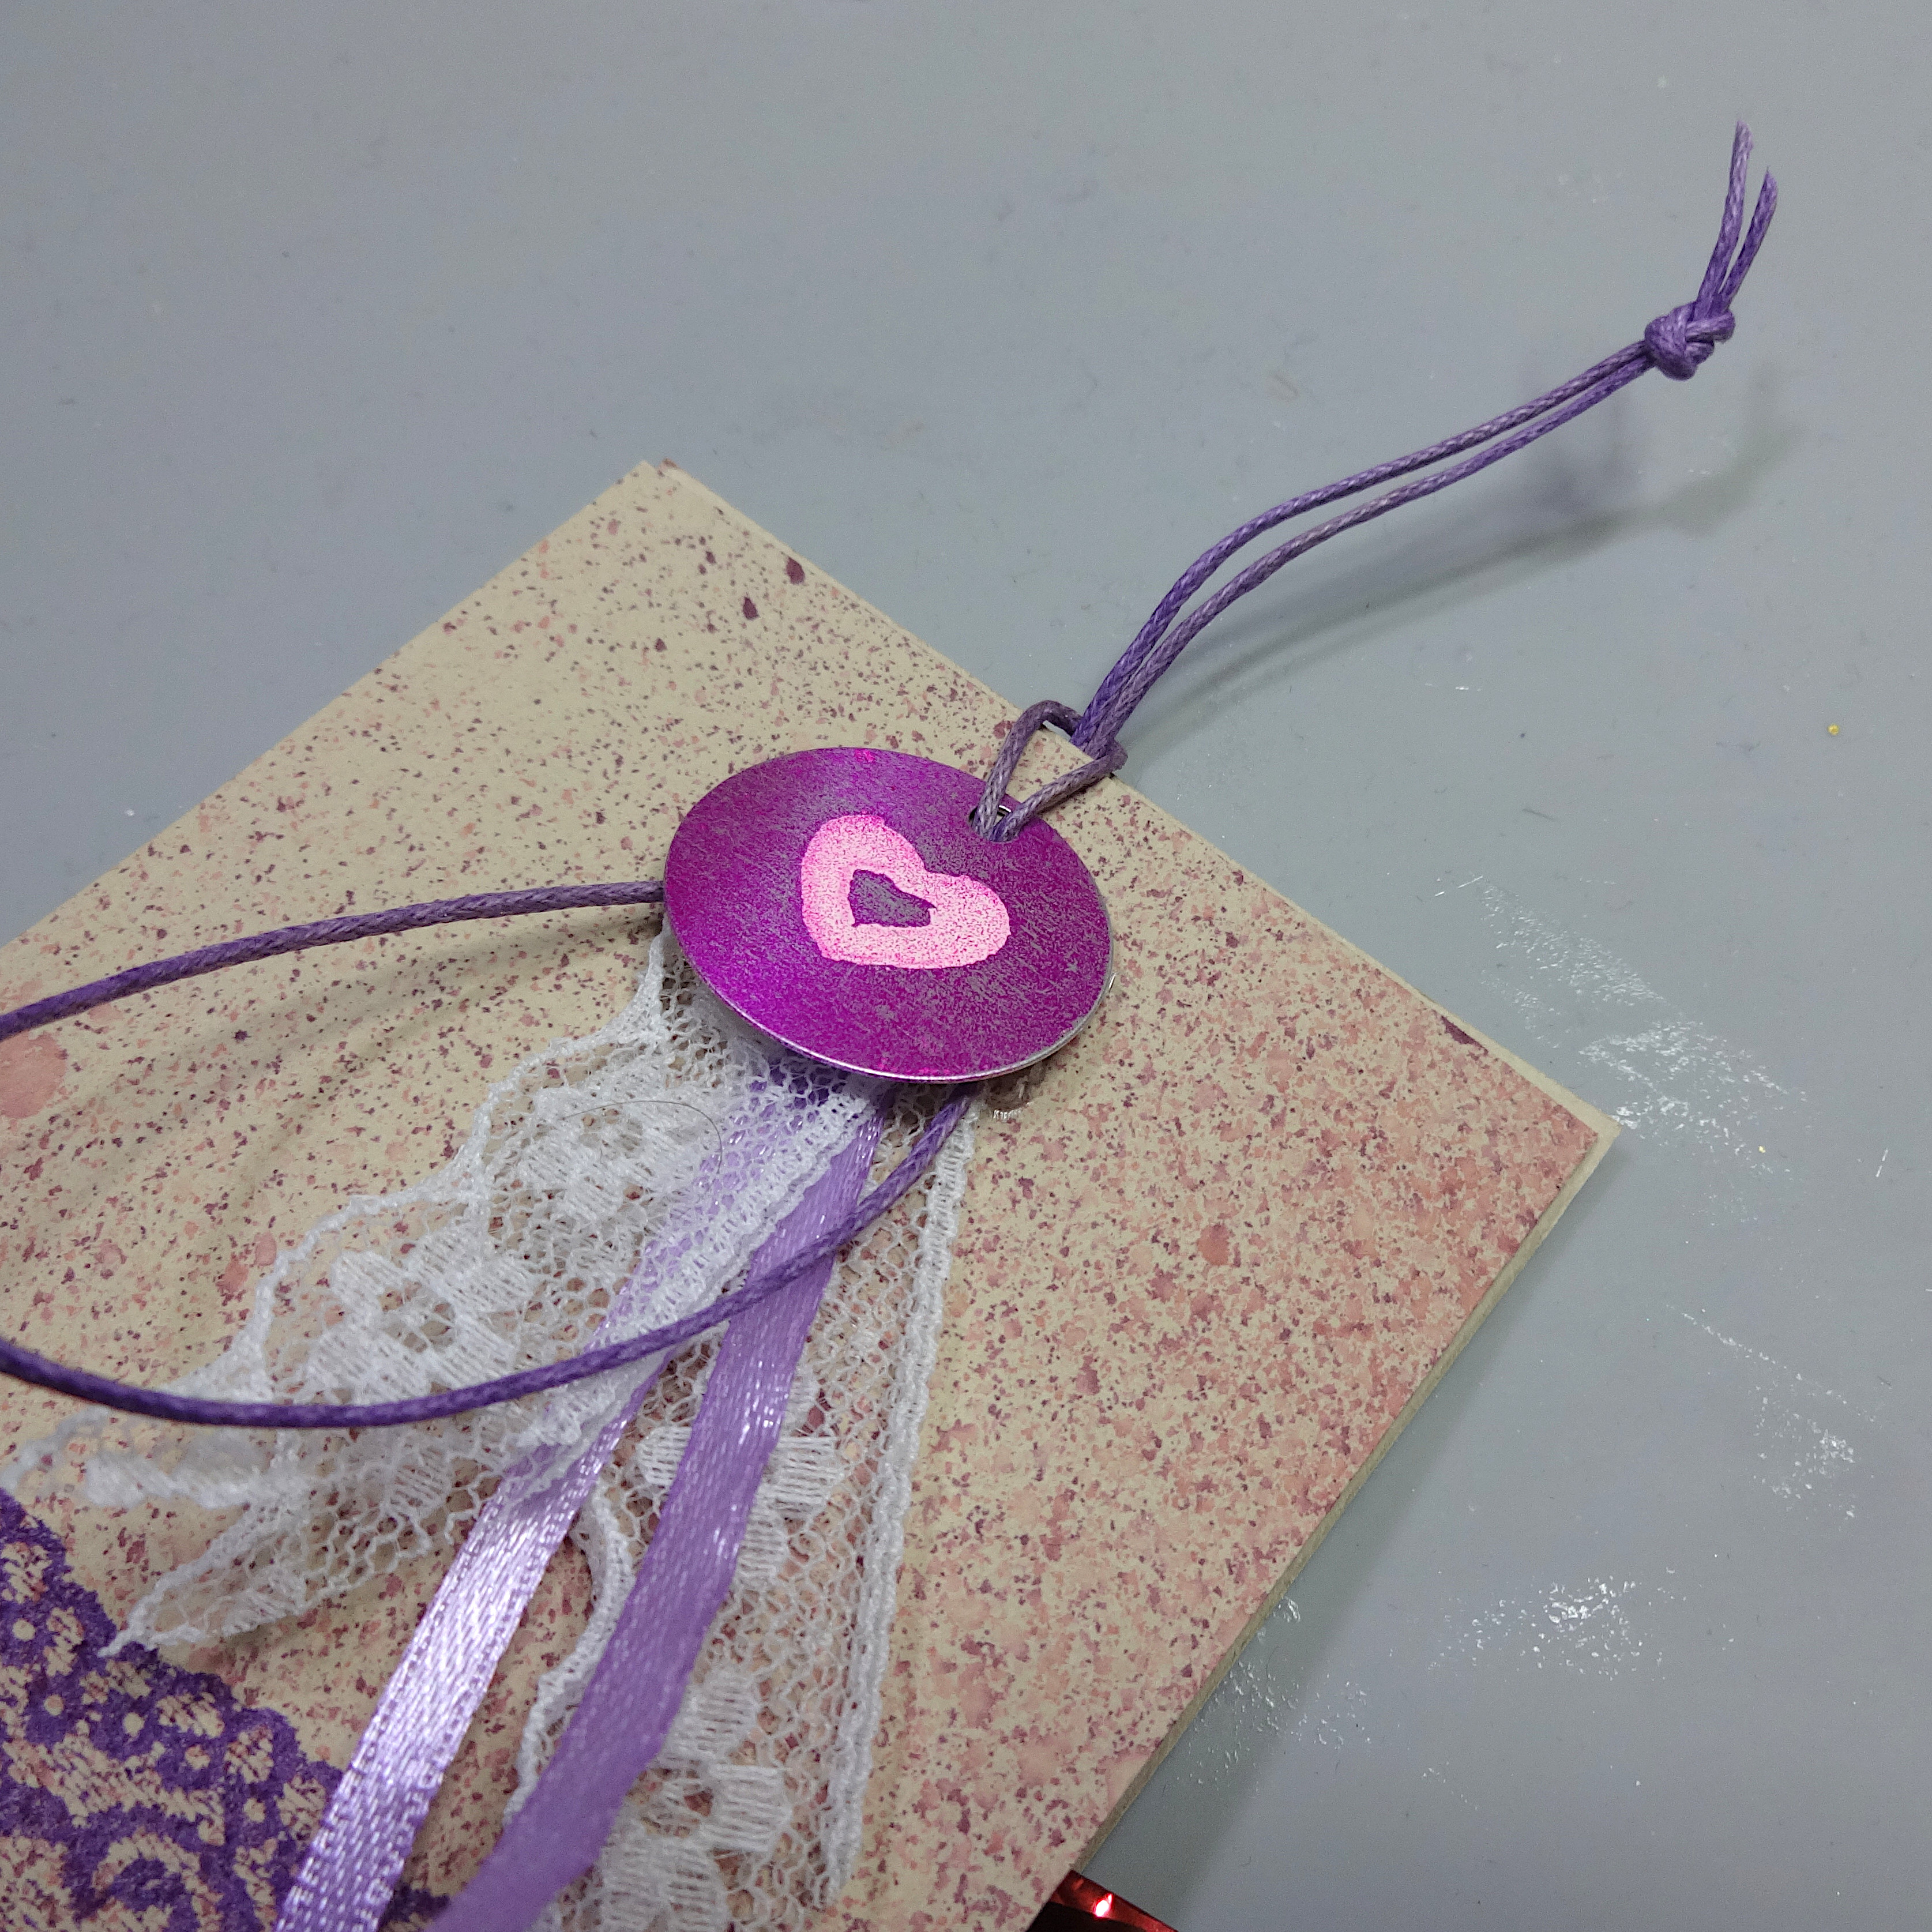
Assemble the card by adhering the panel to a folded card. Then adhere the embossed heart using On Point glue as well as the embossed strip and embellishments to finish off your card.

The embossing powder adds some glamour and shine to this simple yet fun card. Just like the couple – fun colours combined together with a touch of glam and pizazz.
Mboss embossing powder really takes any project t the next level. Available in a huge variety of colours they truly are amazing.
Art Supplies
Imagine
VersaFine Clair Nocturne
Mboss Indigo Pearl
VersaMark Frost
On Point Glue
Tear it! Tape
StazOn Cherry Blossom
VersaMagic Mango Madness
Other
White cardstock
Chipboard: Celebr8
Stamps: Visible Images
Embellishments