By Neva Cole –
In today’s tutorial you will learn to create a super easy wood sign using the ever versatile VersaFine Clair inks. The VersaFine Clair worked beautifully for this project that took just under and hour from design concept to completion! The ink pads are nice and juicy, so the first stamp image was perfect every time, which is helpful when free hand stamping with out a stamp platform.
Skill: Beginner
Time: 1 Hour
Directions:

Step 1:
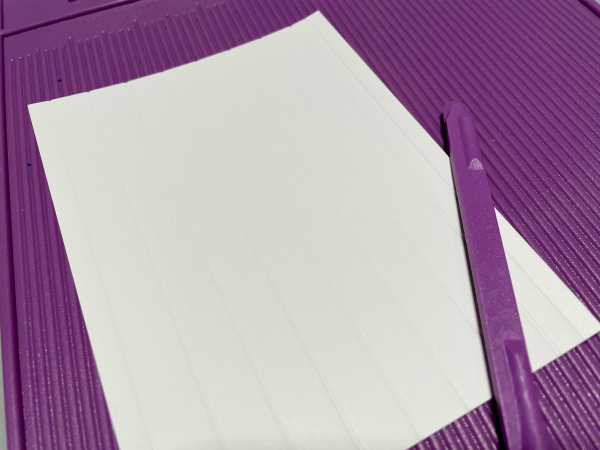
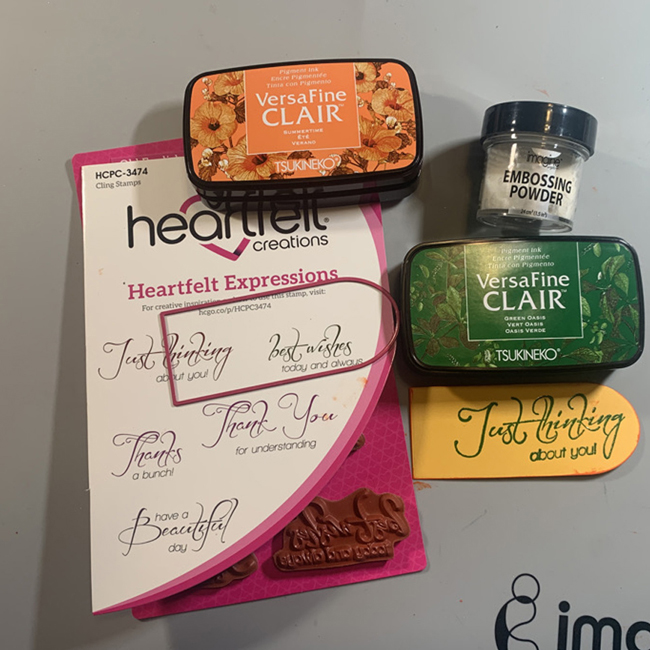
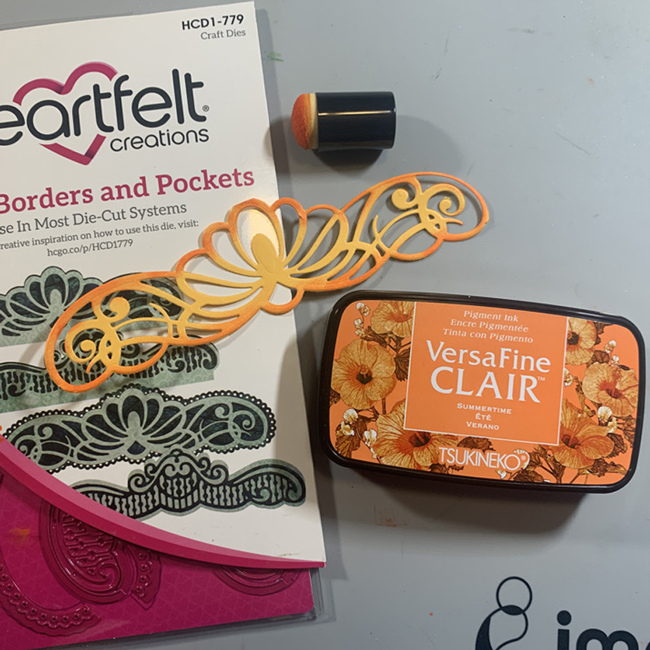
Remove twine from the sign so it will lay flat on your work surface. With lines on the sign already in place it was easy to line up the sentiment and acrylic stamp block. Once the stamps are aligned, place a large acrylic block over the stamps lining up the edges to allow perfect positioning.
Step 2:
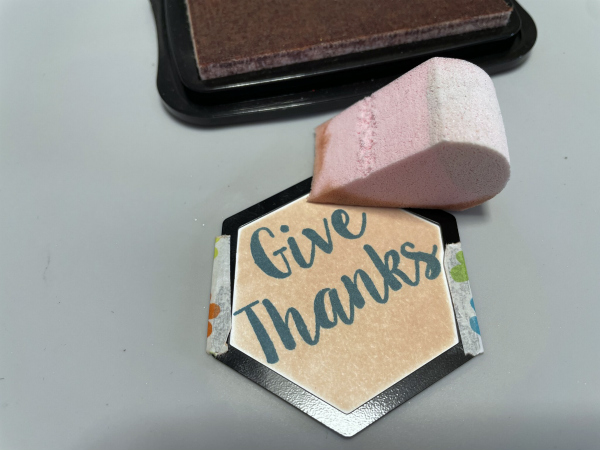
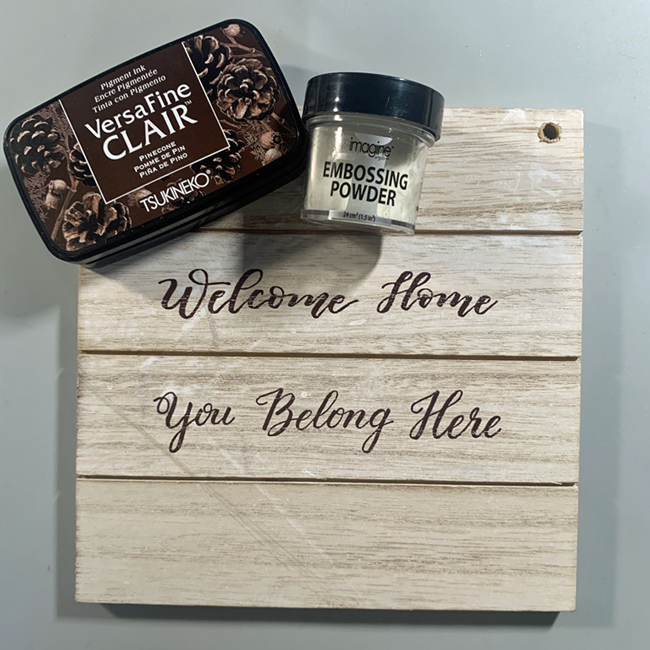
Stamp the sentiment in VersaFine Clair Pinecone and heat emboss with clear Embossing Powder. Gives the sentiment a bit of shine and keeps it from smearing!

Step 3:
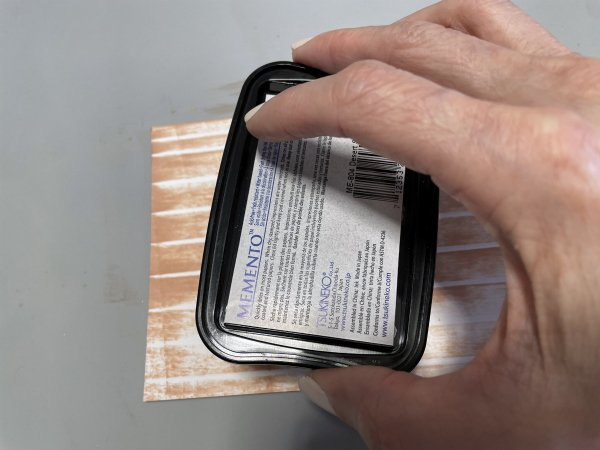
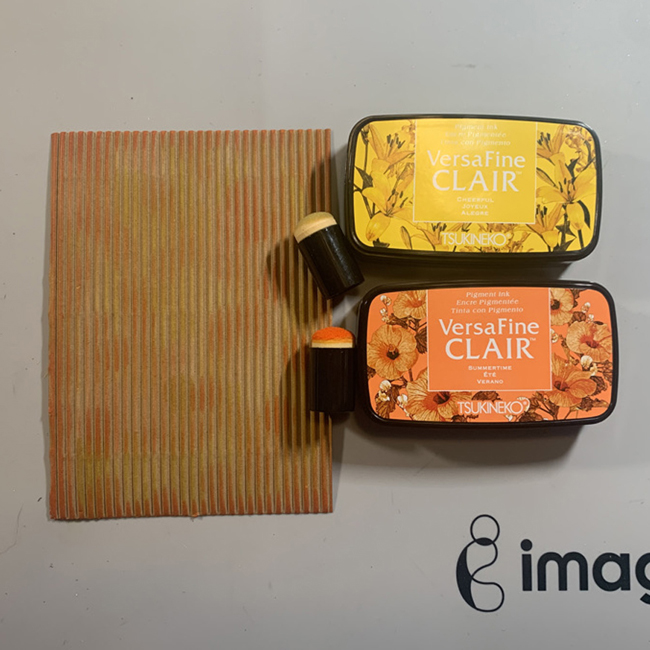
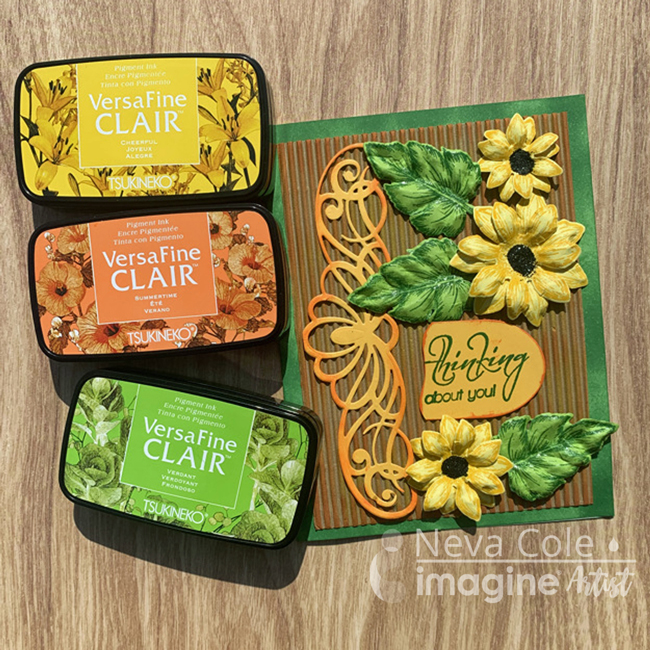
Using and ink blusher ink the edges of the sign with VersaFine Clair Cheerful. Start from the outside edge and blend toward the center to create a slight ombre look.
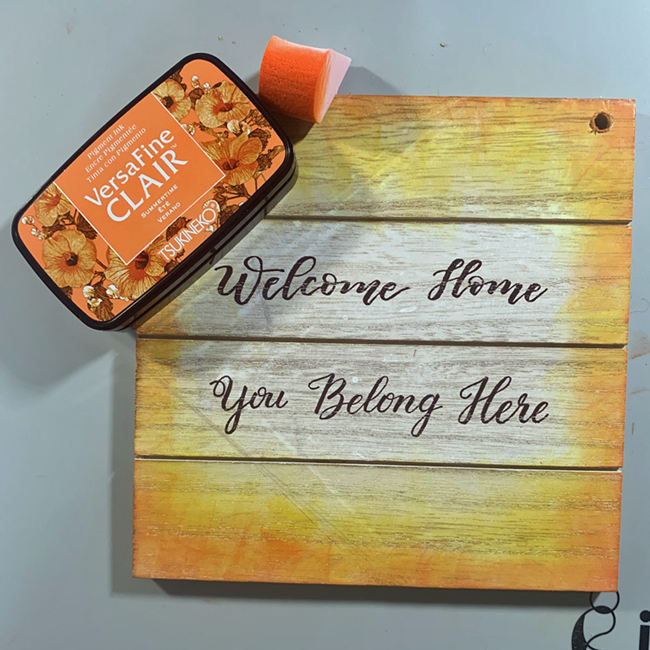
Step 4:
Using and ink blusher ink the edges of the sign with VersaFine Clair Summertime. Start from the outside edge and blend toward the center but not as far as the Cheerful layer.
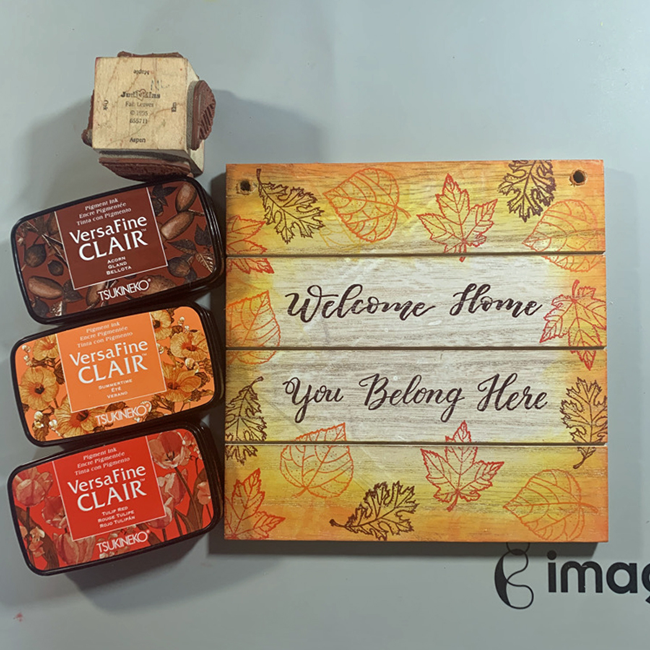
Step 5:
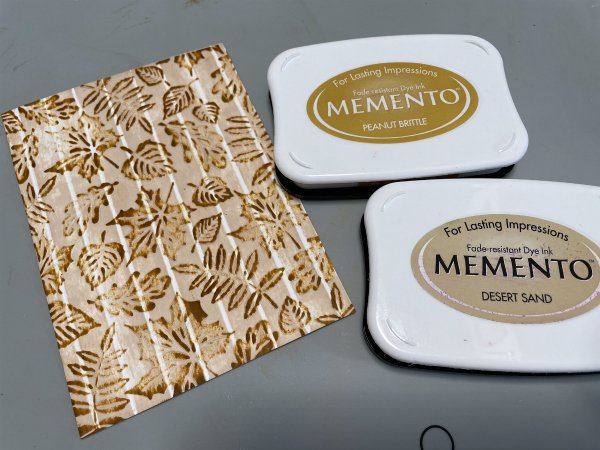
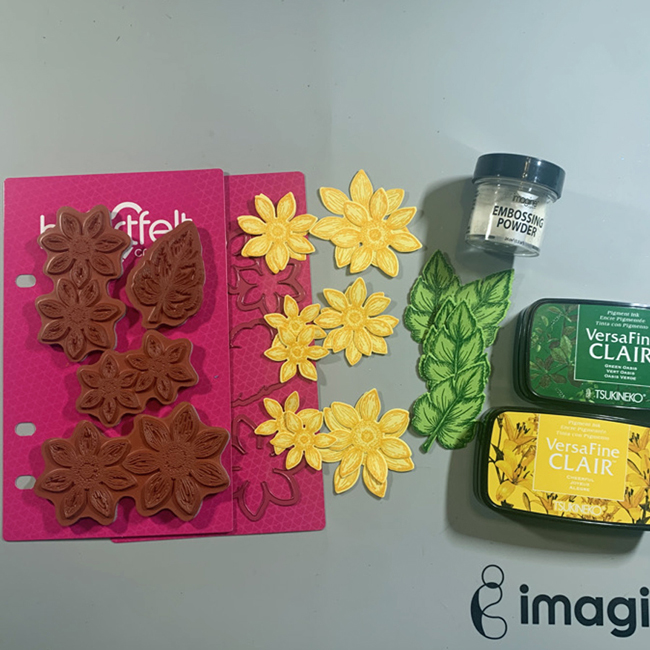
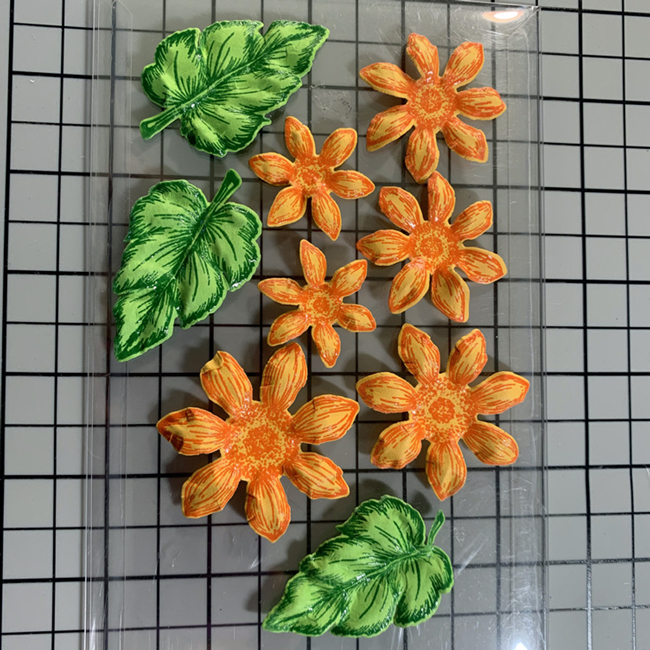
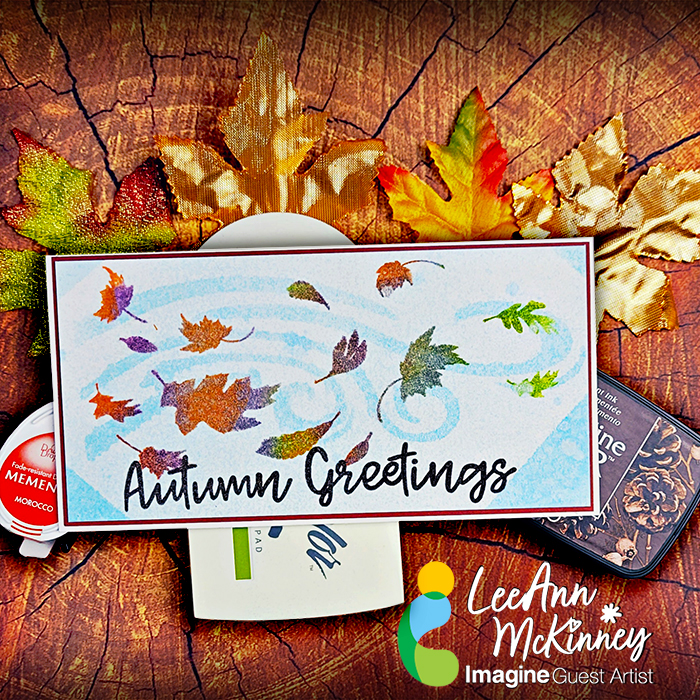
The leaf images are stamped using a very old stamp that features Fall leaves. The Oak leaf is stamped in VersaFine Clair Acorn, the Aspen leaf in Summertime, and the Maple leaf in Tulip Red. The sign can be heated with a heat gun, or set aside until the ink dries.

Step 6:
Replace twine through holes in the sign and display!
Art Supplies
Imagine:
Versa Fine Clair–Pinecone, Acorn, Cheerful, Summertime, Tulip Red
Other Products:
Square 7” x 7” Wood Sign
Recollections Clear stamps sentiments from 2020
Judi-kins Fall Leaves Cube
Neva Cole
http://snippetscrafter.blogspot.com/
n.cole@windward-performance.com