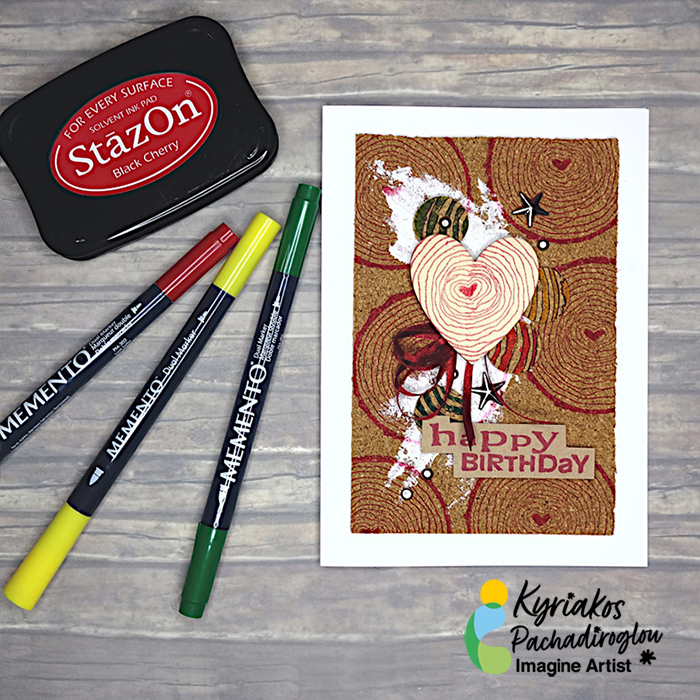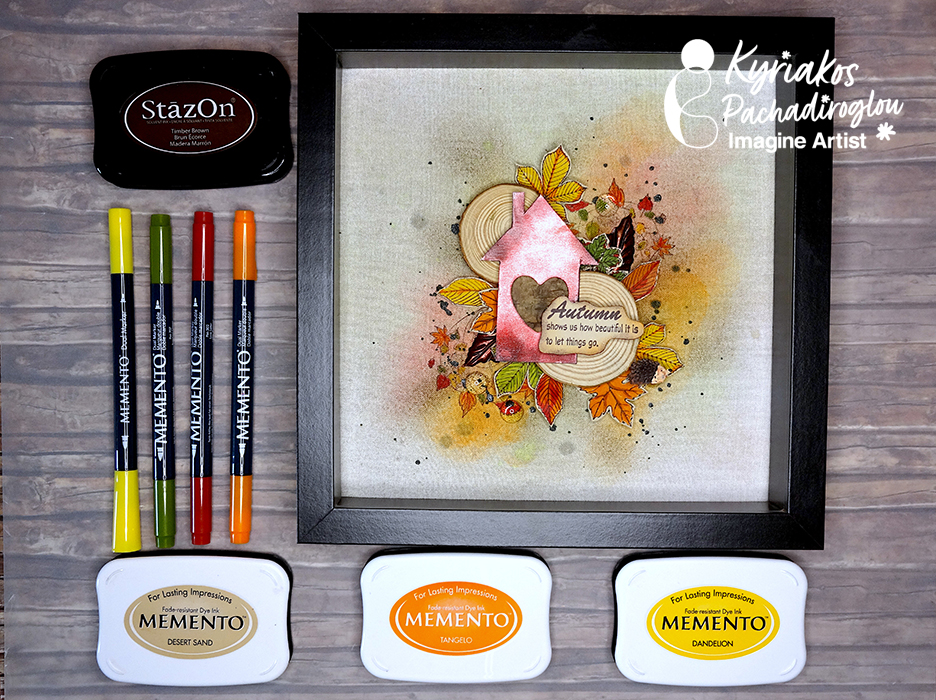
By Kyriakos Pachadiroglou
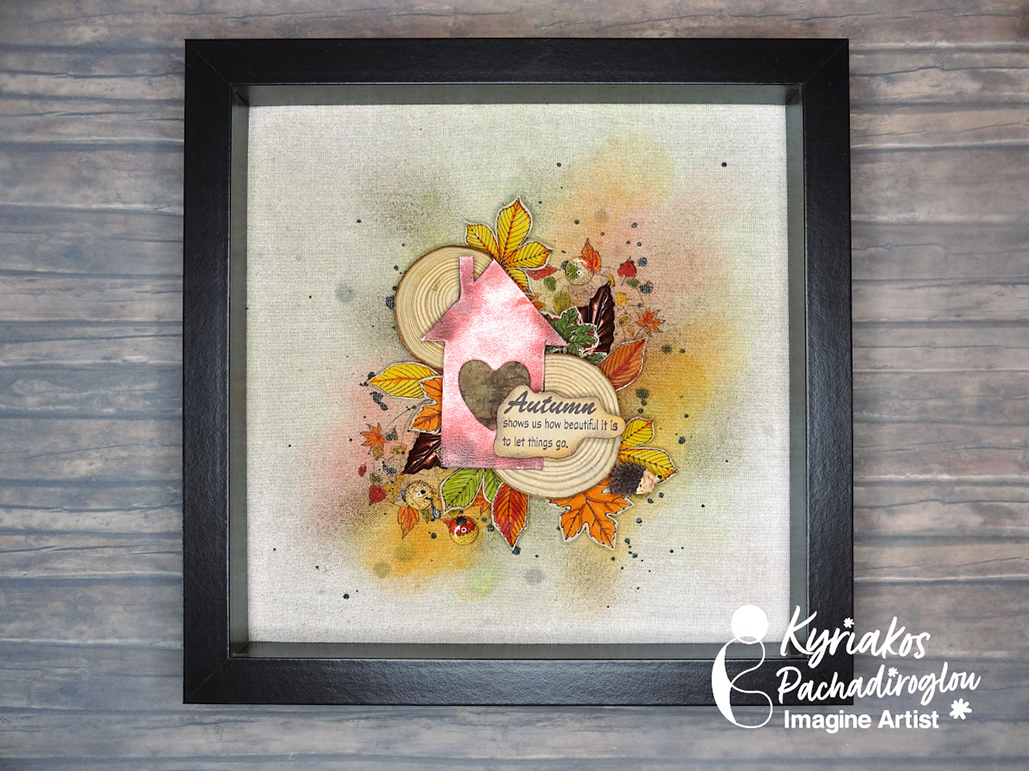
– Combine natural wood pieces, paper and a house shape cut from SHEET metal to capture the colors of the shadow and create a shadow box to decorate your home. Color a piece of fabric with MEMENTO inks and Fireworks! Shimmery Craft Sprays to create a background in earth color shades and place natural wood and paper leaves colored with MEMENTO Markers.
Skill: Advanced
Time: 1 Hour
Directions:
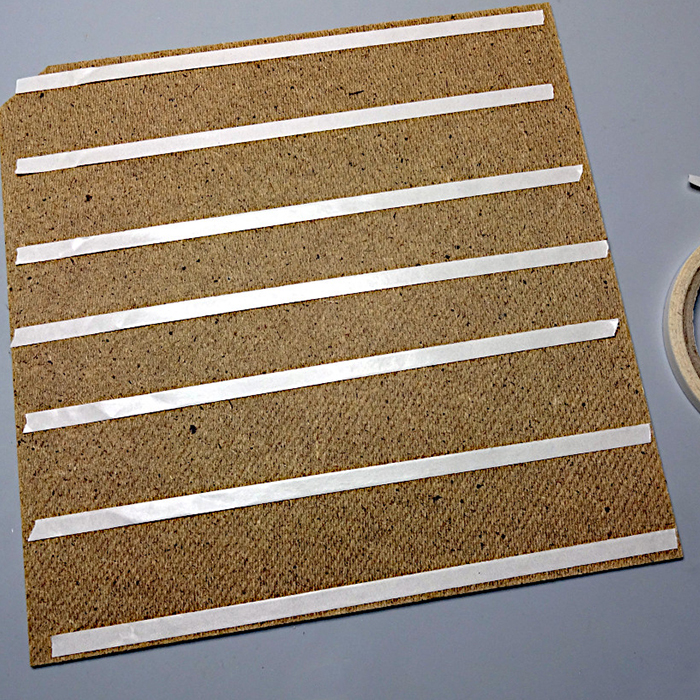
Step 1
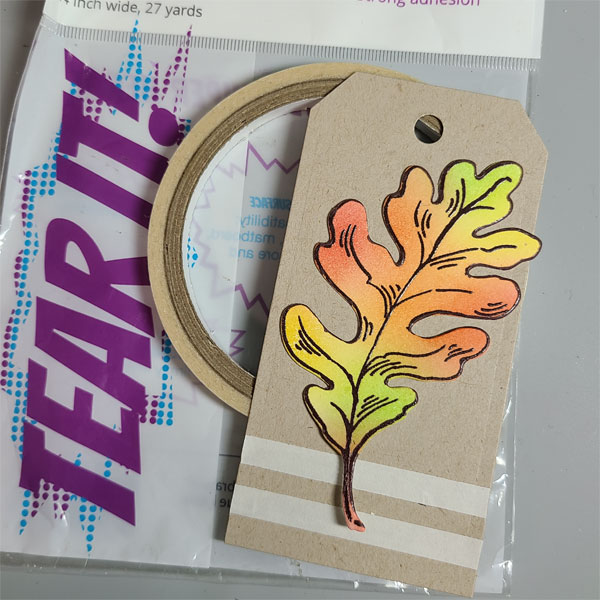
Place Tear It! Tape on the back base of the shadow box and cover it with the cotton fabric.
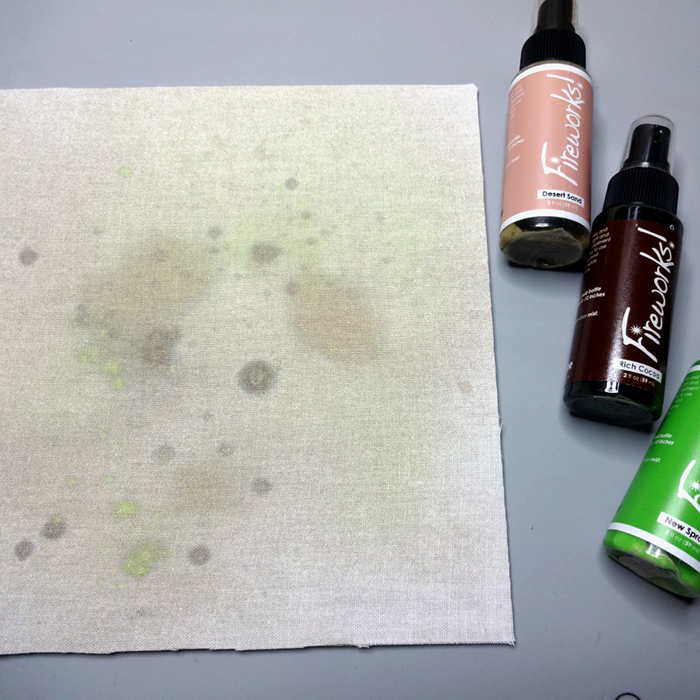
Step 2
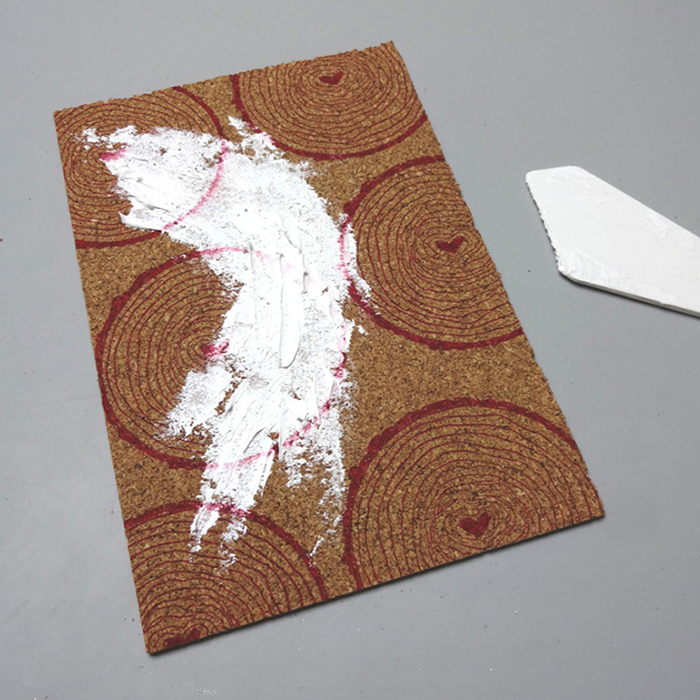
Spray with the Fireworks! Shimmery Craft Spray and let them dry.
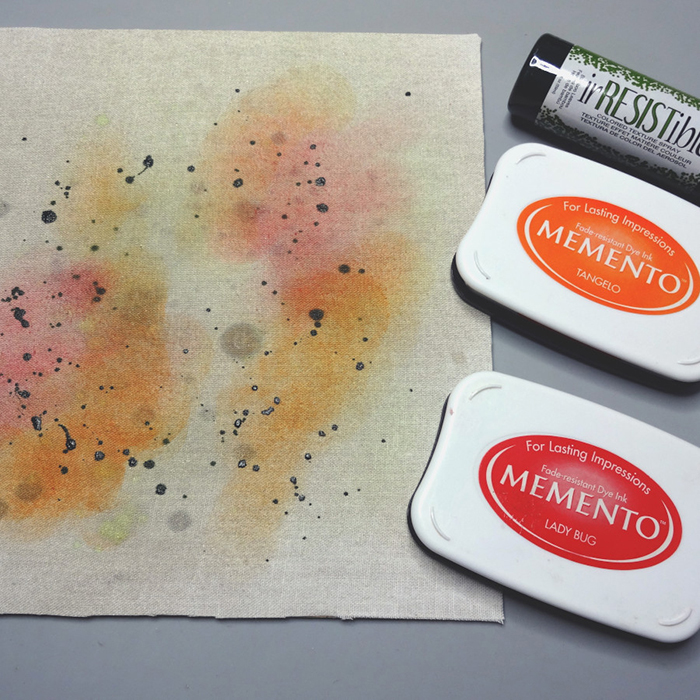
Step 3
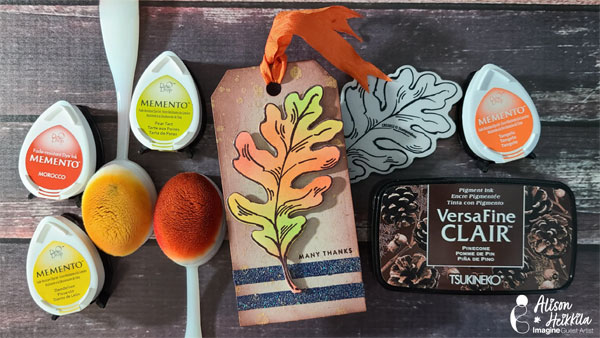
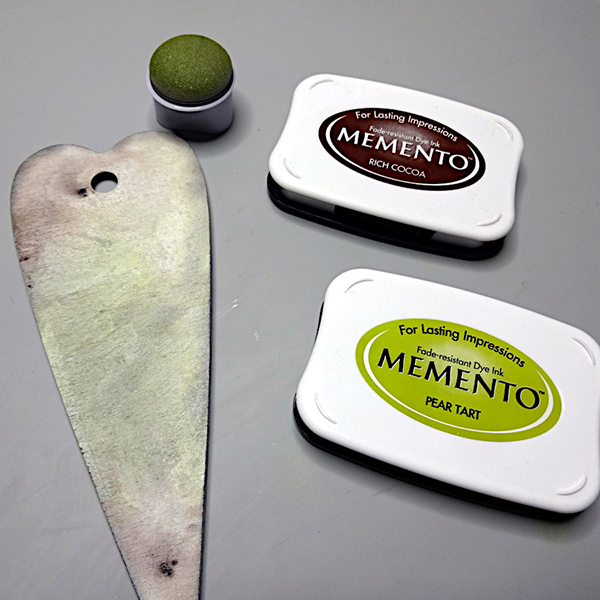
Distress the fabric with MEMENTO Tangelo, Lady Bug and Desert Sand ink pads using Sponge Daubers. Sprinkle some drops of irRESISTible Bamboo Leaves color.
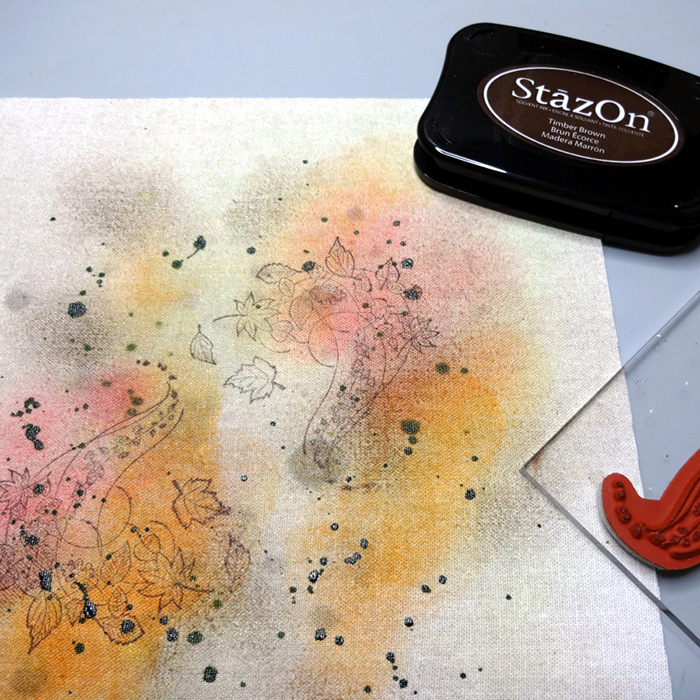
Step 4
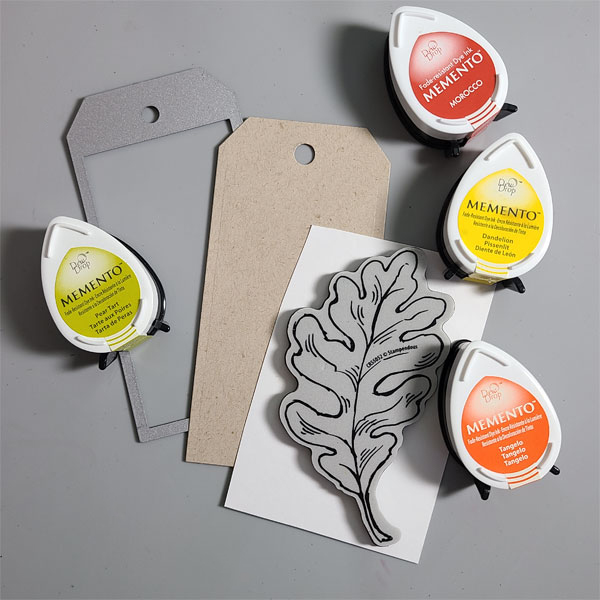
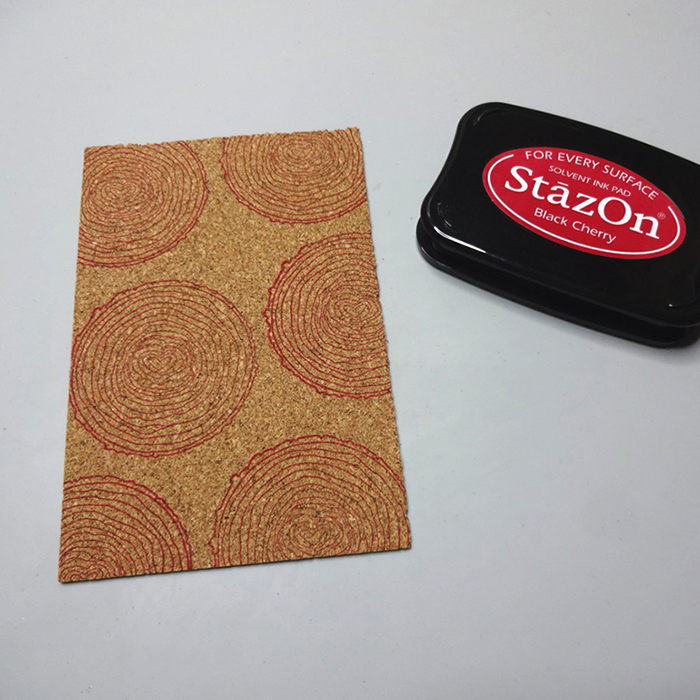
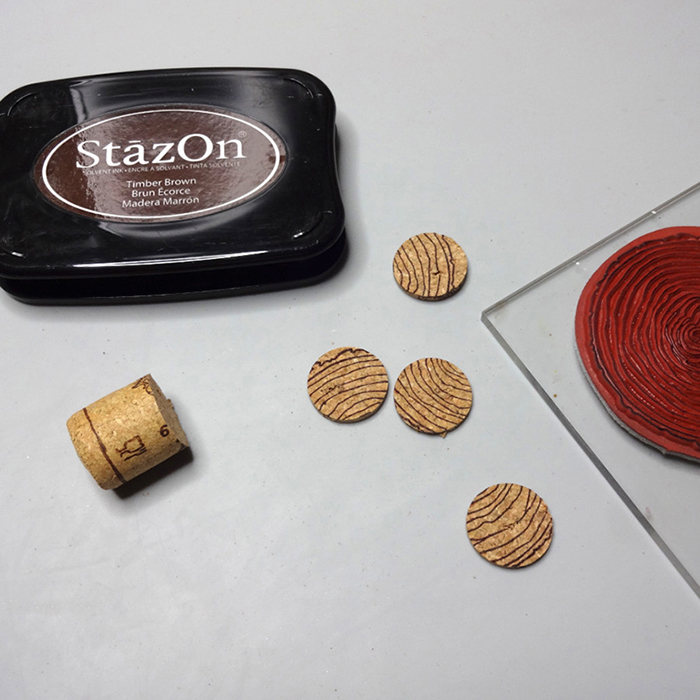
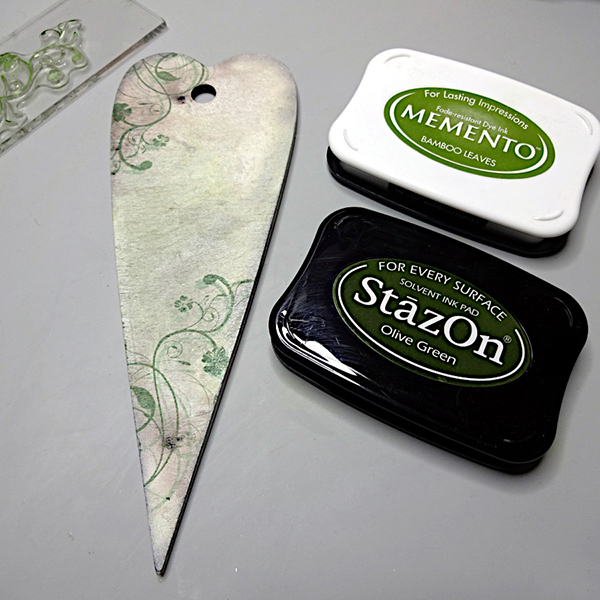
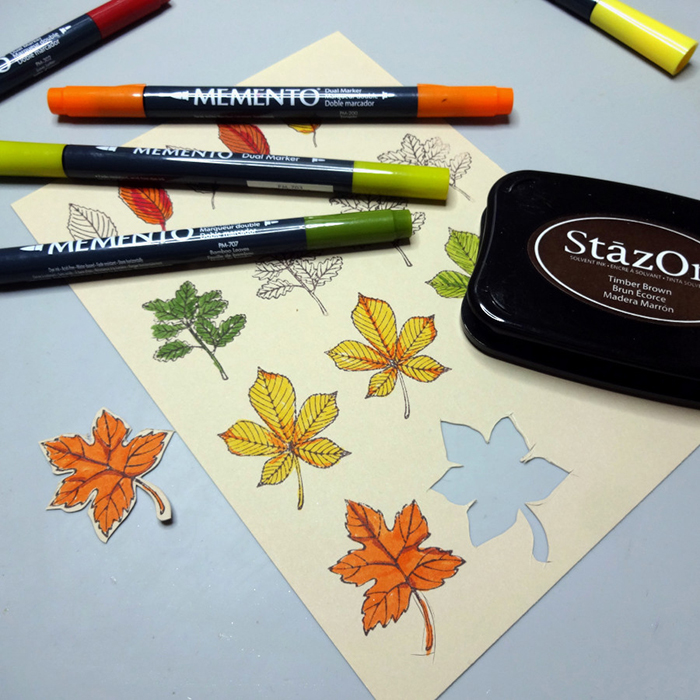
Stamp with the Blowing Leaves stamp and the StazOn Timber Brown.
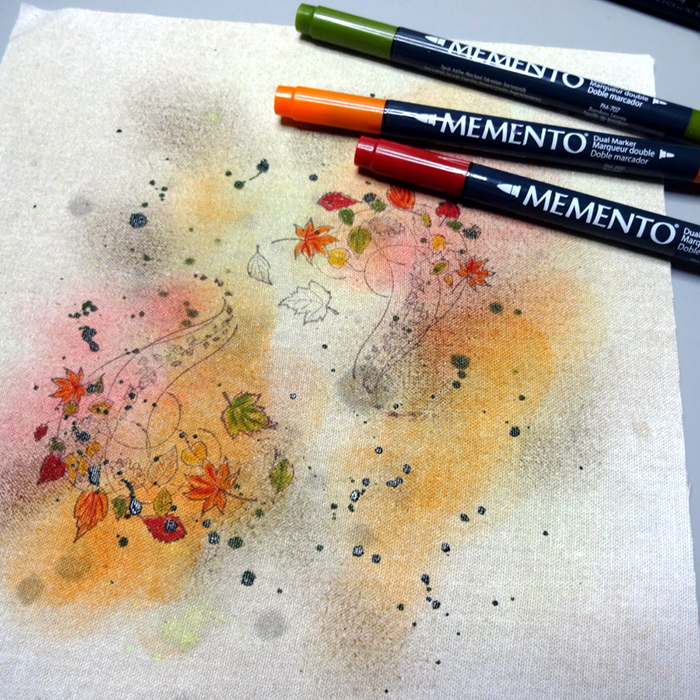
Step 5
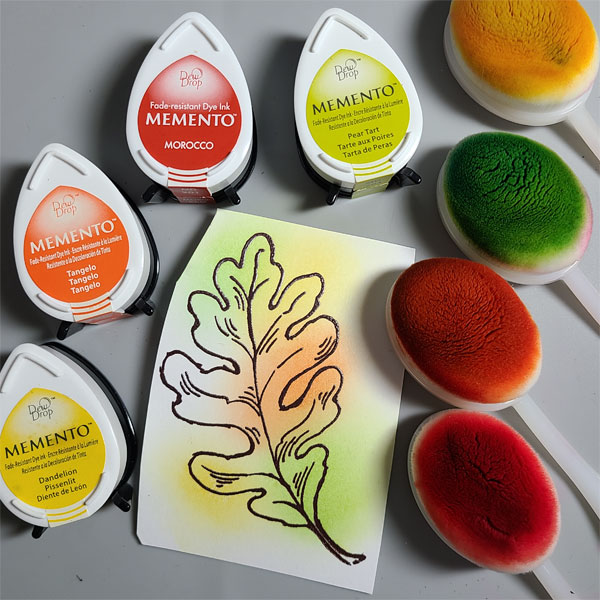
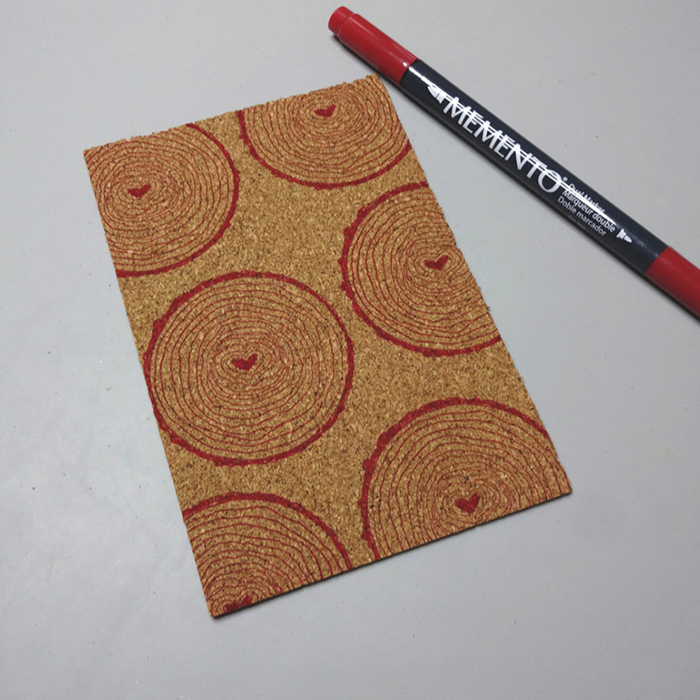
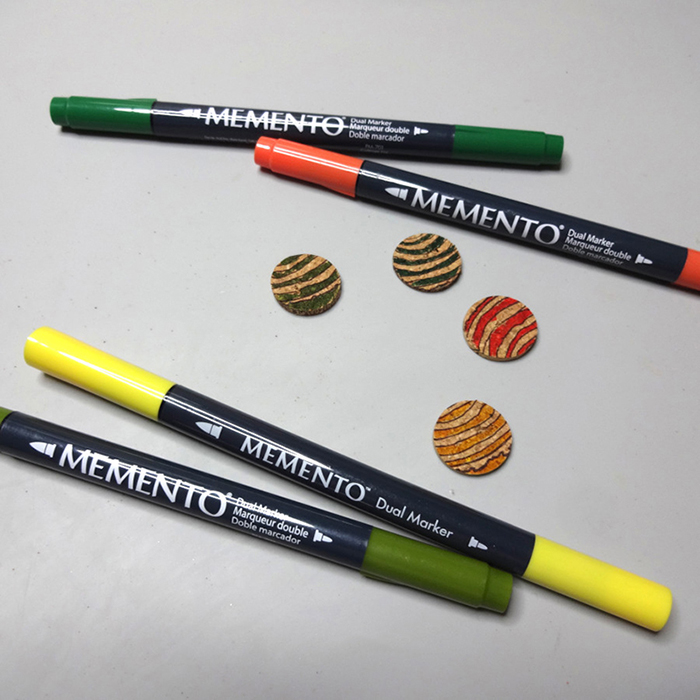
Color the leaves with MEMENTO Markers.
Step 6
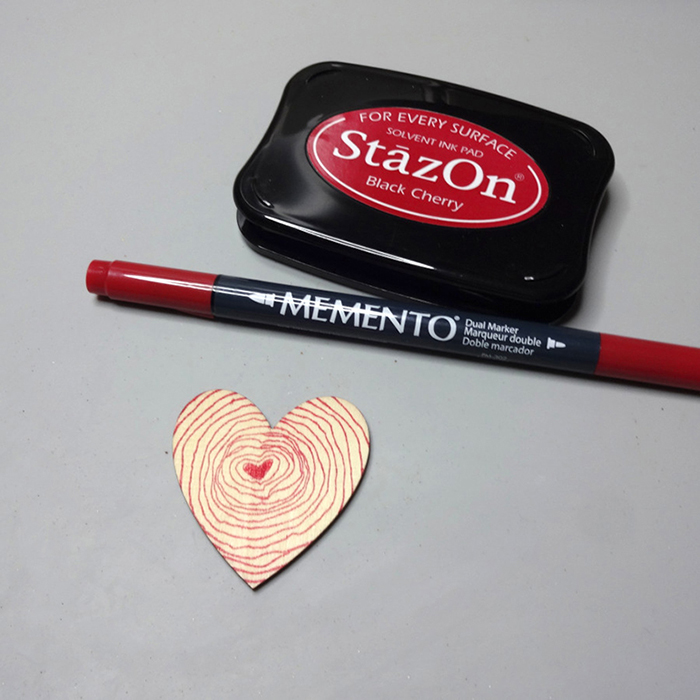
Stamp leaves and color them with the MEMENTO Markers adding details with darker ones. Cut around the leaves to separate.

Step 7
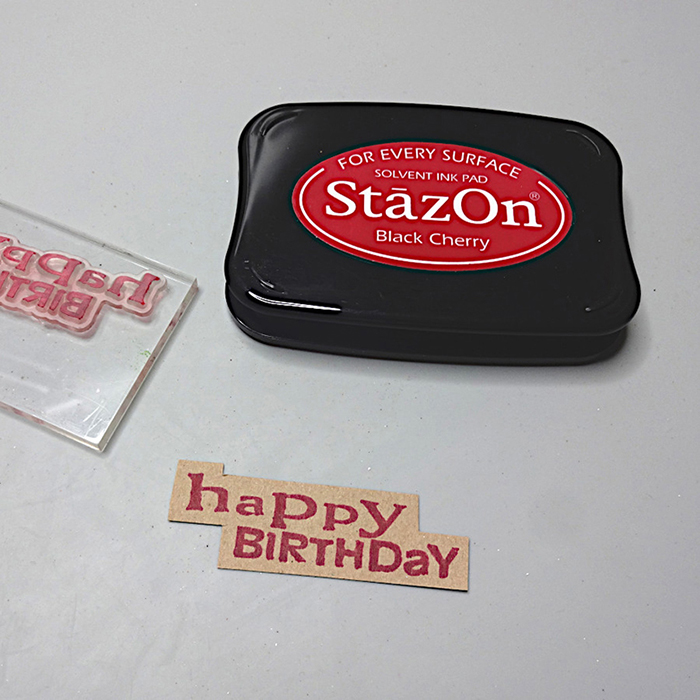
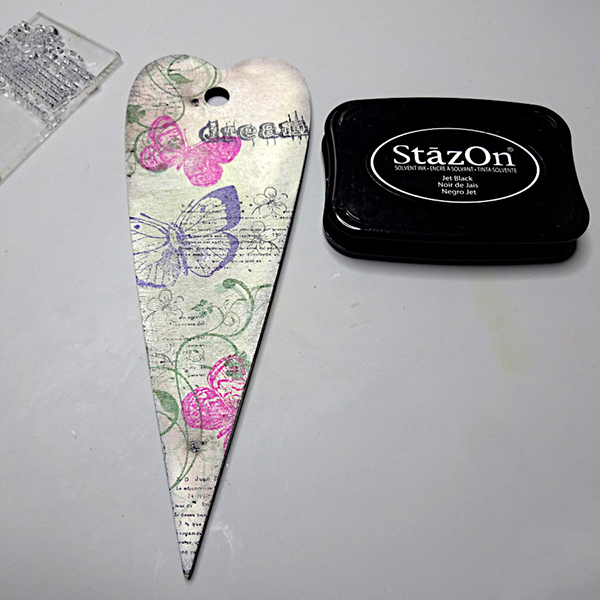
Stamp the Autumn sentiment with StazOn Timber Brown and cut around.
Step 8
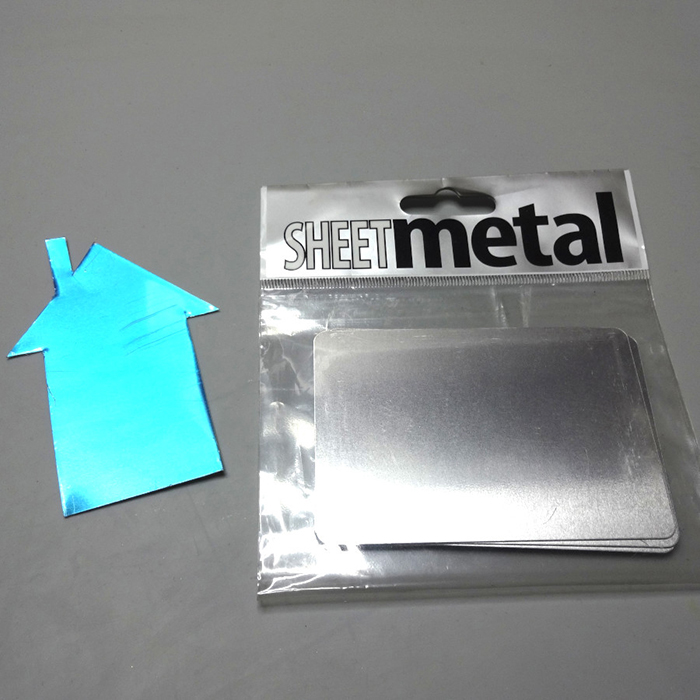
Cut a house shape using the full length of a SHEET metal postcard.
Step 9
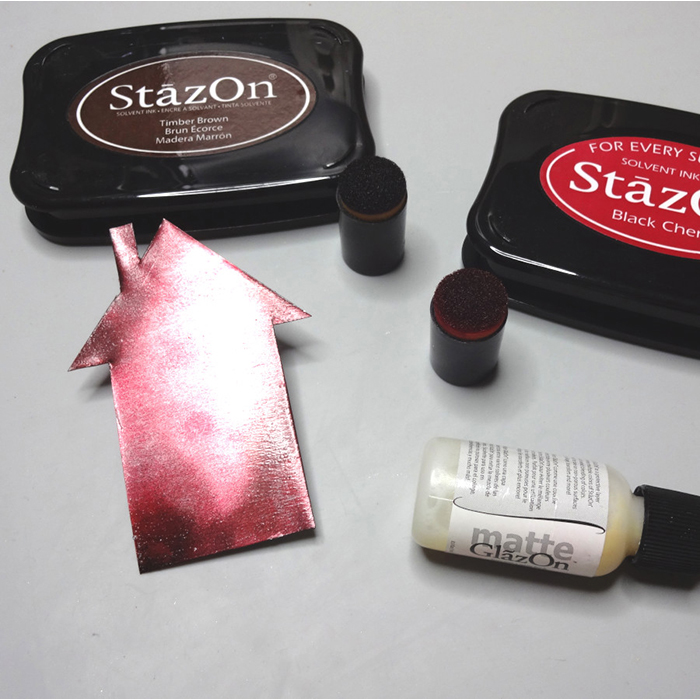
Color the SHEET metal house with StazOn Timber brown and Black Cherry ink pads and cover with the GlazOn matte.

Step 10
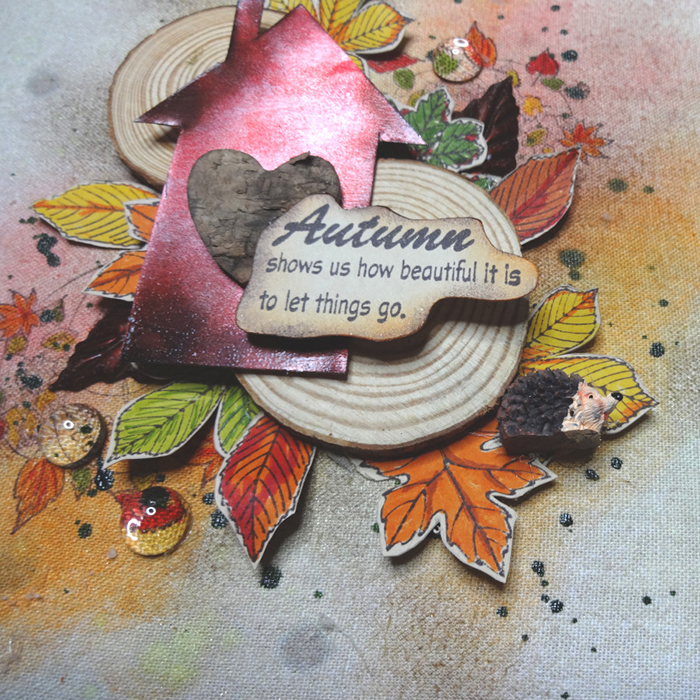
Glue the slices of the wood on the fabric background and add the paper leaves.
Step 11
Finally place the SHEET metal house, the sentiment and any further embellishments.
Art Supplies:
Imagine
Fireworks! Shimmery Craft Sprays- Desert Sand, Rich Cocoa, New Sprout
MEMENTO Ink Pads – Tangelo, Lady bug, Desert Sand, Dandelion
StazOn – Timber Brown, Black Cherry
MEMENTO Dual Tip Markers – Love Letter, Dandelion, Cottage Ivy, Pear Tart
Other
Shadow Box Framed
Card Stock White
Cotton Fabric
Slices of Wood
Crackerbox & Suzy stamps – Autumn Shows, Blowing Leaves
Glass Beads