By Kyriakos Pachadiroglou
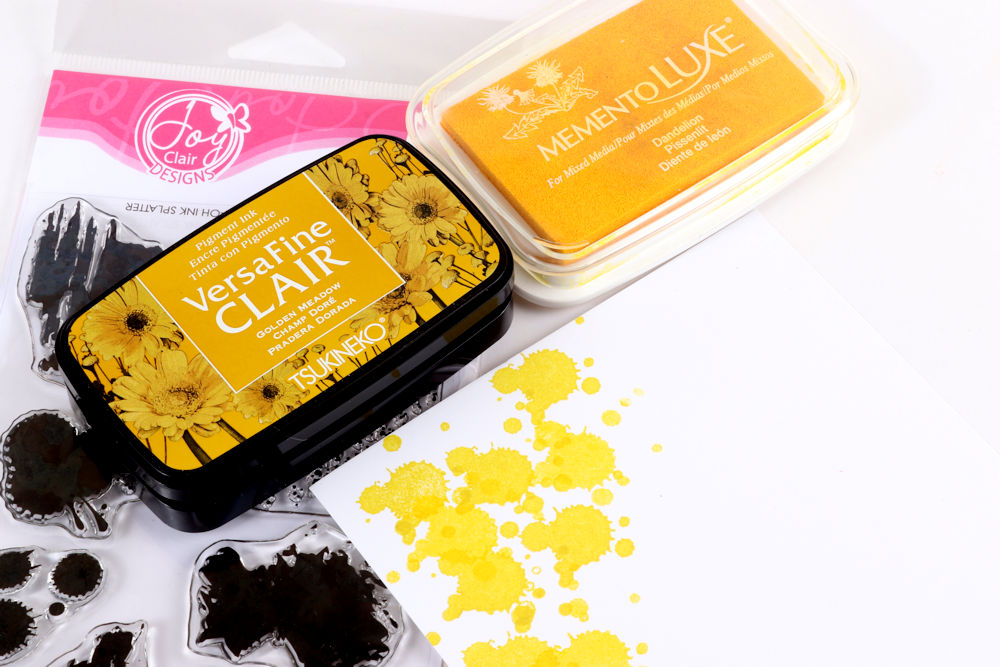
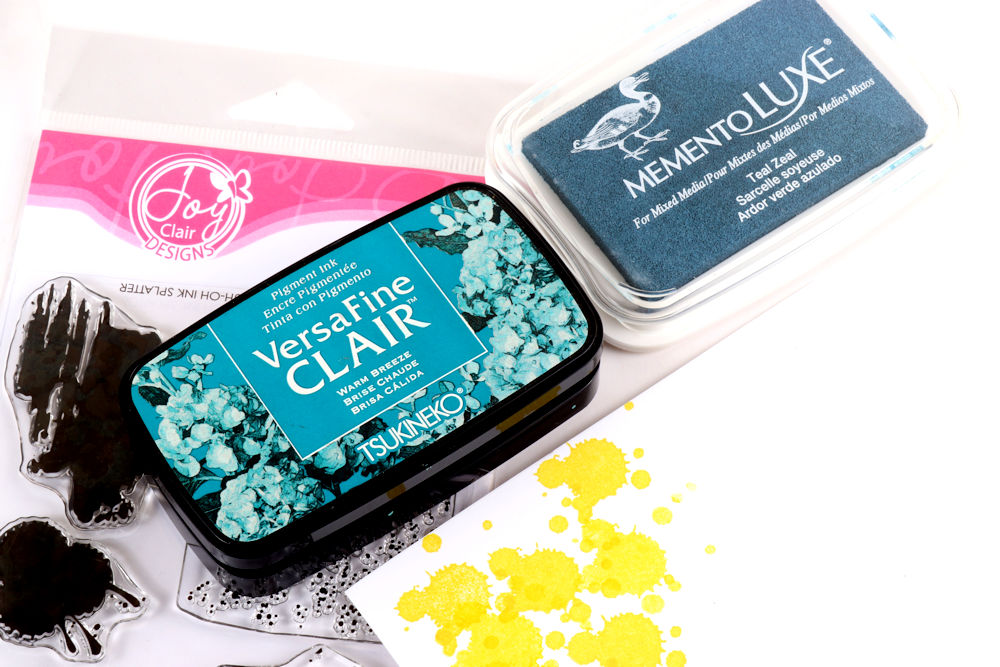
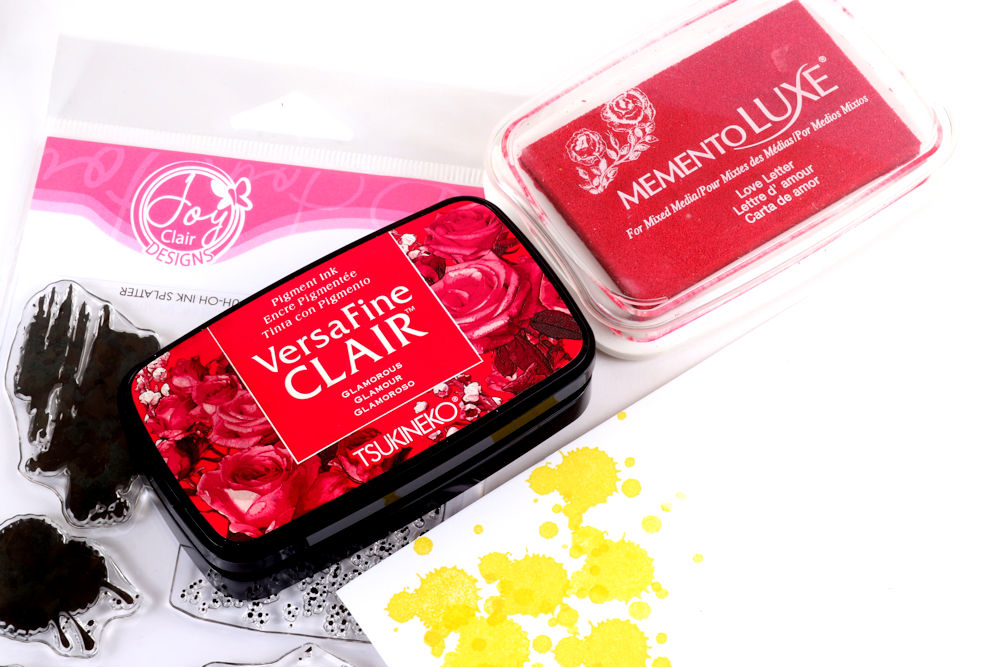
Turn the Ancient Dynasty Coins into stamps using Tack ‘n Peel reusable cling sheet and decorate the background using VersaFine CLAIR ink pads.
Skill: Intermediate
Time: 1 Hour
Directions:

Step 1
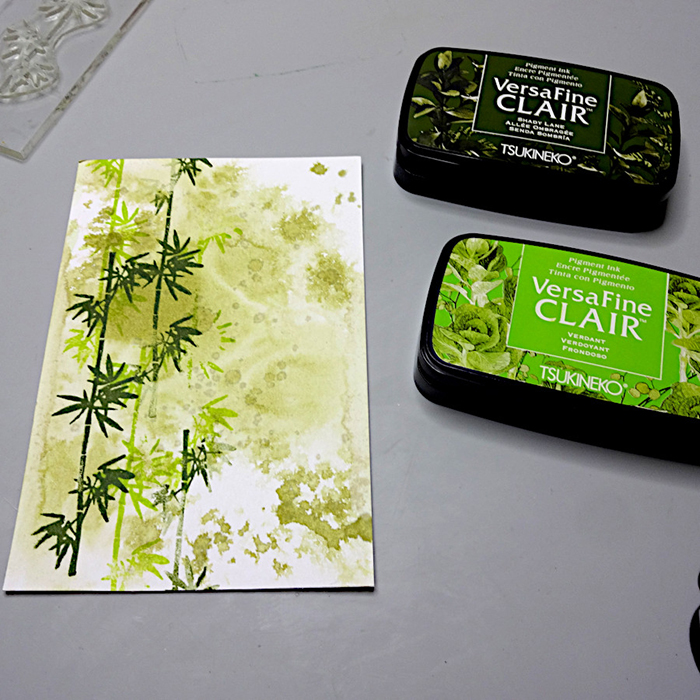
Sprinkle drops of the Walnut Ink Willow on a 4x6in piece of card stock. Spray with Ink Potion No. 9 to dilute further and dry it.
Step 2
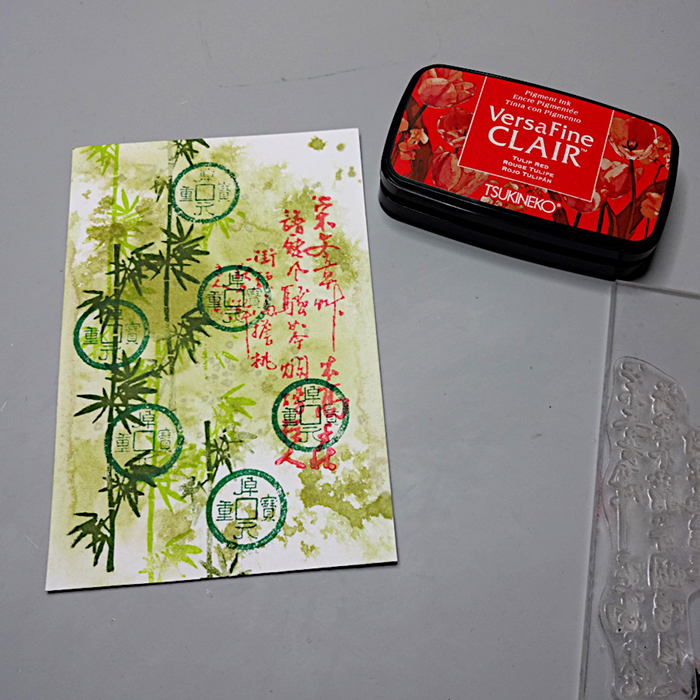
Stamp with the bamboo branch using VersaFine CLAIR Shady Lane and Verdant covering the left half of the card.
Step 3
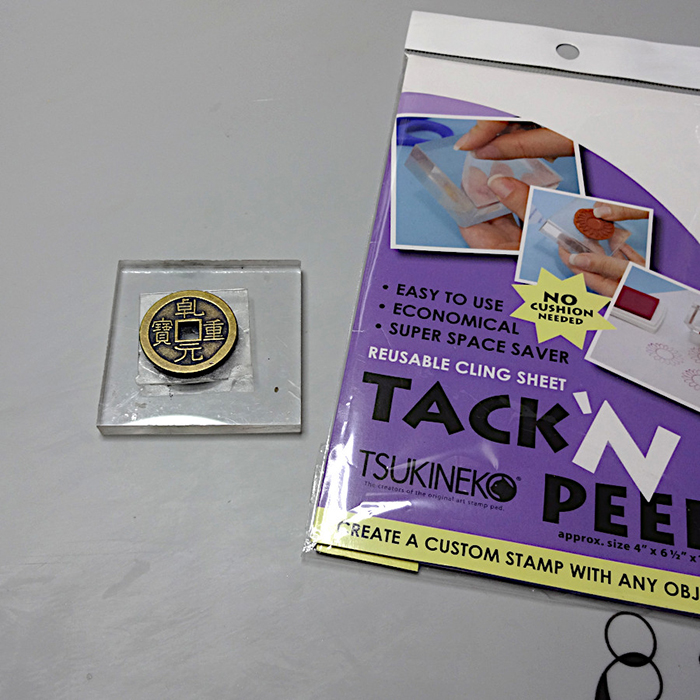
Place a small piece of the Tack ‘N Peel sheet on an acrylic block and then place the Ancient Dynasty Coin.
Step 4
Stamp with the coin and the VersaFine CLAIR Rain Forest on the card stock.
Step 5
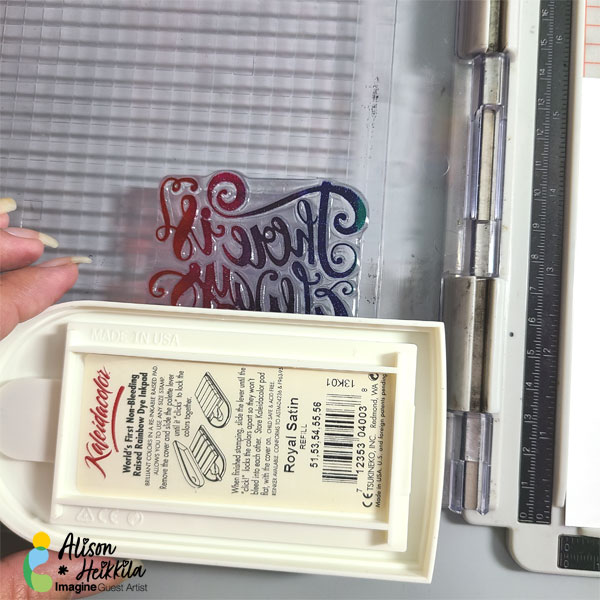
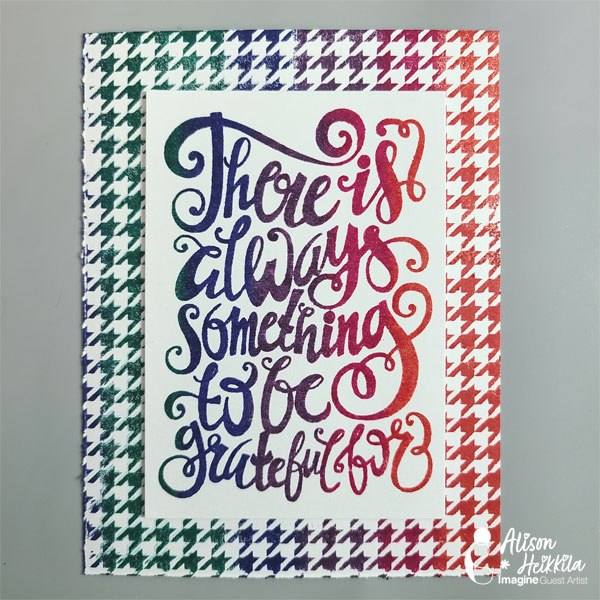
Stamp the letters stamp using VersaFine CLAIR Tulip red ink pad on the right side of the card piece.
Step 6
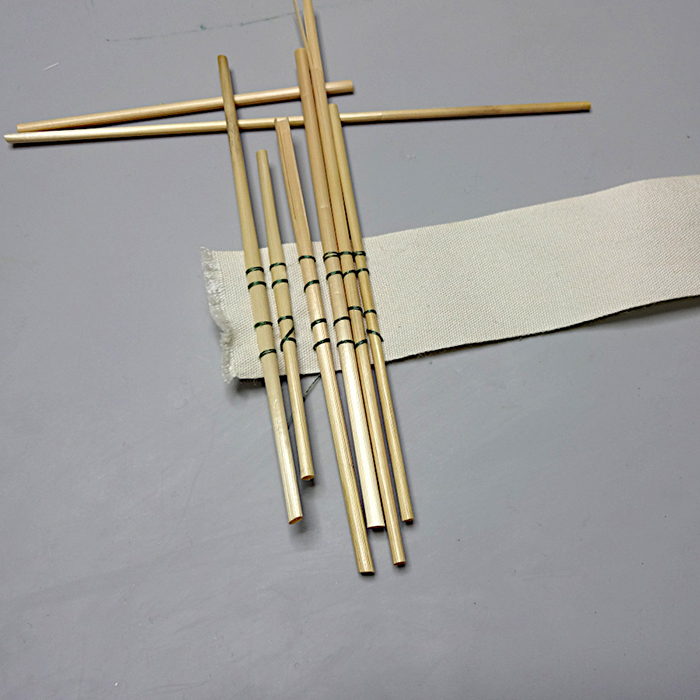
Cut a 4in long piece of the cotton ribbon and hand sew vertically some natural straws cut in various lengths covering only a small part of the ribbon.
Step 7
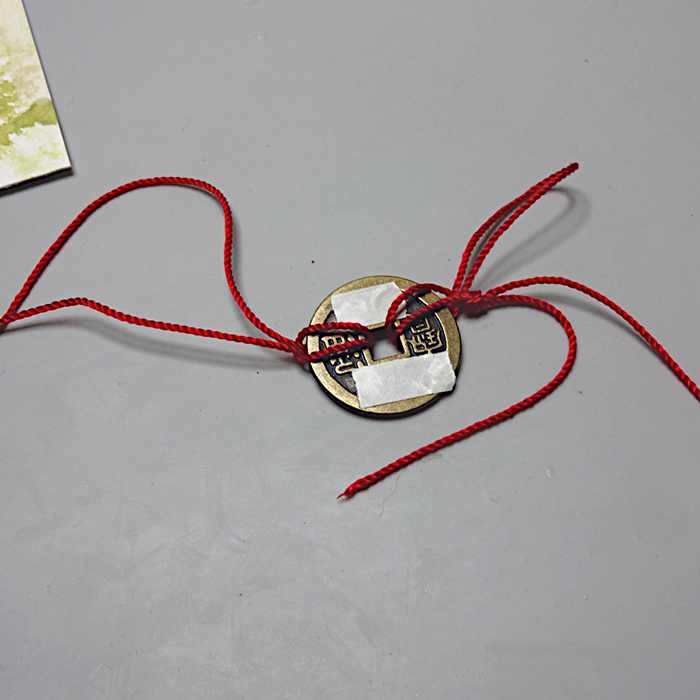
Pass red cord pieces through the coin and Tear It! Tape.
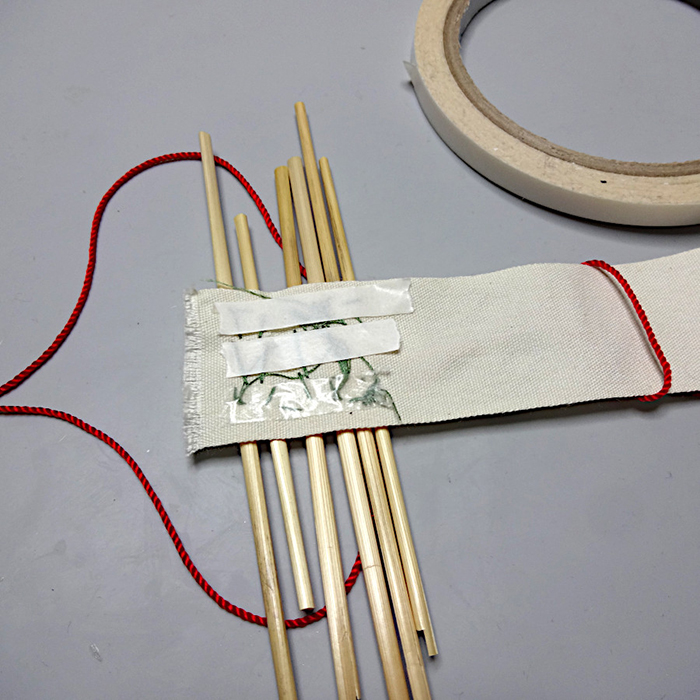
Step 8
Add Tear It! Tape to the back for the cotton ribbon and set on card.
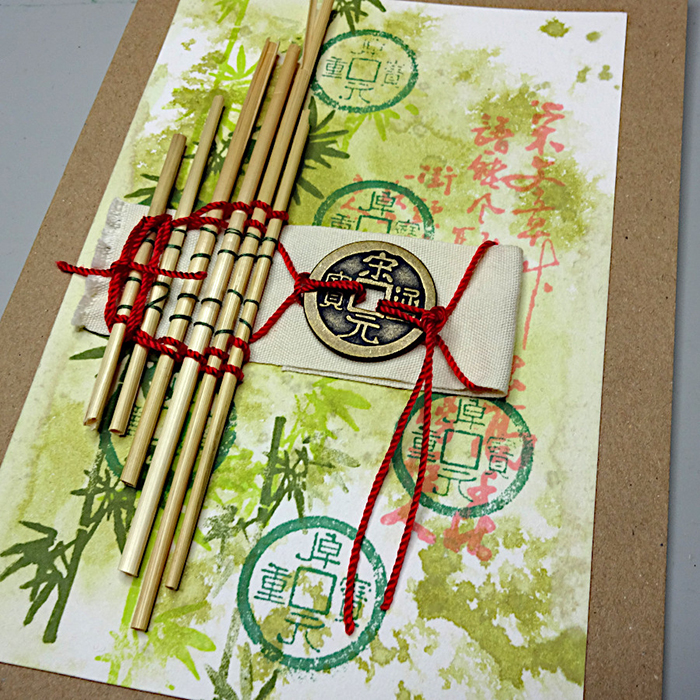
Step 9
Set the coin on the cotton ribbon next to the straws and wave the left red cod through the straws. Tie the right cord behind the cotton ribbon and fold the ribbon to half.
Art Supplies
Imagine
Ancient Dynasty Coins – Prosperity
VersaFine CLAIR – Shady Lane, Verdant, Rain Forest, Tulip Red
Other materials
Card stock – white
Red cord
Natural straw sticks
Cotton ribbon
Needle and green thread
Artemio stamp set – Life energy
Kaisercraft stamp set – Lush