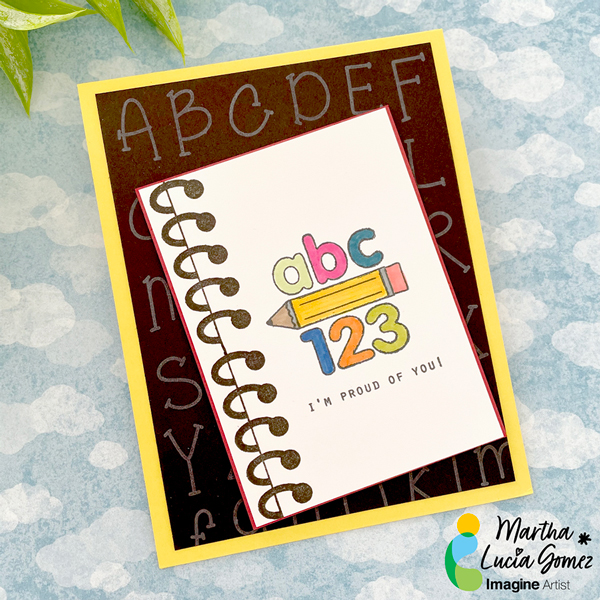
Hello there! During summer our time es limited and today I have an easy and fun Back To School Card featuring several of Imagine products, like VersaColor, Memento Ink and Markers and VersaFine. During the process you will see how all the different inks looks according to the project.
Skill Level: Beginner
Time to Complete: 30 Minutes
Directions
Step 1:
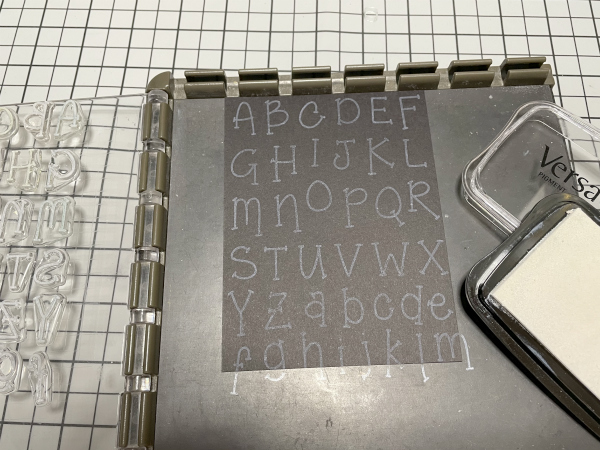
Take a piece of a dark color cardstock to create the background. On my sample, I am using dark grey, but this type of stamping looks great in additional colors like red, blue or black. Select the stamp set that you prefer to create the background.
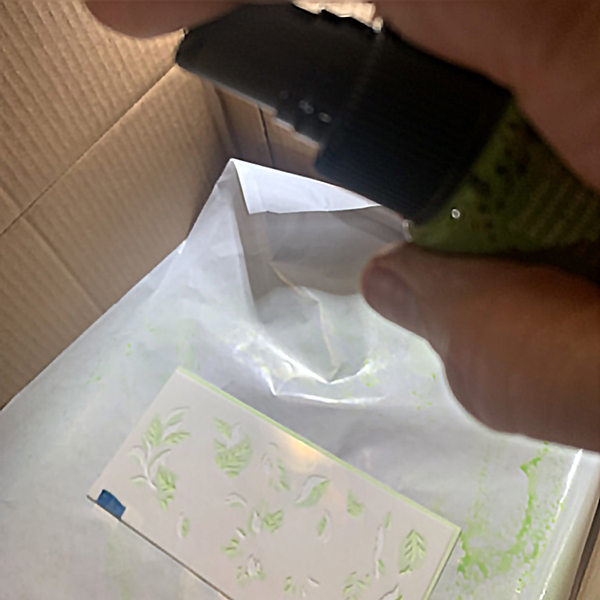
I selected an alphabet set of stamps but I stamped the entire sheet at once. To make it, just secure the entire sheet over the stamping tool. To create the soft look, I used VersaColor White. It is a soft ink ideal to emboss or create shadows.
If you are not heat embossing it, let the piece a side for a while to ink dry naturally or use a heat tool to speed the process.
Step 2:
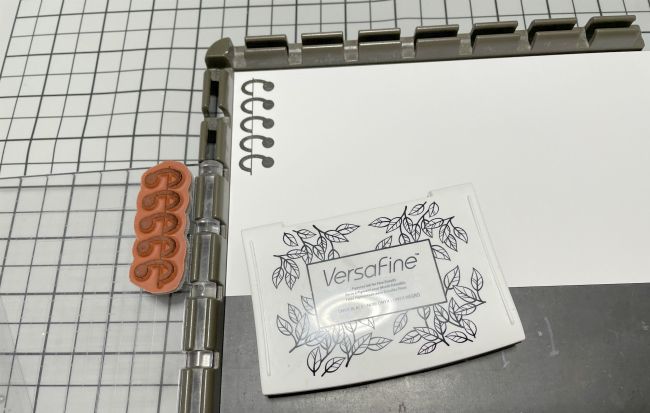
In a separate piece of white smooth cardstock, stamp the spiral image using VersaFine Onix. Let the ink dry naturally and you will obtain a crisply image. Or if you prefer, you can heat emboss the stamped image to add a shiny look.
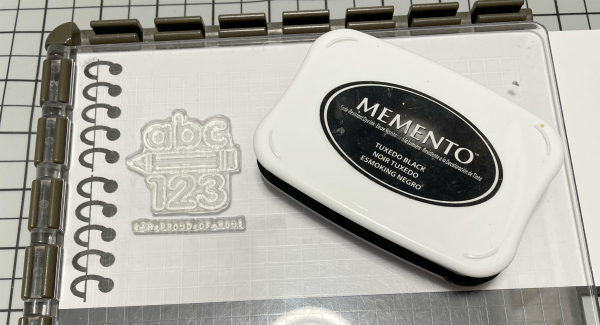
Step 3:
Stamp the focus image with Memento Tuxedo Black Ink.
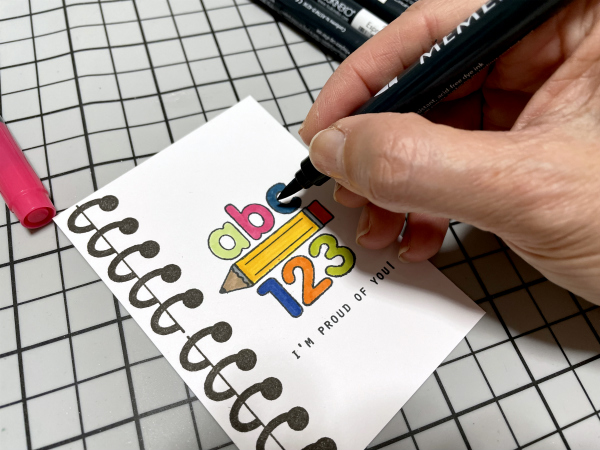
Step 4:
Color all the details with Memento Dual Tip Markers.
TIP: Keep in mind that you can use your Memento Dual Tip Markers with both inks, VersaFine and Memento without any coloring problem.

Step 5:
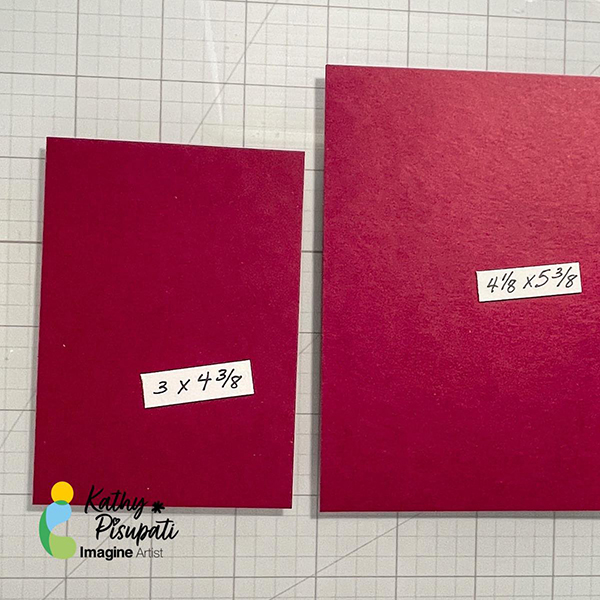
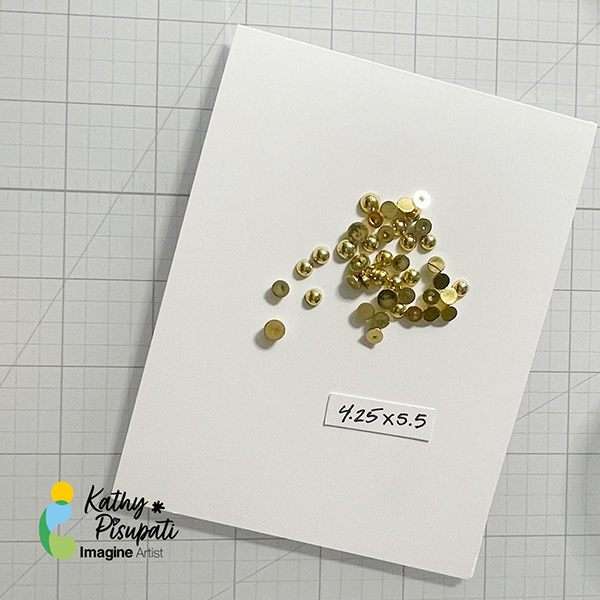
Create the card base and resize all the layers of your card. You can paste them with Tear It! Tape or use crafty foam tape to add more dimension and interest to your card.
Art Supplies:
Imagine:
• VersaColor – White
• Memento – Tuxedo Black
• Memento Dual Tip Markers
• VersaFine – Onix Black
• Tear it! Tape
• Craft Mat
Other:
• Joy Clair Designs – Friendly Alpha Clear Stamp Set, White Smooth Cardstock
• Crackerbox Stamps – Spiral Side Rubber Stamp
• Precious Remembrance Shop – School Days Stamp Set
• Positional Stamp Tool.
• Scrapbook Adhesives Crafty Foam.