Learn How to use Creative Medium to make a Mixed Media Tag

by Arjita Sepaha Singh

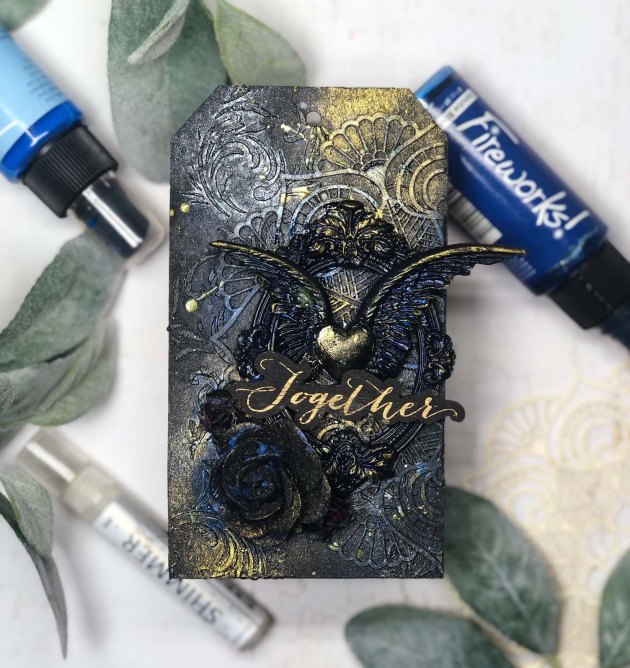
For today’s mixed media tag, I used Imagine mixed media products. I took the chipboard tag and added Black gesso to get a nice dark base. Then I took a stencil and Creative Medium to add a beautiful flourish. I also added decorative chipboard cutouts, resin pieces (heart with wings) and paper flowers to my layout. Creative medium is a great adhesive for adhering all my unique pieces onto the tag. Once everything was dry, I added the beautiful Fireworks Shimmery Craft Spray and Golden Delicata ink to give this creative gift tag extra sparkle and shine. The shimmer products are especially bright on dark backgrounds and take on a new life!

Skill: Intermediate/Advanced
Time: 30 minutes + dry time

Directions

Supplies

Imagine
Other
  • Chipboard
  • Stencil
  • Chipboard design
  • Resin Pieces
  • Paper Flowers
  • Black gesso
  • Paint Brush

See How to Make a Beautiful Purple Elephant Greeting Card with Rinea Foil

by Kassy Tousignant

See How to Make a Beautiful Purple Elephant Greeting Card with Rinea Foil

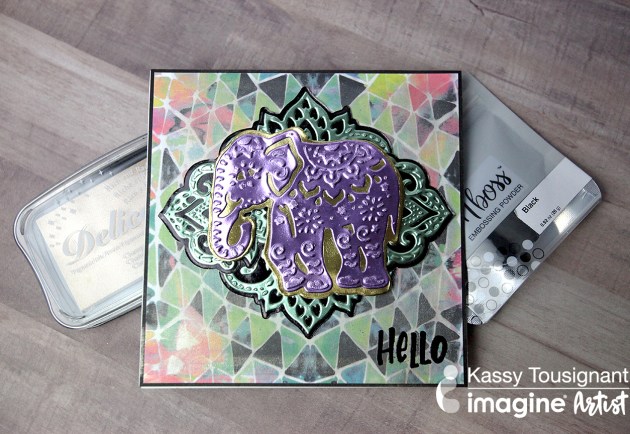
The sparkle of the Delicata ink on the patterned paper background helps to make the Rinea foiled paper die-cut pieces really pop off the card! See how I make this purple elephant themed card.

Skill: Intermediate
Time: 45 minutes

Directions

Supplies

Imagine 
Other 
  • Rinea Foil Paper – Ebony, Jade, Lavender, Gold
  • Anna Griffin – cutting dies
  • Die cutting machine
  • Acrylic ‘Hello’ stamp
  • Patterned paper

See How to Create a Sunburst with a Stenciling Technique

by Elina Stromberg

See How to Create a Sunburst with a Stenciling Technique

Fun stamped characters and bright ink colors are a joyful combination. I placed my cute dog image on a bright yellow background that was inspired by our warm July color of ‘Tuscan Sun’. I inked the background pattern directly on the folded card base: First, I stenciled a large yellow circle on the card and then inked another patterned layer on top. This double stenciling technique is super easy and using just a part of your stencil pattern makes your old stencil look cool and fresh again! If you don’t have a circle stencil you can cut it from paper or a piece of film/plastic sheet. And instead of a circle, you can use any shape you wish: an oval, a heart, a triangle, a hexagon…the possibilities are endless!

Skill: Beginner
Time: 1 hour

Directions


Step 1

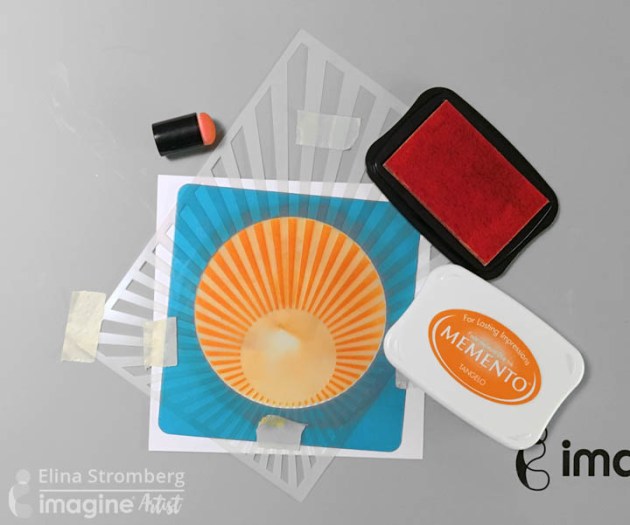
Place card base folded on your craft mat. Place a circle stencil on the card, secure with masking tape. Ink the circle with yellow Cantaloupe Memento ink; dab the ink on the card with a Jumbo Dauber. Remove stencil.

Step 2

Place a pattern stencil on the inked card front and layer the circle stencil on top in its original position. Ink the circle area with orange Tangelo Memento ink. Remove both stencils. TIP: For the second inked layer, any patterned stencil can be used. For catching all the details of the stencil pattern use the smaller Sponge Dauber for inking.

Step 3

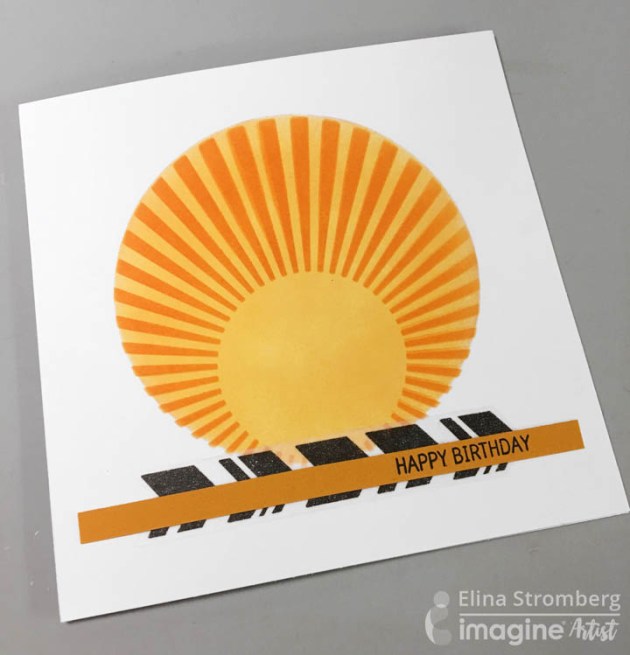
Attach a piece of masking tape on the bottom of the card. Cut a paper strip of a matching color and stamp the sentiment on it. Glue strip on the card.


Step 4

Stamp, color and cut out the main image. When coloring with alcohol markers, use Memento ink for stamping. When coloring with watercolors or watercolor pencils, use VersaFine Clair or VersaFine ink.


Step 5

Glue the main image on the card front. Decorate sentiment strip with two white gel pen dots (optional). Finished!

Supplies

Imagine

Other

  • White folded card base
  • Cardstock – Orange
  • Stencils: circle, sunray
  • Katzelkraft – Holmy
  • Ink Blog Shop – Sentiment Label Blocks
  • Alcohol markers of choice
  • White gel pen (optional)
  • Masking tape
  • Glue

Learn How to Make a Birthday Card with Ink Blending

by Lindsay Adreon

Learn How to Make a Birthday Card with Ink Blending Fireworks Ink Sprays in Blue and Pink

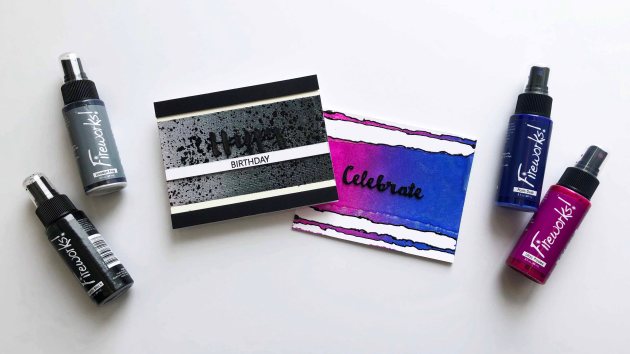
Fireworks! Is there a better product to use during the month of July? These shimmery craft ink sprays are gorgeous, full of pigment, shine and sparkle and make some gorgeous backgrounds that require little to no effort! If you’re looking for a sparkly and quick background that makes a big impact on your projects, this is the technique for you!

Skill: Beginner/Intermediate
Time: 30 minutes

Directions

Supplies

Imagine
Other
  • Painter’s Tape
  • Waffle Flower – Celebrate Die
  • Kat Scrappiness – Happy New Year Die
  • Foam Tape

Create a Fun Birthday Card with StazOn Pigment Ink

by Melissa Andrew

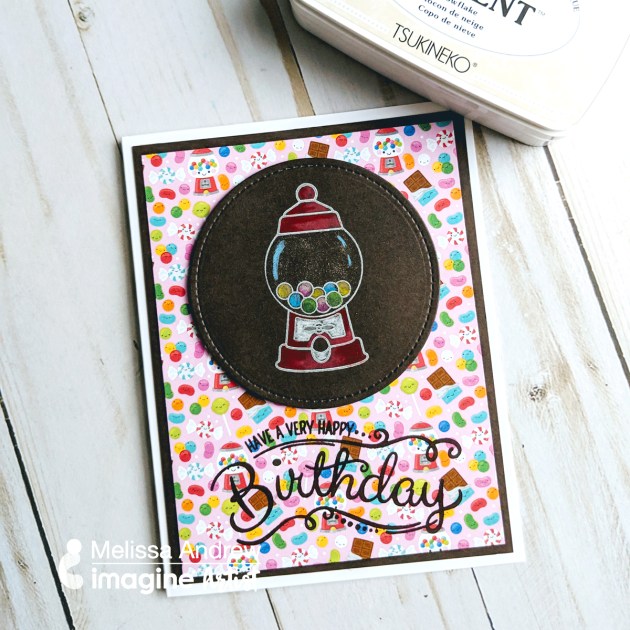
Today, I share with you a fun bubble gum theme birthday card using StazOn Pigment ink and the new Sheer Shimmer Stix. This theme features a simple gumball machine stamp and a fun candy pattern cardstock. I love the new StazOn Pigment ink as you can stamp on so many glossy surfaces. However, today I show you how fabulous it is on dark cardstock such as this lovely chocolate brown. Most of the time I reach for embossing powder for dark card, but not anymore, StazOn Pigment Snowflake works FABULOUSLY!

Skill: Intermediate
Time: 15 minutes

Directions

Supplies

Imagine
Other

Create a Rainbow Background with Memento Markers and Shimmer Stix

by Lindsay Adreon

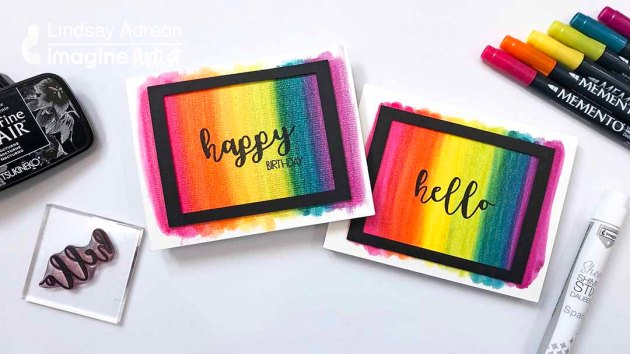
I LOVE anything and everything rainbow in cardmaking, and if it sparkles, that’s even better! Making a rainbow watercolor background is pretty simple, but adding a good amount of sparkle without making mud can be more tricky. The Shimmer Stix are the PERFECT applicator to make a fun background that keeps its bright and vibrant colors without sacrificing any of the sparkle! I was so excited that the Shimmer Stix worked for this technique and can’t wait to try them with an ombre background, next!! I made two cards today, a birthday and hello card, plus check out the inside, too!!

Skill: Beginner/Intermediate
Time: 20 minutes

Directions

Supplies

Imagine
Other
  • Watercolor Paper
  • Joy Clair Stamps Hello Sentiments
  • Tonic Mixed Rectangle Die Set
  • Die Cutting Machine
  • MISTI Stamping Tool