Create a One-of-a-Kind Multimedia Thank You Card

By Anna Escalada-York

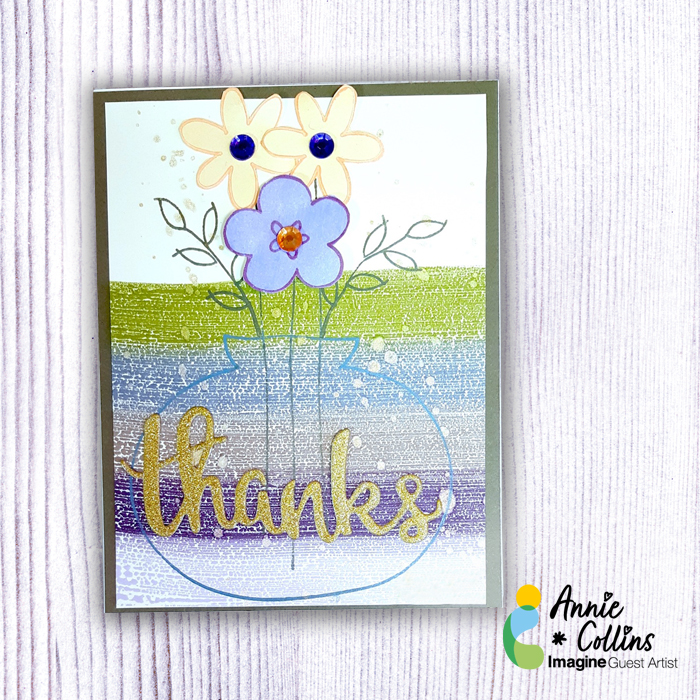
I used to be intimidated by the idea of multimedia cards, but all they are cards that have different types of products. This card features stamping, watercoloring with sprays and Amplify! Ink, and embossing.

Skill: Intermediate
Time: 2 hours

Directions:

Step 1:
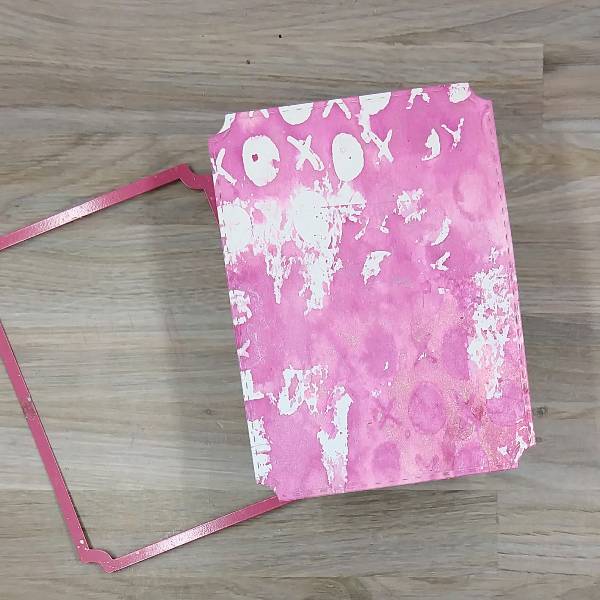
Spray Sweet Plum Fireworks! Shimmery Craft Spray onto a 6” x 6” stencil and then flip the stencil over and gently press the stencil onto a piece of watercolor paper. Repeated this process with and Rose Gold Sheer Shimmer Craft Spray, partially overlapping part of the stencil on the watercolor paper. Repeat the process a few times, overlapping the stencil a few times and then set the panel aside to dry.
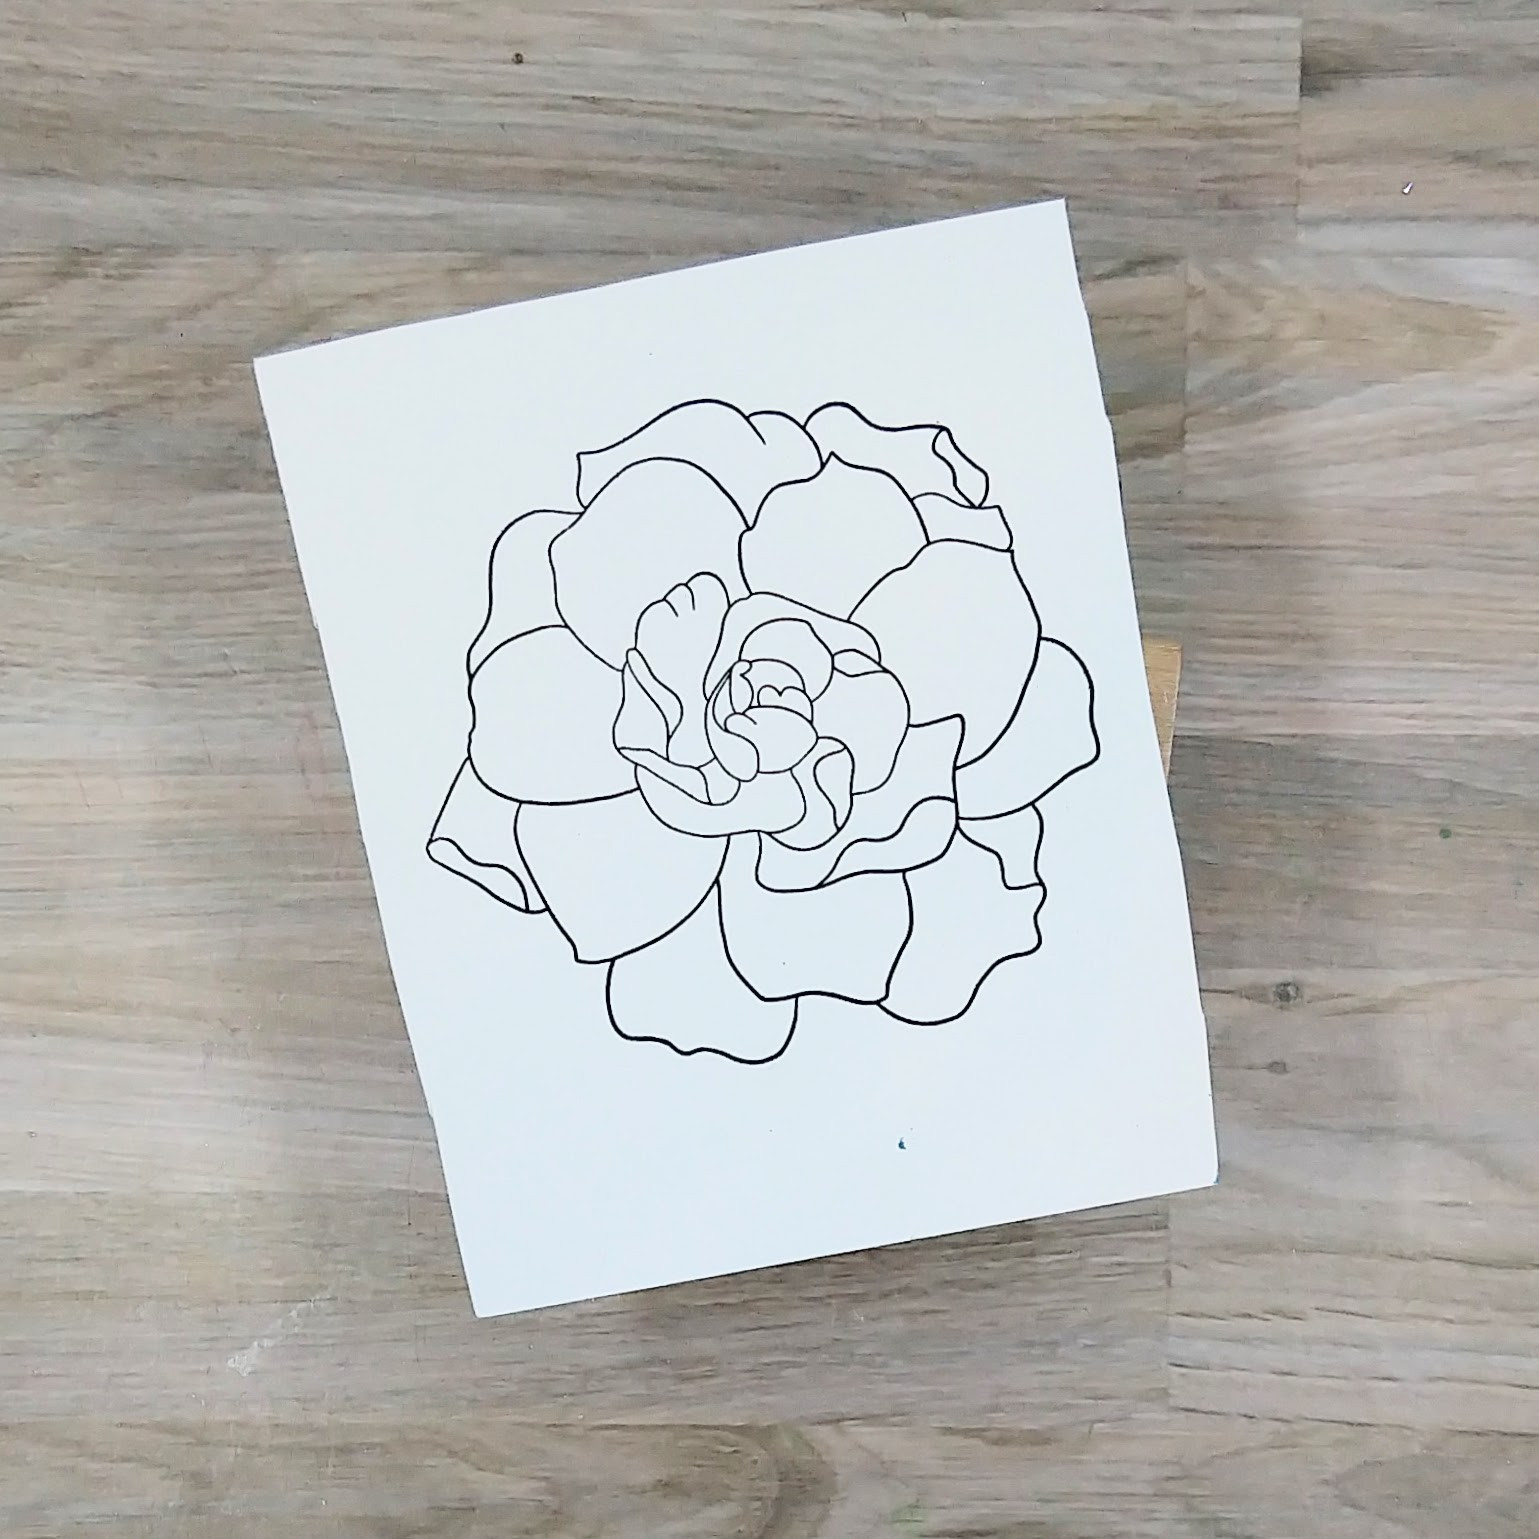
Step 2:
The next three steps use a layered floral stamp set. Stamp the outline of the flower with Nocturne VersaFine Clair ink onto another scrap of watercolor paper and then heat emboss with clear ink.
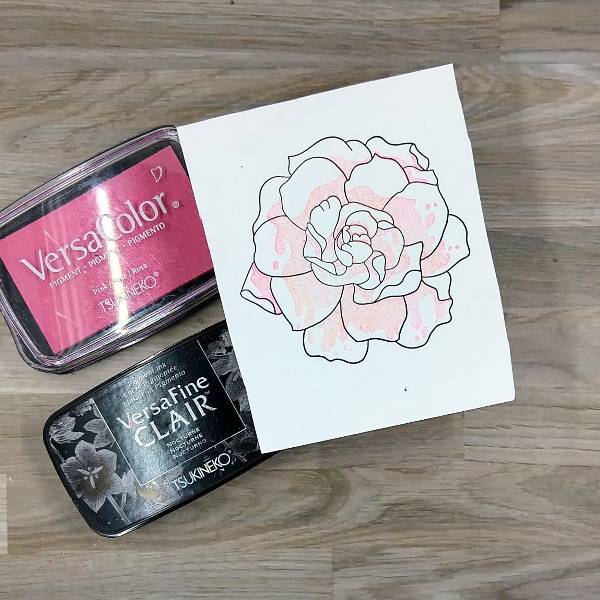
Step 3:
Stamp the second layer of the floral layer stamp set with Pink VersaColor ink onto the flower.
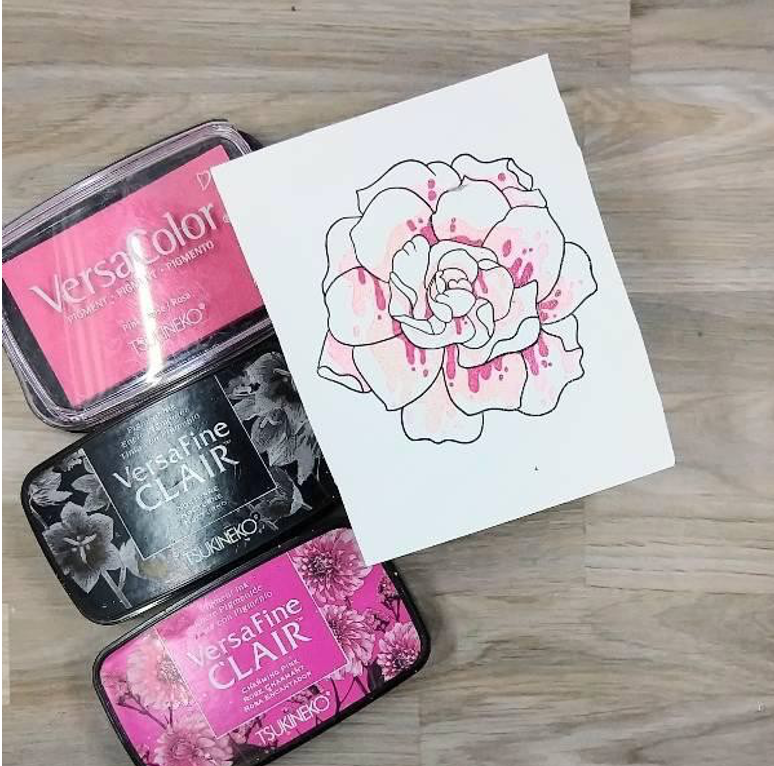
Step 4:
Stamp the third layer of the floral layered stamp set with Charming Pink VersaFine Clair ink. Then heat emboss with more clear embossing powder.
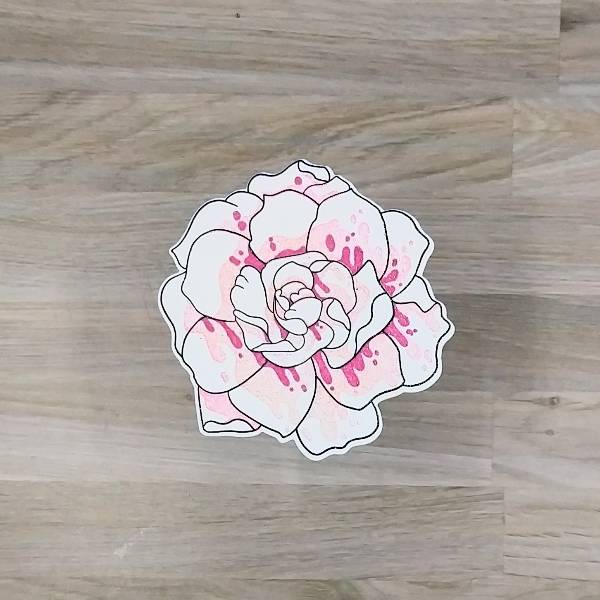
Step 5:
Die cut the flower with the corresponding die.
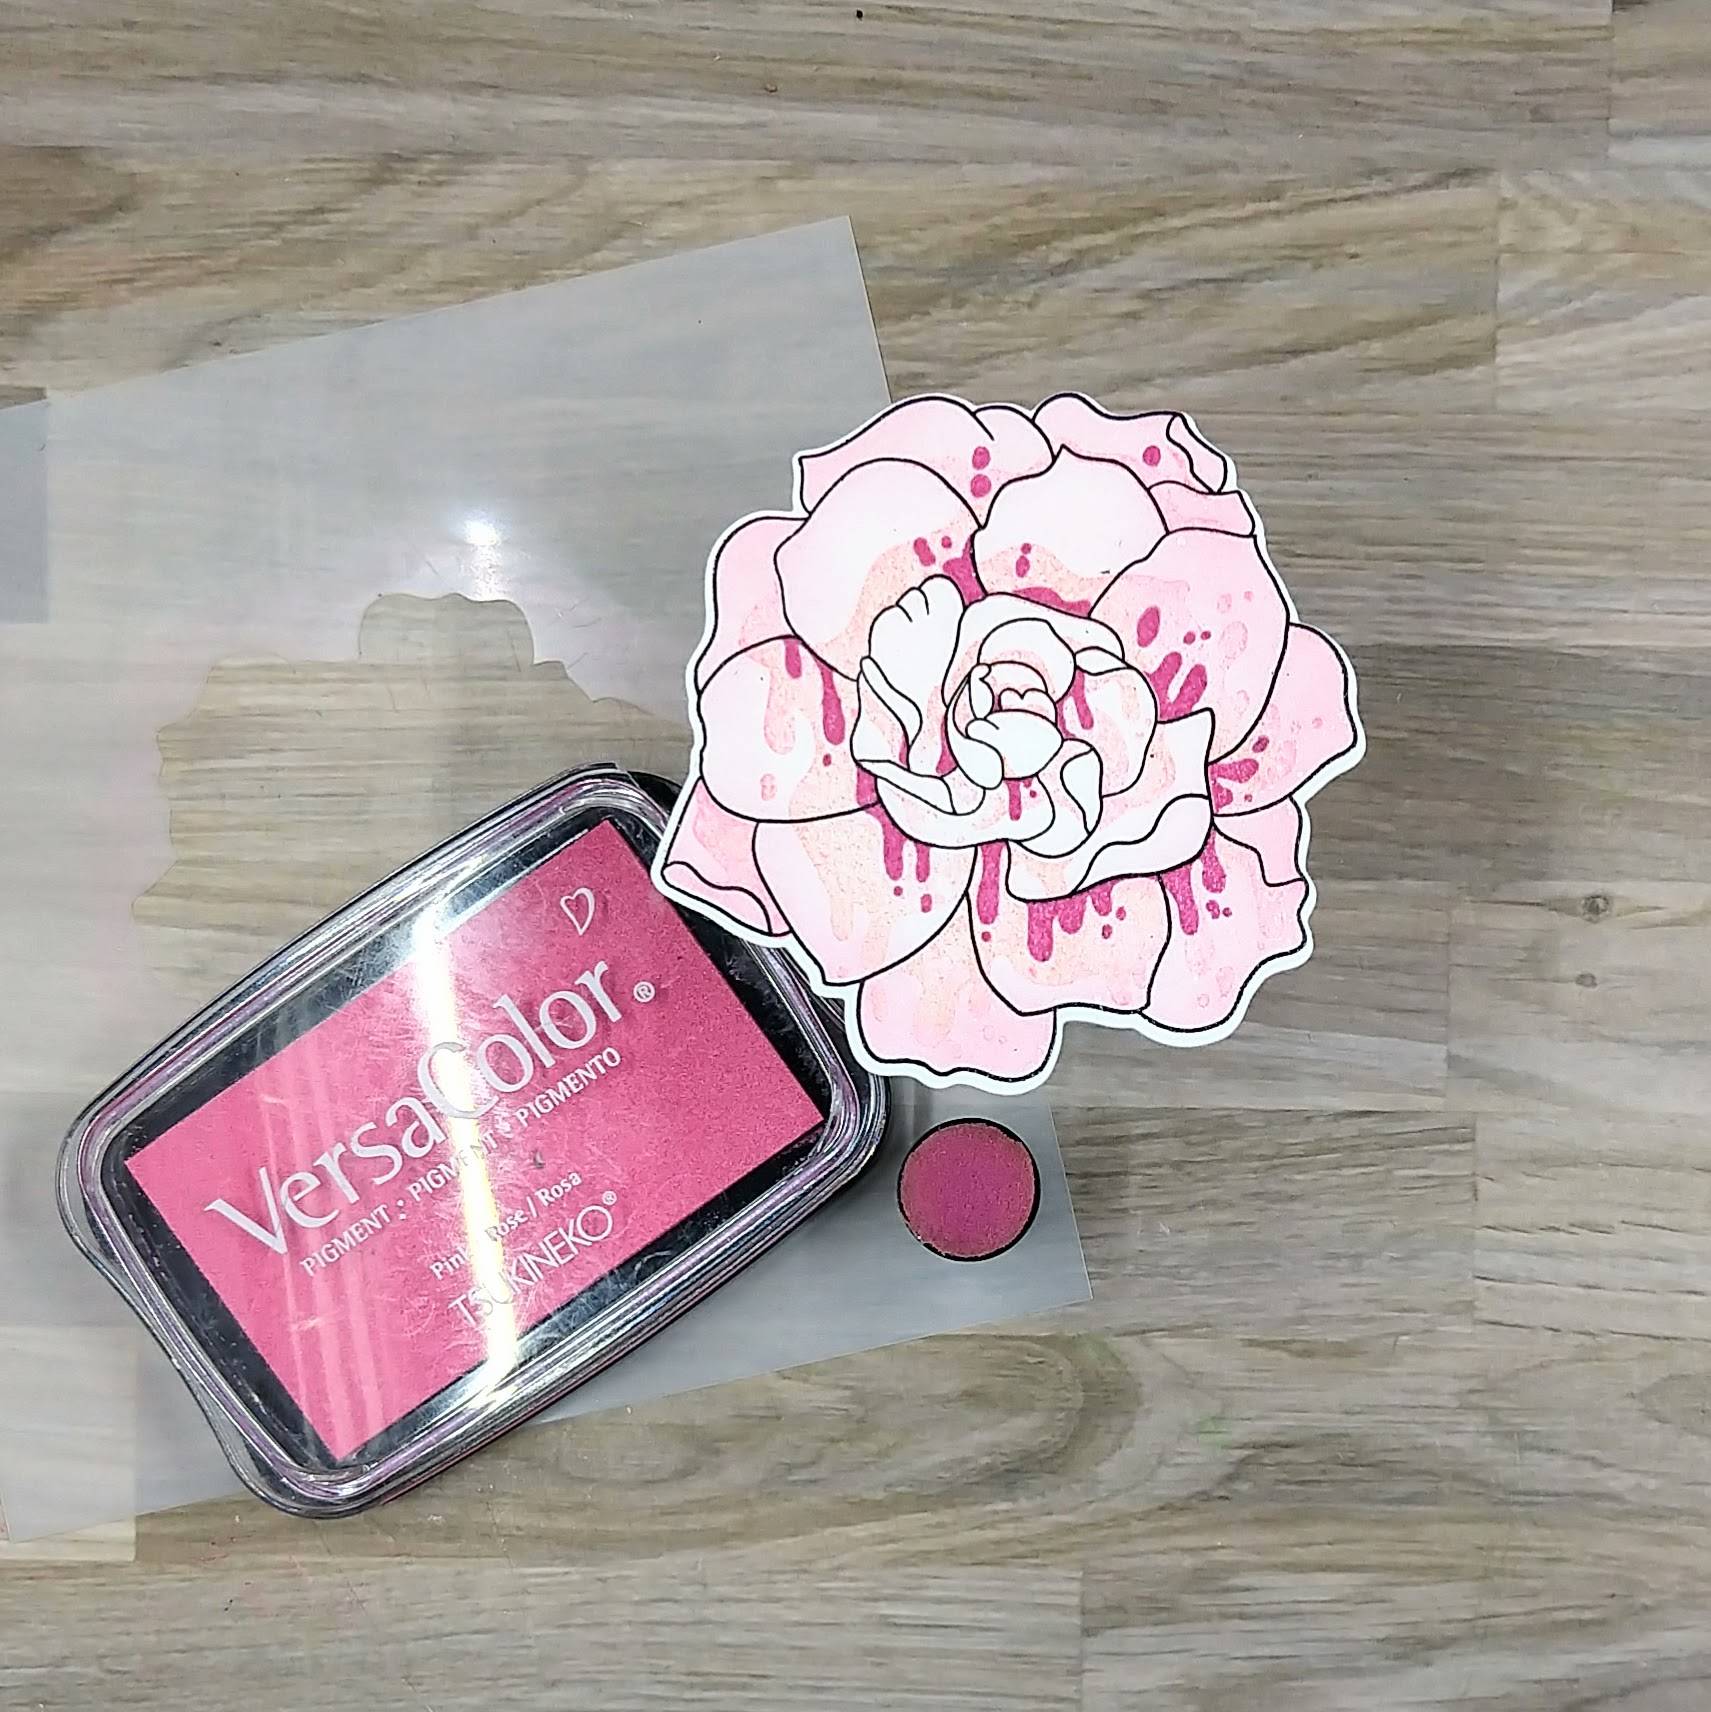
Step 6:
Use a sponge dauber to ink blend more Pink VersaColor ink onto the flower using a matching stencil–using more ink and pressure on the outer petals, and less ink and less pressure on the inner petals.
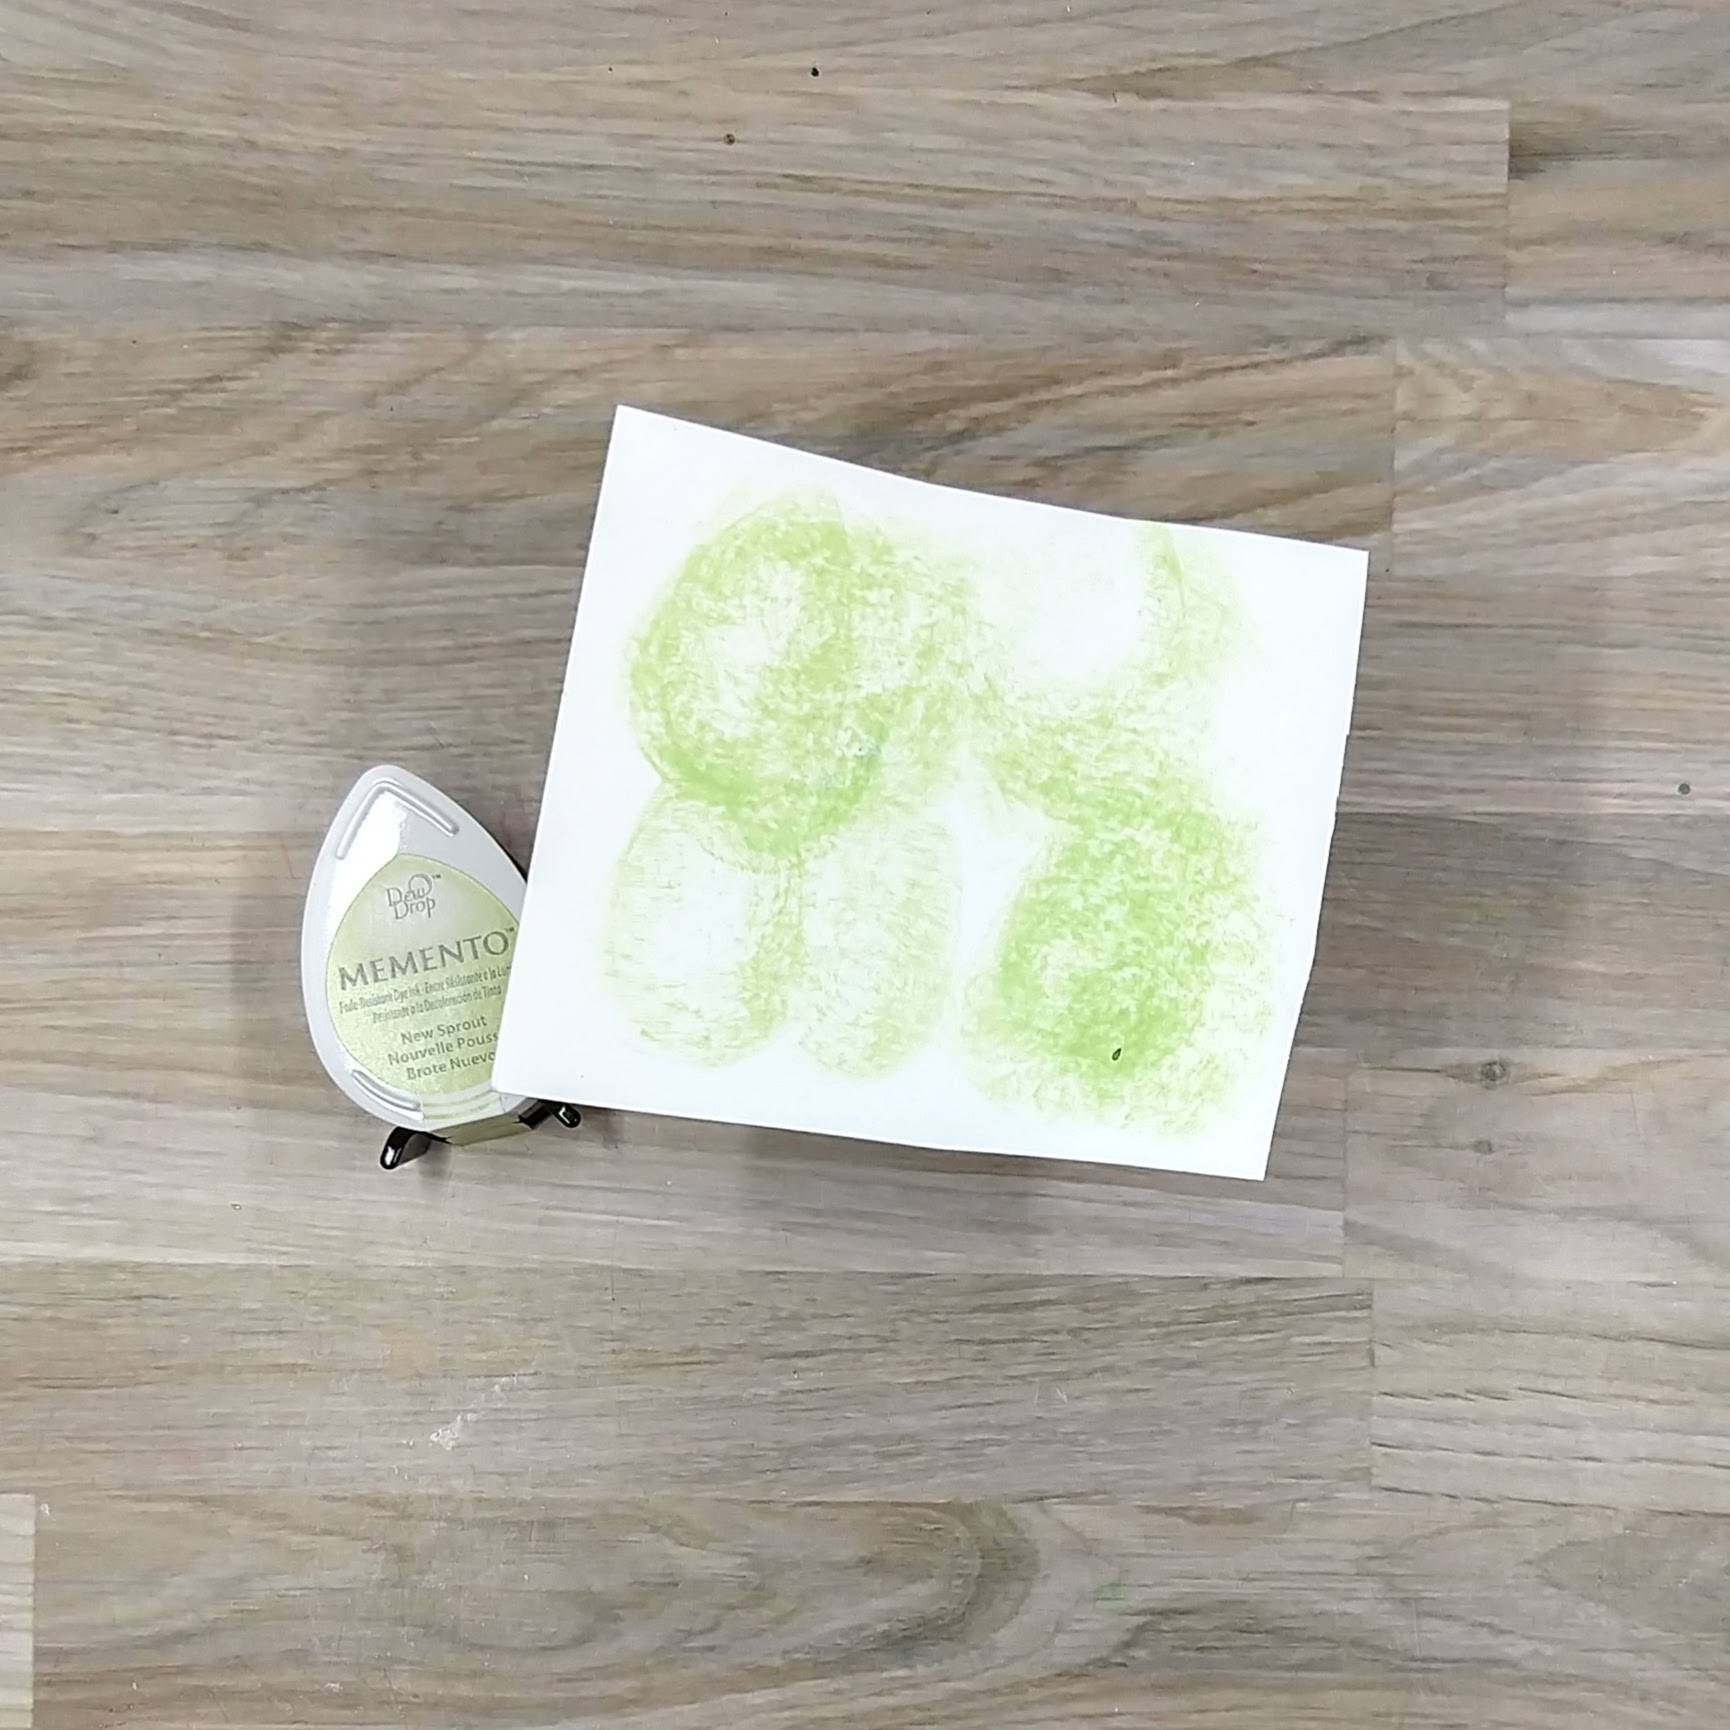
Step 7:
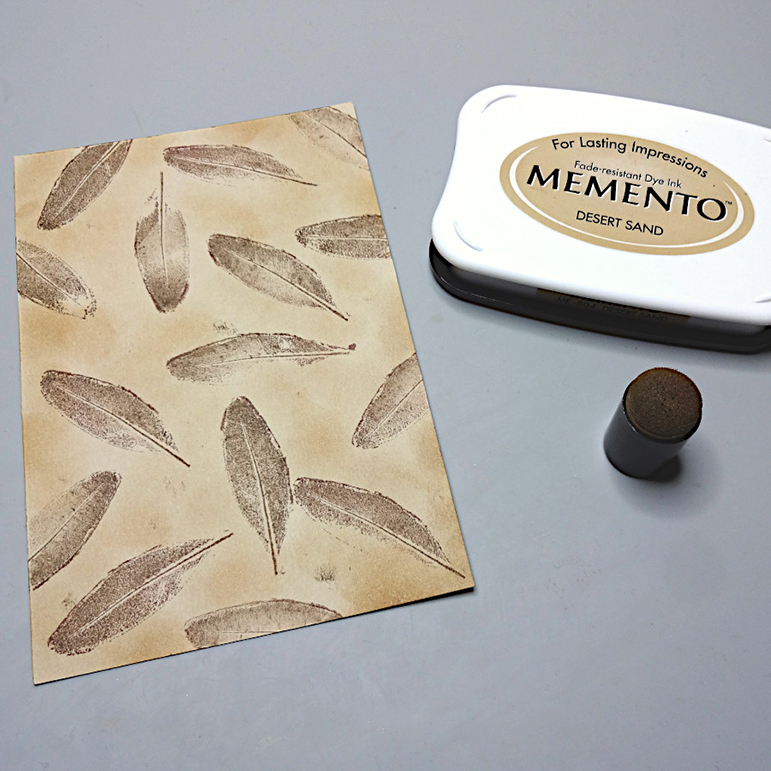
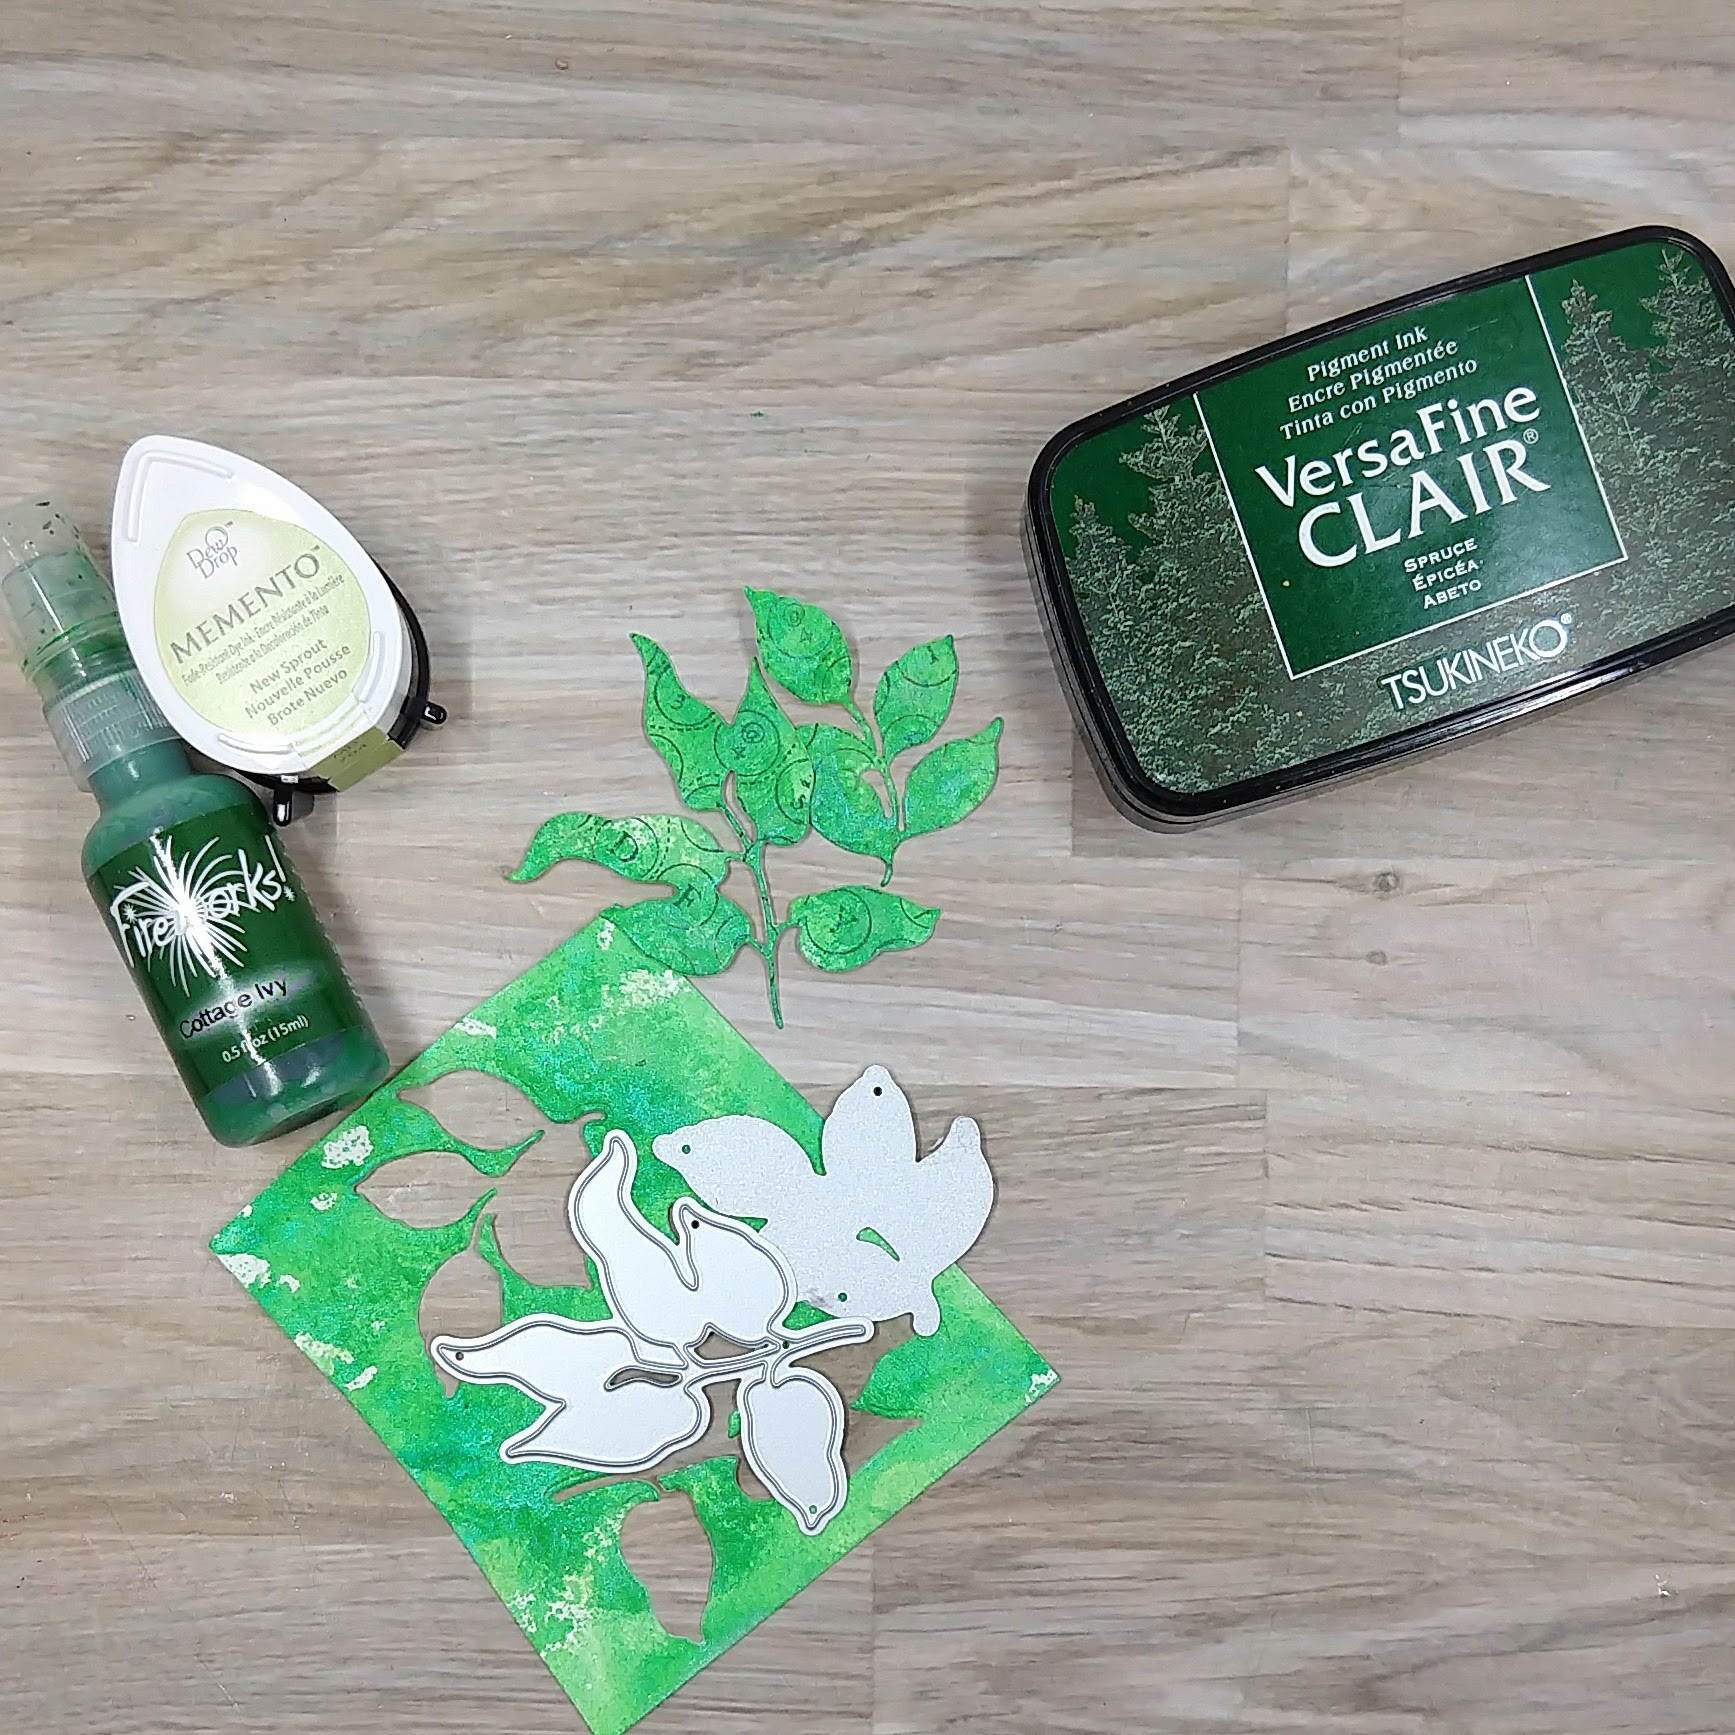
Press New Sprout Memento Dye Ink onto a scrap of watercolor paper to start to add green textured color onto the watercolor paper.
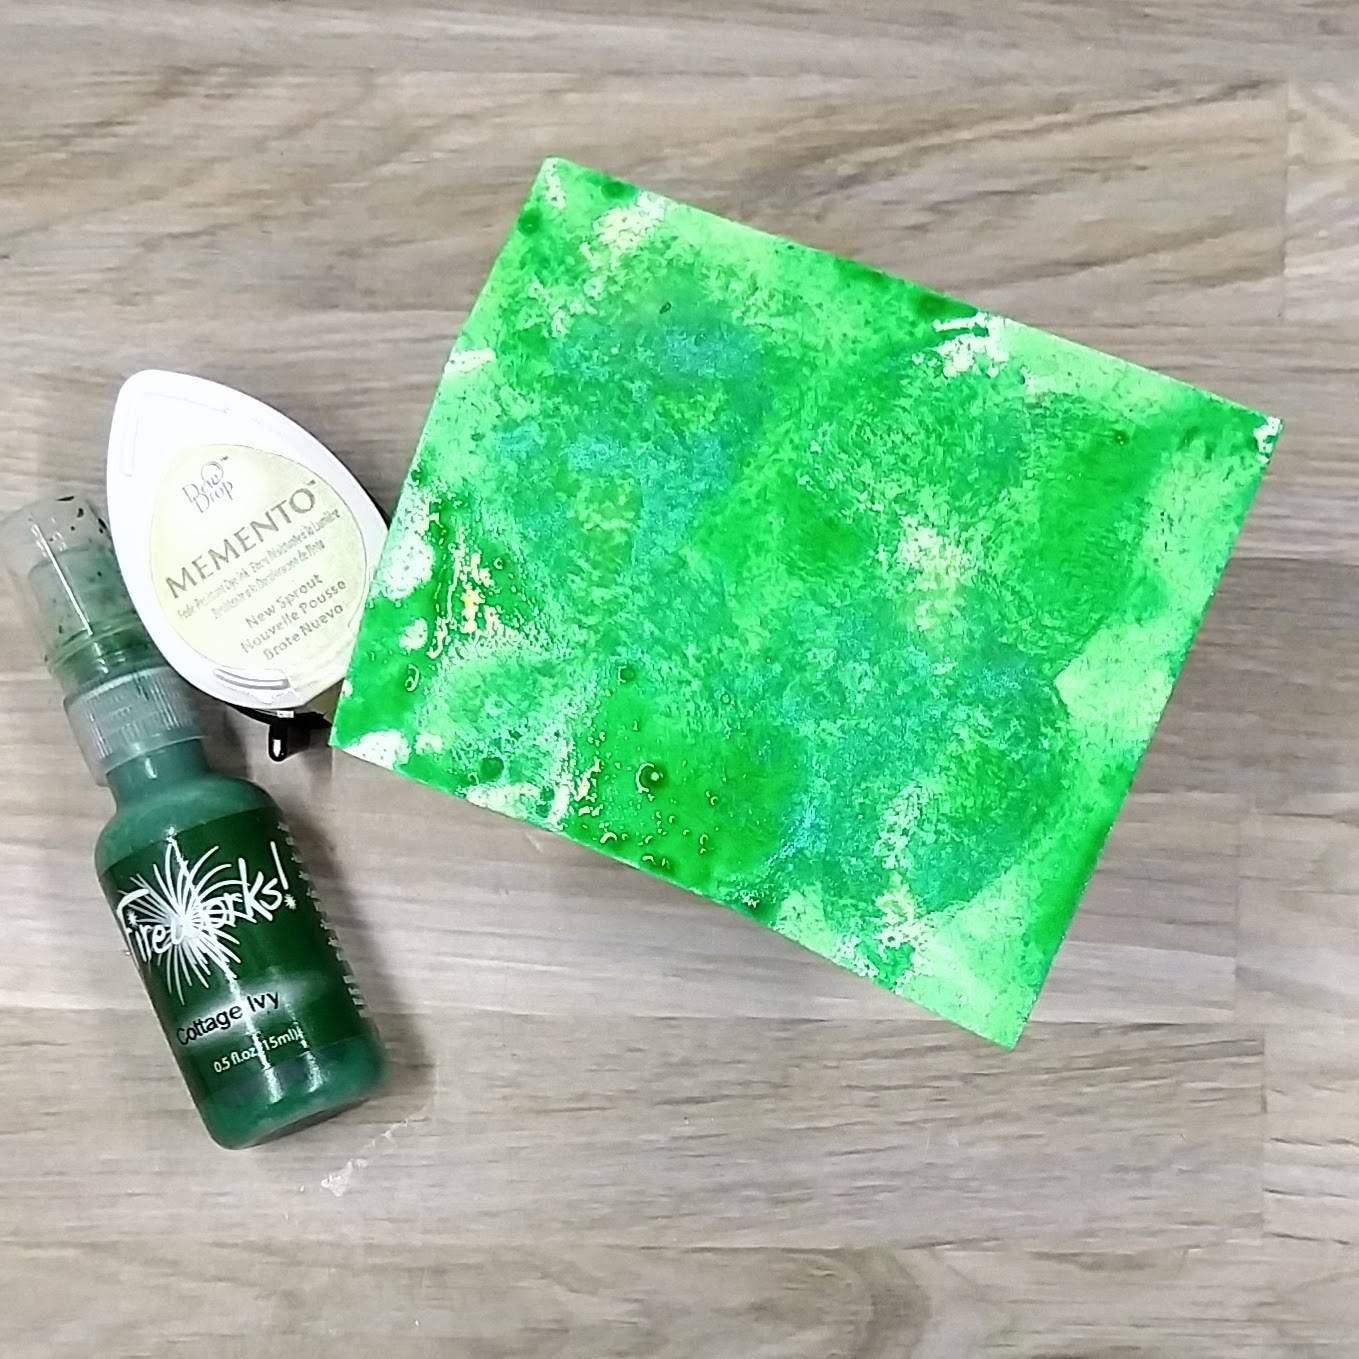
Step 8:
Spray Cottage Ivy Fireworks! Shimmery Craft Spray onto the same scrap of watercolor paper. Allow to dry.
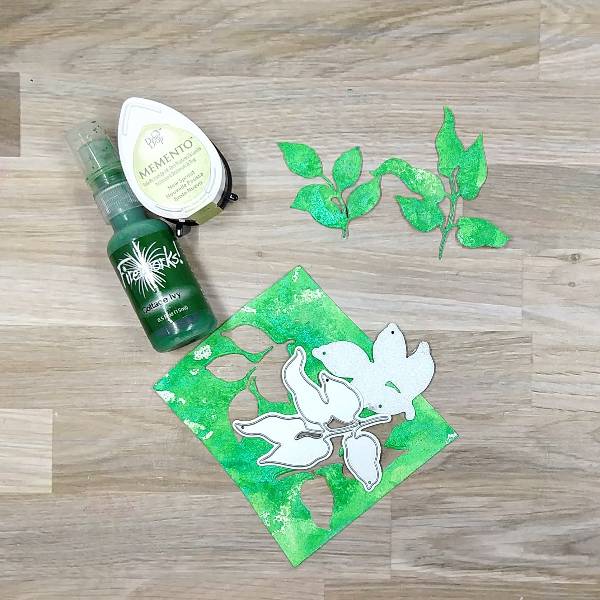
Step 9:
Die cut leaves out of the green watercolor paper using two leaf cluster dies.

Step 10:
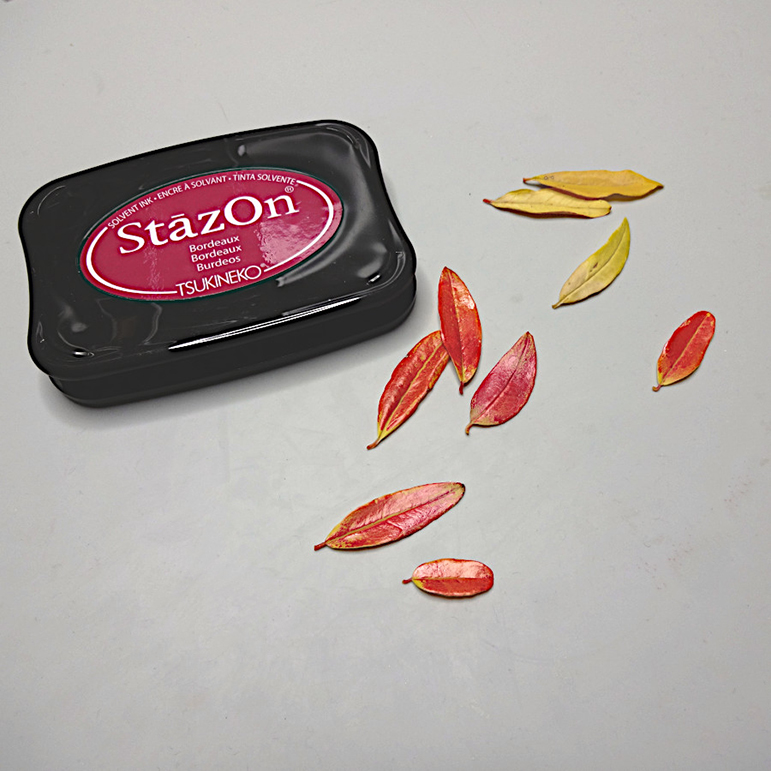
Stamp Spruce VersaFine Clair Ink onto a woodblock typewriter key stamp and press the die cut leaves onto the stamp. Set the leaves aside to let the ink dry.

Step 11:
Die cut the inked watercolor paper from step 1 with the second-largest die in a nesting A2-sized die set.

Step 12:
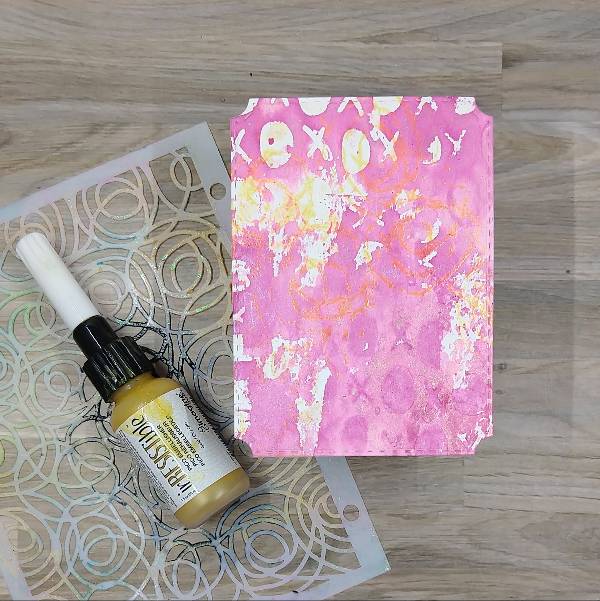
For more texture and interest on the panel, use the Gold irRESISTible Pico Embellisher’ fine tip applicator to add the medium directly onto part of the stencil. Then flip over the stencil and press it onto the watercolor panel. (You may want to put a paper towel over the stencil before pressing or you will probably get some on your hands.)

Step 13:
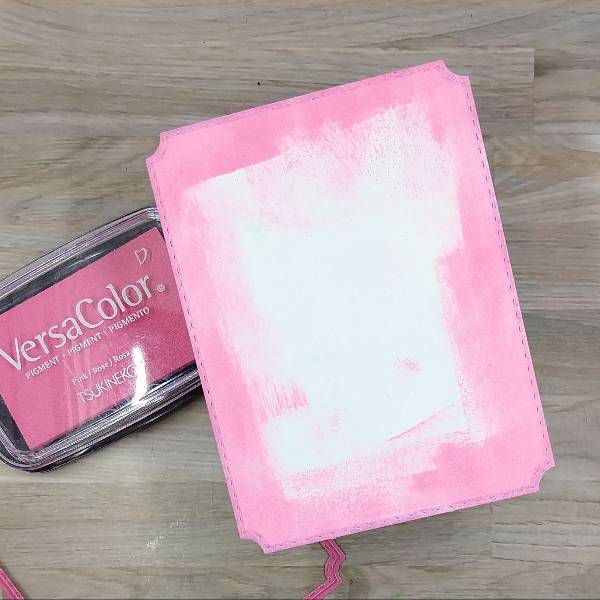
Run more Pink VersaColor ink along the edges of another piece of watercolor paper to make the edges pink. Then die cut the panel with the largest die from the nesting A2-sized die set from step 11.

Step 14:
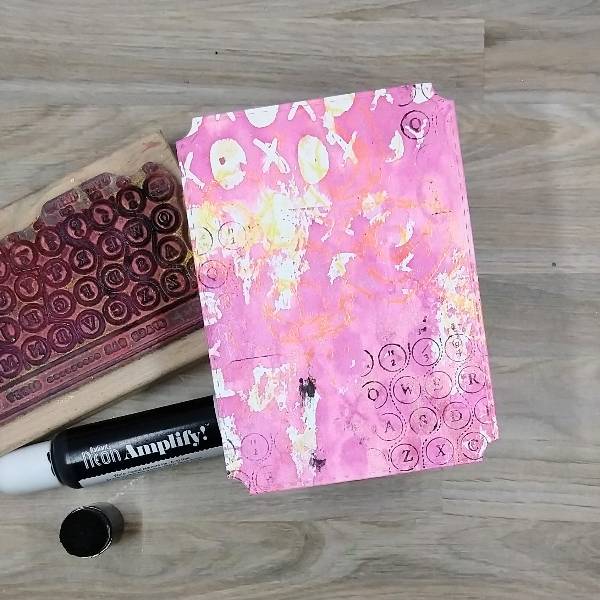
Add a small drop of Black Radiant Neon Amplify! onto another sponge dauber and press the dauber onto the same woodblock typewriter stamp and partially stamp the smaller panel multiple times.

A couple of smudges were mistakenly stamped onto the panel, which were mostly dealt with by splattering more Black Radiant Neon Amplify! mixed with water onto a piece of acetate and then splattered onto the panel.

Step 15:
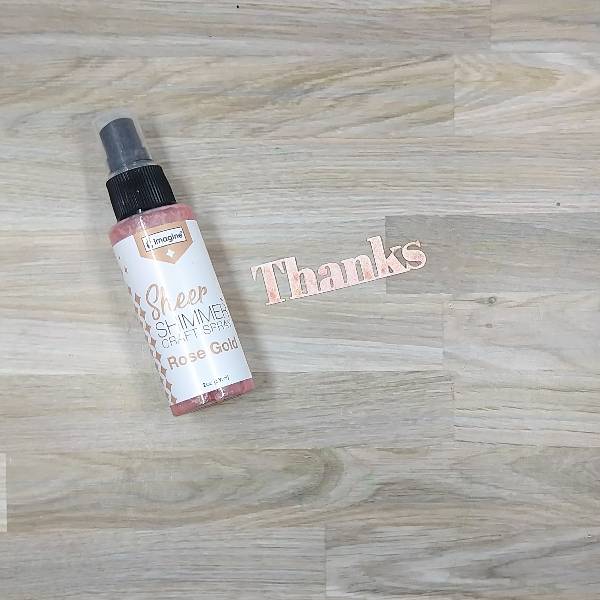
Die cut another piece of watercolor paper with a sentiment die and then spray the die cut multiple times with Rose Gold Sheer Shimmer Craft Spray.

Step 16:
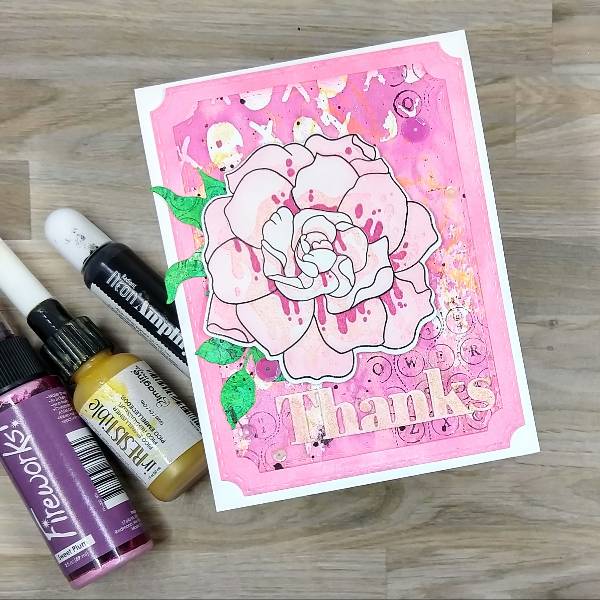
Assemble the card by gluing the leaves and sentiment onto the smaller panel. Attach the flower to the panel with foam tape. Then glue the two panels together and glue them both onto an

A2-sized white card base. Finally, glue sequins around the flower.

Art Supplies

Imagine

• Amplify! Radiant Neon pigment ink – Black
• Fireworks! Shimmery Craft Spray – Cottage Ivy
• Fireworks! Shimmery Craft Spray – Sweet Plum (retired)
• irRESISTible – Gold Pico Embellisher
• Memento Ink – New Sprout
• Sheer Shimmer Craft Spray – Rose Gold
• VersaColor Ink – Pink
• VersaFine Clair Ink – Charming Pink
• VersaFine Clair Ink – Nocturne
• VersaFine Clair Ink – Spruce
• Sponge Daubers

Other

• Altenew – foam tape
• Altenew – die set – Amazing Things
• Altenew – die set – Just Leaves
• Altenew – stamp set – Amazing Things
• Altenew – stencil set – Amazing Things
• American Crafts – stencil – Storyteller Radiate
• Catherine Pooler – sequin mix – Sofia
• Pink & Main – die set – Notched Corner
• Simon Says Stamp – die set – Bold Thanks
• Old woodblock • typewriter key stamp
• Clear Embossing Powder
• Watercolor paper
• Die cutting machine
• Scissors
• Glue

Another Tie-Dye Technique Using Kaleidacolor

By Linh @LVHandcrafted

– Hello friends! This is Linh (or LV Handcrafted on all the socials). Today I have a new video up on the Imagine Crafts YouTube channel showing how to create your own Tie-dyed backgrounds! This is SO amazing! And now I want all the colors of the Kaleidacolor ink pads.  Because they already come with 5 beautiful colors, you can quickly and easily whip up these fun tie-dyed backgrounds. The pre-made color combos are amazing but you can always buy a blank Kaleidacolor ink pad and make your own color combination like my rainbow one!

Skill: Beginner

Time: 5 minutes

Supplies Used

Imagine:

Kaleidacolor

  • Kaleidacolor – Caribbean Sea
  • Kaleidacolor – Berry Blaze
  • Kaleidacolor – Uninked ink pad
  • Dye Reinker – Crimson, Tangerine, Daffodil, Lime, Crystal Blue

Other Products Used

  • Lawn Fawn – “Thanks so much” die
  • The Greeting Farm – “Happy Birthday” die

Learn How to Stamp with Leaves to Create a Beautiful Thank You Card

2021-nov-kyriakos-thank-you-card-771

By Kyriakos Pachadiroglou –

Use a small leaf to stamp on a card with MEMENTO ink and color real leaves with StazOn ink to decorate it. Seal the leaves with Creative MEDIUM to protect and easily use them as embellishments.

Skill: Beginner

Time: 1 Hour

Directions:

2021-nov-kyriakos-thank-you-card-step1

Step 1

Place Tack’ N Peel on a stamping block and set a leaf. Cut around the leaf using a sharp blade and remove the Tack’ N Peel.


2021-nov-kyriakos-thank-you-card-step2

Step 2

Stamp with MEMENTO Rich cocoa on a 4x6in piece of card stock.


2021-nov-kyriakos-thank-you-card-step3

Step 3

Distress with MEMENTO Desert sand.


2021-nov-kyriakos-thank-you-card-step4

Step 4

Color leaves with StaZon Black cherry ink pad.

2021-nov-kyriakos-thank-you-card-step5
Step 5

Cover all the leaves with Creative MEDIUM using an Ink blusher.


2021-nov-kyriakos-thank-you-card-step6
Step 6

Stamp a thank you sentiment with StazOn Black cherry and cut around.

2021-nov-kyriakos-thank-you-card-step7


Step 7

Wrap some jute cord and glue on the card. Continue adding leaves.


2021-nov-kyriakos-thank-you-card-step8

Step 8

Place the wood slice and the thank you sentiment. Attach on a card base using Tear It! Tape.


Art Supplies:

Imagine

• StazOn – Black Cherry

• MEMENTO – Rich Cocoa, Desert Sand

• Creative MEDIUM – Clear

• Sponge Daubers

• InkBlushers

• Tack’ N Peel

• Tear It! Tape


Other

• Small leaves

• Natural color heavy card stock

• Precious remembrance school stamp set

• Jute cord

• Small wood slice

• Hot glue


Create Fall Inspired Cards With VersaFine Clair Inks

November_2021_Katy-Ingram_Fall-Inspired_700x700

By Katy Ingram –

Hello and welcome! Katy here with a new video. Many of you may have noticed from my last couple videos that I use VersaFine Clair Inks a lot and that I love to ink blend with them. Today’s video is no exception. I used two VersaFine Clair Inks that blend beautifully and create the most amazing burnt orange color that is perfect for Fall. In the video I also talk a bit about how to have better success with your ink blending by using Hot Pressed Watercolor Paper and I also show you a simple way to create sentiment strips that are fool proof. I hope you find these tips helpful and I hope you enjoy the video. Thanks so much for watching.

Thanks For Watching.

Skill: Intermediate, Advanced
Time: 30 minutes

Art Supplies:

Imagine

• Delicata Golden Glitz

• Versafine Clair Inks Cheerful, Glamorous and Chianti.

• On Point Glue

• Sheer Shimmer Spritz in Gold

Other Products Used:

• Gina Marie Designs Tribal Stitched Nested Rectangle Dies
• Honey Bee Large Thanks Die set
• Concord & 9th Lace Leaf Stamp & Die Set
• The Greetery Sentiment Suite Thank You stamp set
• Waffle Flower Oversized Hugs Stamp Set
• Altenew Leaf Burst Stencil
• Strathmore 500 Series Hot Pressed Watercolor Paper.
• Gina K Designs Dark Chocolate Cardstock


How to Make a Simple Yet Beautiful “Thanks” Card

Annie-Thanks_IG

By Annie Collins

– Hello Crafty Friends – Annie here with a simple thanks card perfect for the Thanksgiving holiday or for any occasion.

Directions:

Art Supplies:

Imagine

• Kaleidacolor Ink: Vineyard

• VersaMagic Inks:
Thatched Straw, Persimmon, Pretty Petunia, Perfect Plumeria, Aegean Blue & Hint of Pesto

• Tear It! Tape

• Sheer Shimmer Craft Spray: Gold

• On Point Glue

Other:

• Stampendous Stamp: Shapely Vase
• Maker’s Movement Thanks Die
• Gel Press 6×6
• Accent 80# Ultra Smooth Cardstock: Opaque White
• Recollections Brand Cardstock: 110# White, 65# Cream and 80# Dark Green
• Recollections Brand Rhinestones: Gold and Violet