How to Make Little Paper Bags for Wedding and Party Favors

2021-apr-kyriakos-party-favors-bags-main-wm 2

By Kyriakos Pachadiroglou

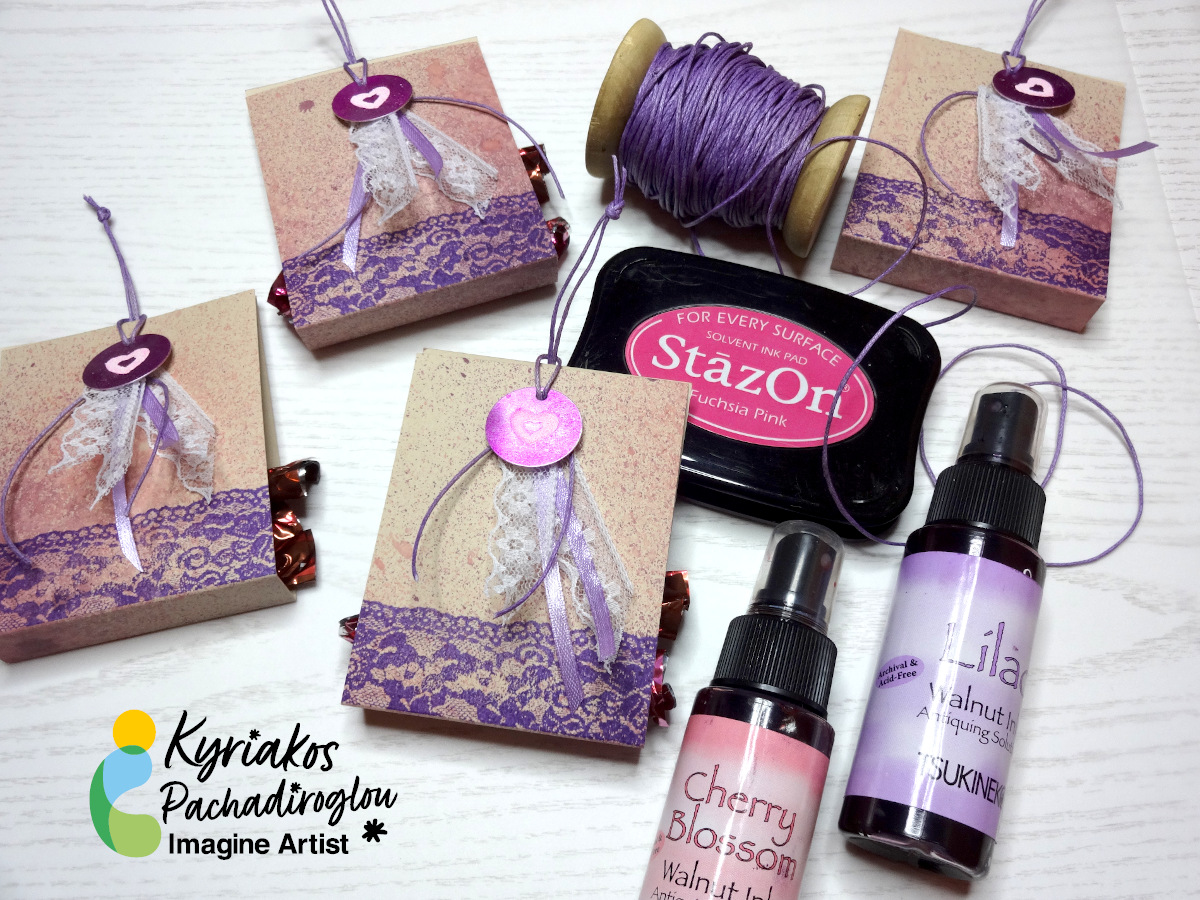
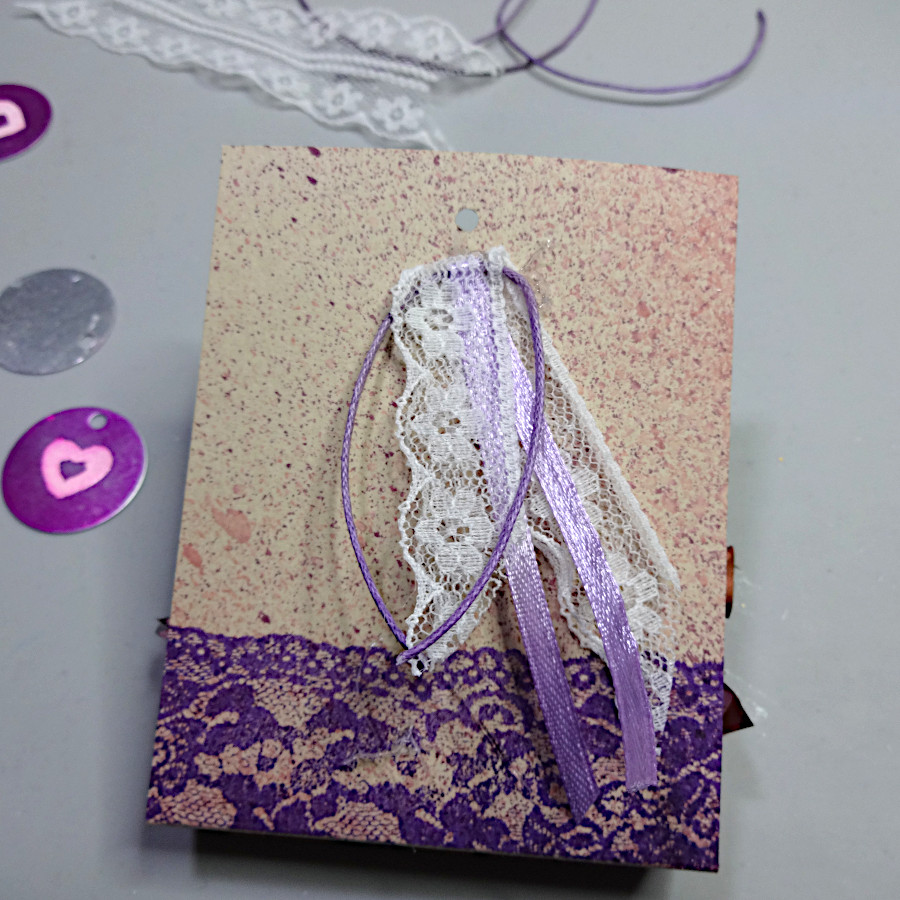
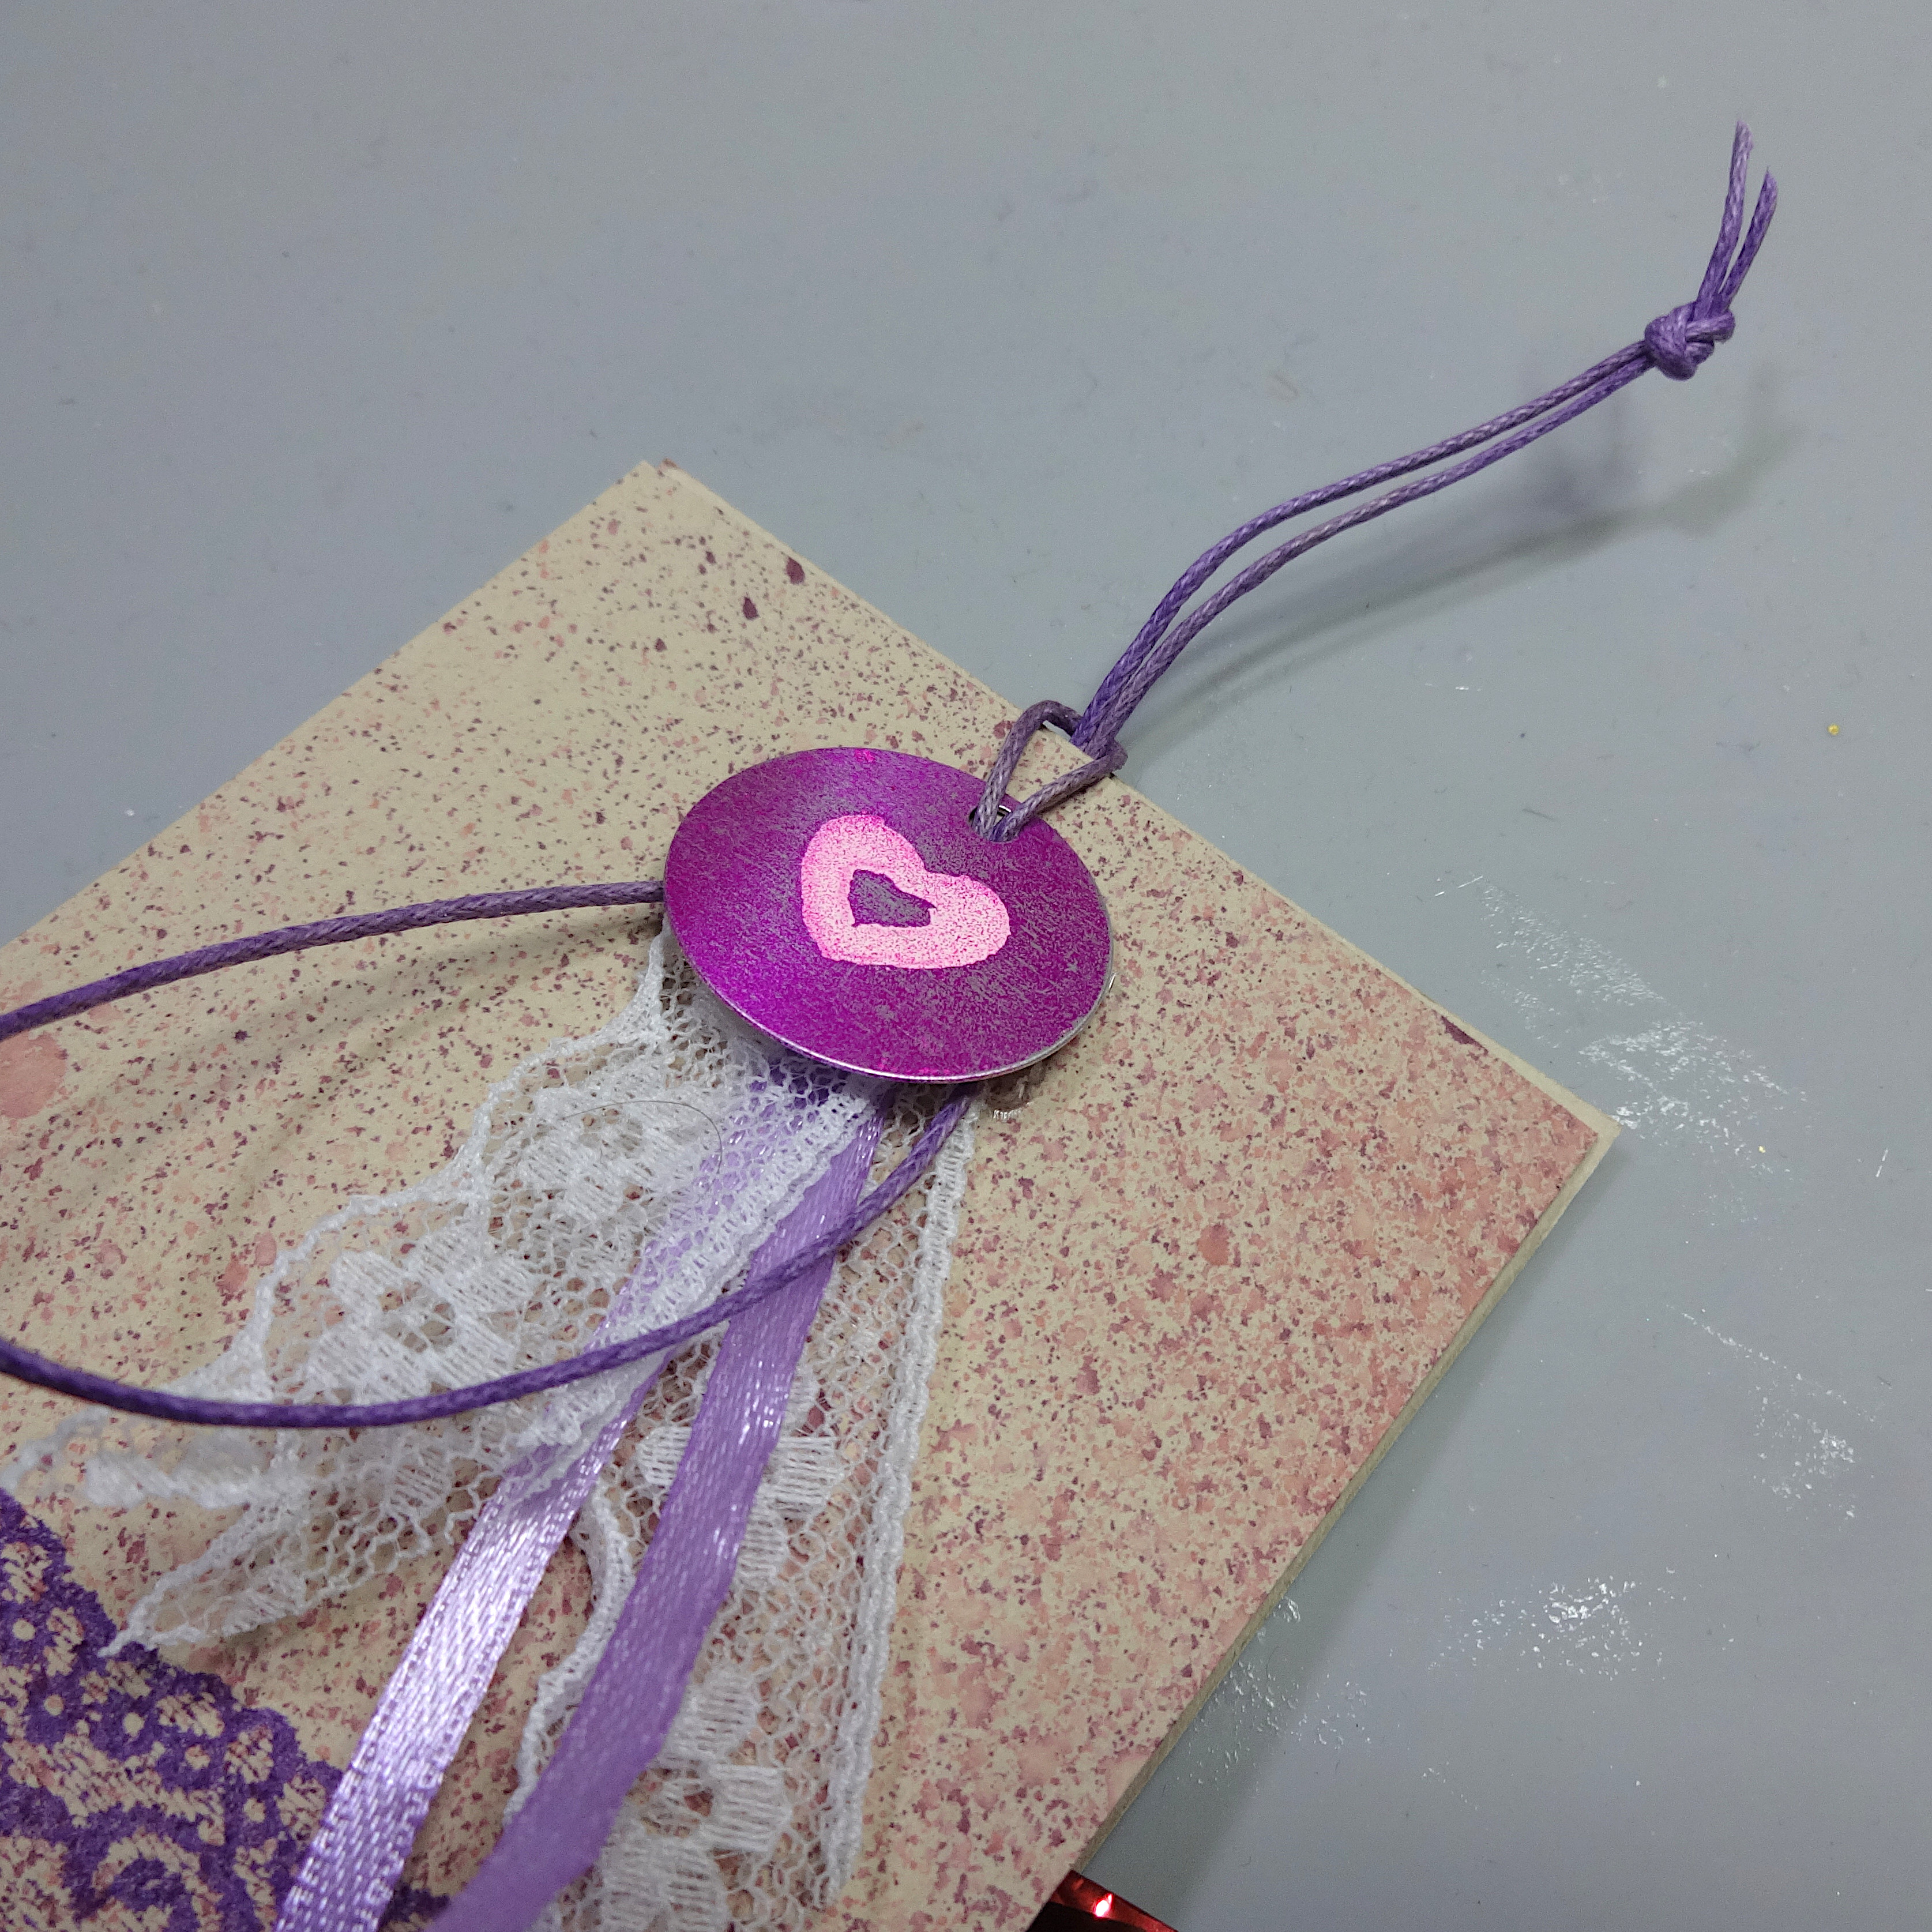
Decorate folded into bag paper cuttings that are distressed with Walnut Inks and stamped with a lace design using MEMENTO ink. Add a round SHEET metal charm with an embossed heart on it. Add sweets in the bags and place them in baskets, on side tables or hang them on branches in a large vase.

Skill: Beginner

Time: 30 min

Directions:

2021-apr-kyriakos-party-favors-bags-step1

Step 1

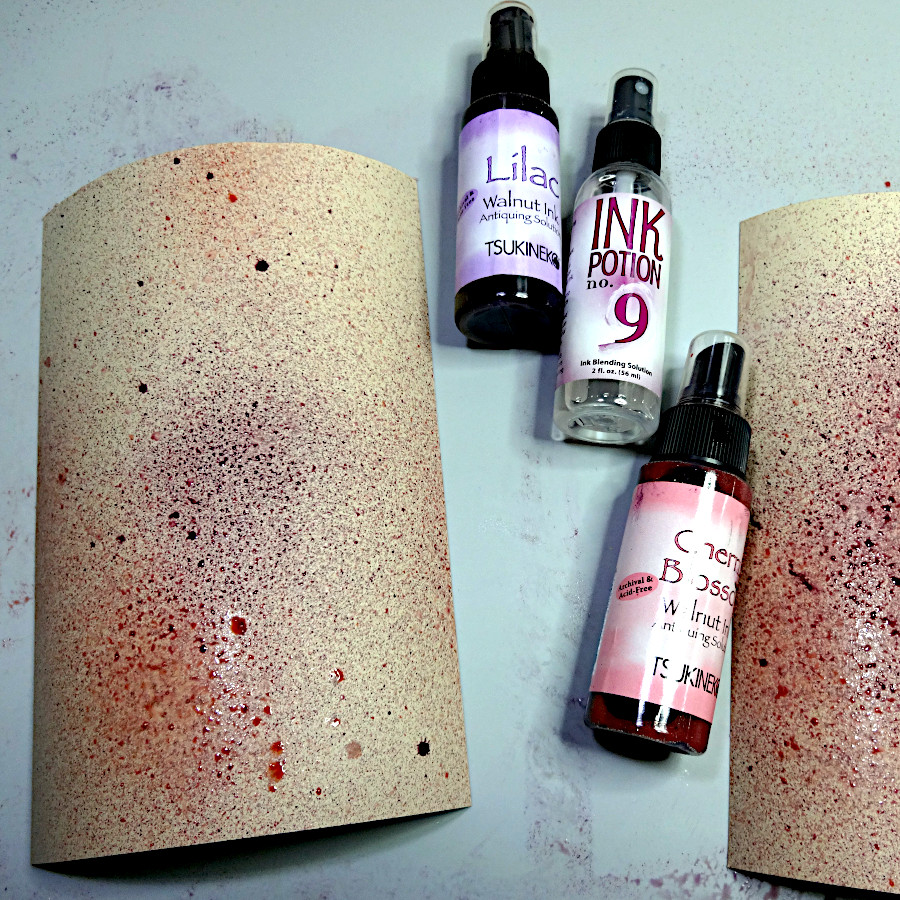
Cut 8×3″ pieces (~half of an A5)of the cardstock and spray them with Ink Potion No 9. While still wet, spray with the Walnut Inks Cherry Blossom and Lilac in some distance from the papers.


2021-apr-kyriakos-party-favors-bags-step2
Step 2

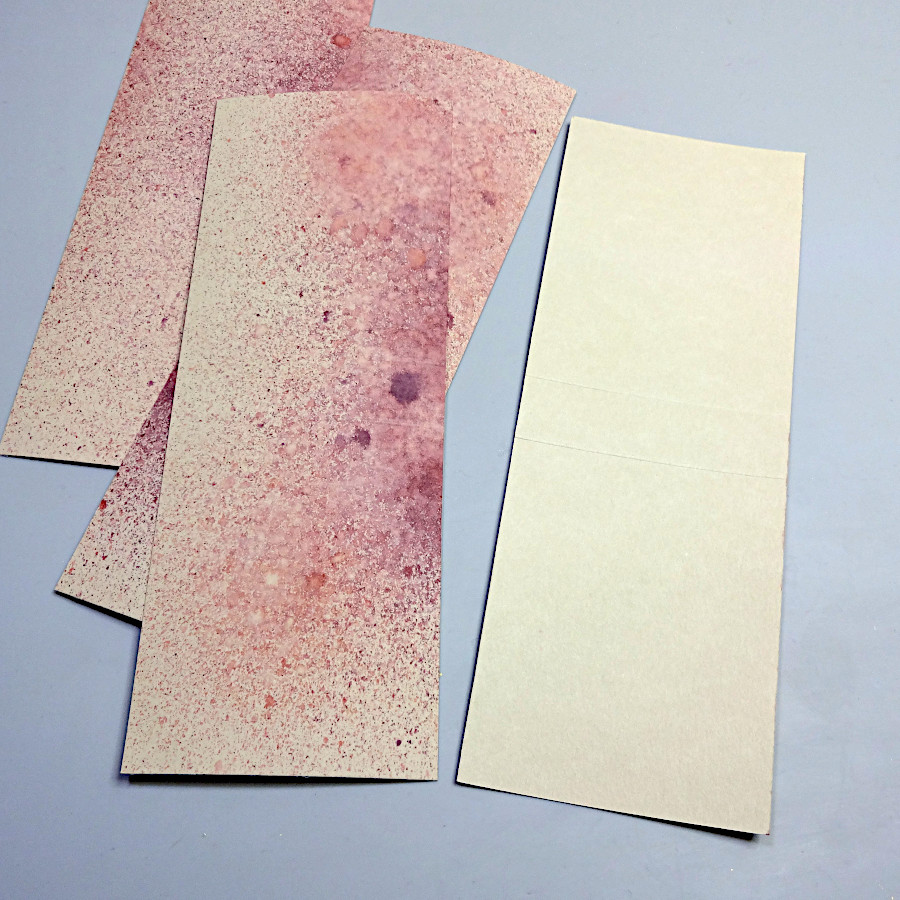
Let them dry (or speed up the process with a heat tool), mark the center (long side) and score ¾in from the center left and right.


2021-apr-kyriakos-party-favors-bags-step3

Step 3

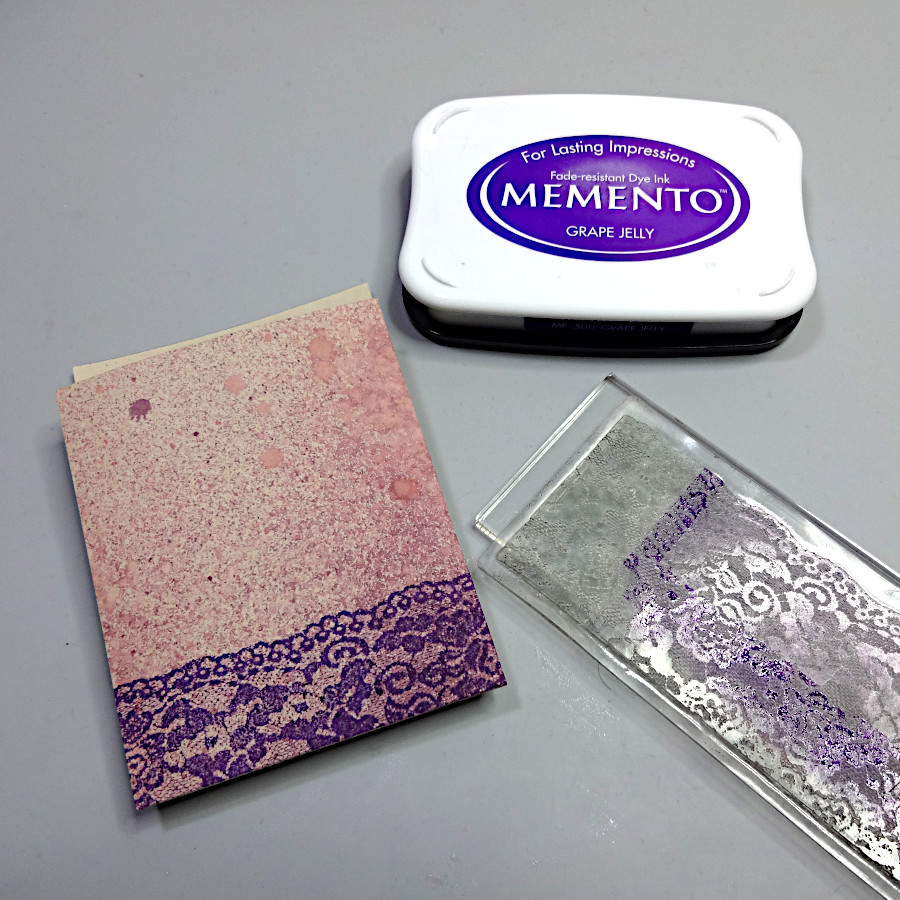
Stamp the lace stamp with MEMENTO Grape Jelly ink pad.


2021-apr-kyriakos-party-favors-bags-step4

Step 4

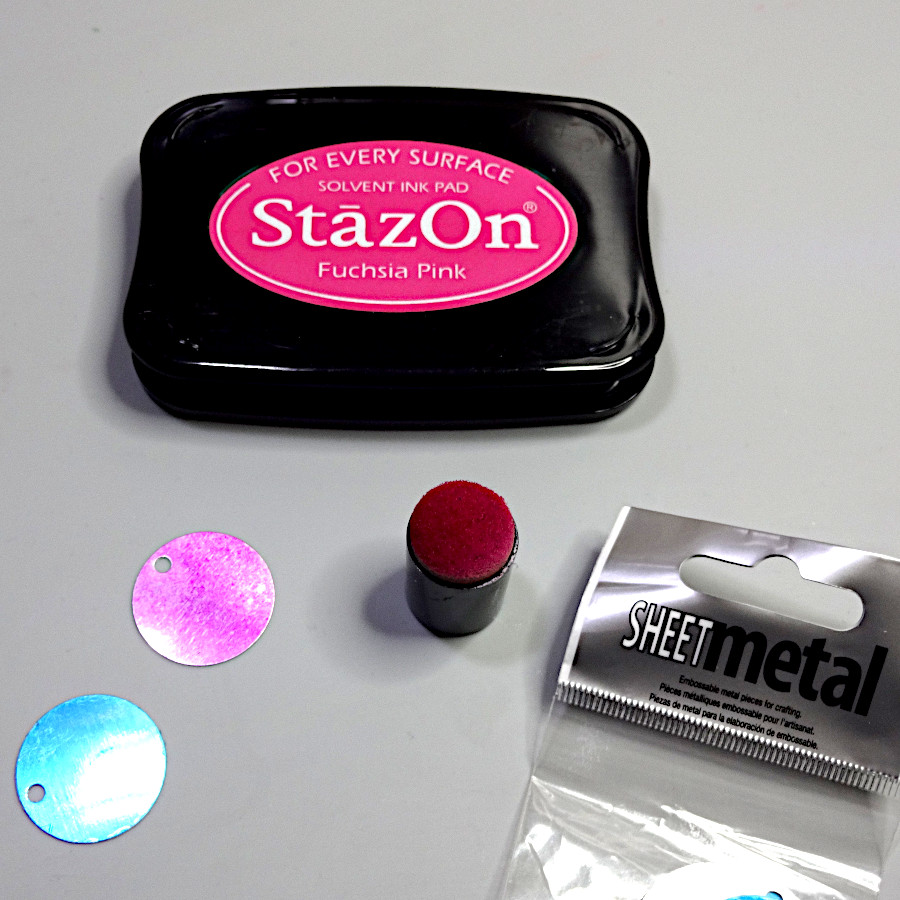
Color the round SHEET Metal pieces with the StazOn Royal Purple.


2021-apr-kyriakos-party-favors-bags-step5

Step 5

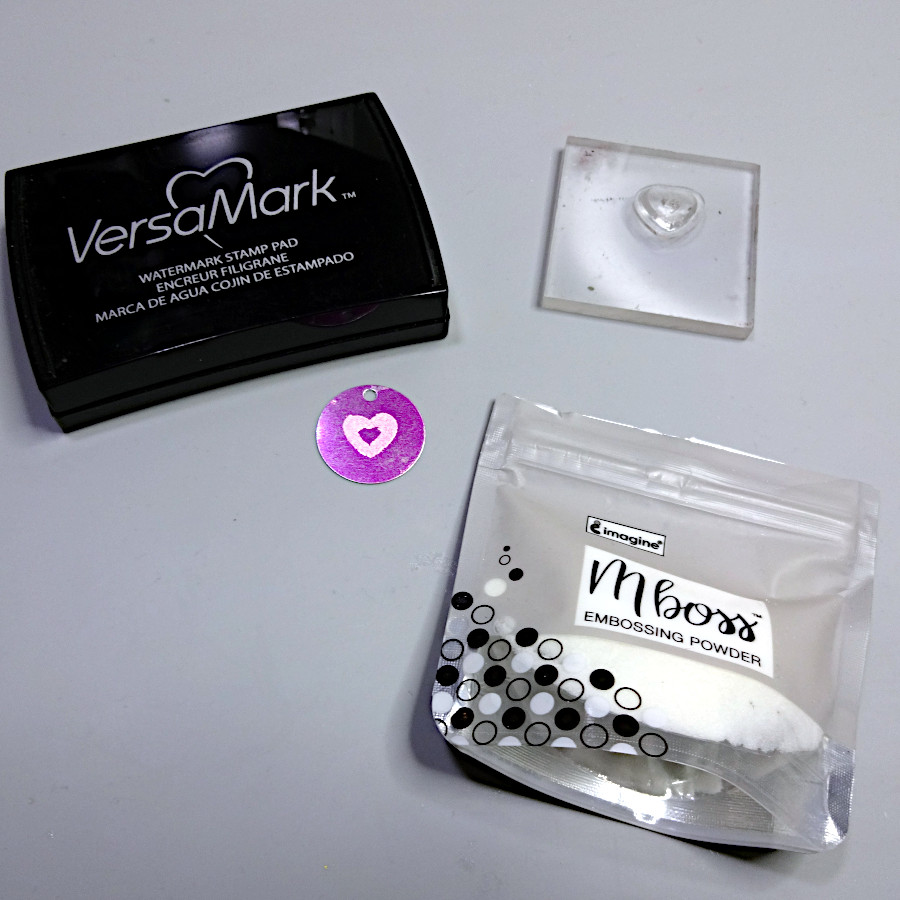
When the ink dries, stamp a heart with the VersaMark ink pad, cover with Mboss White Embossing Powder and heat set.


2021-apr-kyriakos-party-favors-bags-step6

Step 6

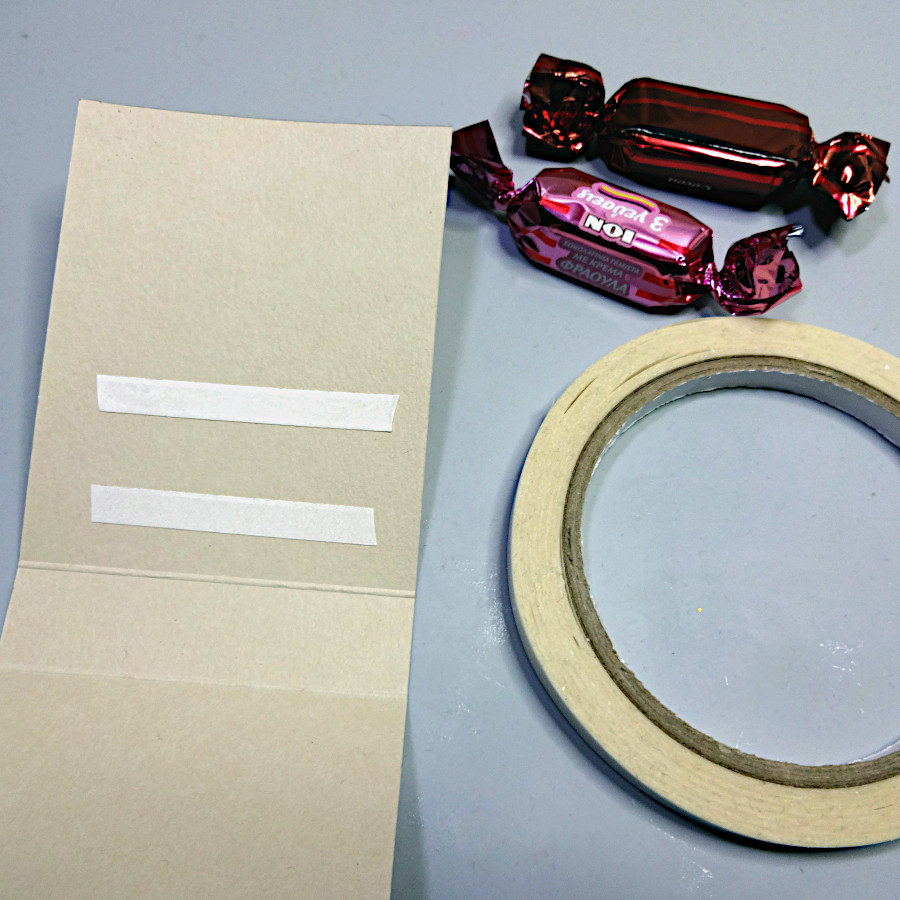
Add Tear It! Tape to the inner if the card cuttings and place the sweets (flat ones will fit better and they can be any shape (like hearts, squares).


2021-apr-kyriakos-party-favors-bags-step7

Step 7

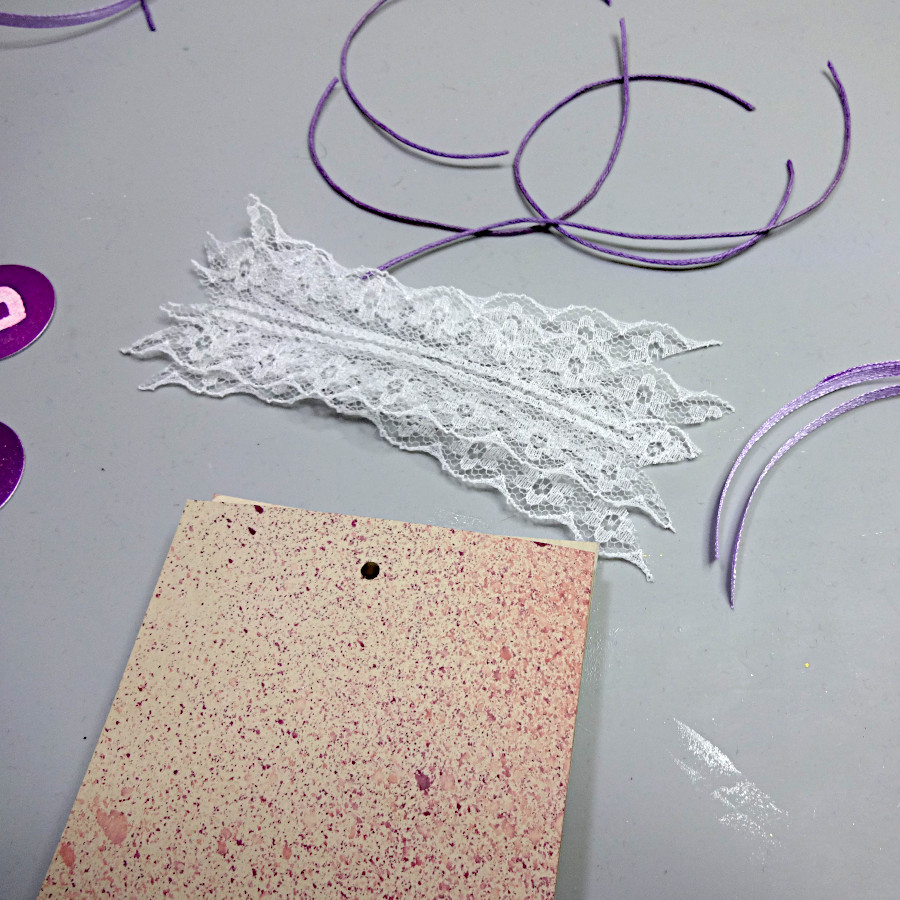
Punch a hole to the folded sides and cut 4″ long pieces of the lace, the ribbon and and the cord.


2021-apr-kyriakos-party-favors-bags-step8

Step 8

Fold in half the above cuttings and glue them just below the punched hole.


2021-apr-kyriakos-party-favors-bags-step9

Step 9

Add the round SHEET Metal charm with some cord (which can be also used to hang the paper bag).


Art Supplies

Imagine

MEMENTO – Grape Jelly

Walnut Ink – Cherry blossom, Lilac

Ink Potion No.9

SHEET Metal – Round 1″

Tear It! Tape

Sponge Daubers

Mboss Embossing Powder – White

VersaMark – Original

 
Other materials

250g/m2 – 115 lb Cardstock Natural

Kaiserkraft Stamp – Lace

Heart Stamp

Hole Punch

Heat Tool

Hot Glue

Lace, Ribbon, Cord

Sweets


Ink Blending with Memento Inks to Create a Rose Wedding Card

2021_Apr_JL Wedding_blog

By Jessica Lin

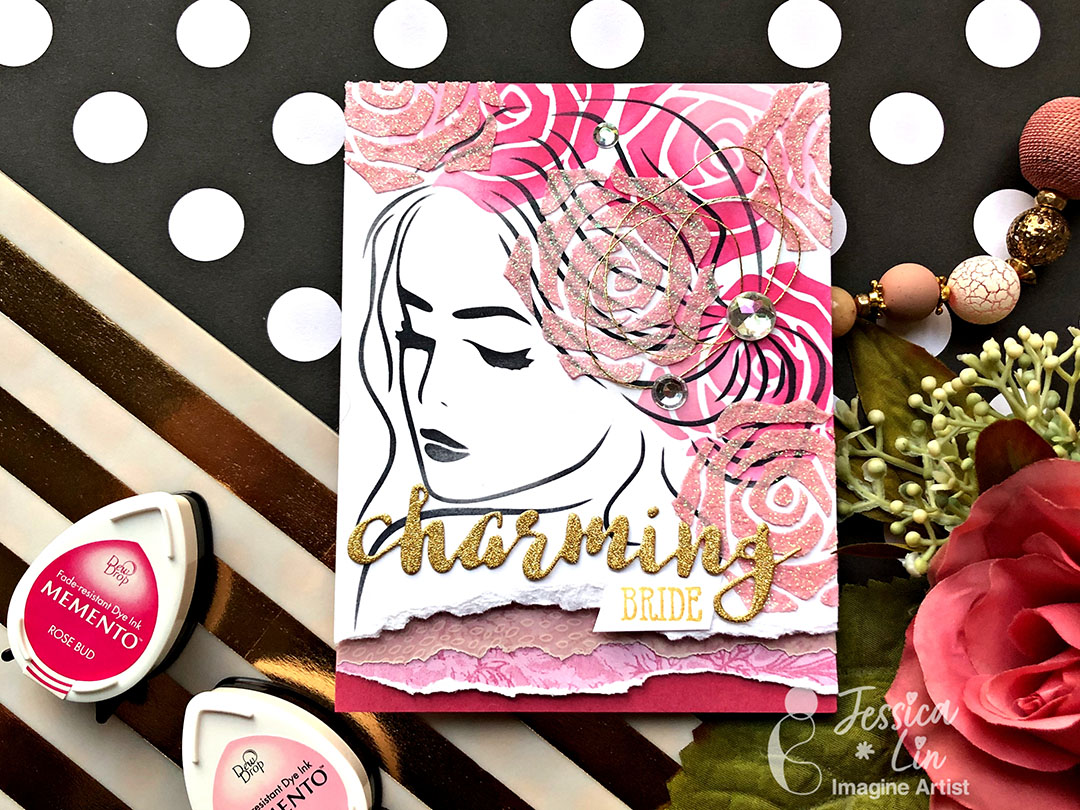
Hi everyone! It’s Jessica here and I have a fun stenciled card to share with you. I first stenciled the roses with Memento Dye inks, then I stepped it up and stenciled a second layer with shimmery embossing powder. The concept is really simple, and you don’t need a lot of supplies either, but the final effect is just so pretty! I hope you’ll enjoy this tutorial! 

Skill: Beginner

Directions:

Art Supplies

Imagine:

VersaFine Clair – Nocturne, Glamorous

Memento Dew Drop Inks – Angel Pink, Rose Bud

Other products:

Blending Brushes STAMPlorations Stencils –

Faces: Pensive, Old Rose

Neenah Solar White Cardstock

Gold Glitter Cardstock

How to Make a Mother’s Day Card

2021_April2_JN_Mothersdaycard_1

By Jowilna Nolte 

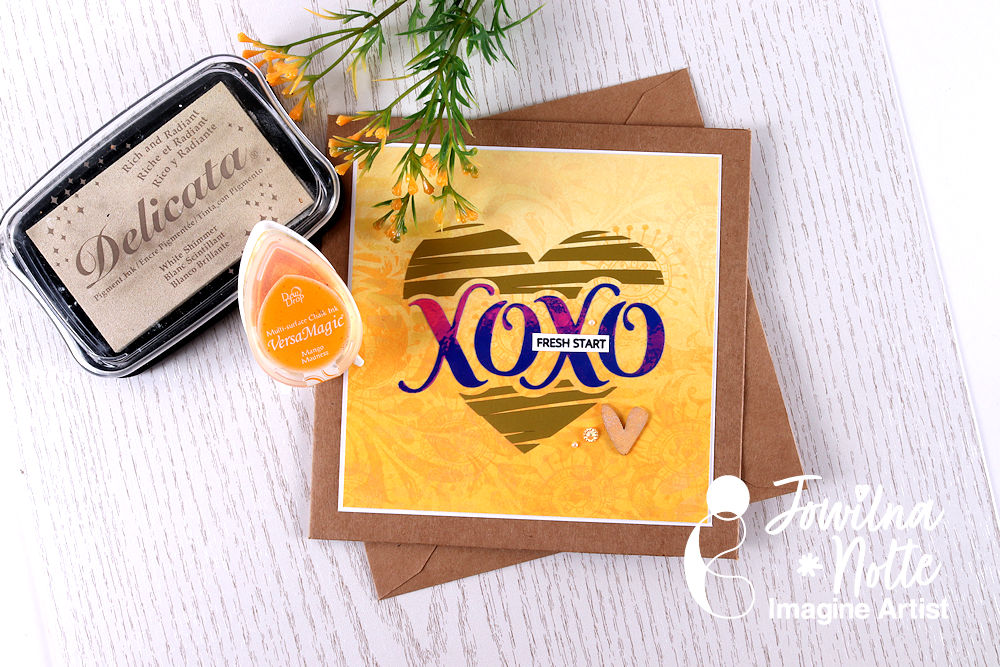
I am not one for a traditional Mother’s Day Card – although the message inside may be one of gratitude, on the outside it can reflect something personal as well.

Instead of doing the usual thing I combined some fun stamping and inking with a vinyl heart and a little stamped sentiment that will mean the world to my mom.

“FRESH START” is my prayer for her this Mother’s Day – the beginning of so much more than just being a mother.

Skill Level: Beginner

Time: 30 minutes

Directions:

2021_April2_JN_MOthersdaycard_step1

Step 1
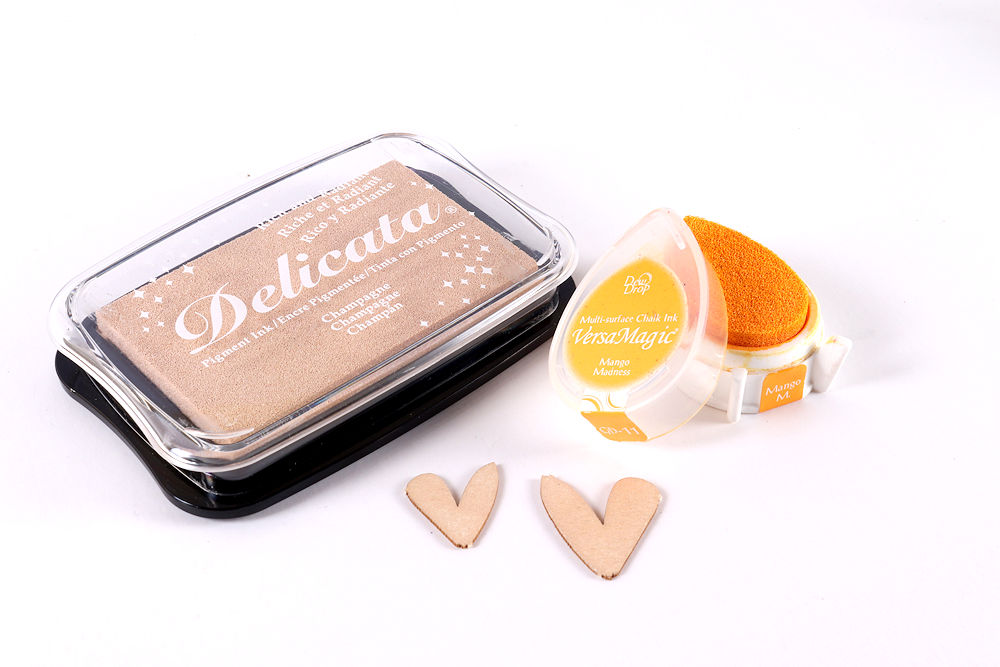
Combine VersaMagic Mango Madness with  Delicata Champagne to ink some chipboard hearts.

2021_April2_JN_Mothersdaycard_step2

Step 2
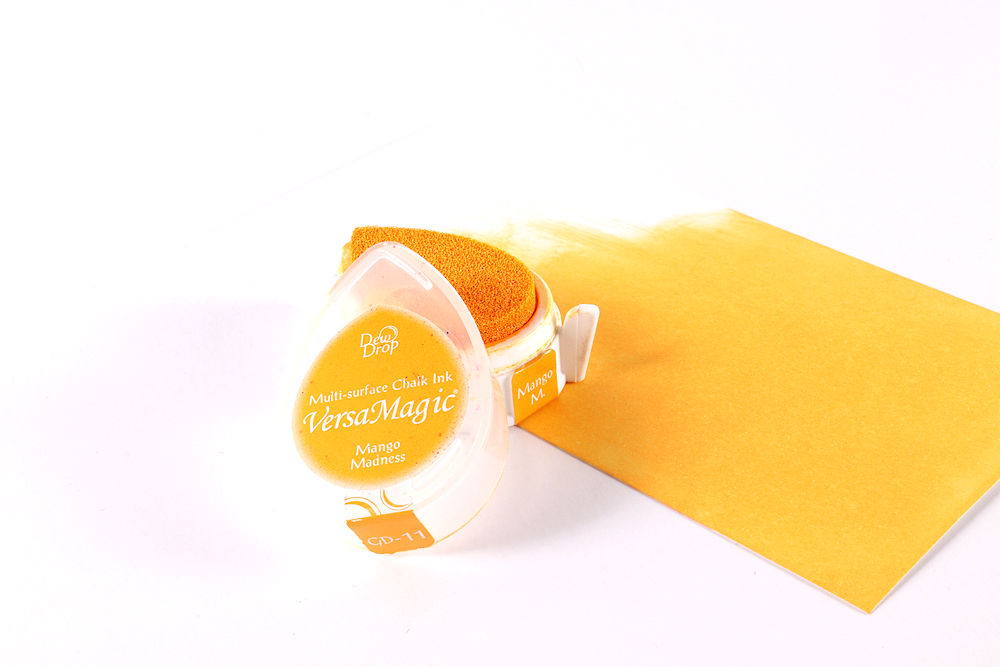
On a white smooth cardstock background, use the VersaMagic and ink the background. Combine the “direct to paper” method carefully blending the ink and then use a sponge dauber for achieve an ombre effect towards the top.

2021_April2_JN_Mothersdaycard_step3

Step 3

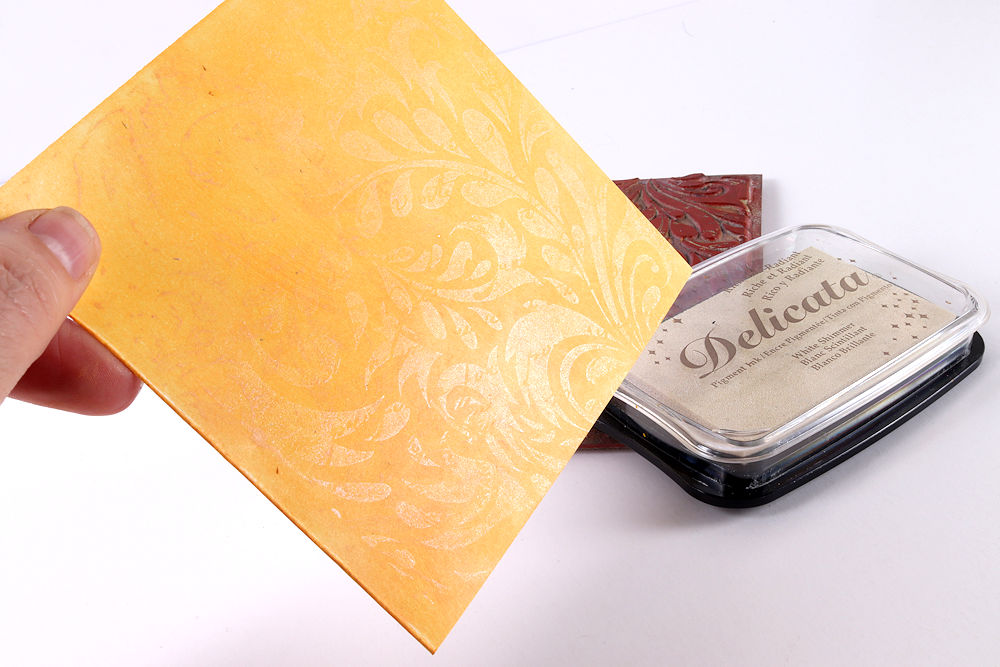
Stamp onto the background several times overlapping different stamp designs and VersaMagic ink. Then finishing off the top layer using Delicate White Shimmer to stamp the last layer. Look at that gorgeous shimmer.

2021_April2_JN_Mothersdaycard_step4

Step 4

Apply a layered vinyl heart, stamped sentiment and chipboard heart, as well as some embellishments.
Matt onto white cardstock layer and then onto a kraft card.

2021_April2_JN_Mothersdaycard_2

And just like that I created a heartfelt and meaningful Mother’s Day Card with lots of sparkle and shimmer – wishing my mom a bright future ahead.

Art Supplies

Imagine

VersaMagic Mango Madness
Delicata Whte Shimmer
Delicata Champagne
On Point Glue
Tear It! Tape

Other

• Smooth White Cardstock
• Stamps: Hero Arts, Carabelle, Altenew
• Vinyl: Cricut
• Embellishments
Learn How to Make a Wooden Wall Art Family Tree

2021_04_Roni_MothersDay_FamilyTree_WM 002

By Roni Johnson

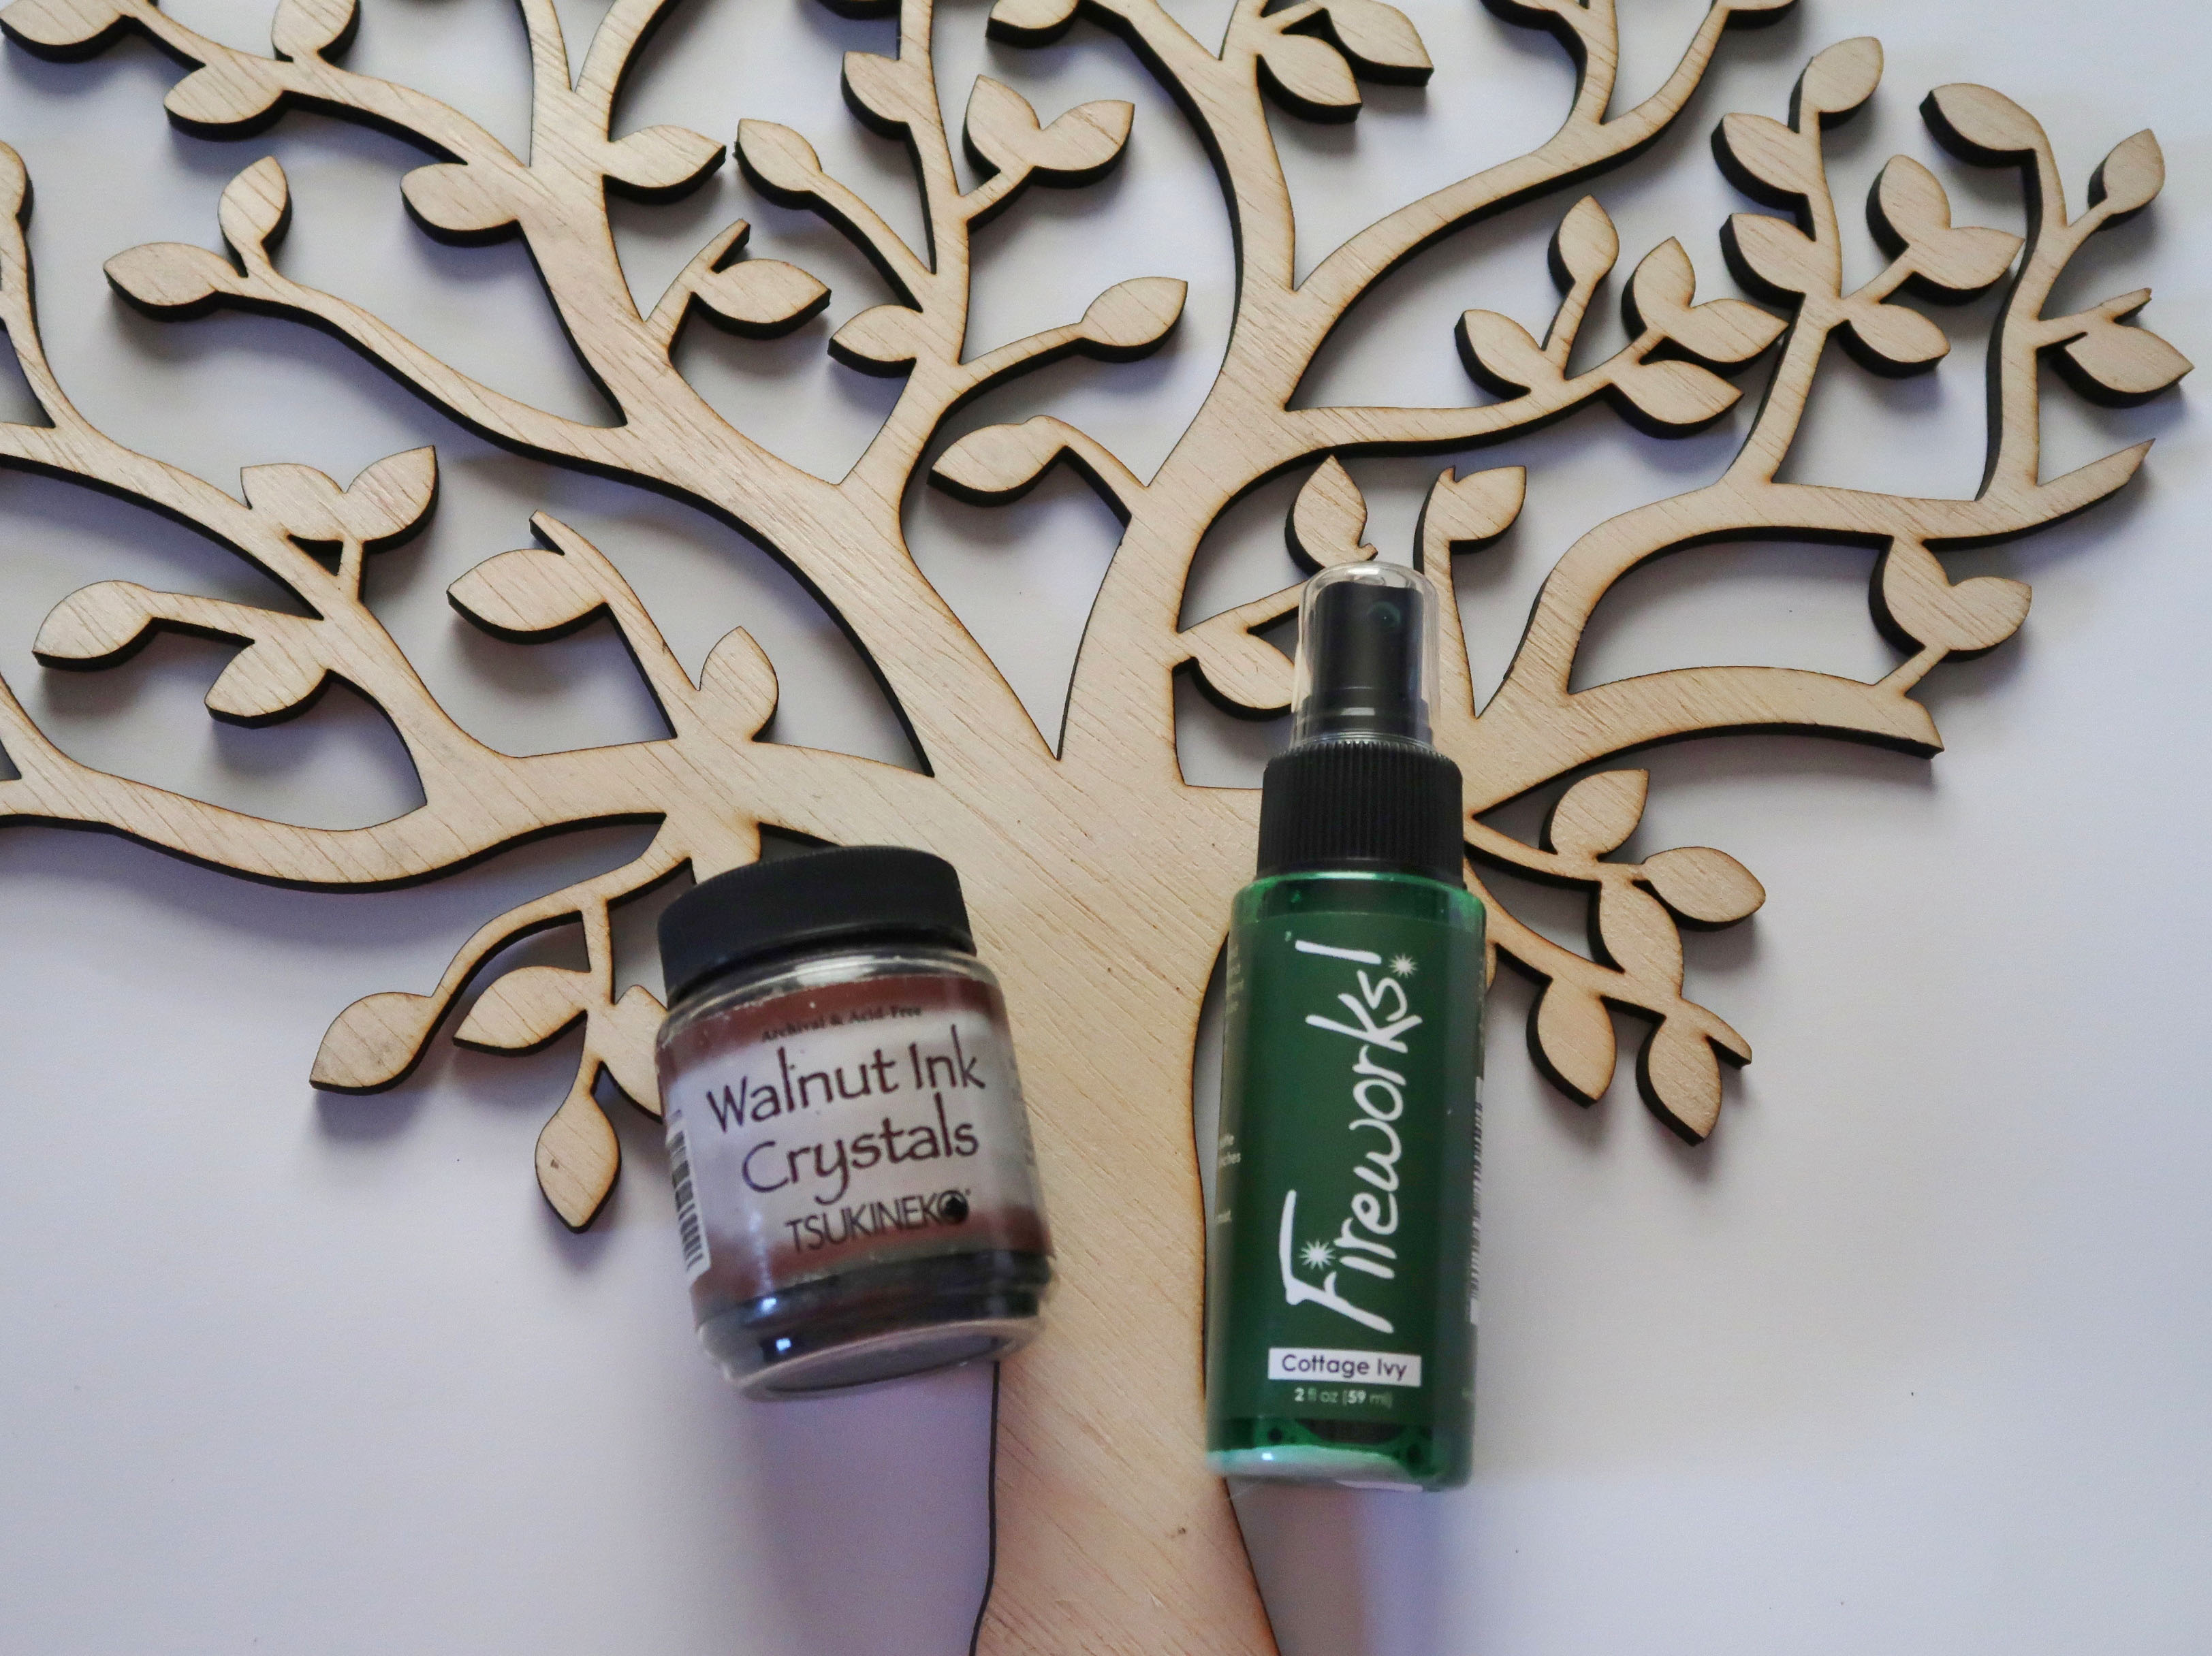
Since Mother’s Day is quickly approaching I thought it would be fun to make a different type of gift Mom could enjoy all year long. I decided to make a fun and beautiful Family Tree using a wooden tree from Creative Embellishments paired with Imagine’s Walnut Ink Crystals and Cottage Ivy Fireworks! Shimmery Craft Spray.
Skill: Beginner

Time: 1 hour + dry time

Directions:

2021_04_Roni_MothersDay_FamilyTree (1)

Step 1

Gather up your supplies, you will need a wood tree, Walnut Ink Crystals, Cottage Ivy Fireworks! Shimmery Craft Spray, VersaFine Clair Pinecone ink, Memento Dual Tip Marker and a bit of heavy duty cardstock.


2021_04_Roni_MothersDay_FamilyTree (2)

Step 2

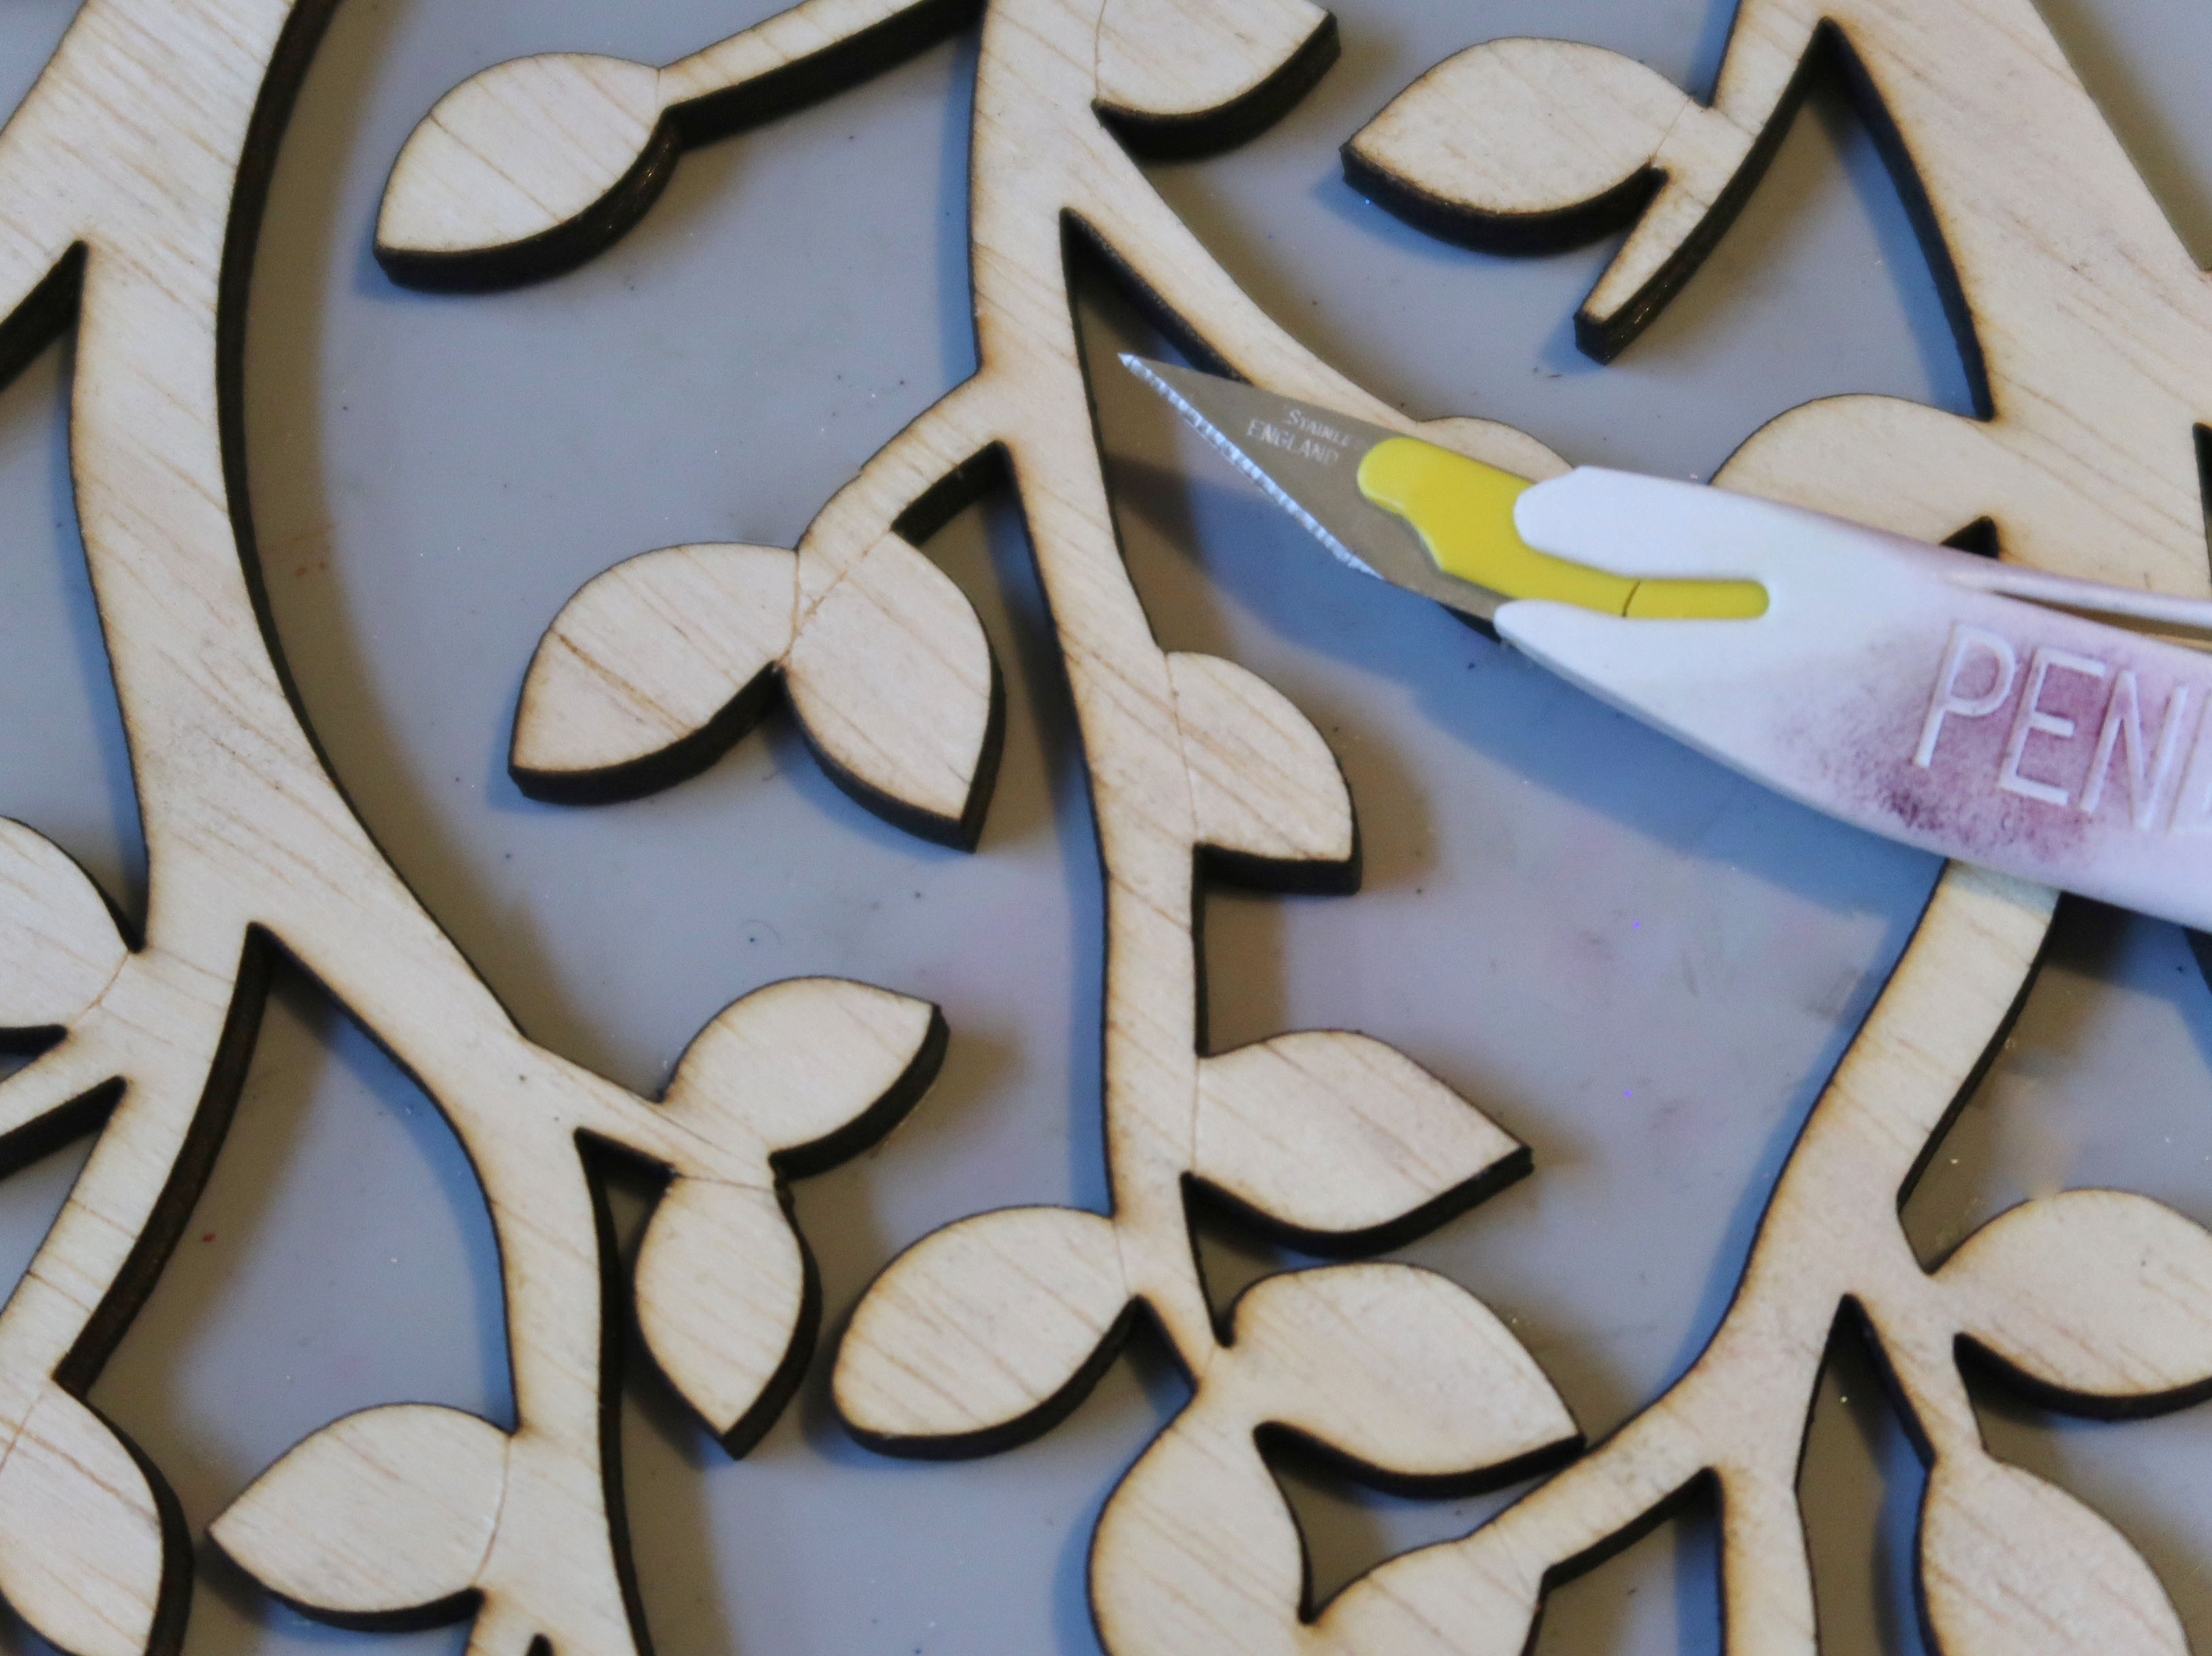
Use a craft knife to make small cuts in the wood to separate the leaves from the branches.


2021_04_Roni_MothersDay_FamilyTree (3)

Step 3

Sprinkle a small amount of Walnut Ink Crystals into a cup and add a bit of water.


2021_04_Roni_MothersDay_FamilyTree (4)

Step 4

Paint the walnut ink onto the tree trunk and branches.


2021_04_Roni_MothersDay_FamilyTree (5)

Step 5

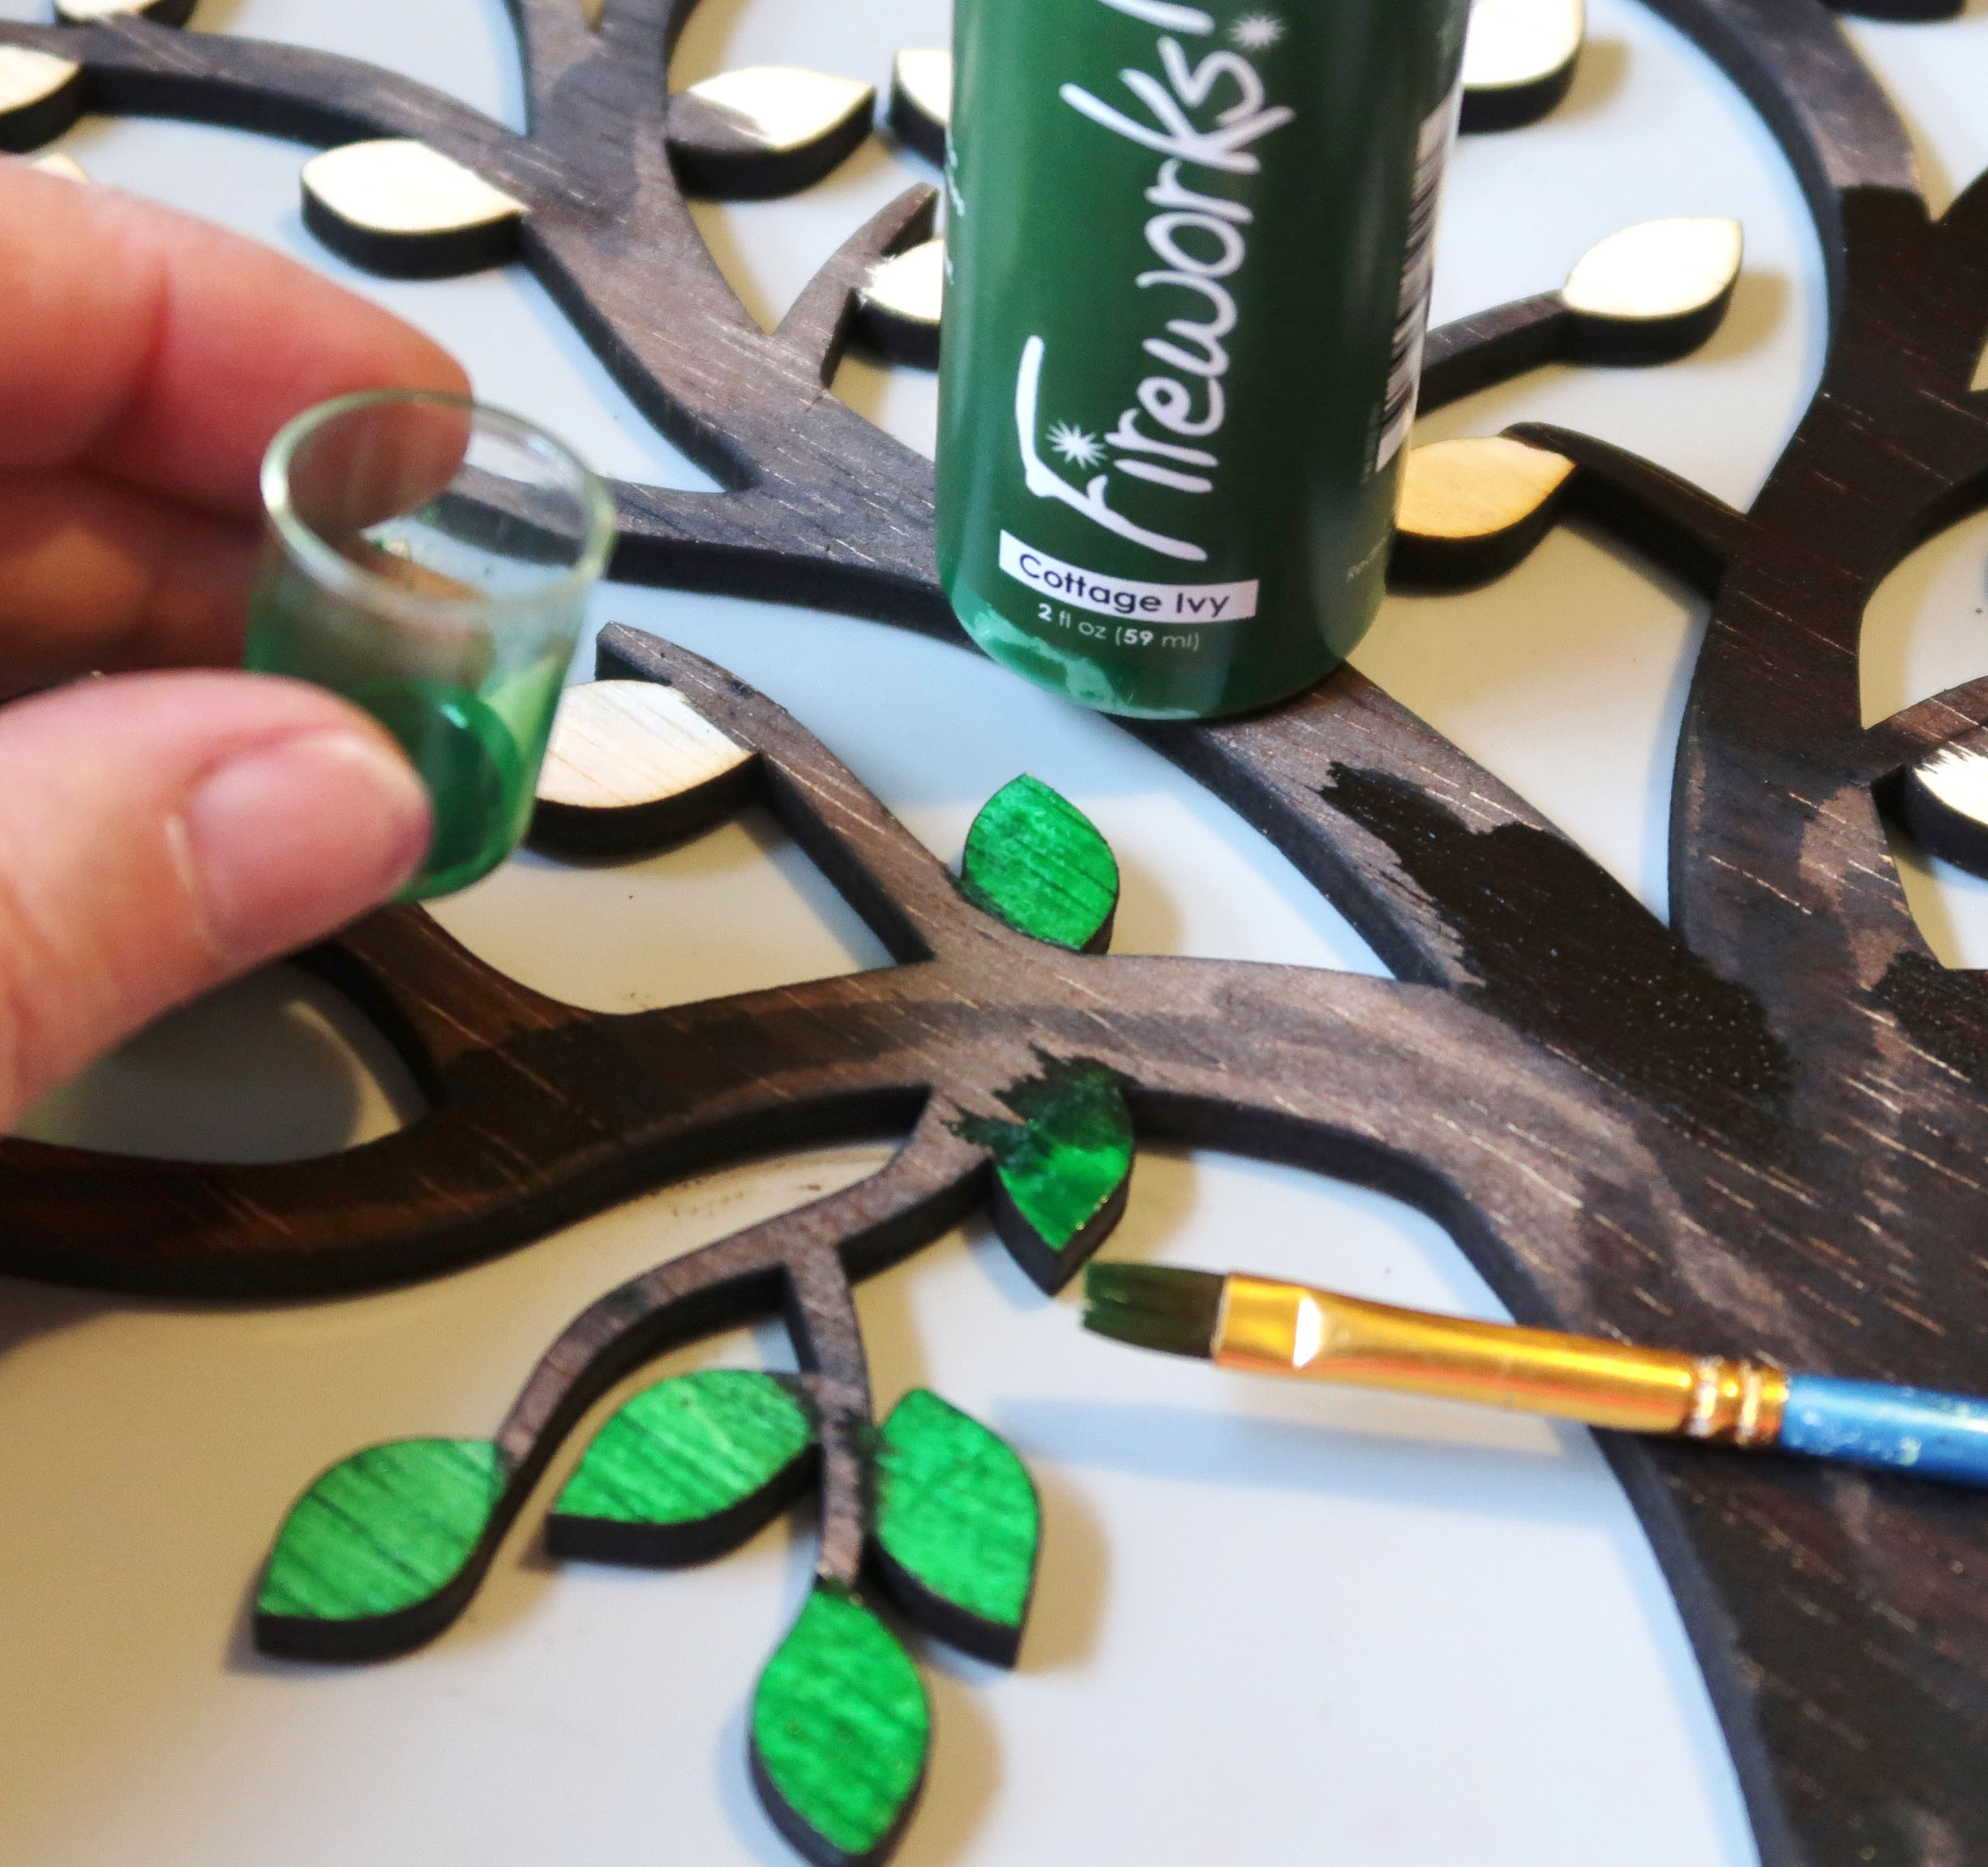
Paint the Cottage Ivy Fireworks! spray onto each of the leaves.


2021_04_Roni_MothersDay_FamilyTree (6)

Step 6

If desired, paint a second coat of ink where necessary and let the tree dry completely.


2021_04_Roni_MothersDay_FamilyTree (7)

Step 7

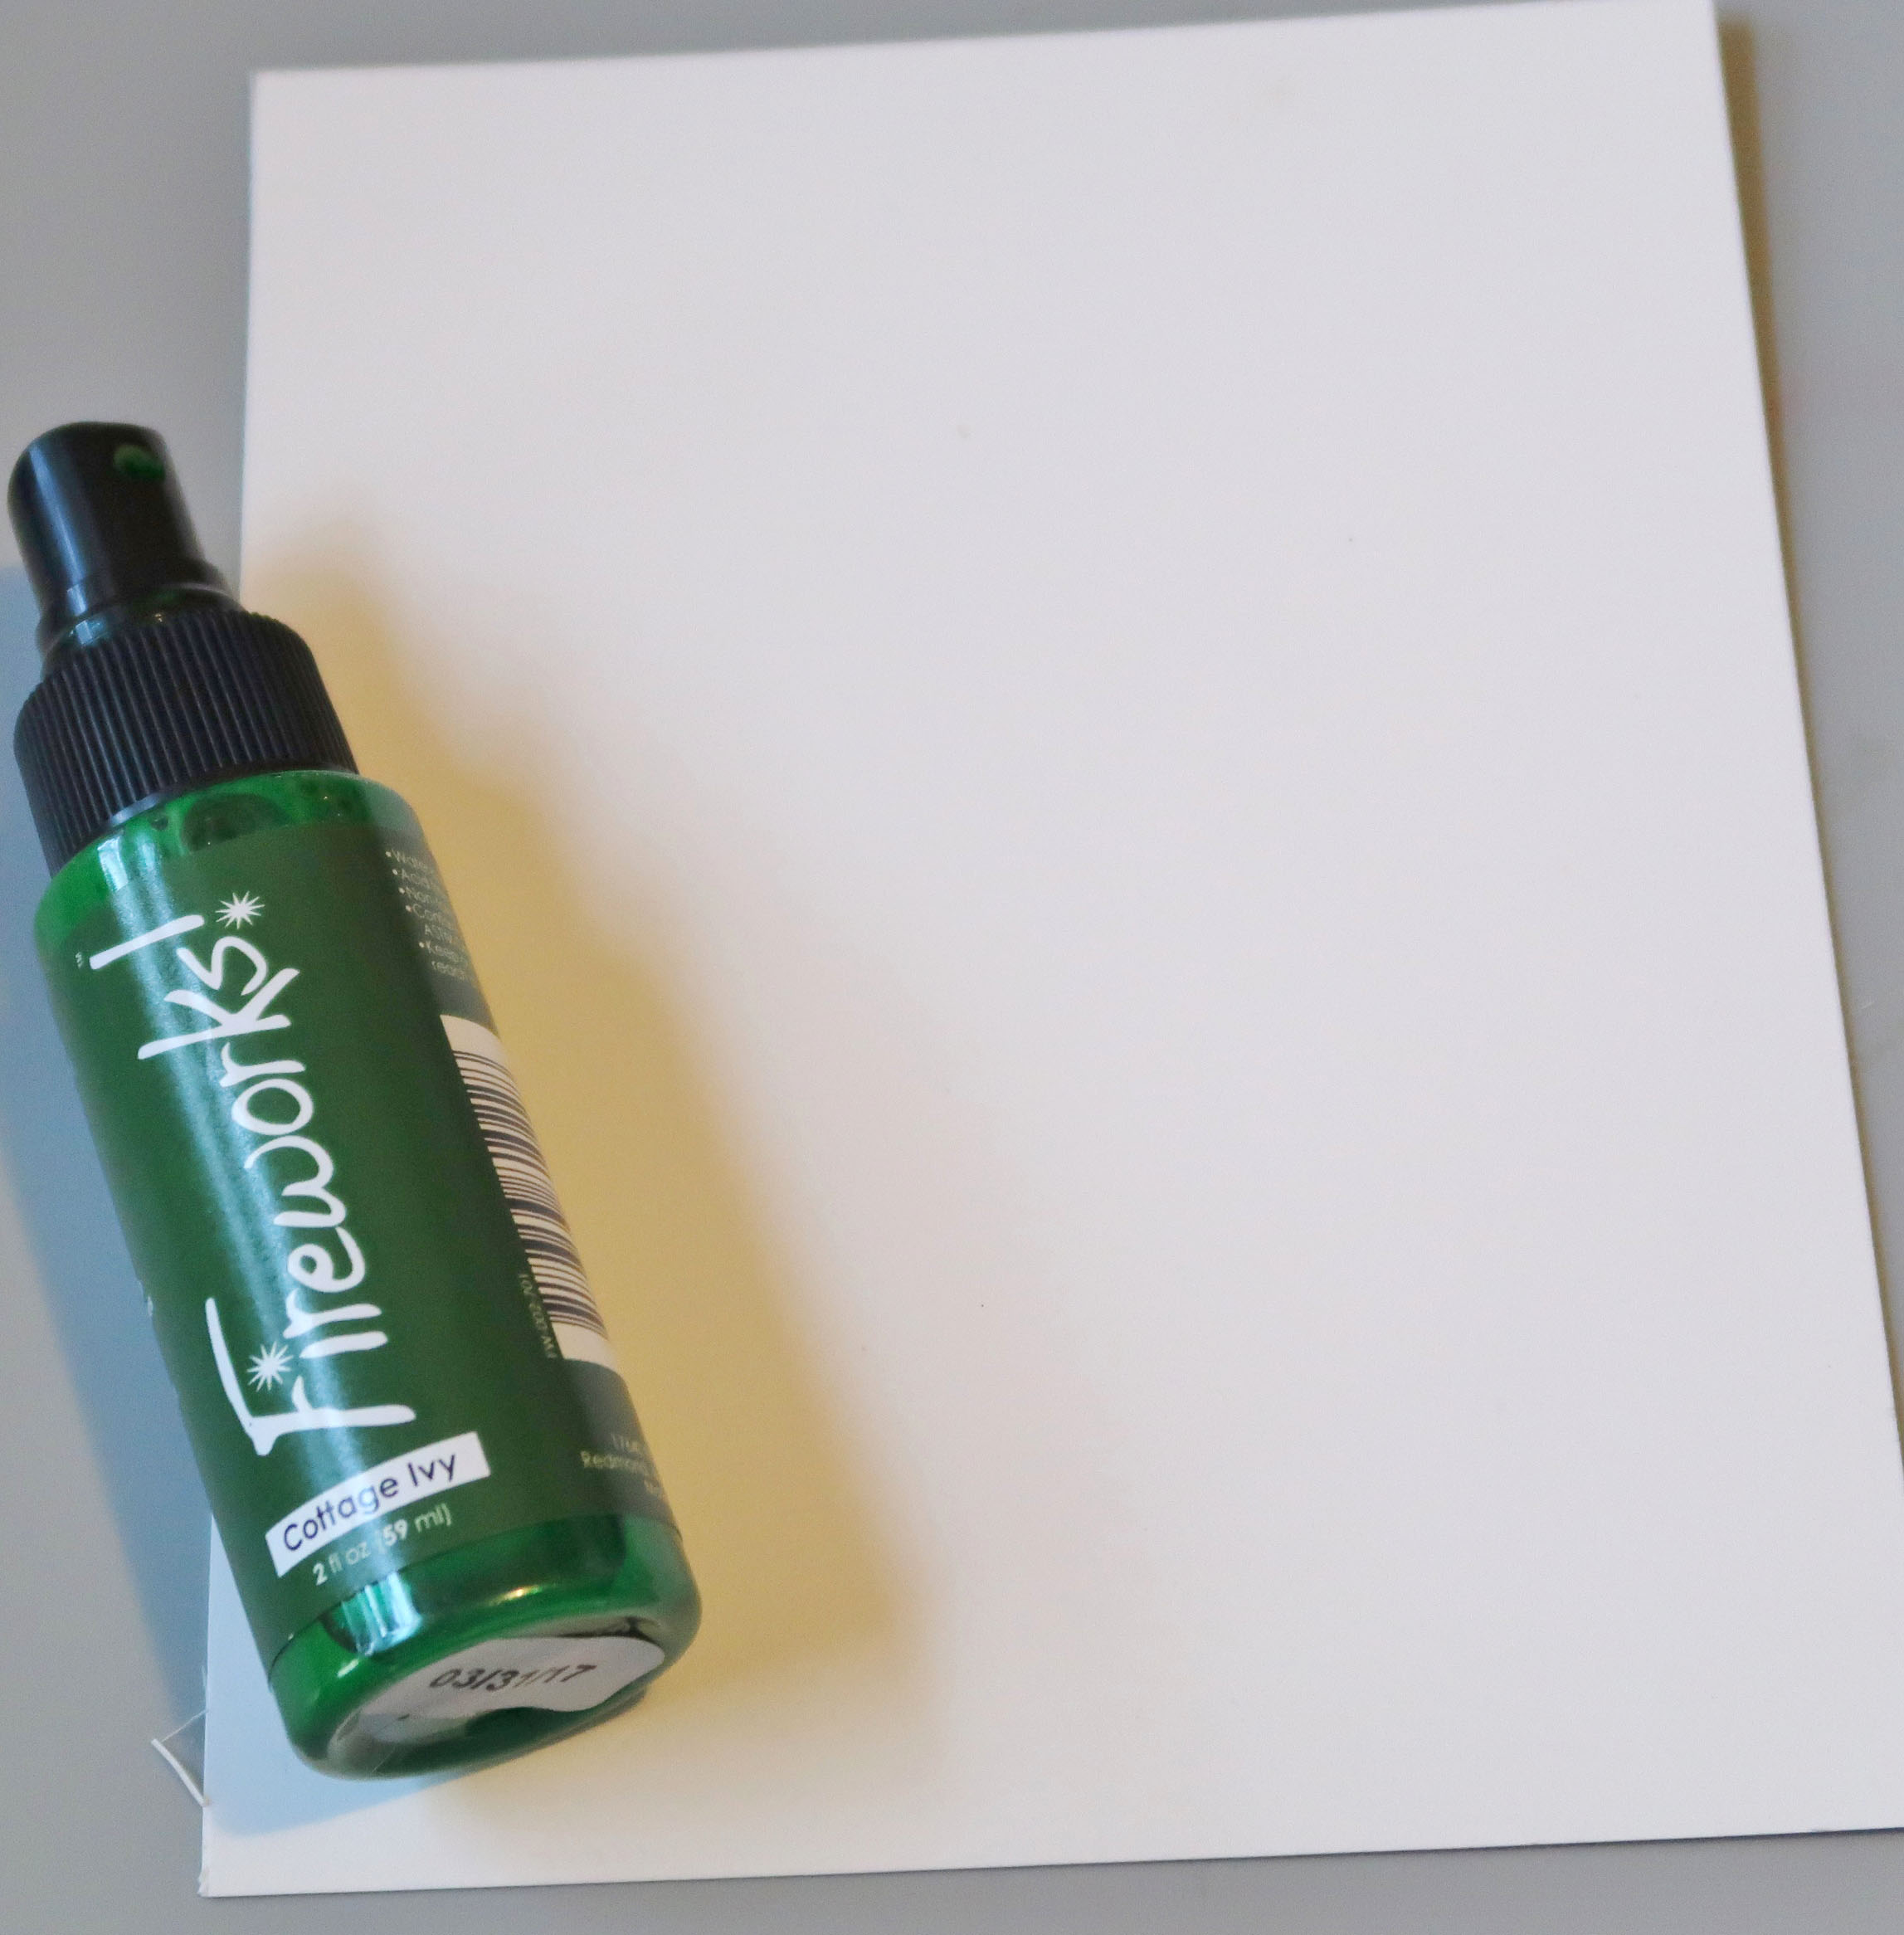
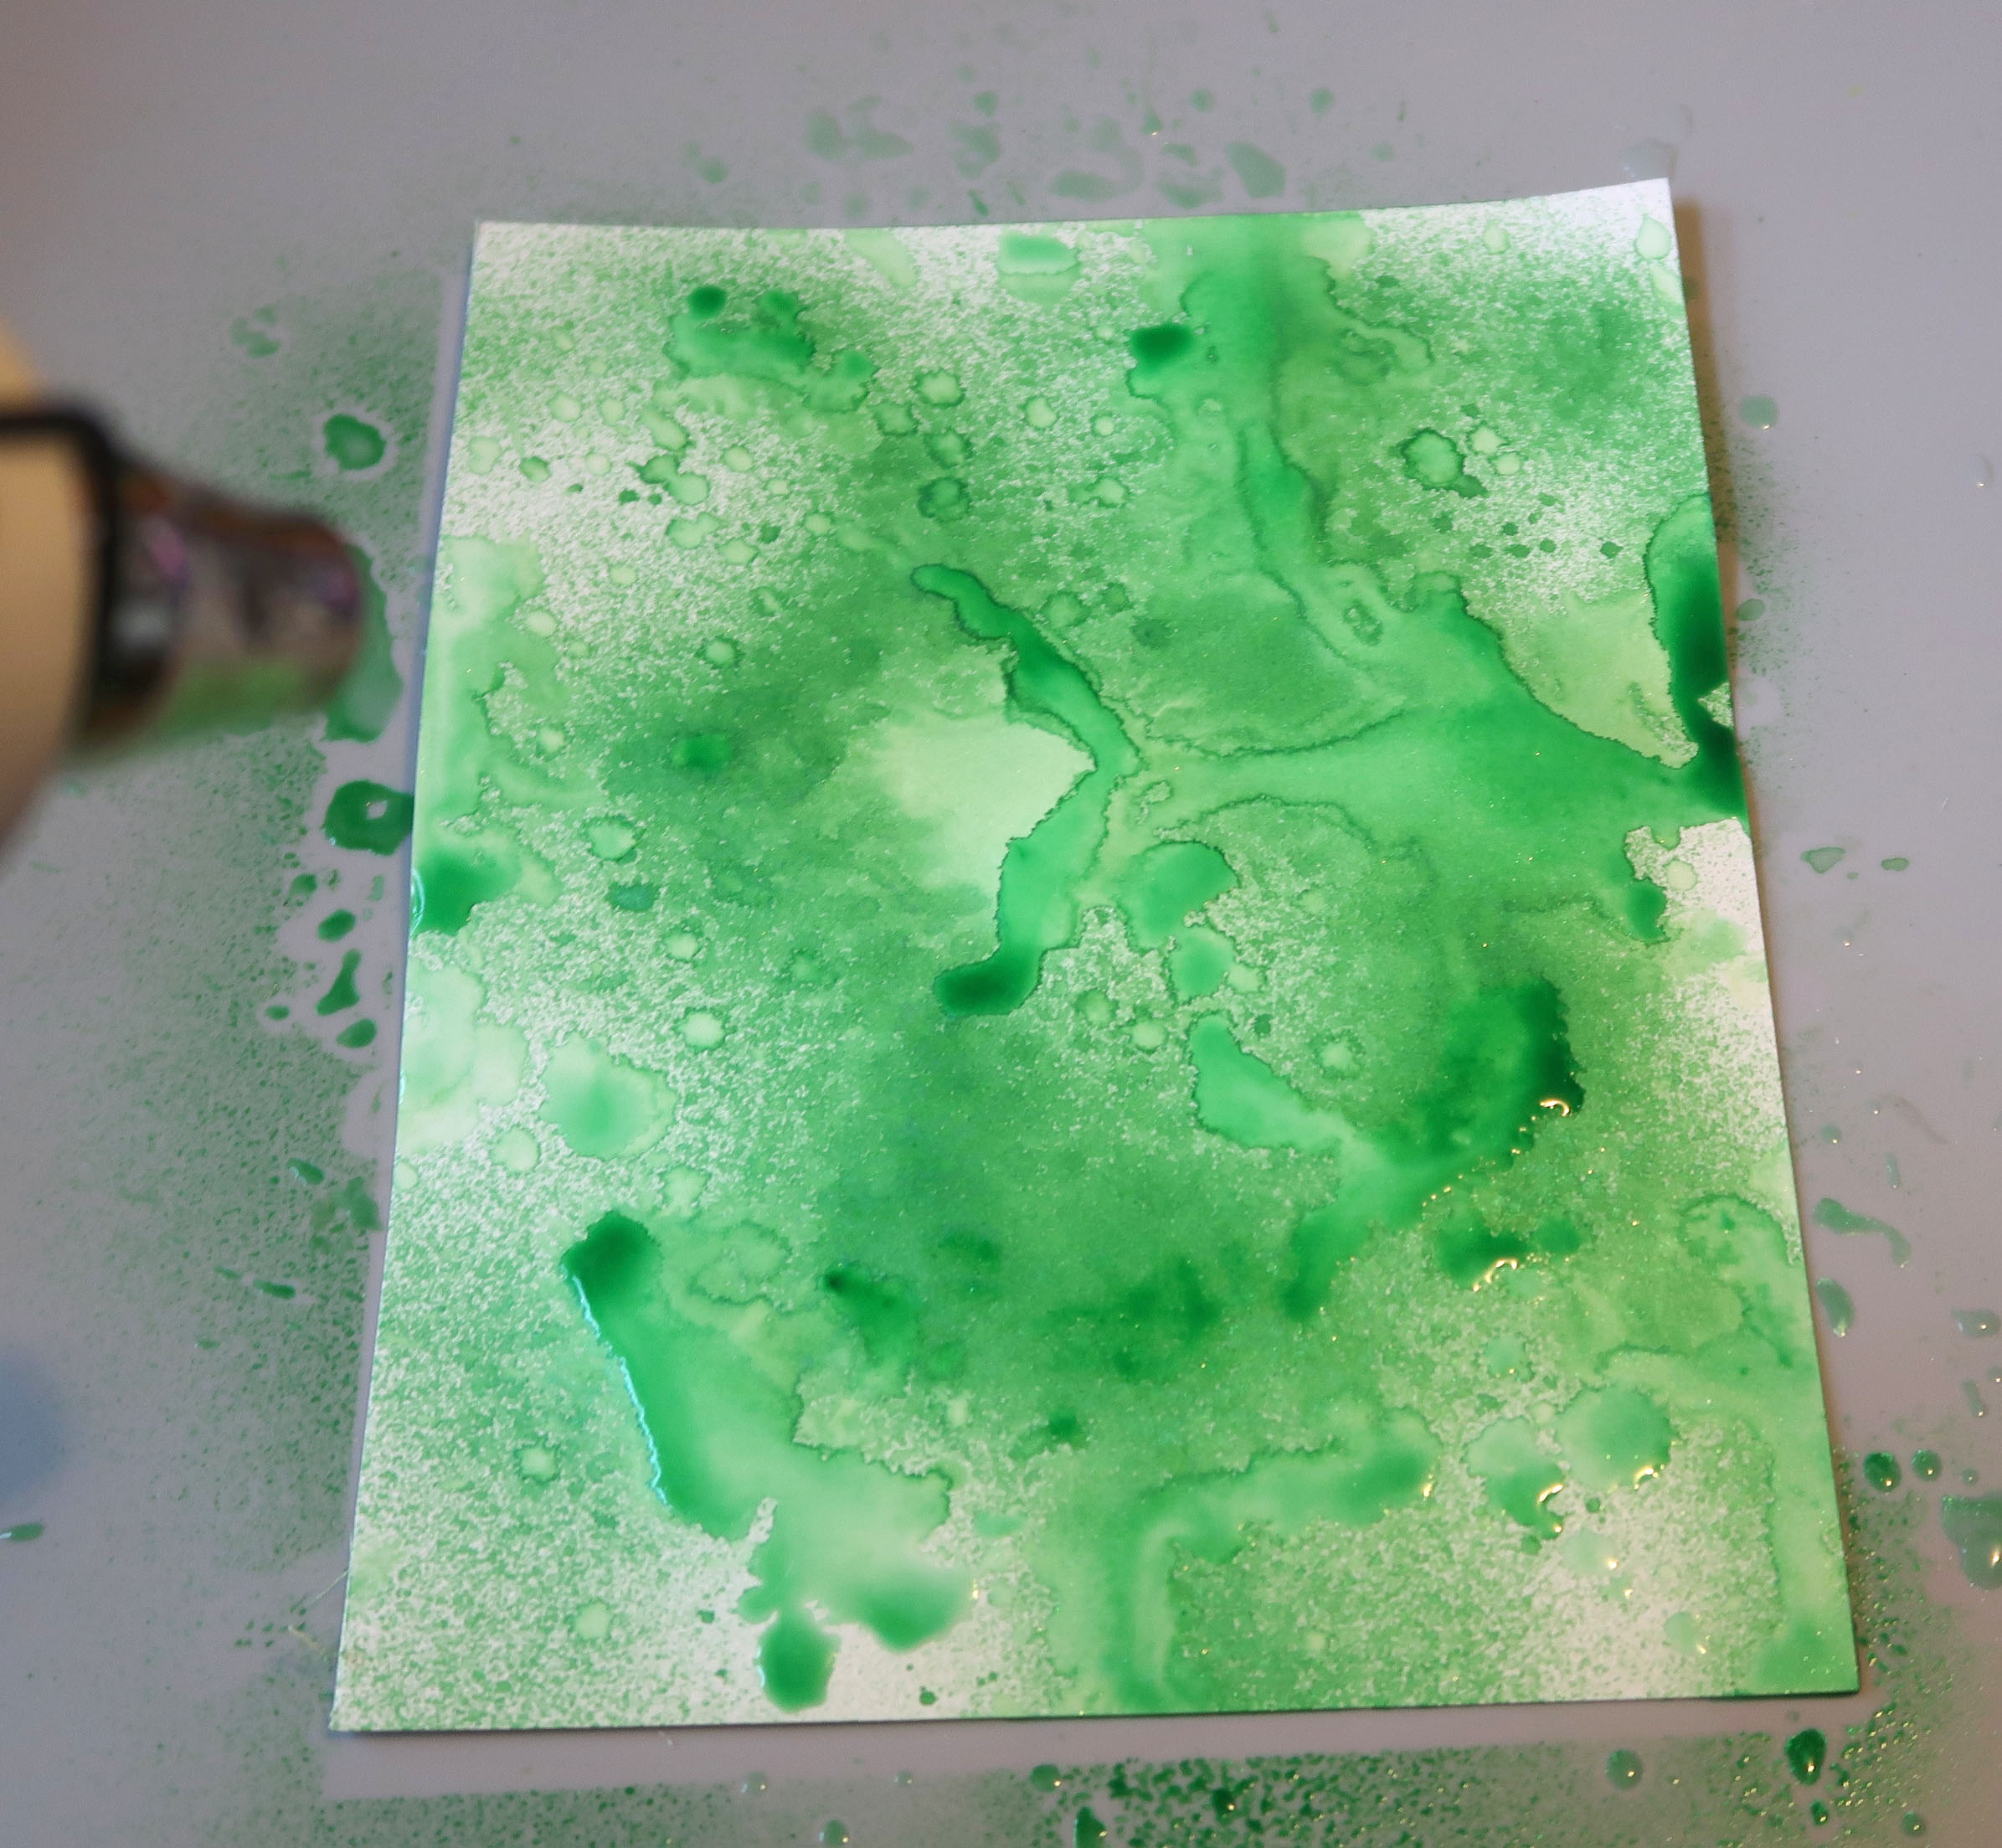
Spray a sheet of Bristol Cardstock with Cottage Ivy Fireworks! Shimmery Spray; add a spritz of water here and there.


2021_04_Roni_MothersDay_FamilyTree (8)

Step 8

Use a heat gun to mix the water and ink around on the cardstock.


2021_04_Roni_MothersDay_FamilyTree (9)

Step 9

Once dry, die cut desired number of leaves from the cardstock.


2021_04_Roni_MothersDay_FamilyTree (10)

Step 10

Ink the edges of each leaf with Pinecone VersaFine Clair Ink and a sponge dauber.


2021_04_Roni_MothersDay_FamilyTree (11)

Step 11

Use a Tuxedo Black Memento Dual Tip Marker to write the names of each family member on a leaf.


2021_04_Roni_MothersDay_FamilyTree_WM-IG


Step 12

Adhere the leaves to the tree as desired. You could add them in the form of a traditional family tree or place them randomly over the tree.


Art Supplies:

Imagine
Other
  • Creative Embellishments Home Décor Wood Tree
  • Paint Brush
  • Bristol Cardstock
  • Heat Tool
  • Craft Knife
  • Spellbinders – Leaf Dies
  •  

Learn How to Stamp on Tyvek Flowers with StazOn Inks

By Baerbel Born

2021_Baerbel_tyvek_flowers_02

Skill: Beginner

Time: 30 Minutes

In this video guest designer, Baerbel Born shows you how you can create a pastel look on any surface with a bright StazOn ink pad by using a background stamp. The sentiment in German “Liebe das Leben”  means “Love Life”.

Art Supplies

Imagine :

• StazOn  Mini Ink Pad St. Valentine (or any other color of your choice)

Other supplies:

• Flower die cut by Elisabeth Craft Design

• Tyvek envelope A4

• Face scrubber pad

• Brads (We R Memory Keepers)

• Design paper

• Love Washi Tape (Rayher)

• “Liebe das Leben” die from Kulricke (German Company)

How To Make A Quick and Easy Mother’s Day Card

Mom Card - Blog

by Annie Collins

Hello Crafty Friends – Annie Collins here with a fun and easy Mother’s Day card featuring Stazon and VersaMagic Inks.

Directions

Art Supplies

Imagine
Other
  •  
  • Recollections Brand 110# Cardstock: White
  • Accent Brand 80# Cardstock: Opaque White
  • Aspire Pellatics 80# Cardstock: Shimmer Gold
  • AcetateFoam Tape