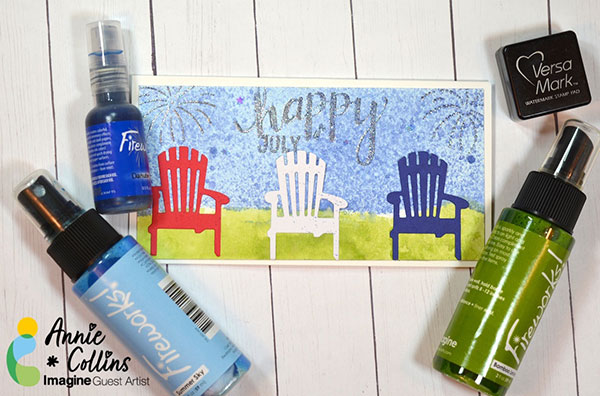
By Annie Collins
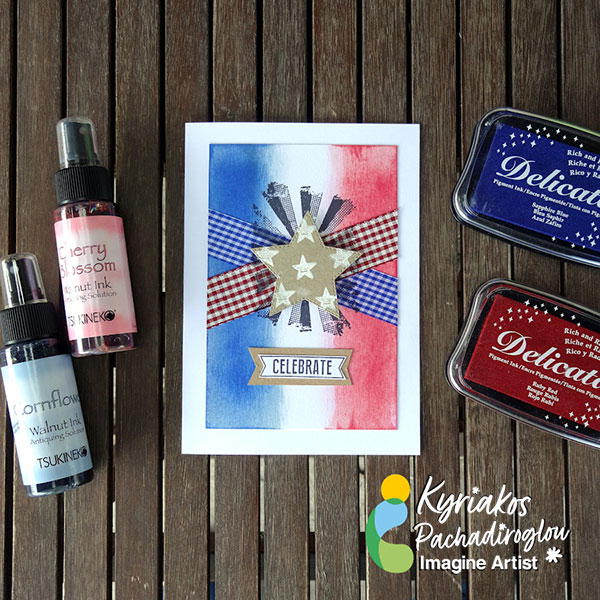
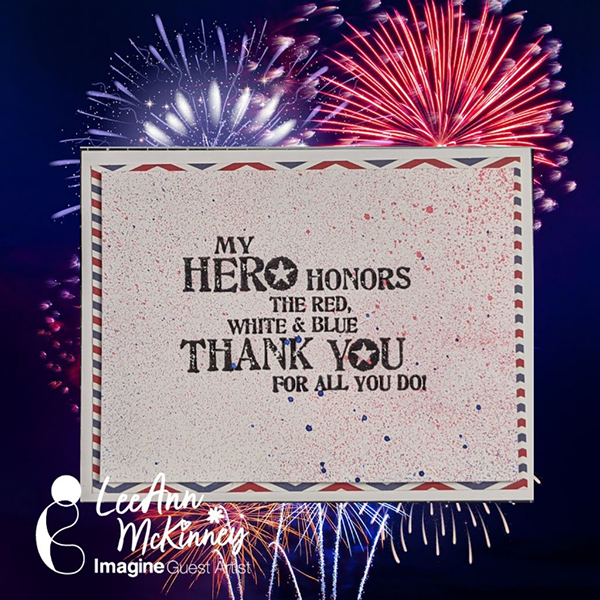
Hello Crafty Friends – Annie here with a fun July 4th mini slimline card, featuring Fireworks! Shimmery Sprays.
Directions:
Art Supplies:
Imagine
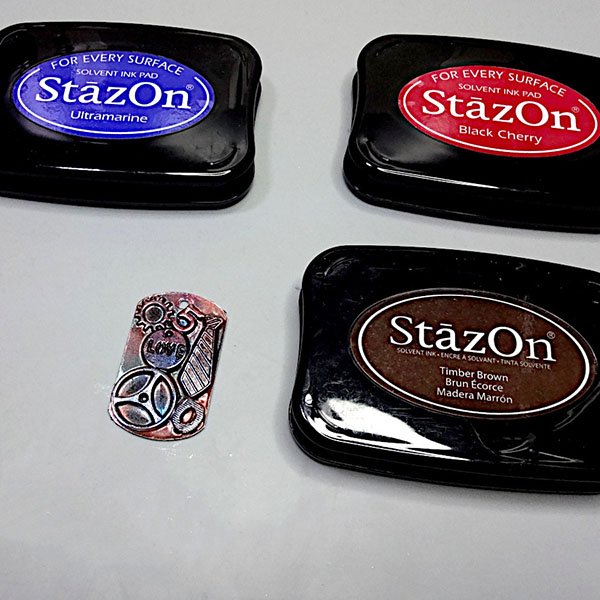
• Fireworks! Shimmering Spray: Bamboo Leaves, Summer Sky and Danube Blue
• Mboss Embossing Powder: Shimmering Night Sky, Silver and Irridescent
• Memento Marker: Tuxedo Black
Other:
• Hero Arts Stamp & Die Set: DC150 Happy
https://heroarts.com/
• Maker’s Movement Stamp: Sarcastic New Year
https://themakersmovement.com/MOS231-Sarcastic-New-Year-Stamp-Set/
• Gina Marie Designs: Adirondack Beach Chair
Adirondack Beach Chair – Gina Marie Designs
• Recollections Planner Die: Months
• Recollections Brand 110# Cardstock: White
• Recollections Brand 65# cardstock: Red, White & Blue