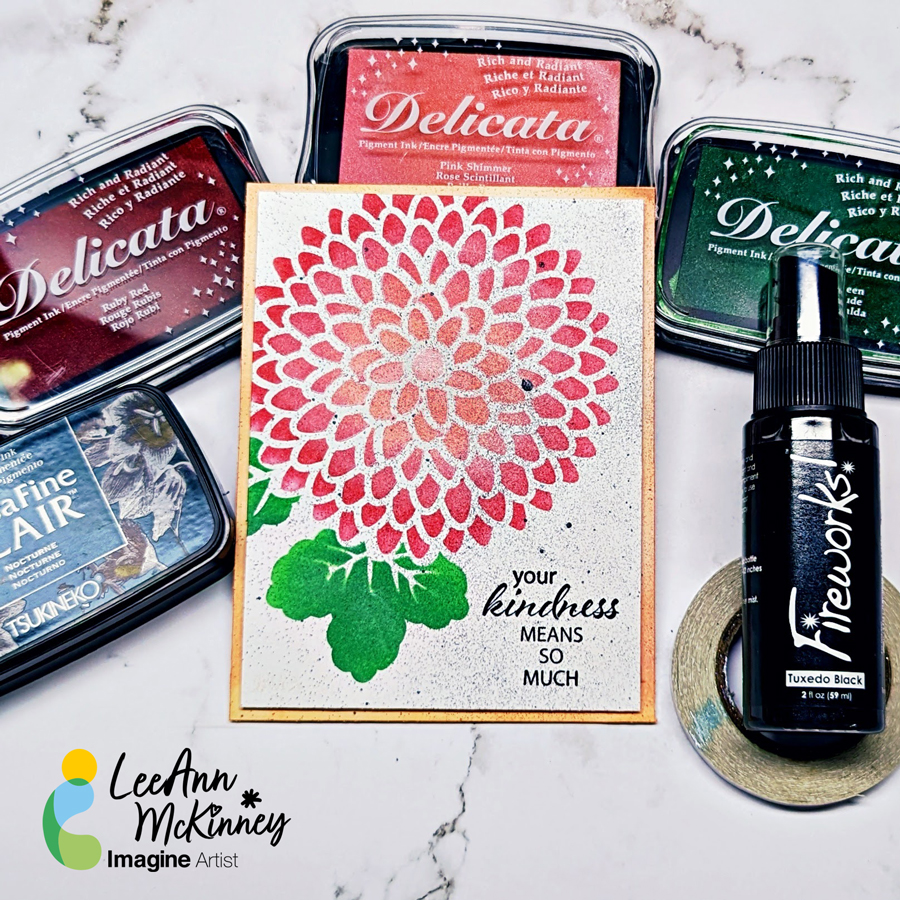
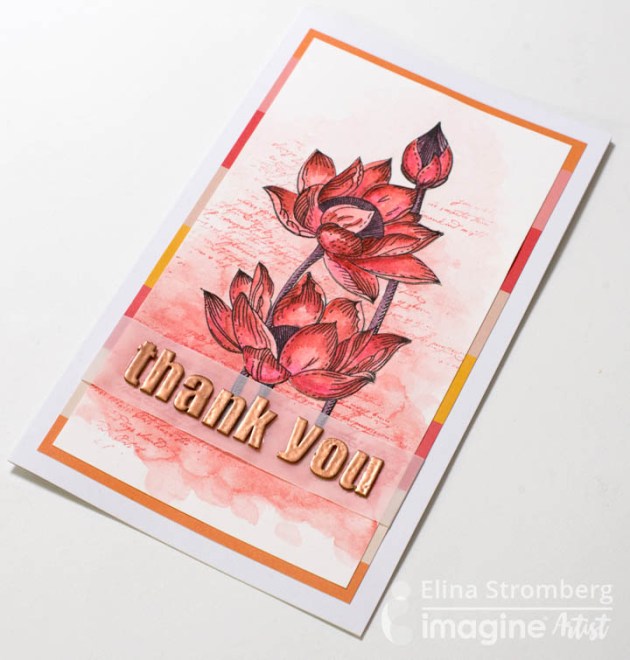
Our lovely color of the month is ‘Passion Red’. What a perfect choice for a bright blooming flower card! I wanted to create a soft water-color painted look on my card, and all I needed was my water-soluble Memento and VersaMagic stamping inks and my Craft Mat as my palette.
Tsukineko ink pads come in several beautiful red colors, so I chose a few of my favorite reds and used them both for coloring the card background and for painting the beautiful Penny Black flower image. The trick was to stamp the main image twice and to layer the fuzzy-cut image on top of the stamped background; by using this technique the main image on the finished card has a beautiful, crispy edge, and while painting you don’t need to worry about the wet color running over the stamped lines!
Skill: Intermediate
Time: 1.5 hours
Directions
Step 1
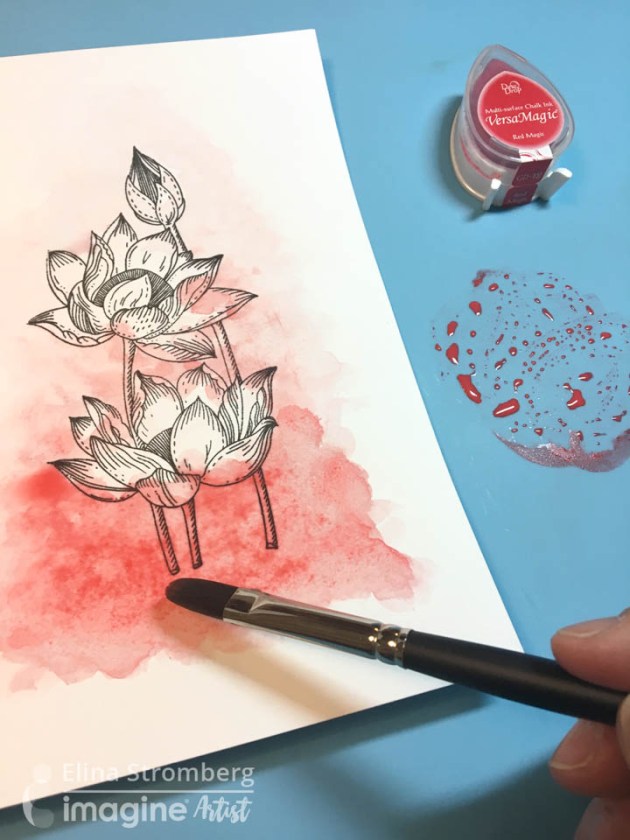
Stamp flower image with VersaFine ink on white watercolor or mixed media paper. Apply ‘Red Magic’ VersaMagic ink on the Craft Mat. Using a hint of water pick up the rich, creamy color with a brush and color the background. Apply more red pigment on the bottom, and mix the color with water to create a lighter color for the top of the card. Do not mind painting over the stamped image; it will be covered with a second image layer later. Let air dry or dry with a heat gun.
Step 2
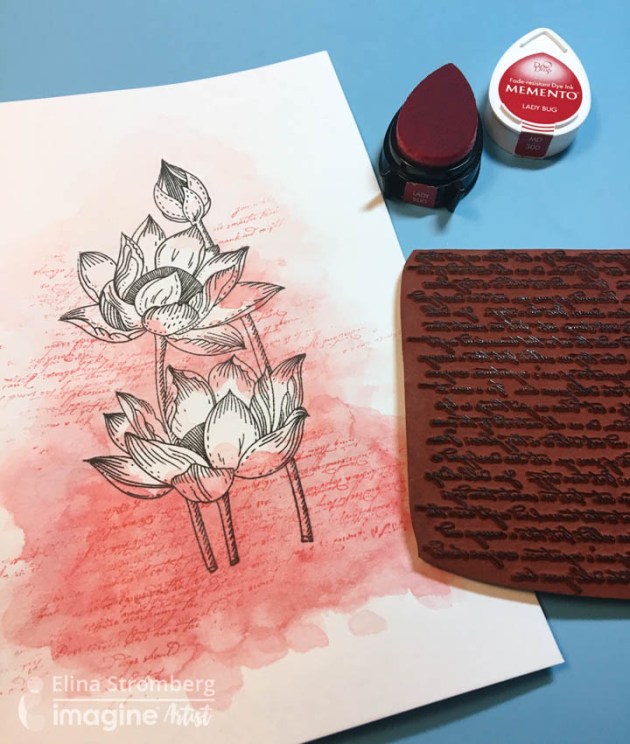
Add texture to the painted background. Stamp random patterns here and there using red ‘Lady Bug’ Memento color. Keep the stamp in your hand (do not attach to an acrylic stamping block) and bend it while stamping.

Step 3
Re-stamp the main flower image on another sheet of white mixed media paper. Color the image using a water brush and a few hues of red ink. I used Memento ‘Lady Bug’, bit darker red ‘Rhubarb Stalk’, dark purple ‘Sweet Plum’, and VersaMagic ‘Red Magic’ for coloring the background. Use the Craft Mat as your palette and apply more ink if needed. Once dry, cut out the image.

Step 4
Glue the fussy cut image on the background. Trim the background to size.

Step 5
Color the letters for the sentiment word. Press each chipboard letter on clear VersaMark ink. Pick up the letter with a tweezer, dab into copper embossing powder, and heat-set the powder by heating the chipboard on the Craft Mat. Glue letters on a strip of vellum. Fold ends of the vellum strips on the card background and secure them with double-sided tape. This will keep the strip in place; there’s no need to glue it on the card front.
Step 6
Mat card front on striped patterned paper and attach on the card base. Done!
Supplies
Imagine
Other
- White mixed media paper
- Brush
- Water brush
- Penny Black Stamps – Awaken
- Background pattern stamp
- White vellum
- Chipboard letters
- Scissors
- Tweezers
- Heat gun
- Glue
- Striped patterned paper
- White card base