By Neva Cole –
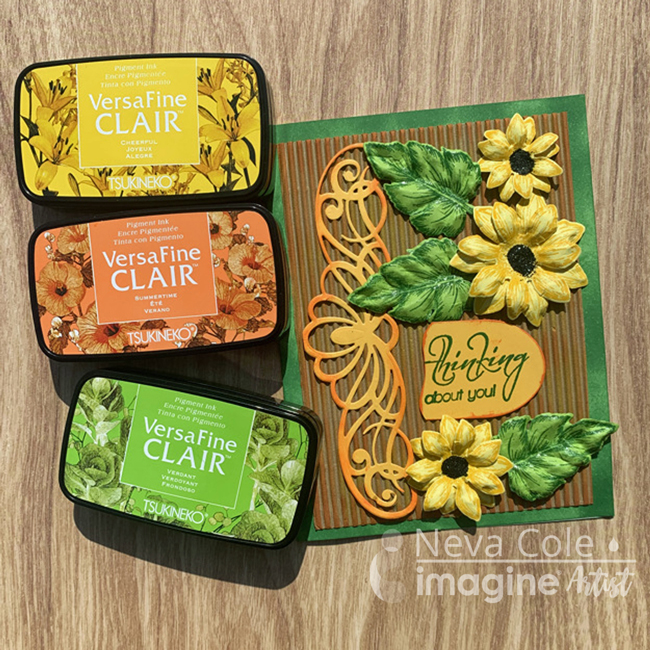
Versa Clair Fine is now my favorite pigment ink! So versatile and allowed me to create a beautifully colored card in just a few steps. This is one of the few cards that my husband has asked me to specifically make for a friend, it was easy to do with just a few inks, stamps, and dies!
Skill: Intermediate
Time: 2 hours
Directions:
Step 1:
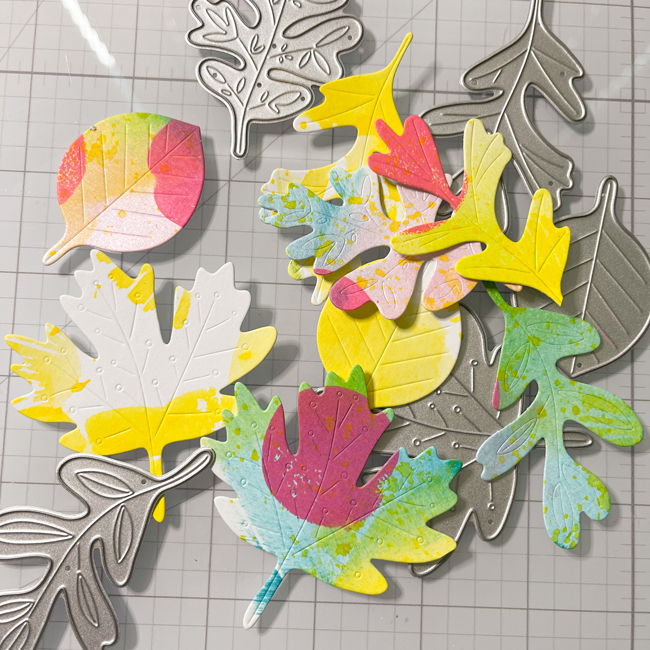
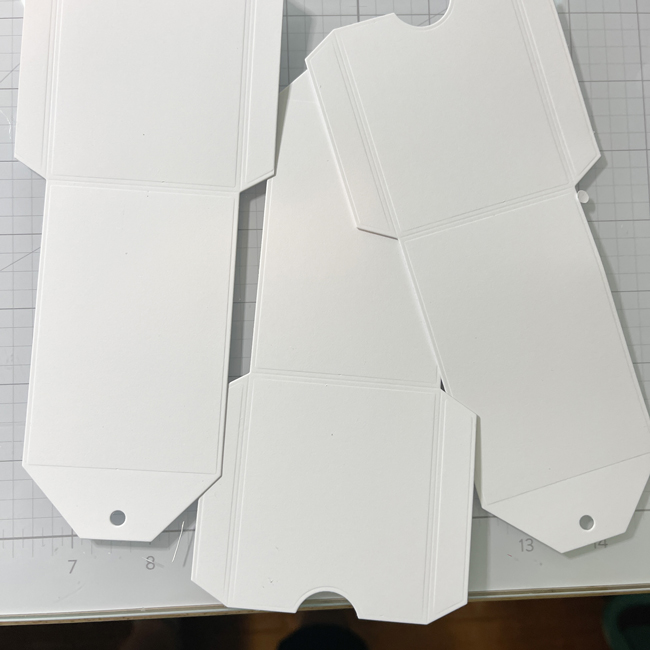
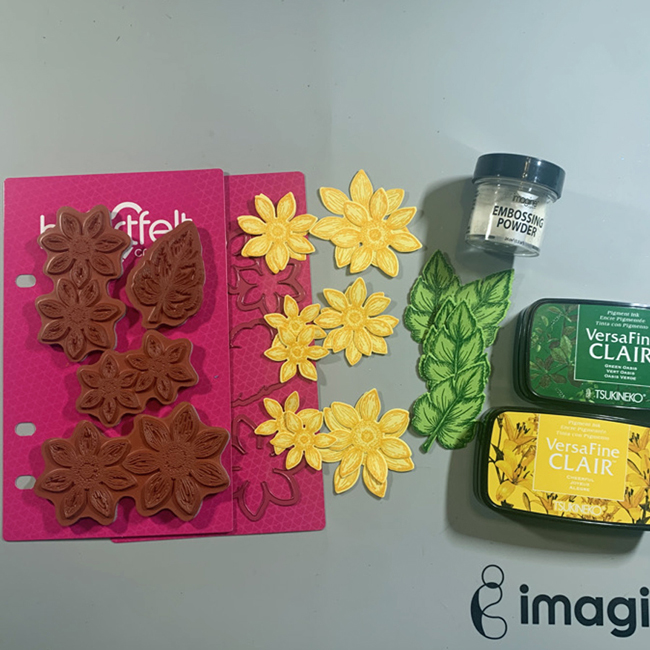
Stamp sunflower images on yellow cardstock with Versa Fine Clair Cheerful and heat emboss with clear embossing powder. Stamp leaf images on light green paper in Versa Fine Clair Green Oasis and heat emboss with clear embossing powder. Die cut with matching dies.

Step 2:
Place flowers and leaves face down in matching shaping mold and mist lightly with water. As the images are heat embossed, they will stay sharp and crisp. Close mold and pressure emboss.
Step 3:
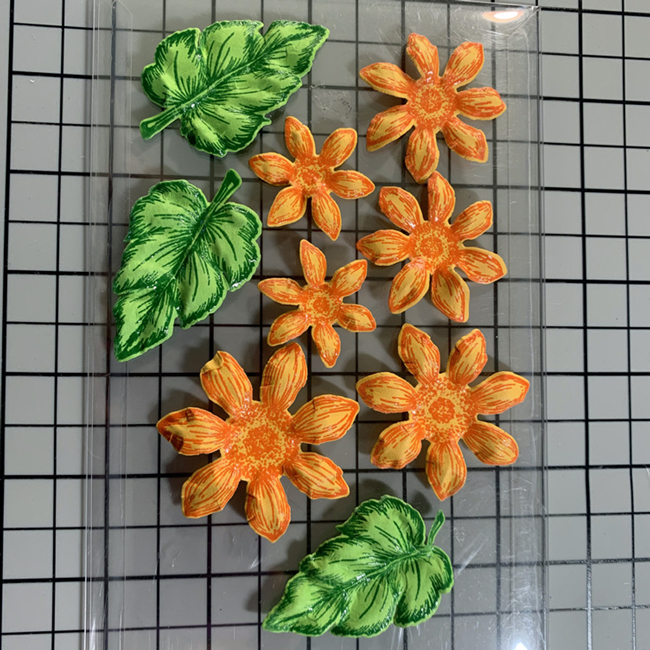
Remove flowers and leaves from mold and set aside to dry. Once dry assemble flowers with On Point Glue, adding black glitter to centers. (Not shown) Set aside to dry.

Step 4:
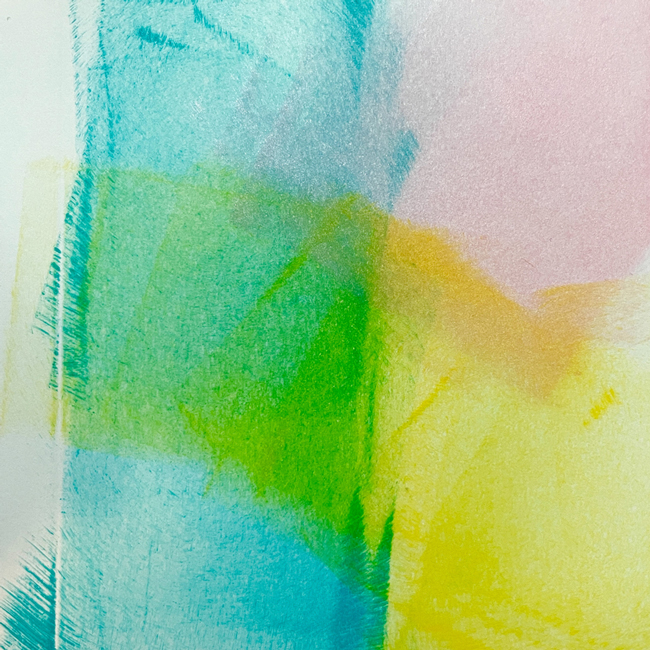
Ink the edges of an A7 size card with and ink dauber and Versa Fine Clair Green Oasis. Set aside to dry, as the ink is very juicy.
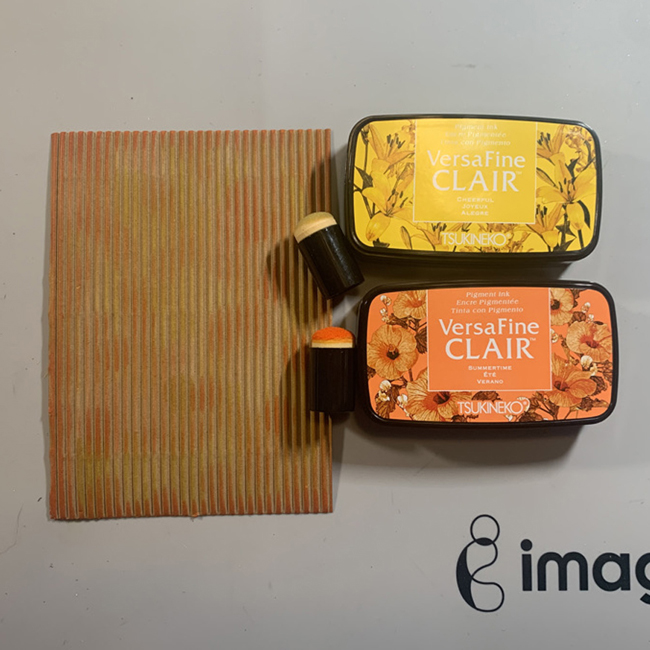
Step 5:
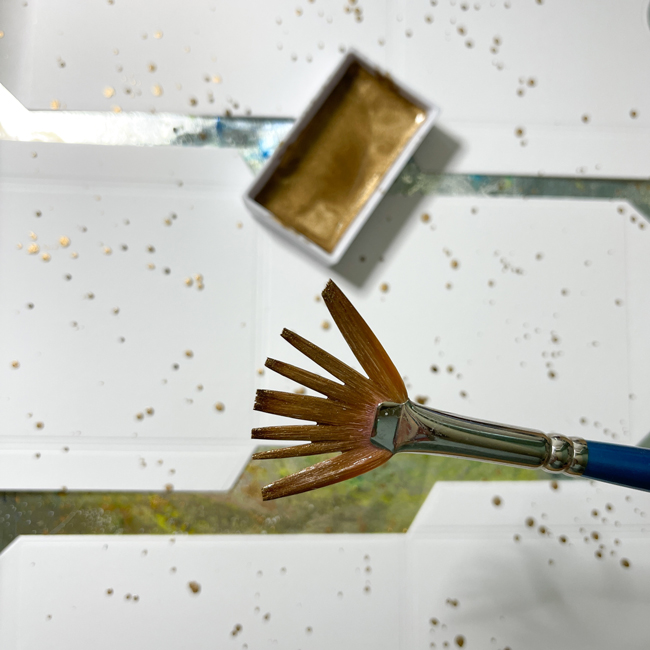
Sunflowers are a rustic flower, so corrugated cardstock seemed to be a good choice for a background. Versa Fine Clair in Cheerful and Summertime are inked randomly on the corrugated cardstock with ink daubers.
Step 6:
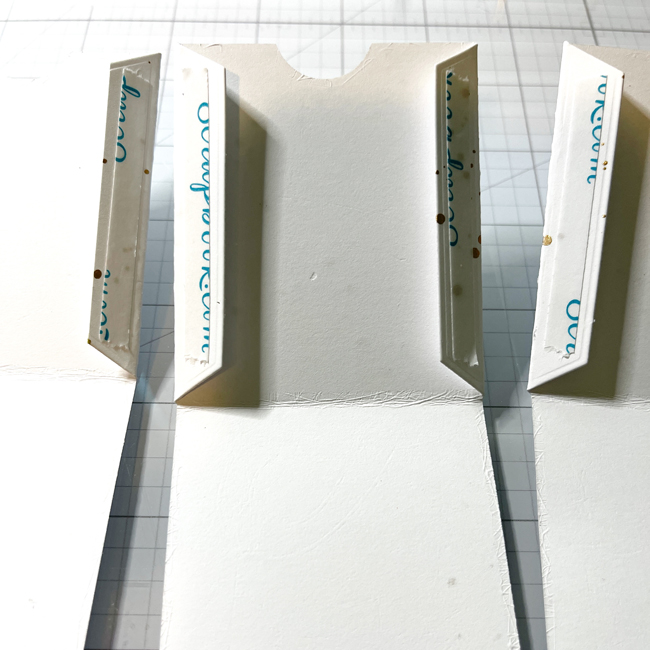
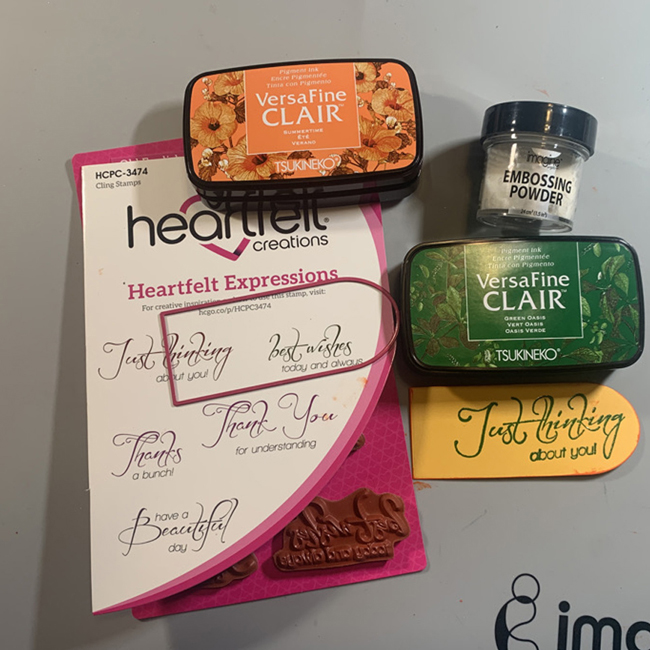
Ink the sentiment with Versa Fine Clair in Green Oasis and heat emboss with clear embossing powder. Die cut with die from the Eyelet Frame Gateway set. I trimmed off a portion of the sentiment, then edged the sentiment with Versa Fine Clair in Summertime.
Step 7:
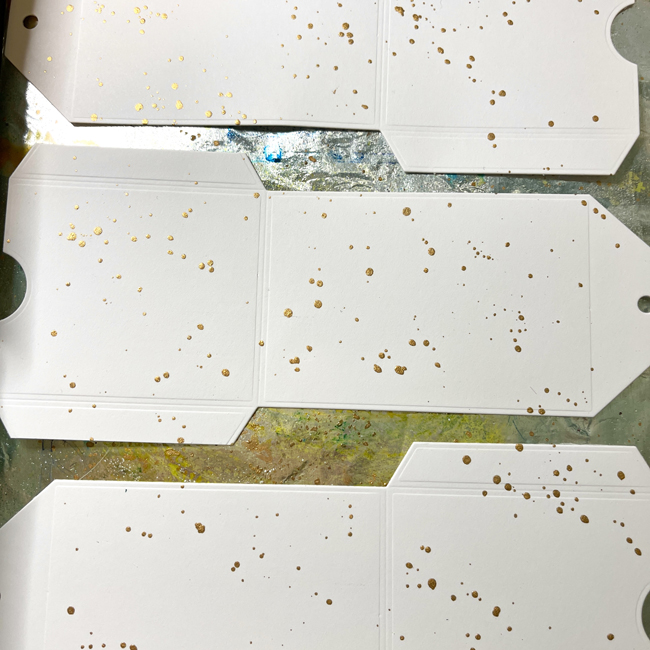
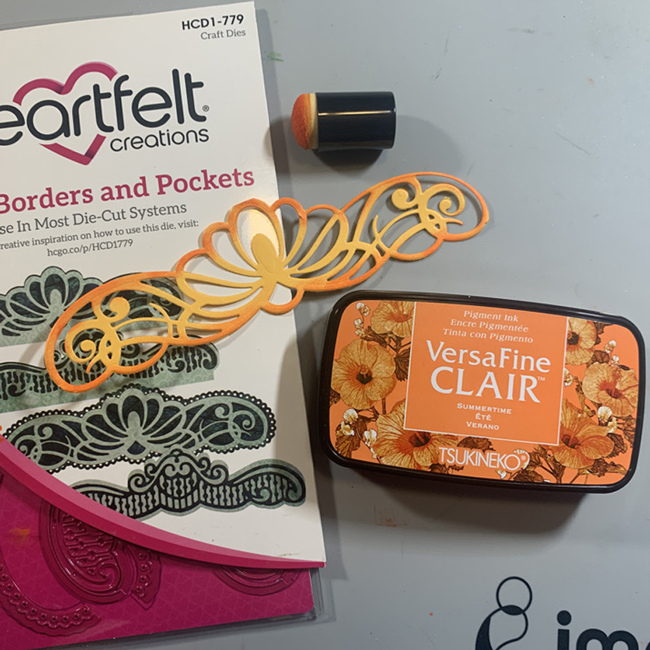
Die cut a Border from the Regal Boarder set using light orange paper. Gently shade the edges with Versa Fine Clair Summertime and an ink dauber.
Step 8:
Adhere corrugated cardstock to base card with Tear It Tape! Adhere border with On Point Glue Adhere flowers with Tear It Tape!
Art Supplies
Imagine:
• Versa Fine Clair–Cheerful, Green Oasis, Summertime
Other Supplies Used:
• Light yellow, light orange and light green cardstock
• Corrugated kraft cardstock
• Heartfelt Creations–Rustic Sunflower Stamp/Die/Shaping Mold, Regal Borders and Pockets Die, Eyelet Frame Gateway Die, Heartfelt Expressions stamp
• Black Glitter
• Die Cut machine
• Stamp Platform
Neva Cole
http://snippetscrafter.blogspot.com/
n.cole@windward-performance.com