Create a Beautiful Holy Night Card

2021-Nov-Neva-HolyNightCard_IG

By Neva Cole –

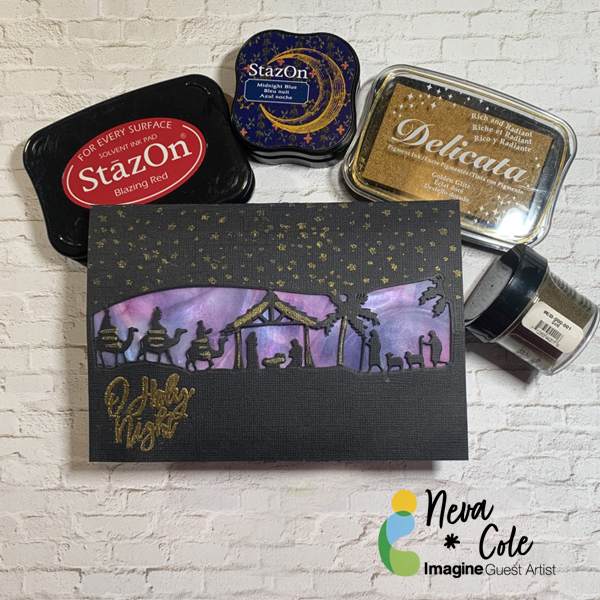
Today’s tutorial will feature several Imagine products, Delicata, StazOn, and Vertigo.  Using silhouette style die cut creates a stunning yet quick and easy Christmas Card.

Skill:  Beginner

Time:  30 Minutes

Directions:
2021-Nov-Neva-HolyNIghtCard-step1

Step 1

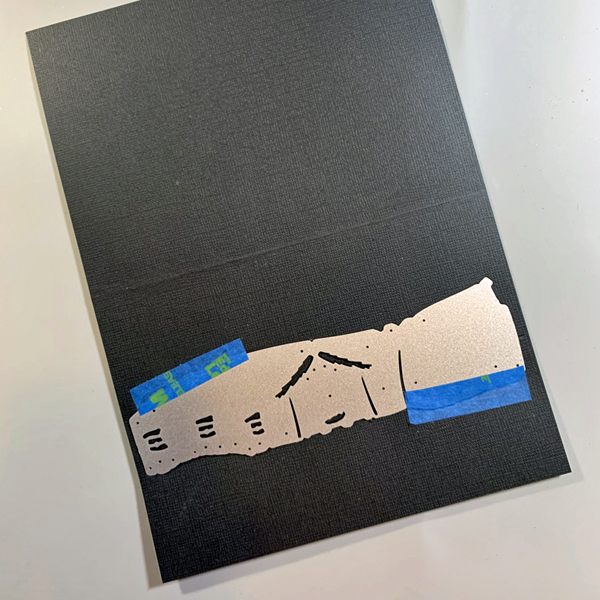
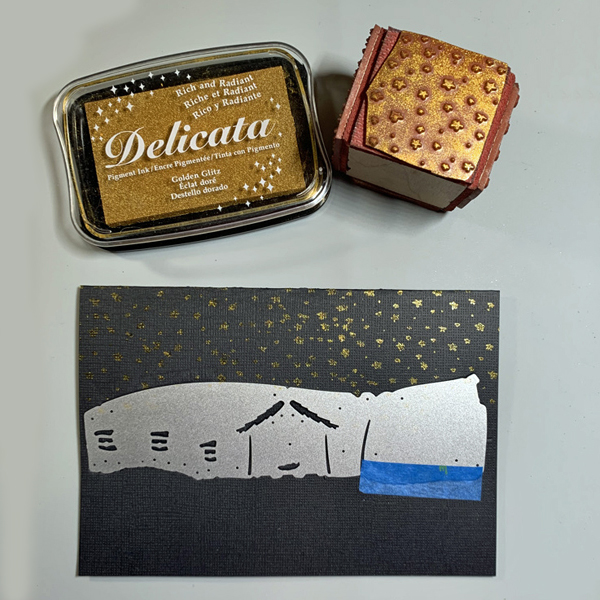
Trim black cardstock to 6 ½” x 9” and fold in half.  Center die on the front panel of the card base and die cut.
2021-Nov-Neva-HolyNIghtCard-step2

Step 2

Leave the die in place and stamp the starry background with Delicata Golden Glitz.
2021-Nov-Neva-HolyNIghtCard-step3

Step 3

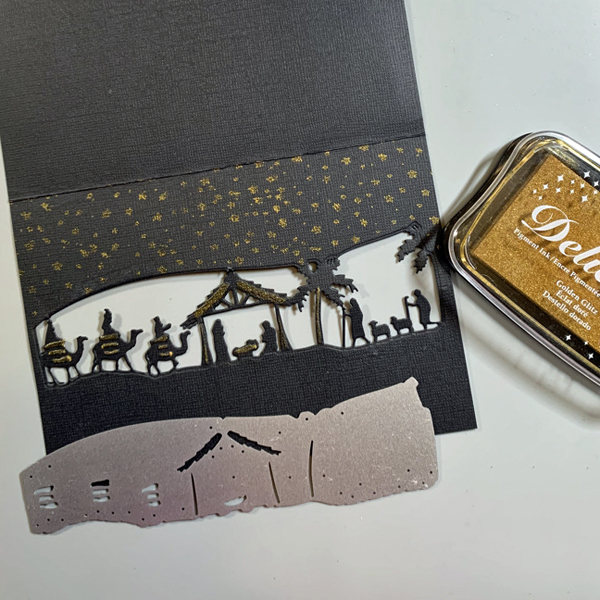
Use a Fantastix Brush Tip to brush in details left open in the die.  Photo shows the die removed after this step.
2021-Nov-Neva-HolyNIghtCard-step4

Step 4

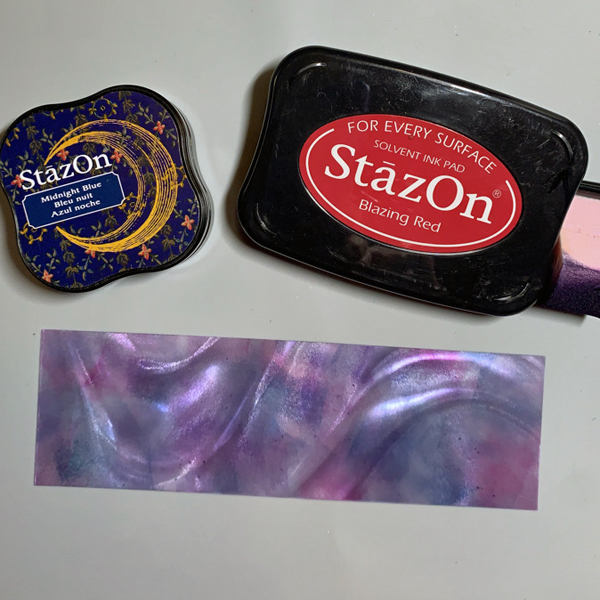
Trim a section of Taffeta Vertigo to 2” x 6 3/8”.  Use an Ink Blusher to build layers of color in StazOn Blazing Red and Midnight Blue.  As the color layers blend, the red, purple, and blue along with the Taffeta Vertigo creates a stunning night sky.
2021-Nov-Neva-HolyNIghtCard-step5

Step 5

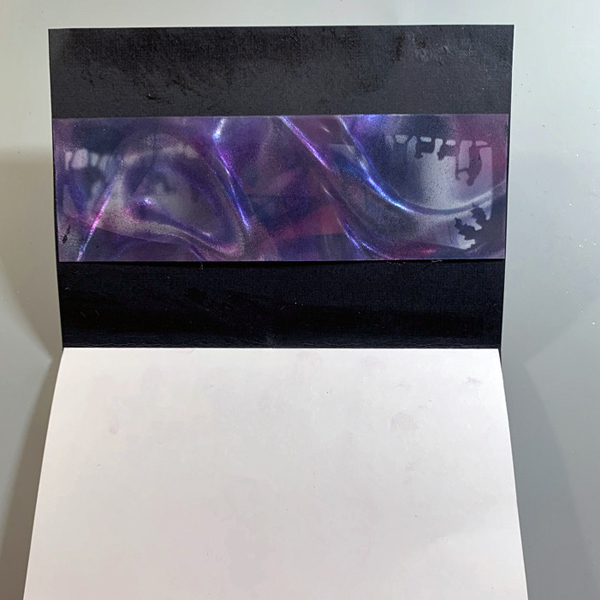
Adhere Vertigo behind the opening in the die with small dots of On Point Glue.  I glued around the edge and behind each small portion of the die scene.  Trim white cardstock to 6 3/8” x 8 ¾” and fold in half.  Adhere to the inside back of the card with Tear It! Tape.
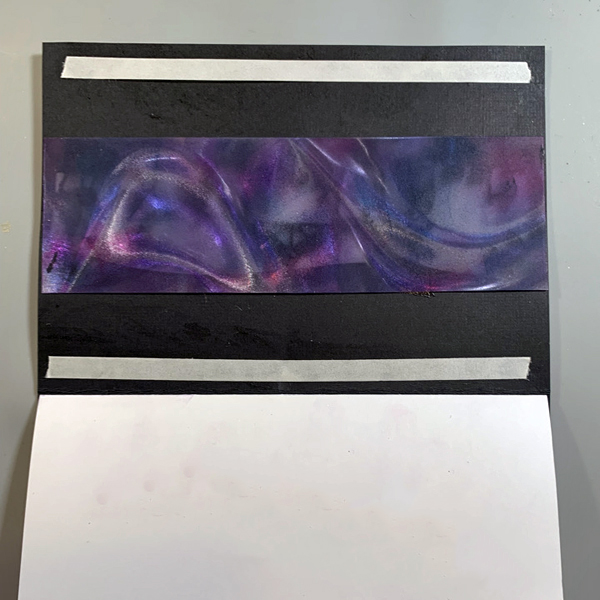
2021-Nov-Neva-HolyNIghtCard-step6

Step 6

Apply Tear It! Tape to the front inside of the card and fold card closed.  This allows the card to compensate for the two layers of cardstock.
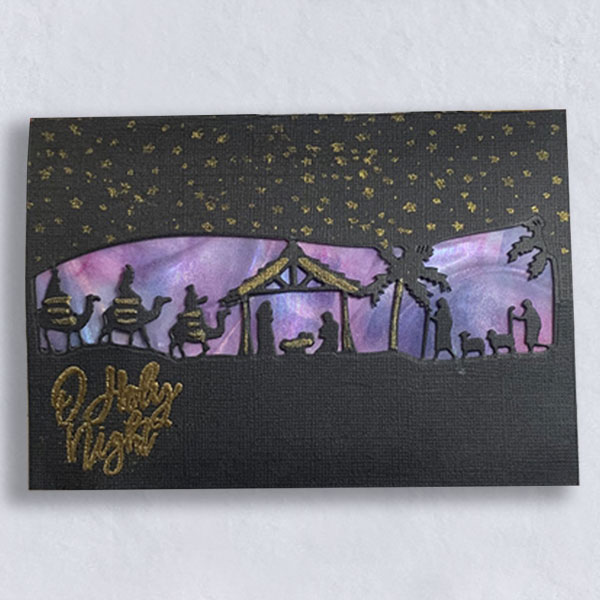
2021-Nov-Neva-HolyNIghtCard-step7-2

Step 7

Stamp Oh Holy Night sentiment in Delicata Golden Glitz and heat emboss with Gold Embossing Powder.

Art Supplies

Imagine
Other
  • Gemini Follow the Star Die
  • Neto Stuff Star stamp
  • Recollections Christmas Sentiments
  • Black and White cardstock

Wow your Dinner Guests with Stylist Hand Stamped Autumn Leaves

leaves-table-650

By Kyriakos Pachadiroglou –

Gather large leaves and stamp them with your favorite stamps and StazOn inks. Protect the leaves with the Creative Medium for a long lasting result. Decorate a holiday table, make an autumn wreath, add them to gift bags or to any seasonal project.

Skill: Beginner

Time: 1 Hour


Directions:

2021-nov-kyriakos-stamped-leaves-step1

Step 1

Gather leaves that are not completely dry. If they are not flat enough, use paper towels, spray with water and carefully press to flatten.


2021-nov-kyriakos-stamped-leaves-step2

Step 2

Cover the leaves on both sides with Creative MEDIUM using an Ink Blusher.


2021-nov-kyriakos-stamped-leaves-step3

Step 3

Stamp with StazOn Jet Black ink and your favorite stamp.


2021-nov-kyriakos-stamped-leaves-step4

Step 4

Add some color by distressing lightly with StazOn Black Cherry ink pad.


2021-nov-kyriakos-stamped-leaves-step5
Step 5

Stamp the thank you sentiment and tear the paper on all sides to make tags.


2021-nov-kyriakos-stamped-leaves-step6
Step 6

Distress the tags with MEMENTO Rich cocoa.


Art Supplies:

Imagine

• StazOn – Jet Black, Black Cherry

• MEMENTO – Rich Cocoa

• Creative MEDIUM – Clear

• Sponge Daubers

• Ink Blushers


Other

• Large Leaves

• Precious Remembrance School Stamp Set

• Kaiserkraft – Tea at Elsie’s Stamp Set

• Natural Color Heavy Card Stock


Learn How to Stamp with Leaves to Create a Beautiful Thank You Card

2021-nov-kyriakos-thank-you-card-771

By Kyriakos Pachadiroglou –

Use a small leaf to stamp on a card with MEMENTO ink and color real leaves with StazOn ink to decorate it. Seal the leaves with Creative MEDIUM to protect and easily use them as embellishments.

Skill: Beginner

Time: 1 Hour

Directions:

2021-nov-kyriakos-thank-you-card-step1

Step 1

Place Tack’ N Peel on a stamping block and set a leaf. Cut around the leaf using a sharp blade and remove the Tack’ N Peel.


2021-nov-kyriakos-thank-you-card-step2

Step 2

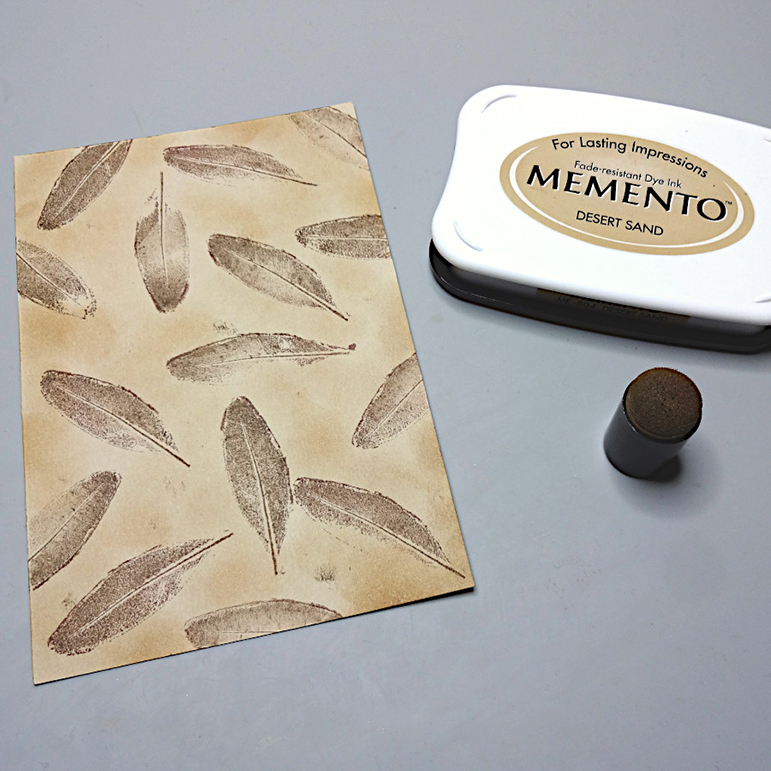
Stamp with MEMENTO Rich cocoa on a 4x6in piece of card stock.


2021-nov-kyriakos-thank-you-card-step3

Step 3

Distress with MEMENTO Desert sand.


2021-nov-kyriakos-thank-you-card-step4

Step 4

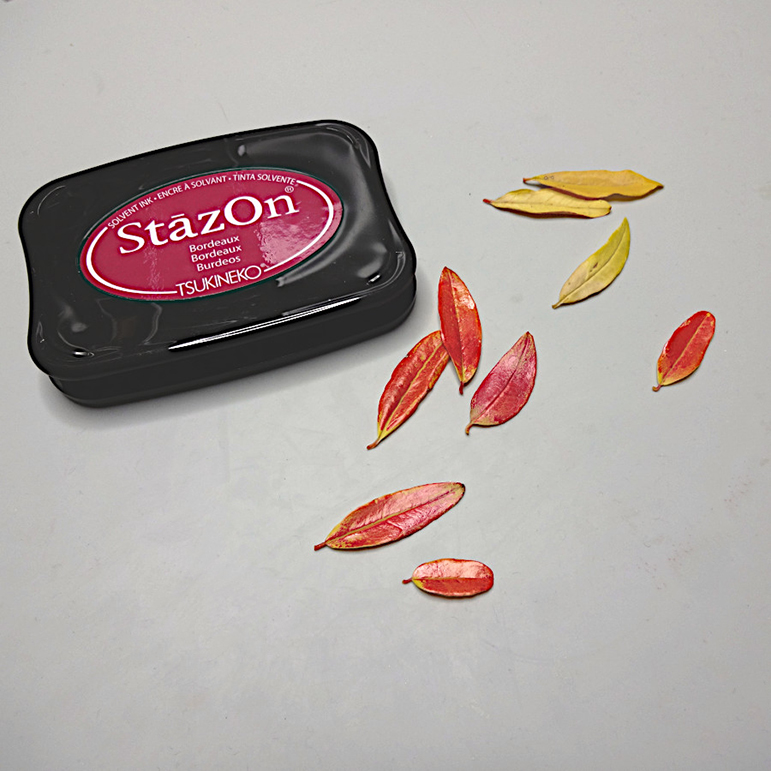
Color leaves with StaZon Black cherry ink pad.

2021-nov-kyriakos-thank-you-card-step5
Step 5

Cover all the leaves with Creative MEDIUM using an Ink blusher.


2021-nov-kyriakos-thank-you-card-step6
Step 6

Stamp a thank you sentiment with StazOn Black cherry and cut around.

2021-nov-kyriakos-thank-you-card-step7


Step 7

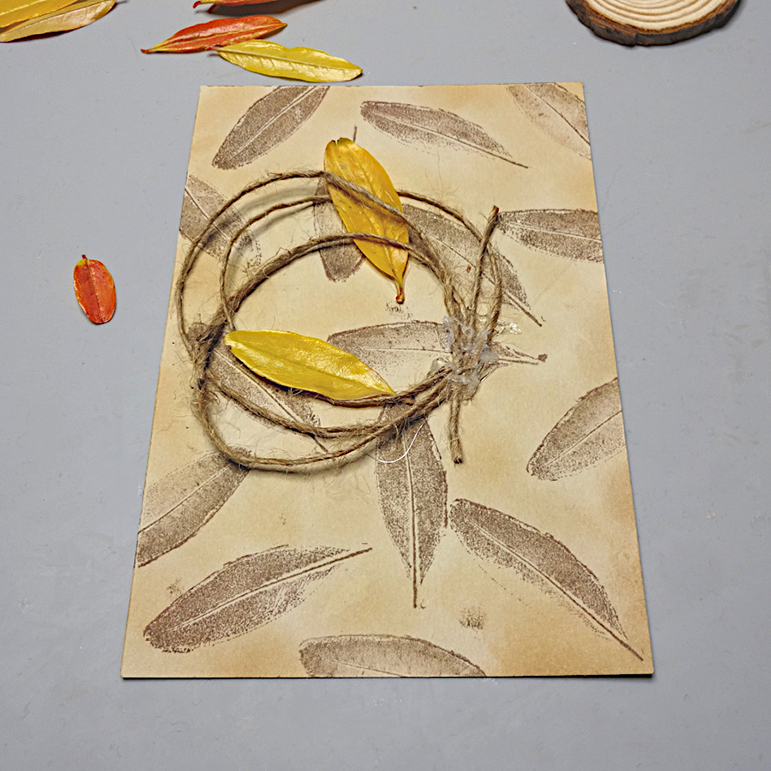
Wrap some jute cord and glue on the card. Continue adding leaves.


2021-nov-kyriakos-thank-you-card-step8

Step 8

Place the wood slice and the thank you sentiment. Attach on a card base using Tear It! Tape.


Art Supplies:

Imagine

• StazOn – Black Cherry

• MEMENTO – Rich Cocoa, Desert Sand

• Creative MEDIUM – Clear

• Sponge Daubers

• InkBlushers

• Tack’ N Peel

• Tear It! Tape


Other

• Small leaves

• Natural color heavy card stock

• Precious remembrance school stamp set

• Jute cord

• Small wood slice

• Hot glue


Create Zara Dress Inspired Floral Card

2021_JL_Oct_Zara-Florals_IG_October

By Jessica Lin

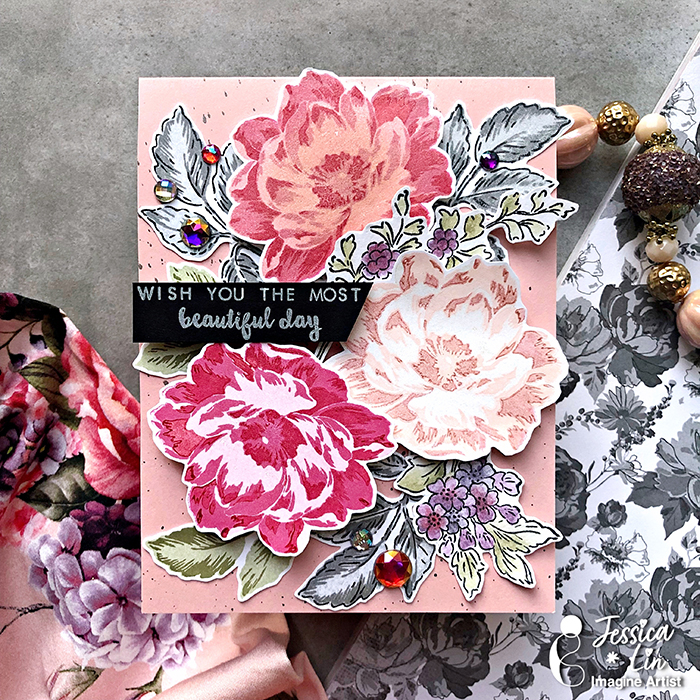
Hi everyone! It’s Jessica here and welcome back to another video tutorial. This time I have a new theme to share with you! Do you ever feel inspired by your clothing, perhaps you love the print, or maybe the colors catch your eye? I personally have a lot of floral clothing and I’ve always wanted to recreate them into cards! This time I picked a Zara dress with red, pink, and purple flowers. It’s really a jump from my comfort zone as I’ve never paired these colors together. But I love the end result so much! I hope this video will inspire you to take a look around your house or peek into your wardrobe for some crafty inspirations! 

Skill: Advanced

Directions:

Supplies Used

Imagine:
Product list

Imagine:

Top Red Flower: Delicata Rose Gold / VersaFine Clair Glamorous / Delicata Ruby Red
Middle Pink Flower: Delicata Champagne / VersaMagic Pixie Dust / Delicata Rose Gold
Bottom Red Flower: Delicata Pink Shimmer / VersaFine Clair Glamorous / Delicata Ruby Red
Green Leaf: VersaMagic Sage / VersaMagic Spanish Olive
Grey Leaf: Brilliance Starlite Silver / VersaFine Clair Morning Mist / VersaFine Clair Nocturne
Small Purple Flowers: VersaFine Clair Nocturne / VersaMagic Purple Hydrangea / Encore Purple / Delicata Ruby Red
Sentiment: StazOn Pigment Snowflake
Background Splatter: Delicata Black Shimmer

• Delicata
• StazOn
• StazOn Pigment ink
• VersaFine Clair
• VersaMagic
• Craft Mat
• StazOn Cleaner

Other products:

• Altenew Beautiful Day stamps and dies
• Pink and Black Cardstock
• Stamparatus
• Aqua Painter
• Foam Tape


How to Make Purr-fectly Fun Cat Fairy Lights

2021-oct-kyriakos-cat-fairy-lights_wm_700

By Kyriakos Pachadiroglou

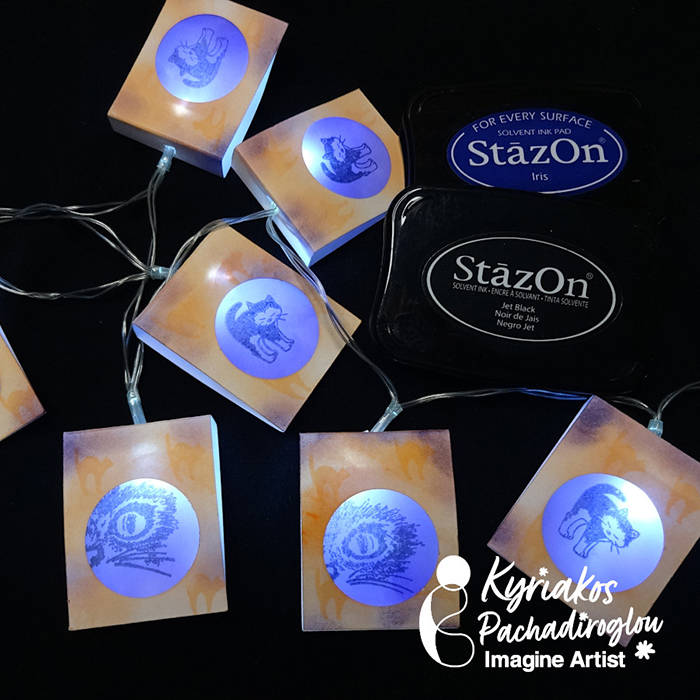
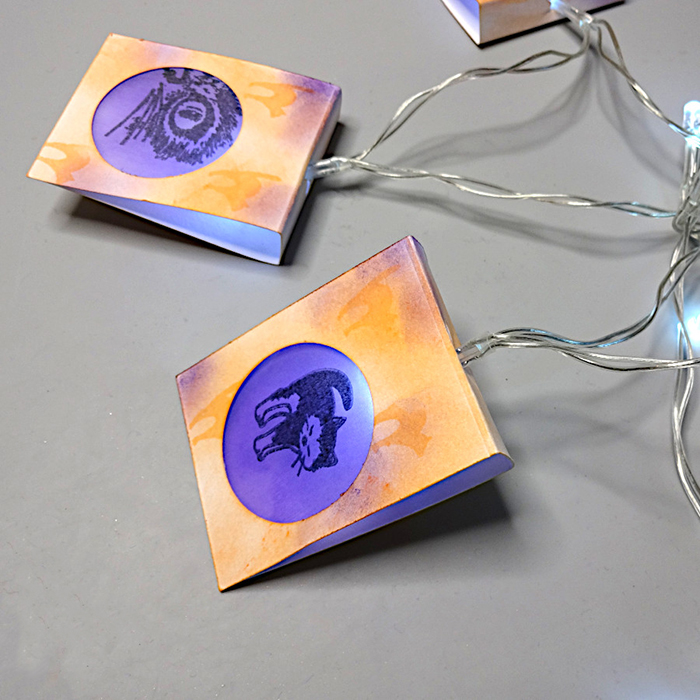
-Decorate your home with a cat themed fairy light string with stamped designs on tracing paper using StazOn inks and creating paper lamp shades. Attach the paper lamp shades on a battery powered led string and place them in any corner for the house.

Skill: Beginner

Time: 1 Hour

Directions:

2021-oct-kyriakos-cat-fairy-lights-step1

Step 1

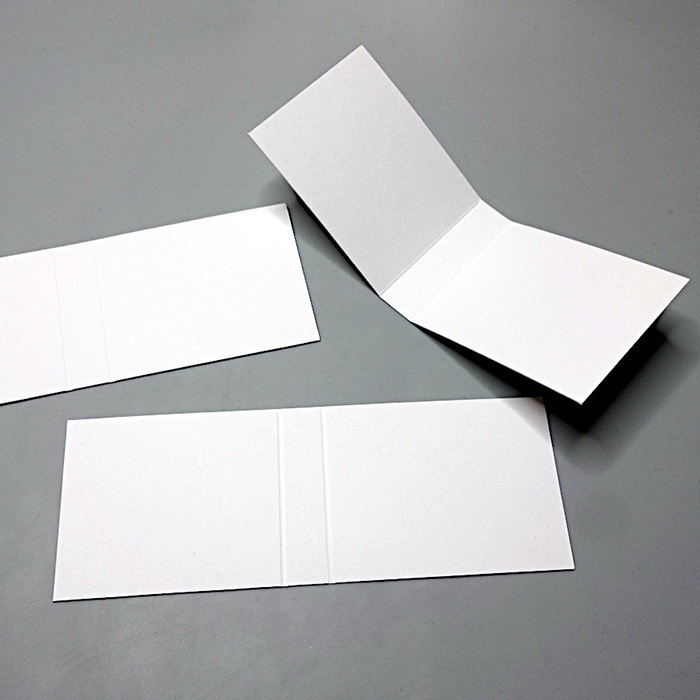
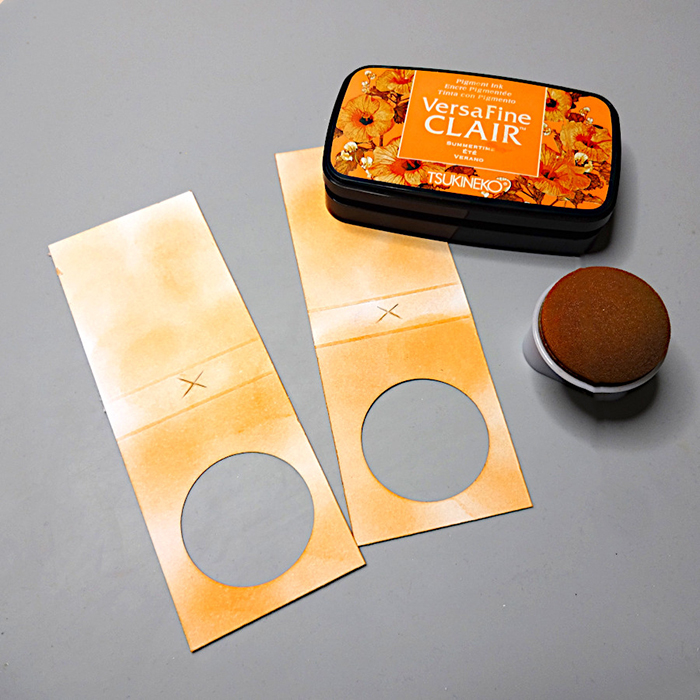
Cut 2×5 ½ ” pieces of cad stock. Score on 2 ½ ” from each edge to the short side.

2021-oct-kyriakos-cat-fairy-lights-step2

Step 2

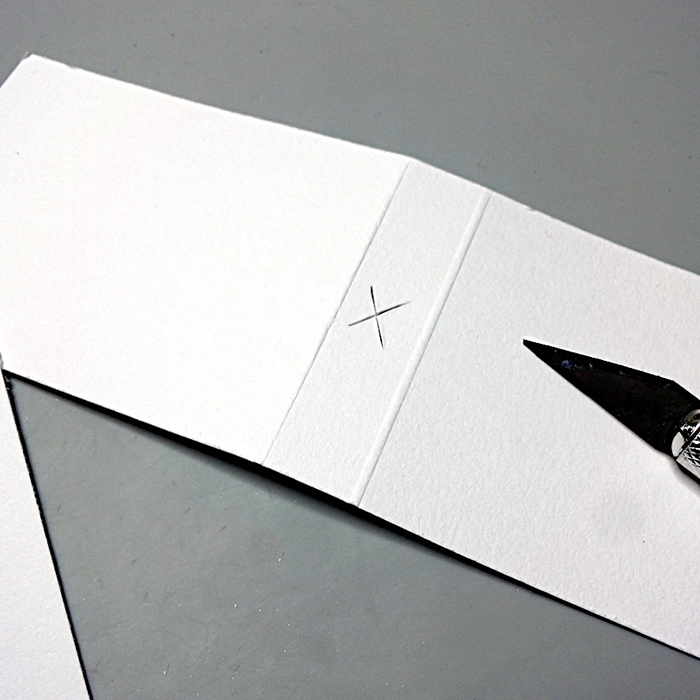
Make an X cutting to the center of the card stock cuttings (this will be the opening that will the lights)
2021-oct-kyriakos-cat-fairy-lights-step3

Step 3

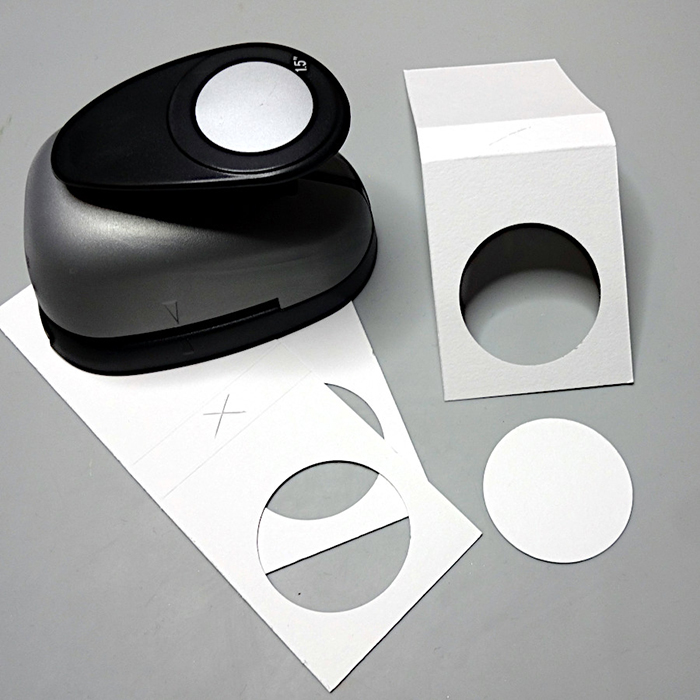
Use the circle punch to create openings to one side of the card stock cuttings.
2021-oct-kyriakos-cat-fairy-lights-step4

Step 4

Color with the VersaFine CLAIR Summertime ink pad and a Sponge Dauber.

2021-oct-kyriakos-cat-fairy-lights-step5
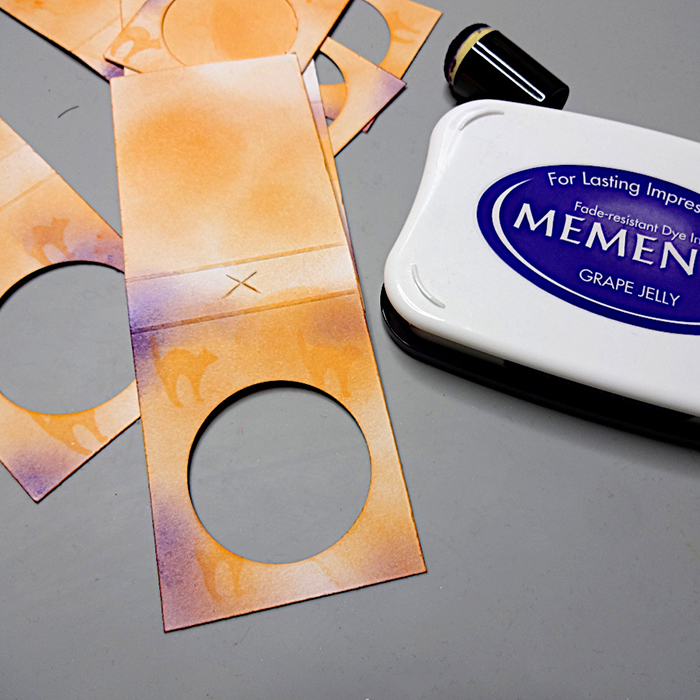
Step 5

Distress with the MEMENTO Grape Jelly ink pad.

2021-oct-kyriakos-cat-fairy-lights-step6
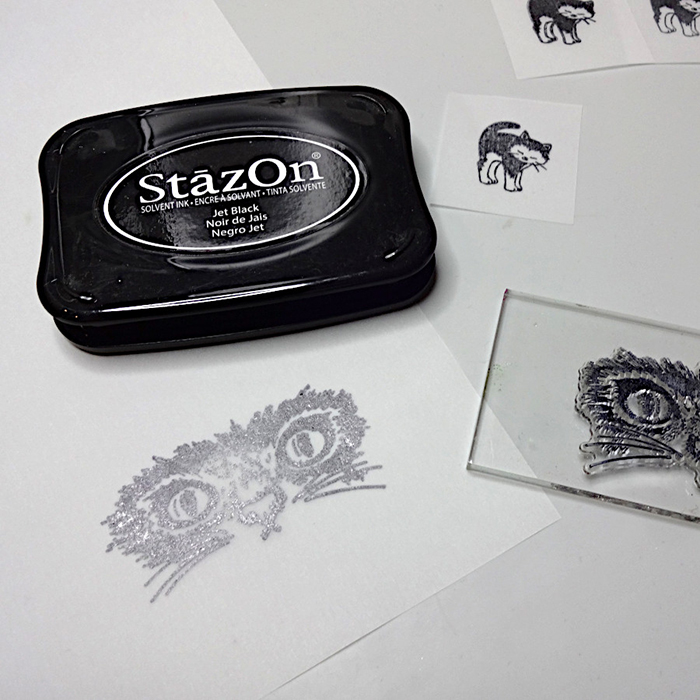
Step 6

Stamp the cat design on the tracing paper using StazOn Jet black.

2021-oct-kyriakos-cat-fairy-lights-step7

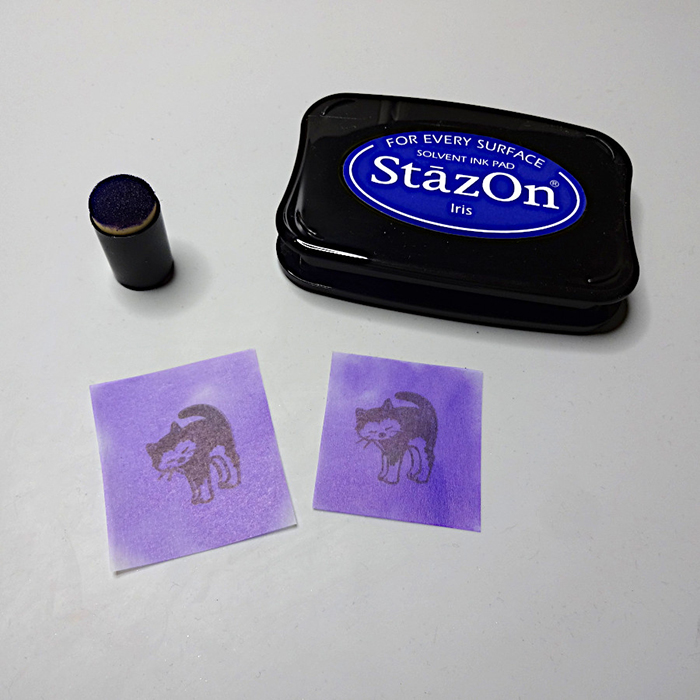
Step 7

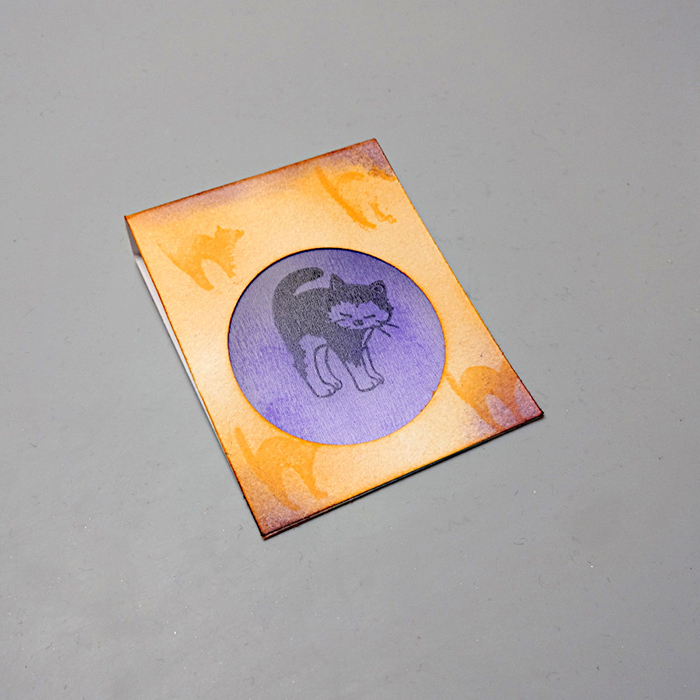
Cut along the designs, (about 2″ squares), turn to the back the tracing paper and color with StazOn Iris ink pad.

2021-oct-kyriakos-cat-fairy-lights-step8

Step 8

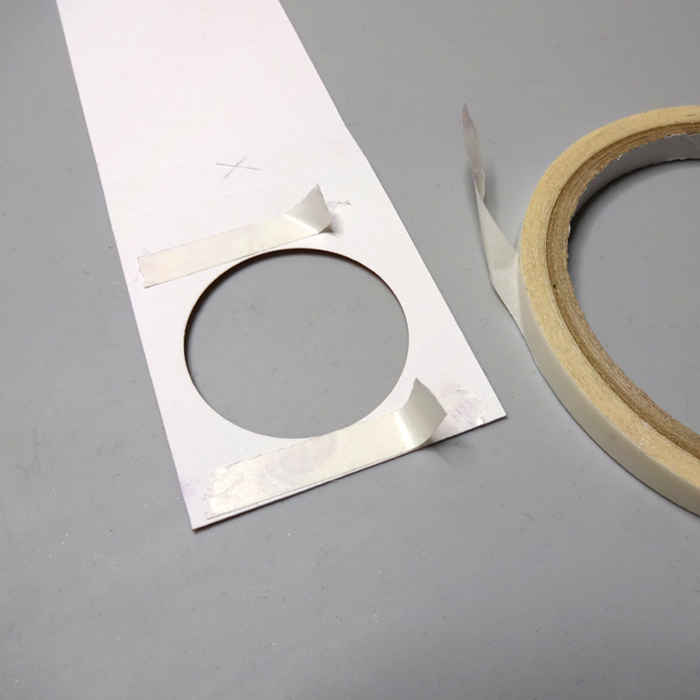
Place Tear It! Tape in the blank side (inner side to be) of the card stock cuttings, above and below the circular opening.
2021-oct-kyriakos-cat-fairy-lights-step9

Step 9

Set the tracing paper cuttings, stamped with the cat designs, to cover the circular opening and fold to attach the short edges.

2021-oct-kyriakos-cat-fairy-lights-step10

Step 10

Place led lights on the X opening made earlier.

2021-oct-kyriakos-cat-fairy-lights-step10

Art Supplies:

Imagine

• StazOn – Jet Black, Iris

• VersaFine CLAIR – Summertime

• MEMENTO – Grape Jelly

• Tear It! Tape

• Sponge Daubers

Other

• White Card Stock
• Tracing Paper

• Cat Themed Stamps

• 1.5in Circle Punch

• Battery Operated Lights String

• Kraft Knife

Learn How to Make An Autumn Shadow Box


2021-sep-kyriakos-autumn-shadow-box-horizontal_main

By Kyriakos Pachadiroglou

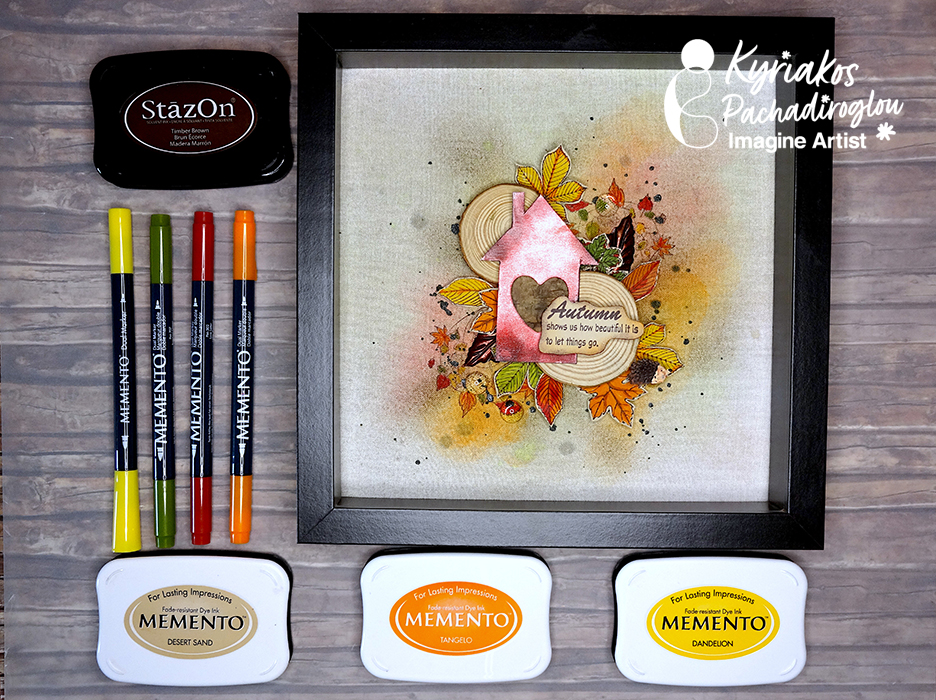
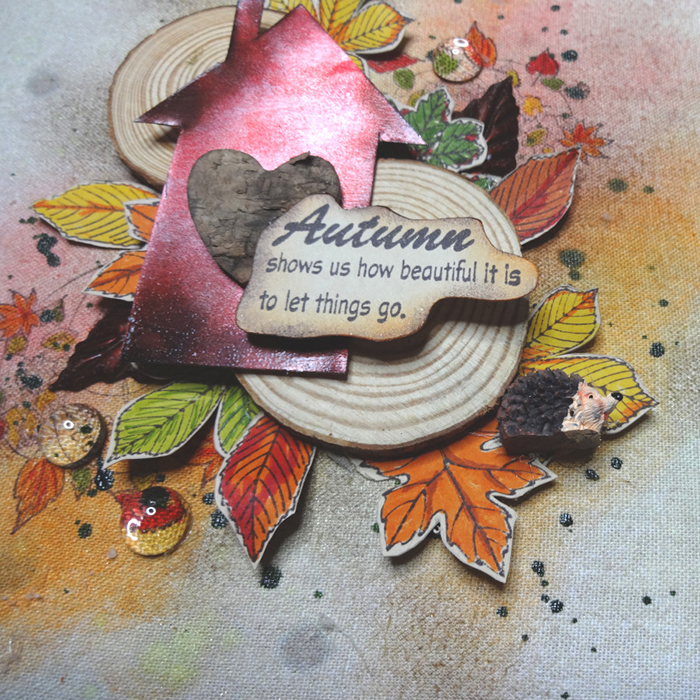
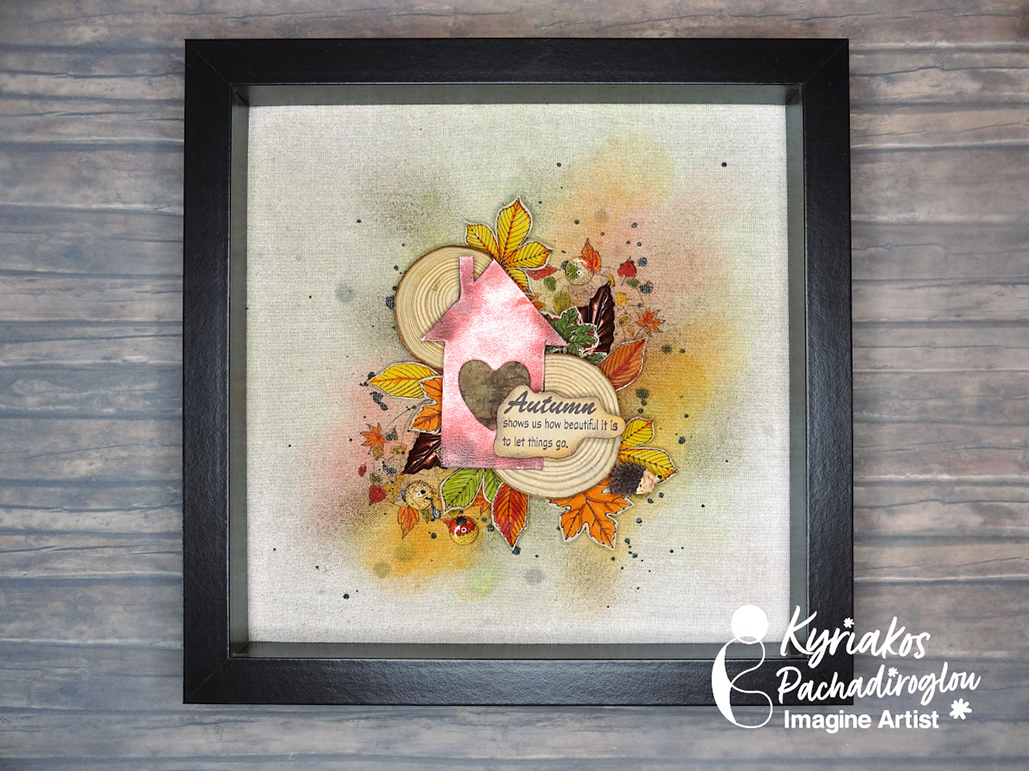
– Combine natural wood pieces, paper and a house shape cut from SHEET metal to capture the colors of the shadow and create a shadow box to decorate your home. Color a piece of fabric with MEMENTO inks and Fireworks! Shimmery Craft Sprays to create a background in earth color shades and place natural wood and paper leaves colored with MEMENTO Markers.


Skill: Advanced

Time: 1 Hour


Directions:

2021-sep-kyriakos-autumn-shadow-box-step1

Step 1

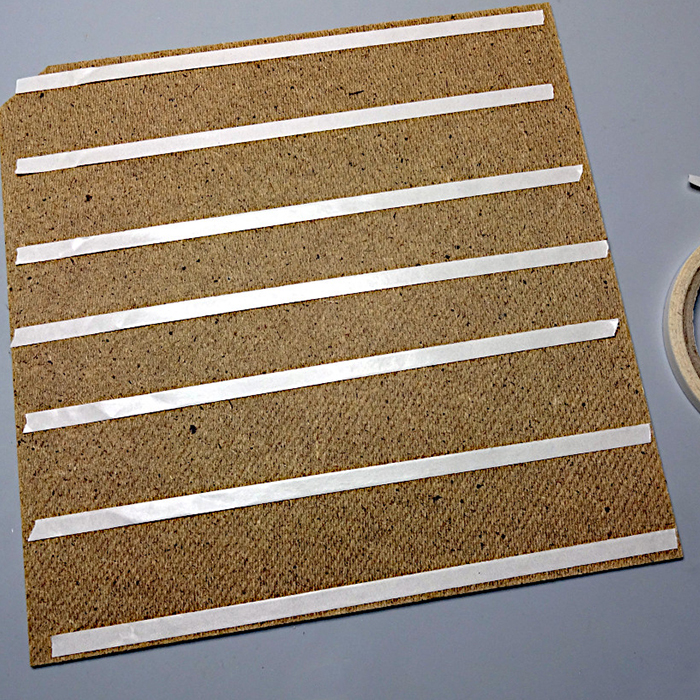
Place Tear It! Tape on the back base of the shadow box and cover it with the cotton fabric.
 

2021-sep-kyriakos-autumn-shadow-box-step2

Step 2

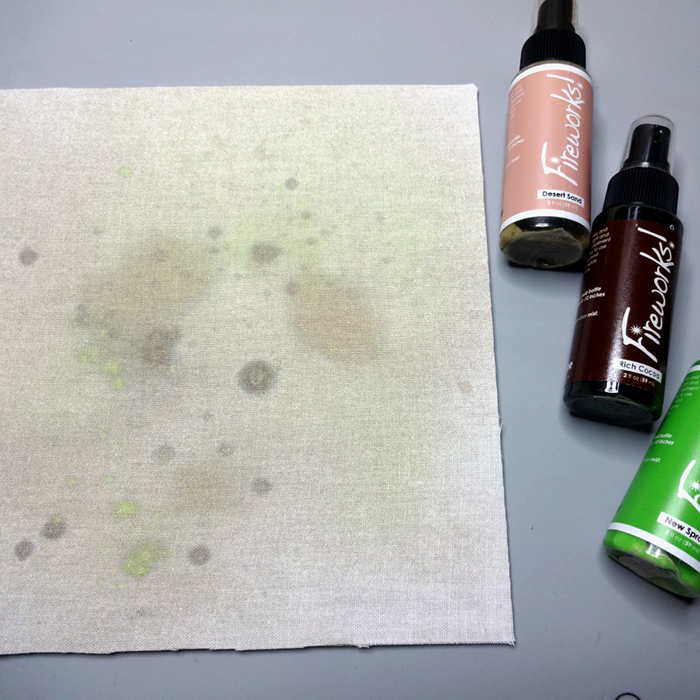
Spray with the Fireworks! Shimmery Craft Spray and let them dry.


2021-sep-kyriakos-autumn-shadow-box-step3

Step 3

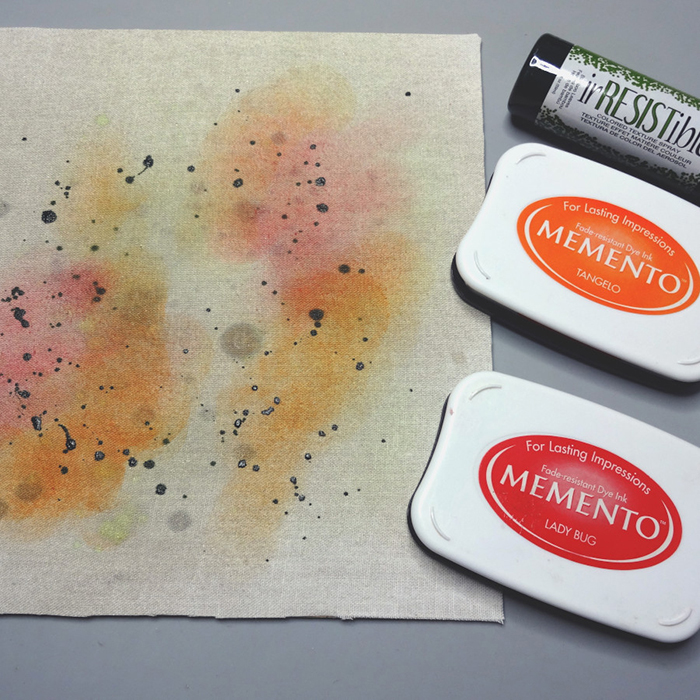
Distress the fabric with MEMENTO Tangelo, Lady Bug and Desert Sand ink pads using Sponge Daubers. Sprinkle some drops of irRESISTible Bamboo Leaves color.


2021-sep-kyriakos-autumn-shadow-box-step4

Step 4

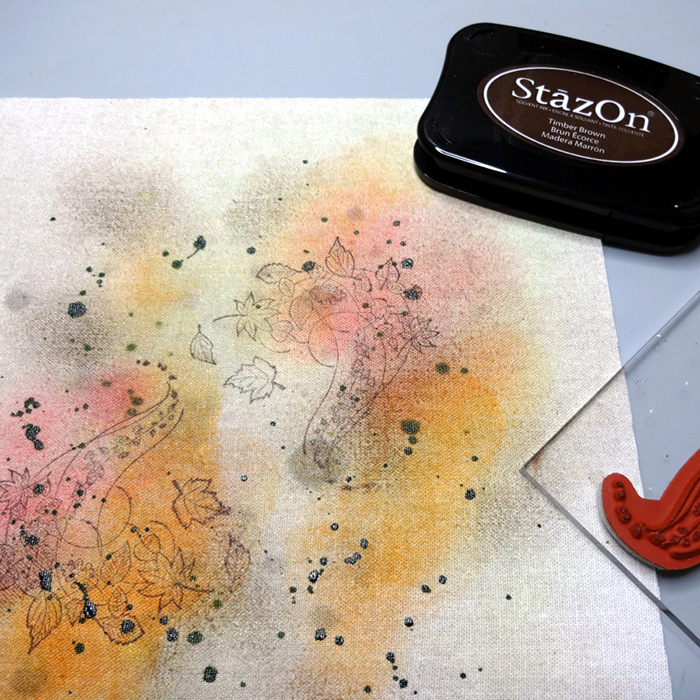
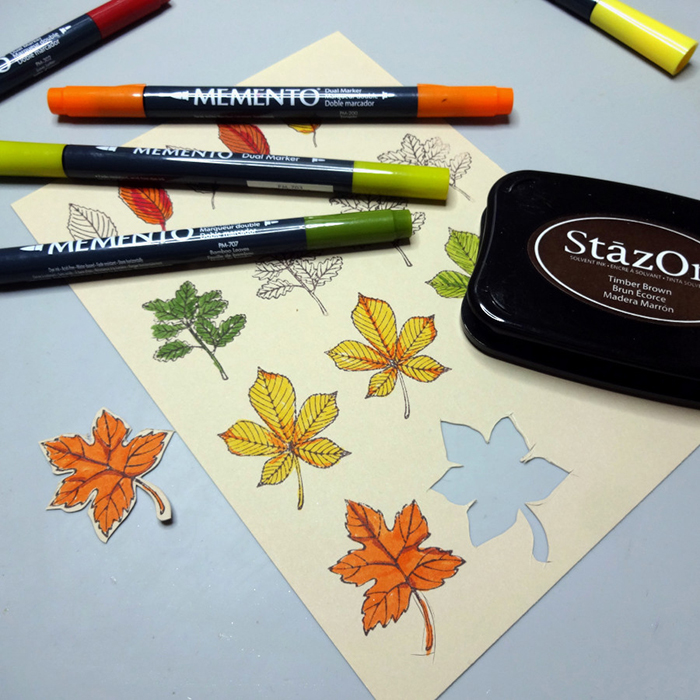
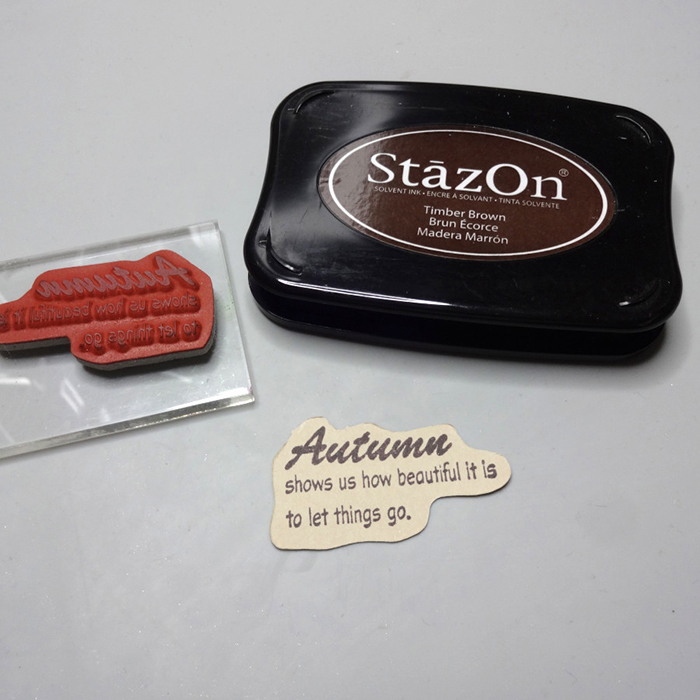
Stamp with the Blowing Leaves stamp and the StazOn Timber Brown.


2021-sep-kyriakos-autumn-shadow-box-step5
Step 5

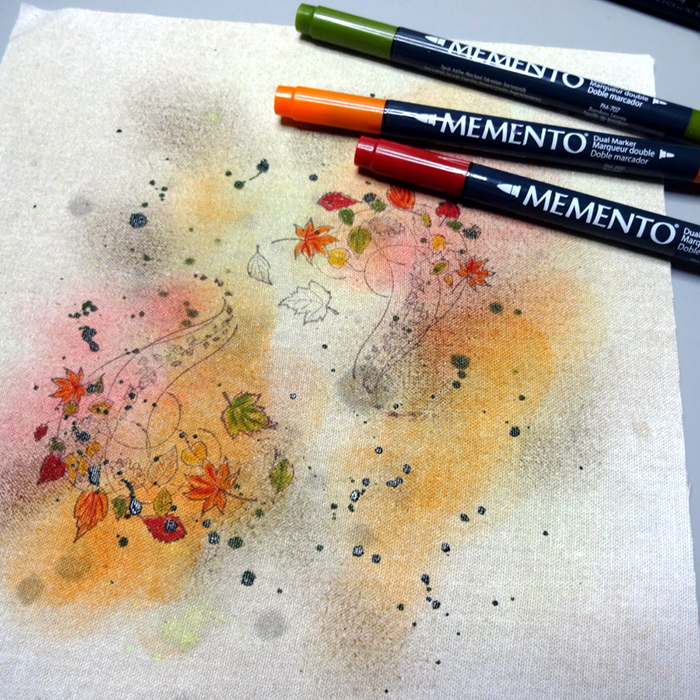
Color the leaves with MEMENTO Markers.


2021-sep-kyriakos-autumn-shadow-box-step6
Step 6

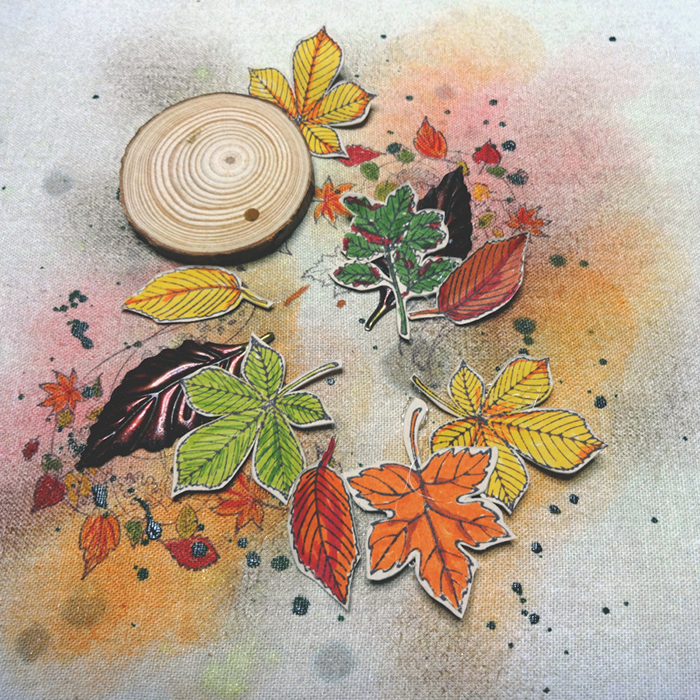
Stamp leaves and color them with the MEMENTO Markers adding details with darker ones. Cut around the leaves to separate.


2021-sep-kyriakos-autumn-shadow-box-step7

Step 7

Stamp the Autumn sentiment with StazOn Timber Brown and cut around.


2021-sep-kyriakos-autumn-shadow-box-step8

Step 8

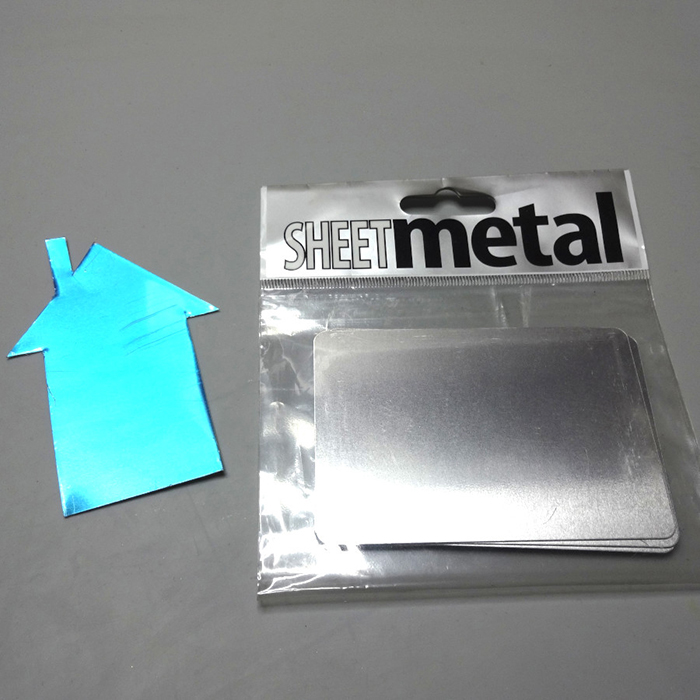
Cut a house shape using the full length of a SHEET metal postcard.


2021-sep-kyriakos-autumn-shadow-box-step9

Step 9

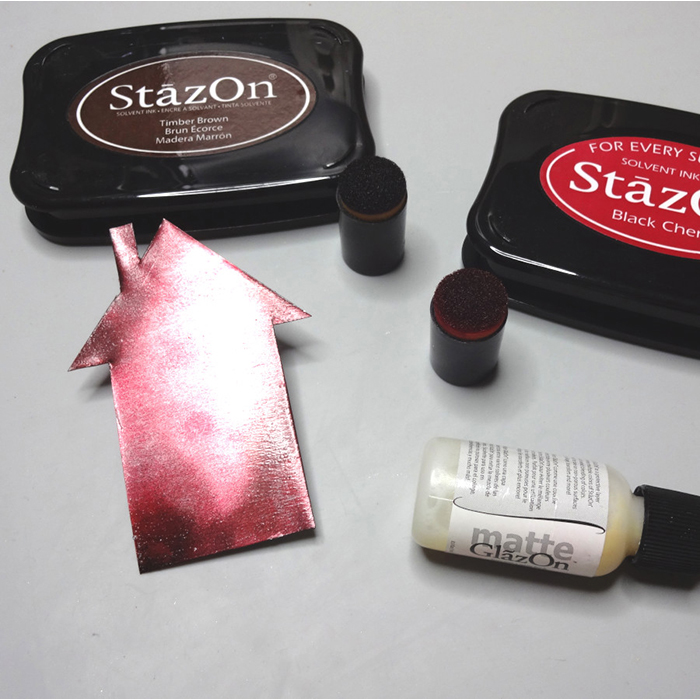
Color the SHEET metal house with StazOn Timber brown and Black Cherry ink pads and cover with the GlazOn matte.

2021-sep-kyriakos-autumn-shadow-box-step10

Step 10

Glue the slices of the wood on the fabric background and add the paper leaves.

2021-sep-kyriakos-autumn-shadow-box-step11

Step 11

Finally place the SHEET metal house, the sentiment and any further embellishments.

2021-sep-kyriakos-autumn-shadow-profile

Art Supplies:

Imagine

Fireworks! Shimmery Craft Sprays- Desert Sand, Rich Cocoa, New Sprout

MEMENTO Ink Pads – Tangelo, Lady bug, Desert Sand, Dandelion

irRESISTible – Bamboo Leaves

StazOn – Timber Brown, Black Cherry

MEMENTO Dual Tip Markers – Love Letter, Dandelion, Cottage Ivy, Pear Tart

SHEET Metal – Postcard

GlazOn – Matte

Tear It! Tape

Sponge Daubers


Other

Shadow Box Framed

Card Stock White

Cotton Fabric

Slices of Wood

Crackerbox & Suzy stamps – Autumn Shows, Blowing Leaves

Glass Beads