By Jowilna Nolte
When I think of all my favorite inks I think of how well they can work together. There’s no better way to create interest than combining different types of inks together for some stunning effects and making easy striking cards.
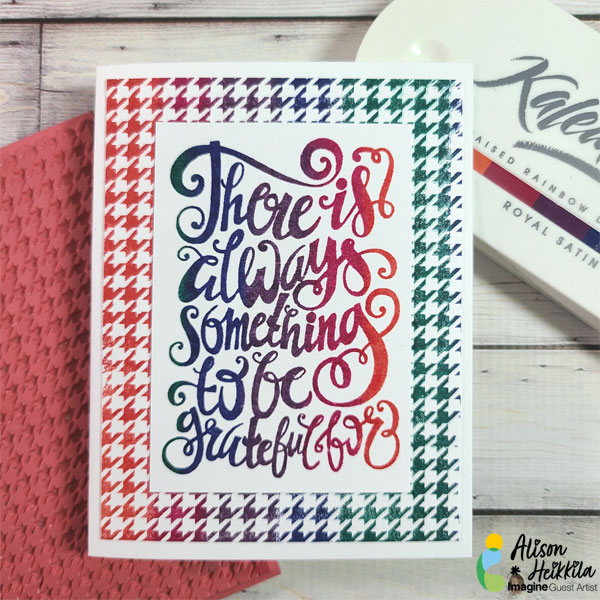
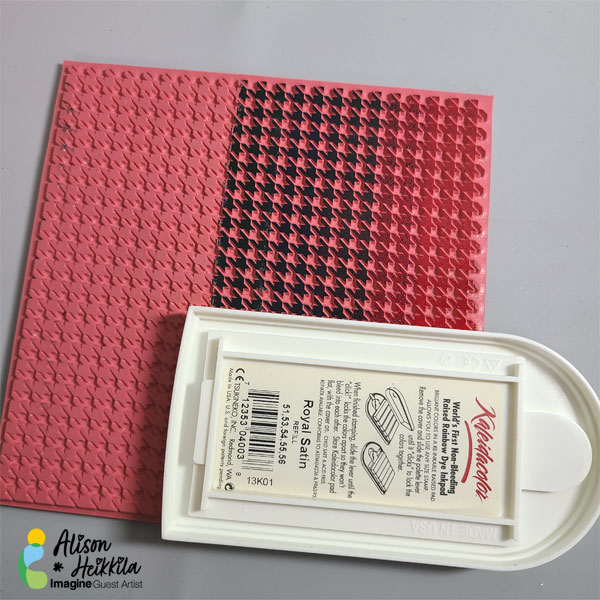
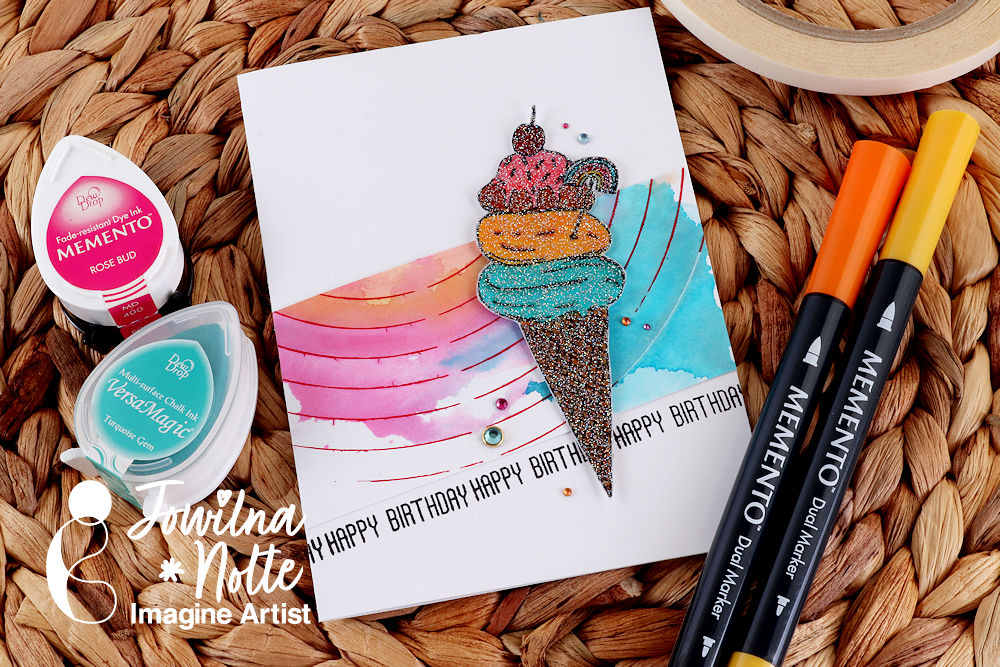
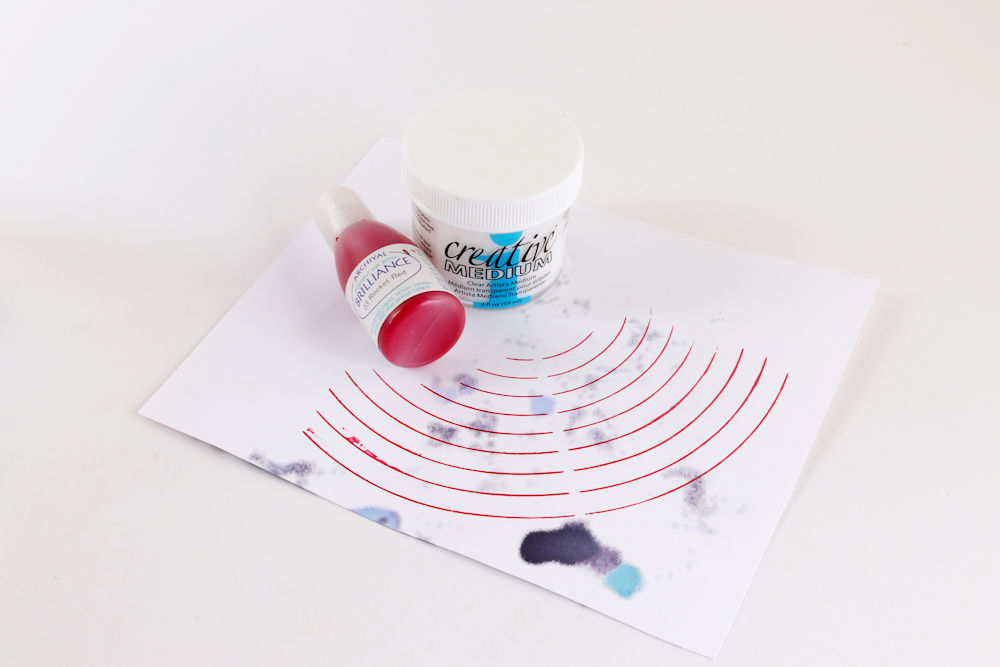
For this card I simply used a single ink splat stamp and combined it with my favorite inks for a stunning end result.
Skill Level: Beginner
Time: 20 minutes
Directions:

Step 1
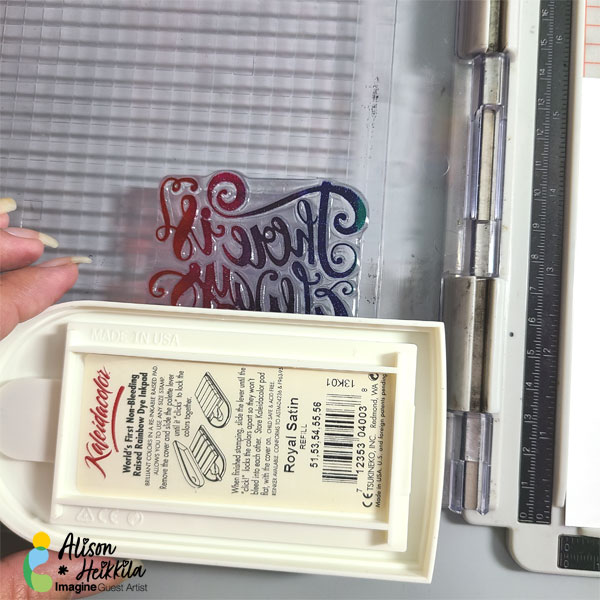
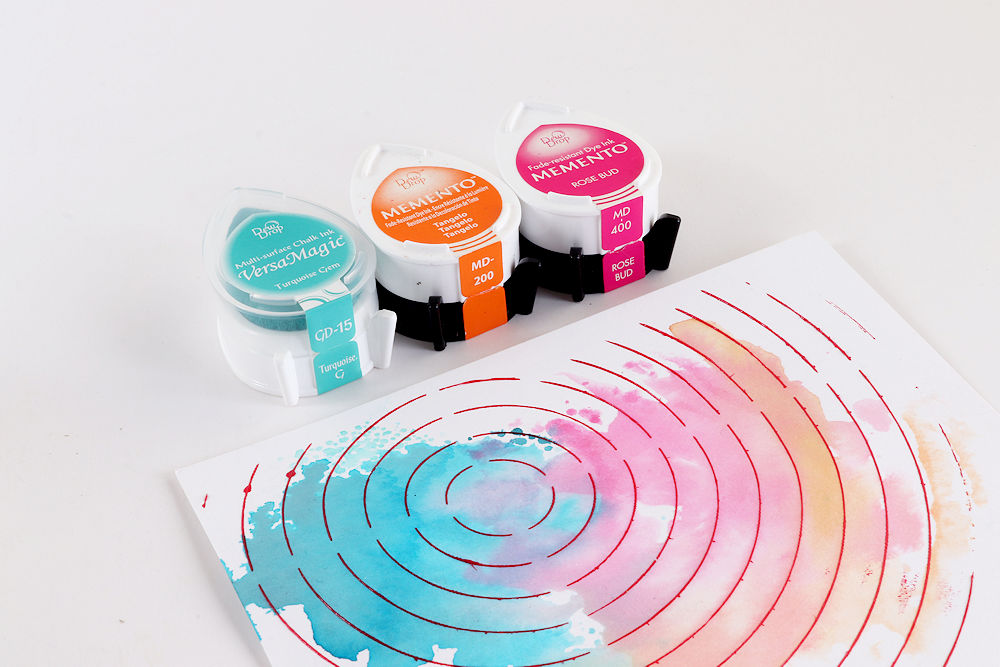
Combine VersaFine Clair and Memento Luxe inks in the same color to stamp layers. For my first color I combined the yellow inks – first stamping Golden Meadow VersaFine Clair and then on top I stamped Dandelion Memento Luxe.
All my stamping was done in a bit of a diagonal line.

Step 2
Repeat the process using Verdant VersaFine Clair and Pistachio Memento Luxe.

Step 3
Repeat the stamping using Warm Breeze VersaFine Clair and Teal Zeal Memento Luxe.

Step 4
Lastly combine the red by first stamping Glamorous VersaFine Clair and then finish off with Love Letter Memento Luxe ink.
Step 5
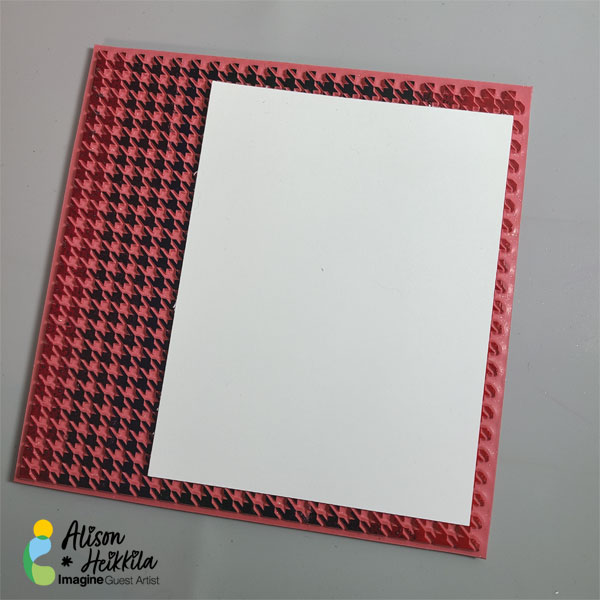
Trim your stamped panel to fit into a folded card base. Cut a vinyl holographic sentiment and adhere to your card. I off-set mine with a white die-cut piece for a shadow effect and dimension. Finish off with some diamante.
Art Supplies
Imagine
VersaFine Clair Full-size Inkpad Warm Breeze
VersaFine Clair Full-size Inkpad Golden Meadow
VersaFine Clair Full-size Inkpad Verdant
VersaFine Clair Full-size Inkpad Glamorous
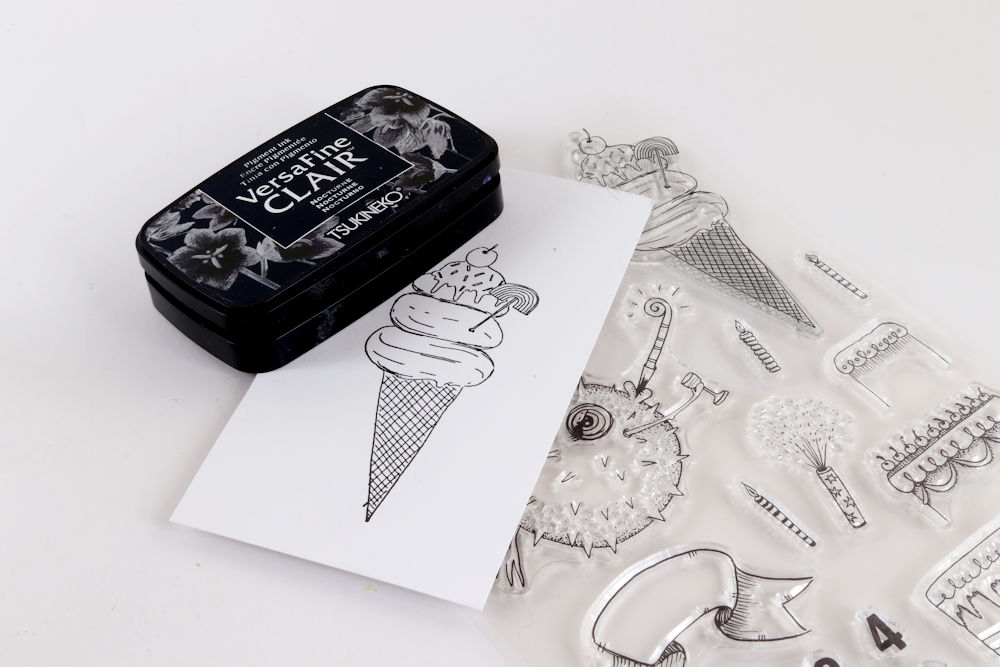
VersaFine Clair Nocturne
Memento Luxe full-size inkpad Pistachio
Memento Luxe full-size inkpad Dandelion
Memento Luxe full-size inkpad Teal Zeal
Memento Luxe full-size inkpad Love Letter
Tear it! Tape
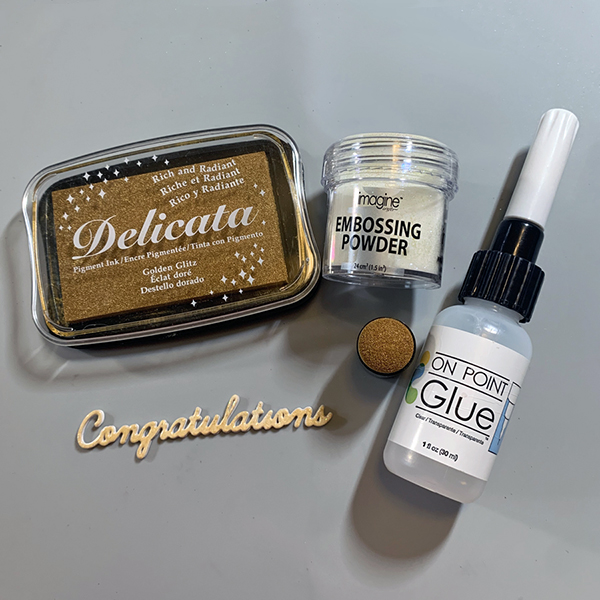
On Point glue
Other
White cardstock
Diamante
Die-cut: Cricut Maker
Holographic vinyl: Cricut