By Ceal Pritchett
Hello crafty friends!
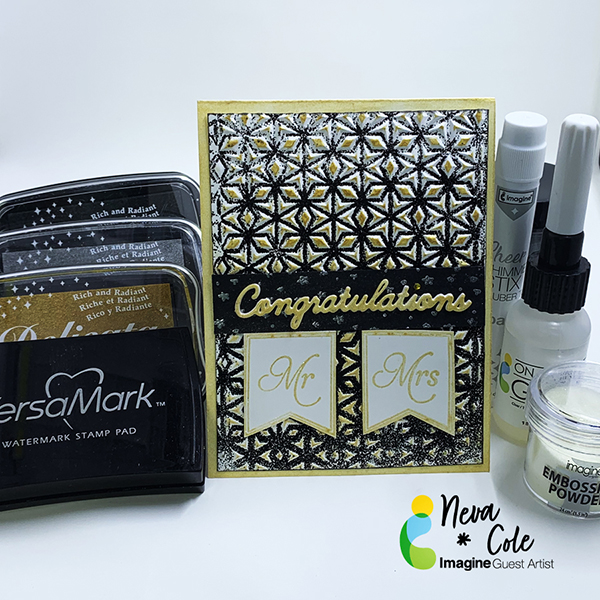
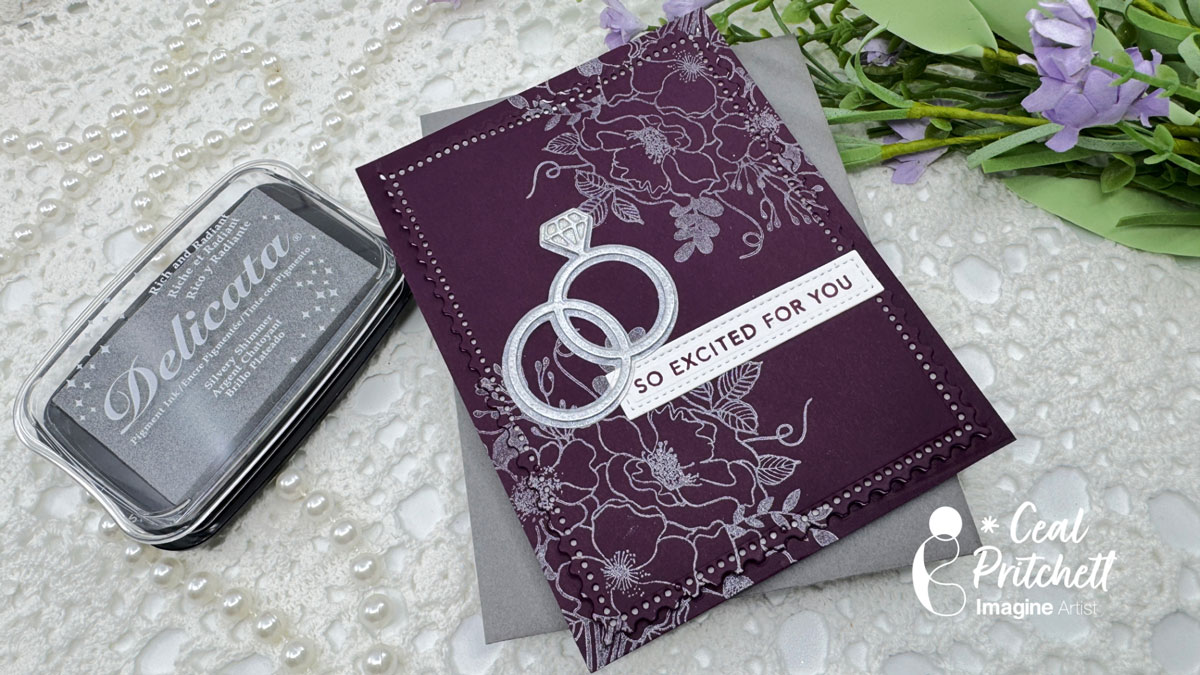
It’s Ceal, here. Today I am sharing how to create a simple but elegant wedding card.
Skill Level: Intermediate to Advanced
Time: 45 Minutes
Directions:
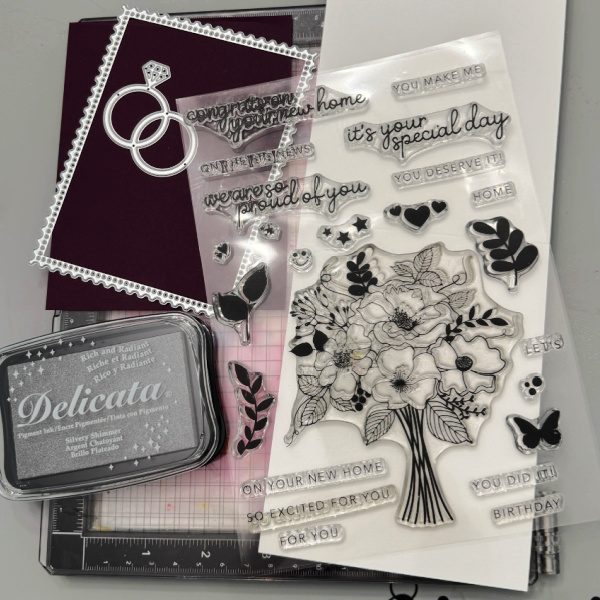
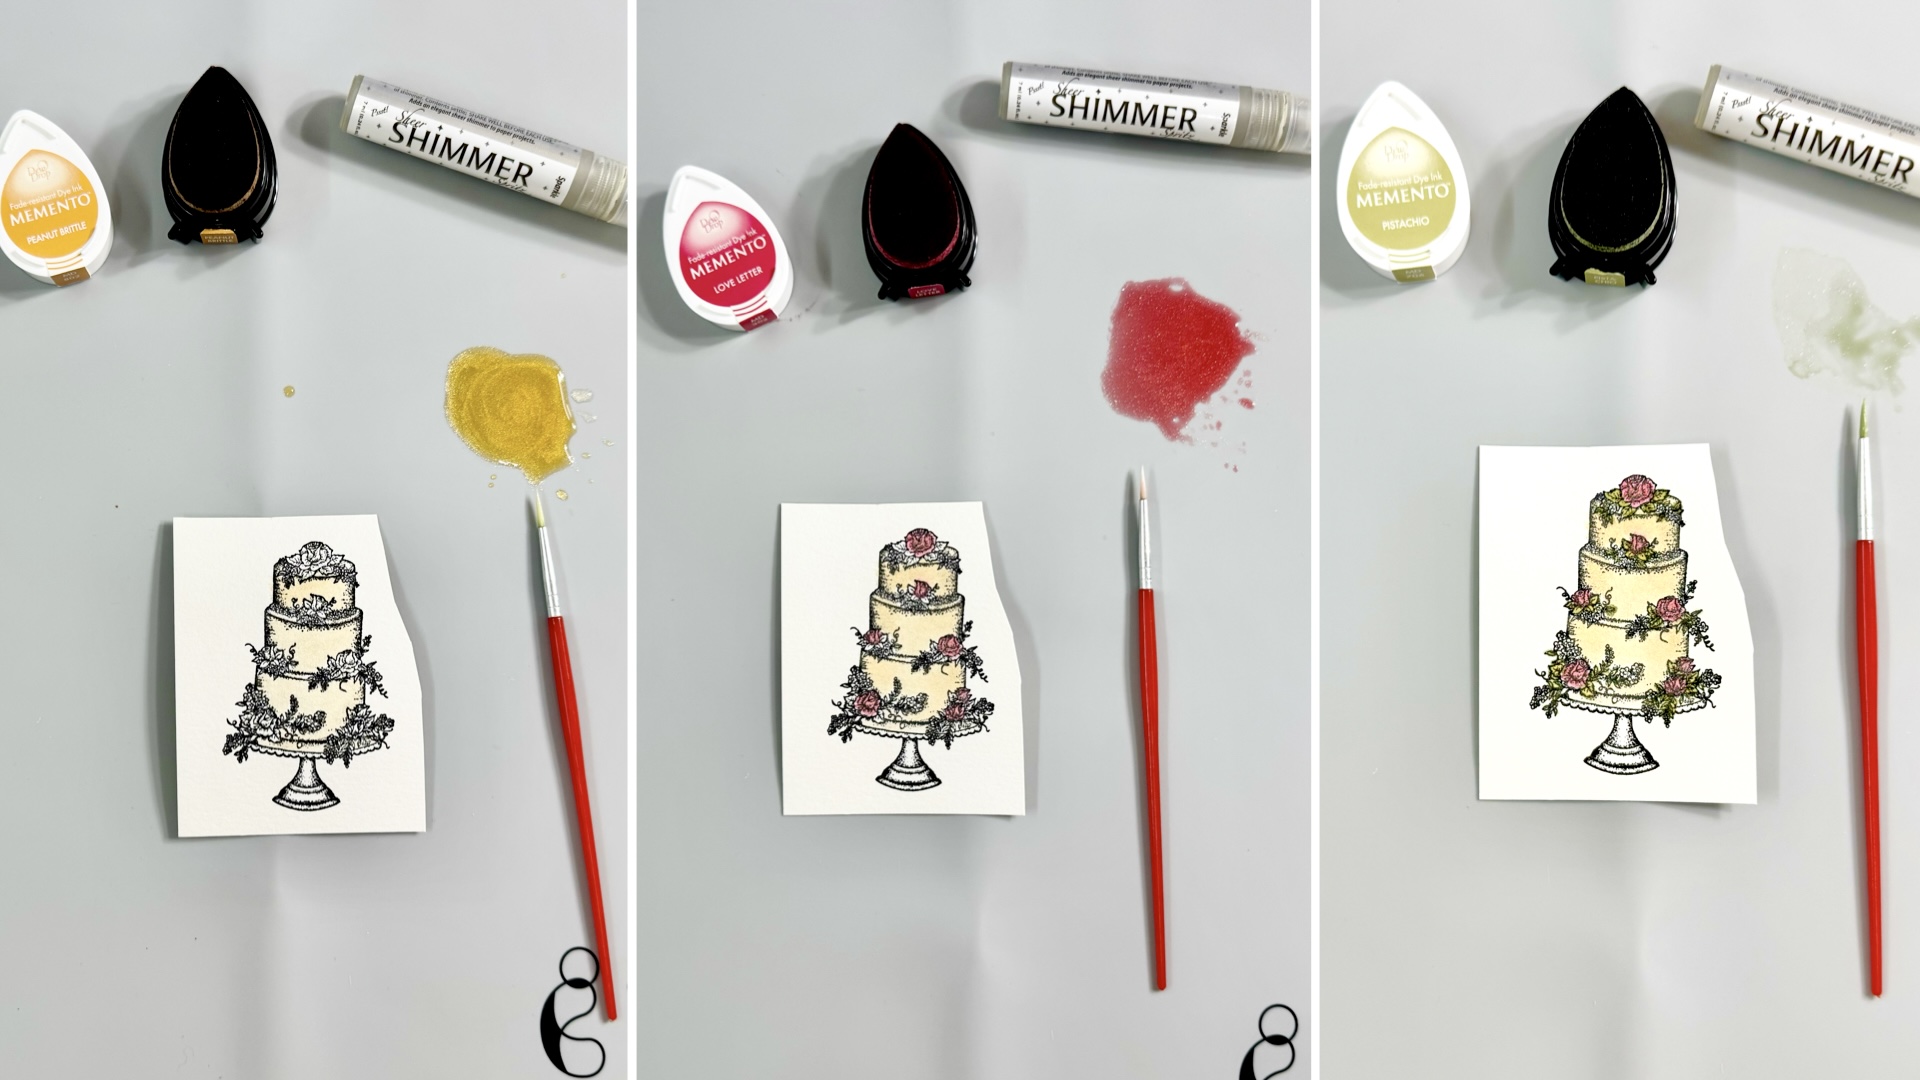
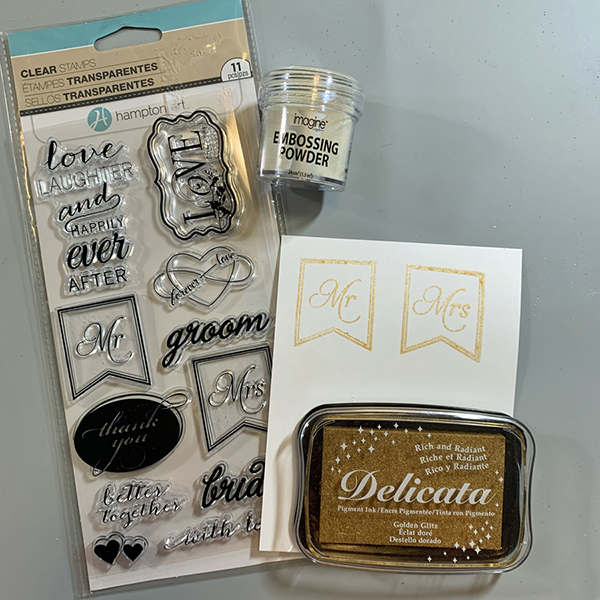
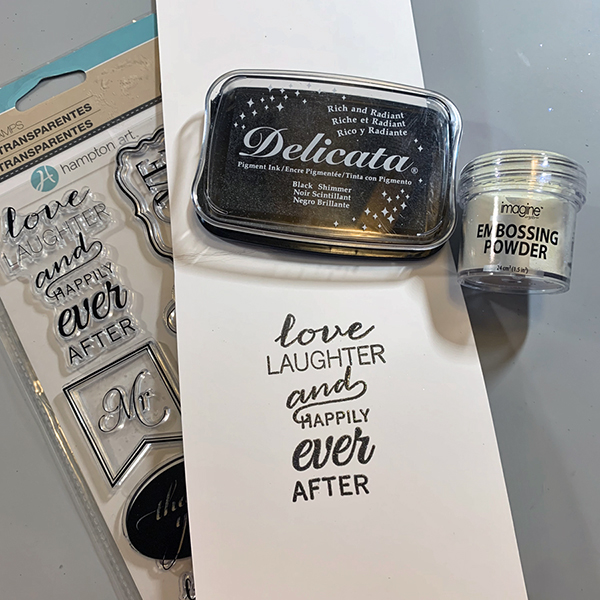
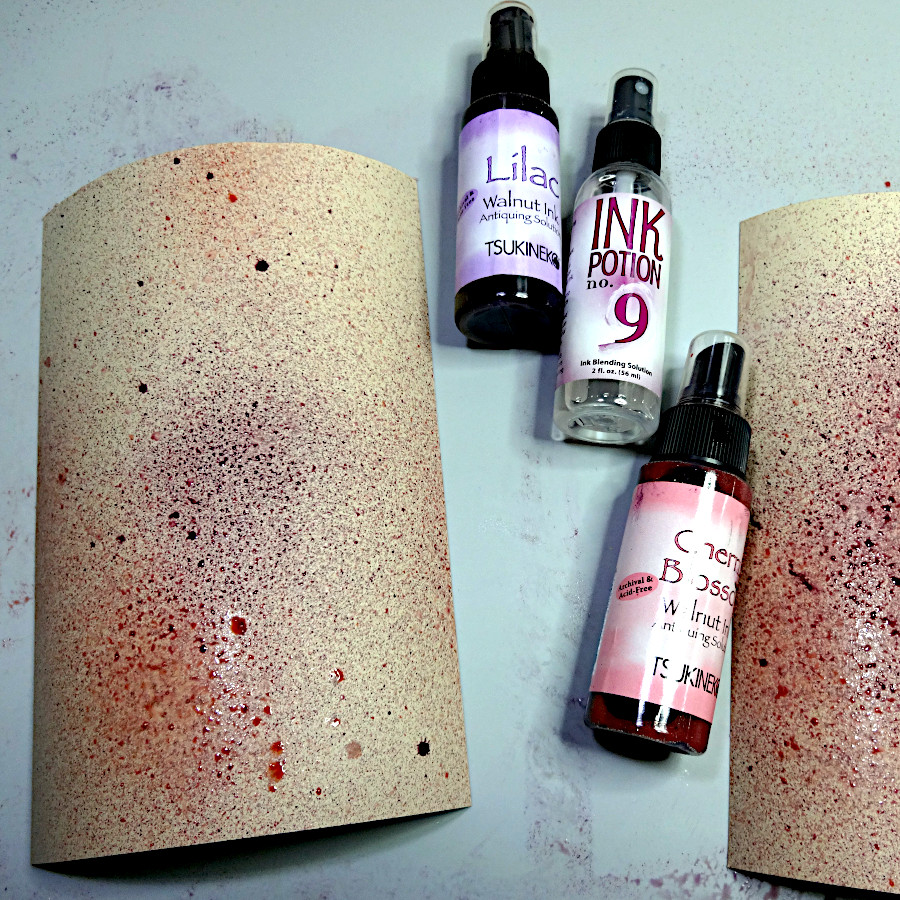
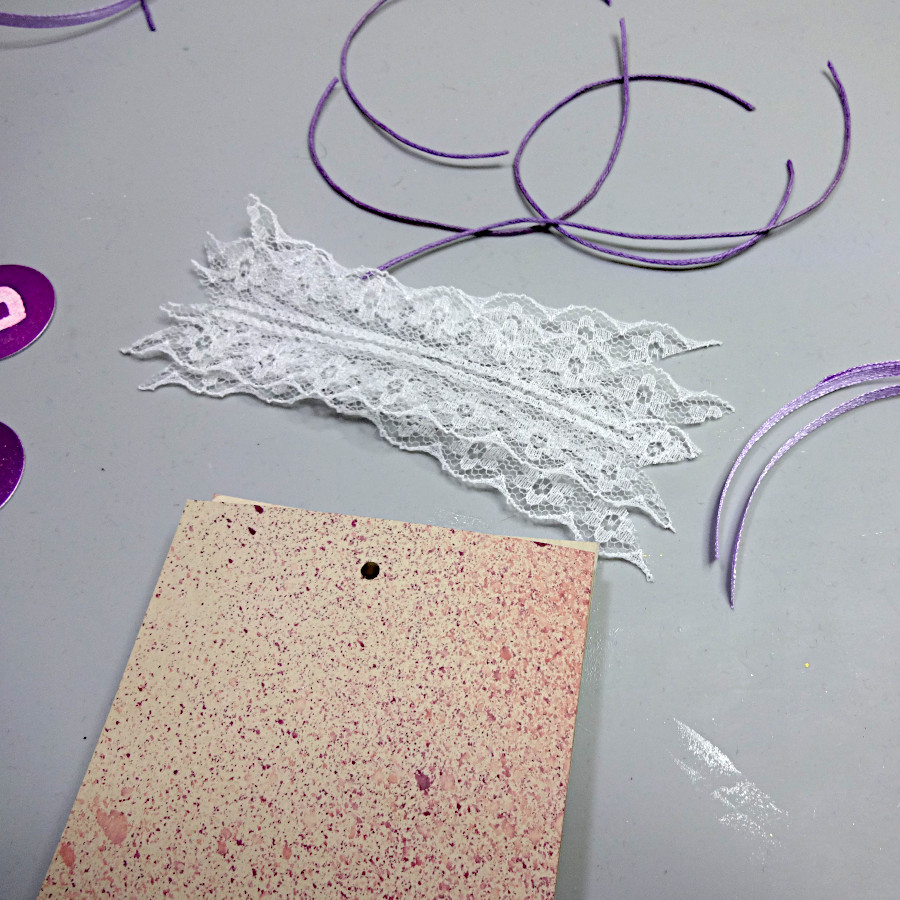
Gather your supplies. You will need a stamp set with a floral image and wedding sentiments. An A2 sized die and some wedding themed dies, a stamp positioner and a shimmer ink pad.
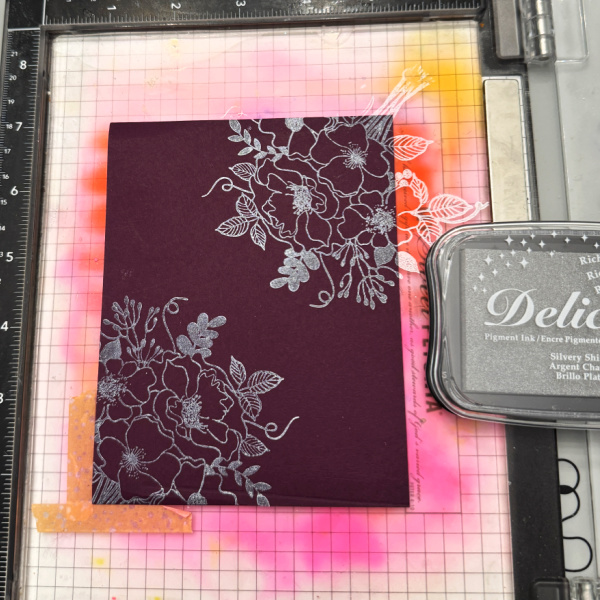
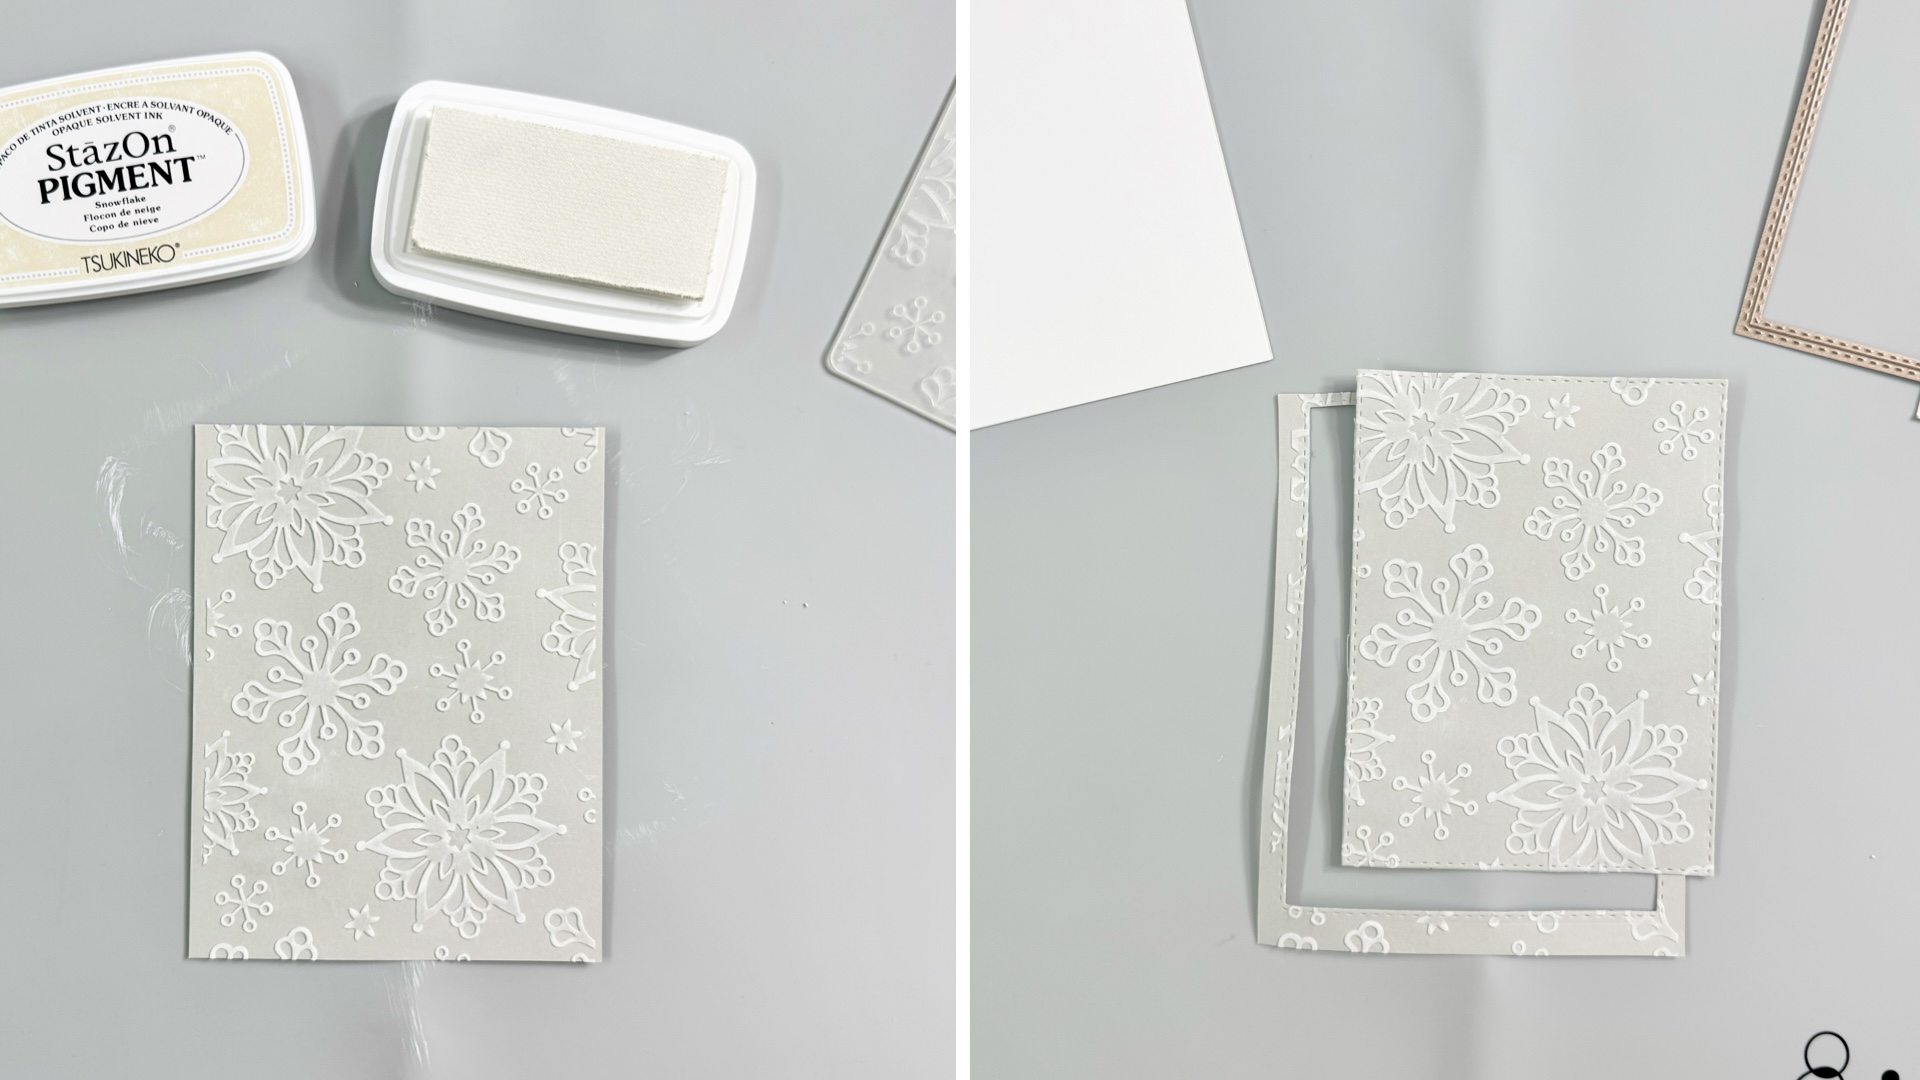
Step 1:
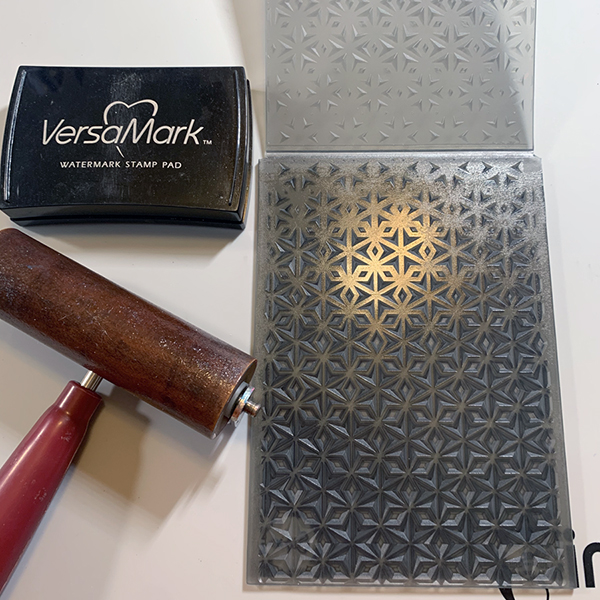
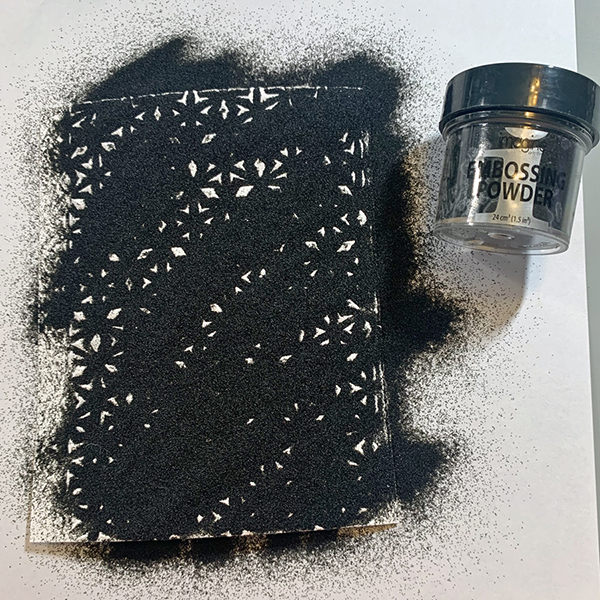
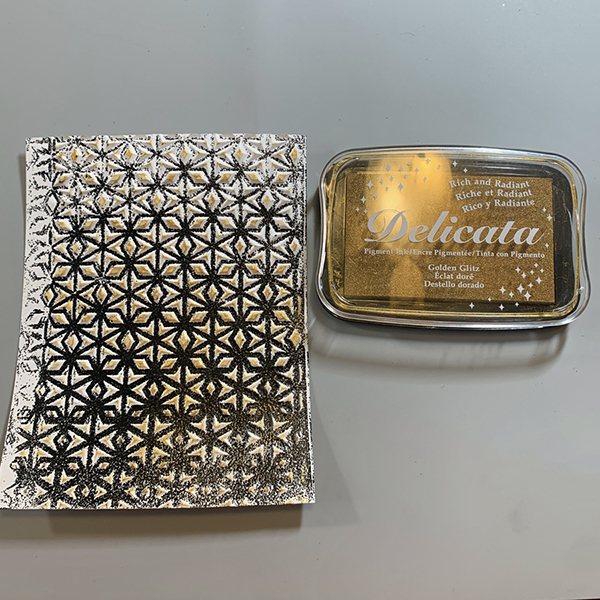
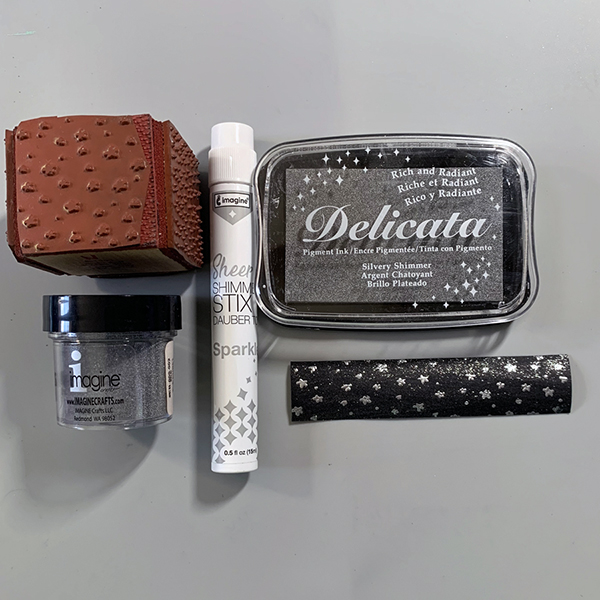
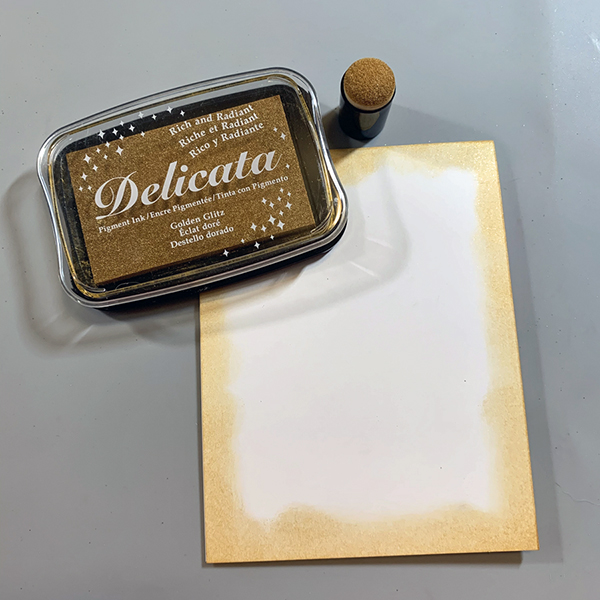
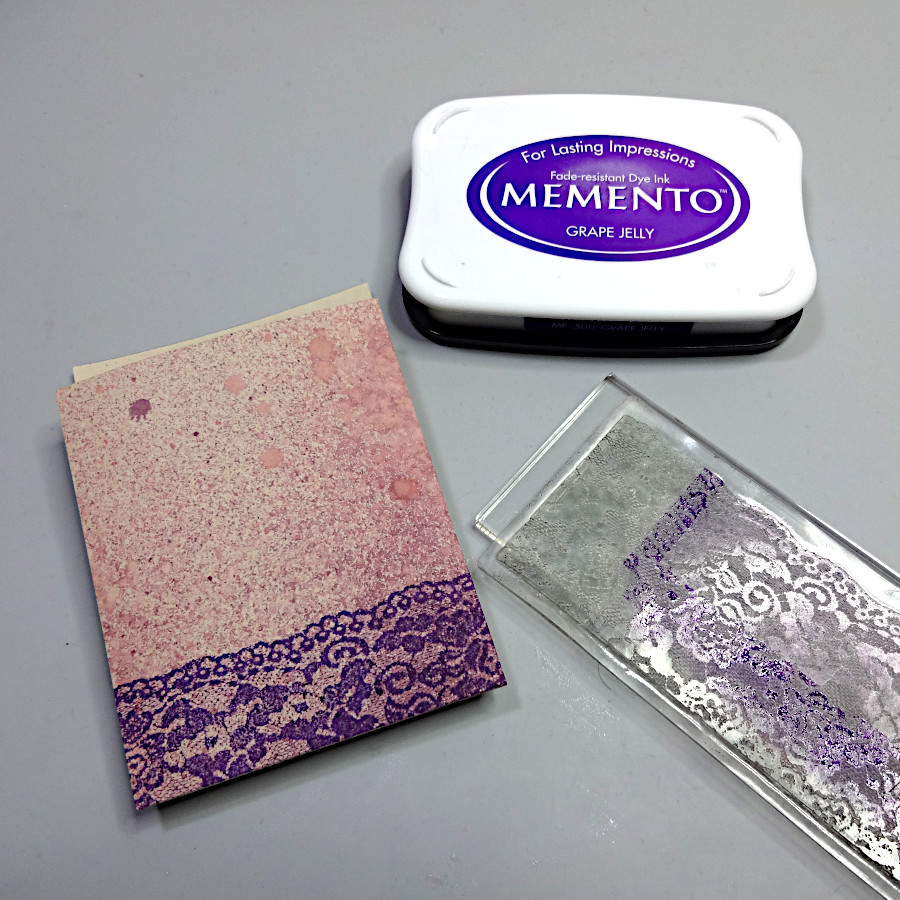
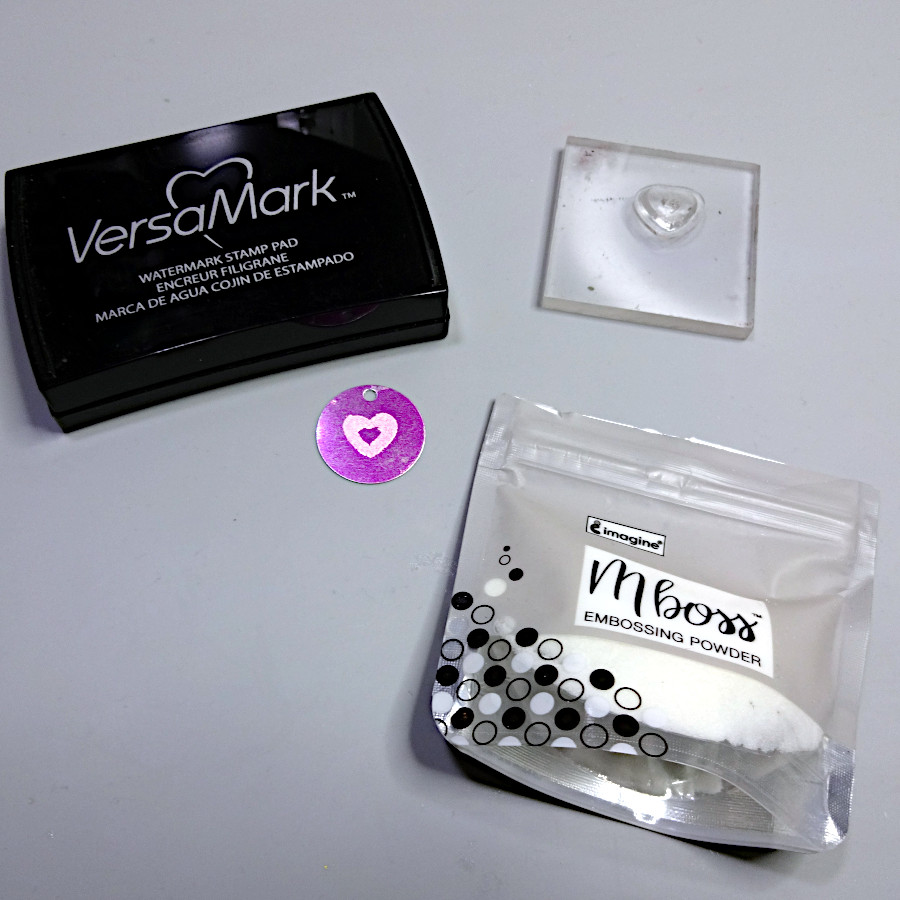
Using a Misti or stamp positioner and a grip mat place the cardstock panel in the center. Place the floral stamp on the corner of the panel and ink with shimmer ink (I used Delicata Silvery Shimmer) stamp, you may have to stamp more than once to get a clean image. Turn your paper, no need to move the stamp thanks to the Misti and ink it up and stamp again on the other corner. This ink is a pigment ink therefore it takes a little longer to dry, you can speed that up by heat setting it.

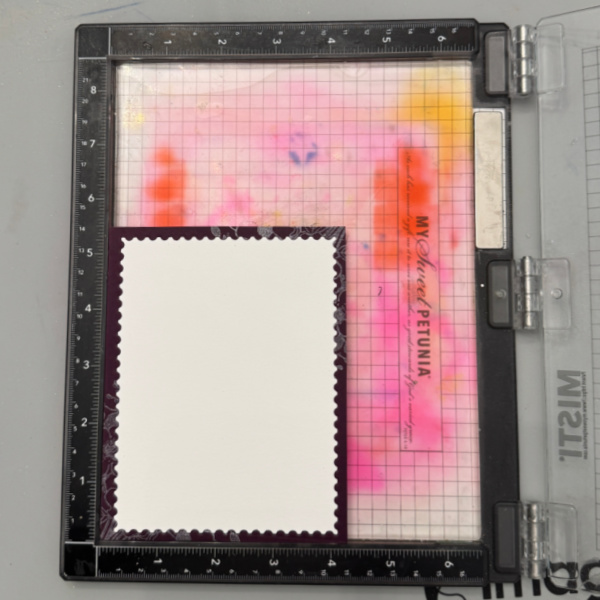
Step 2:
Cut the panel with the die keeping both pieces. Also cut out the wedding themed dies.
Step 3:
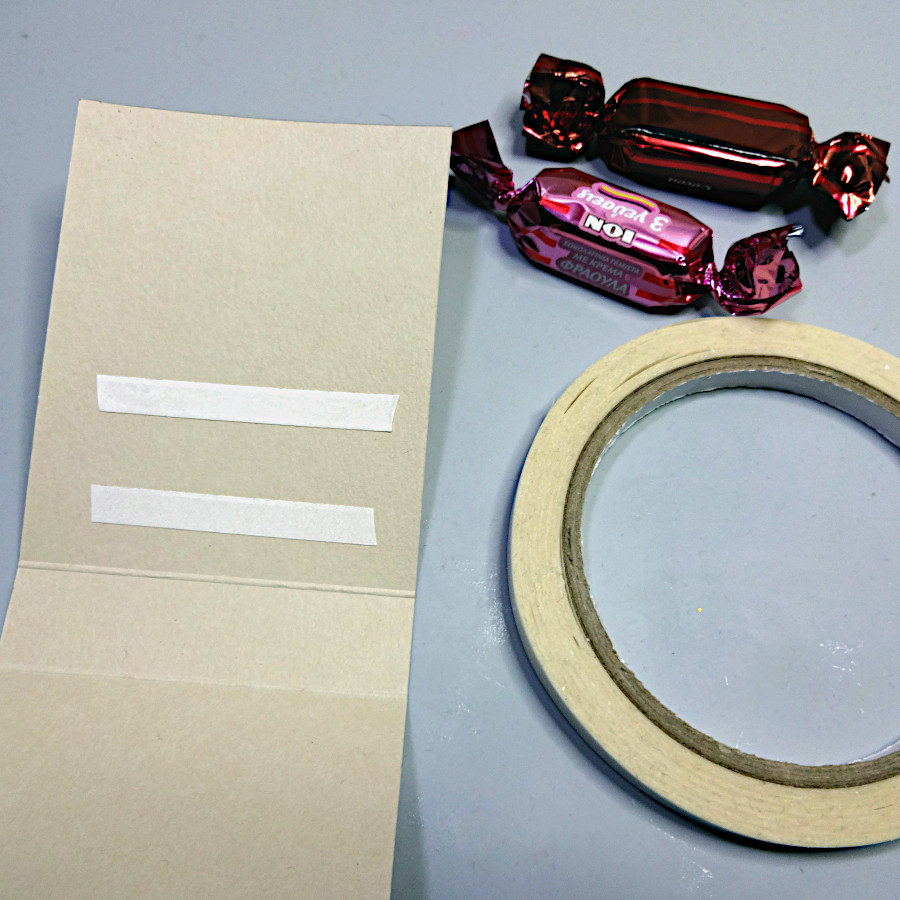
Place the card base in the corner of the Misti and then glue the borer of your die cut pieces down first. I always place it in the corner of the Misti, this helps me line it up.
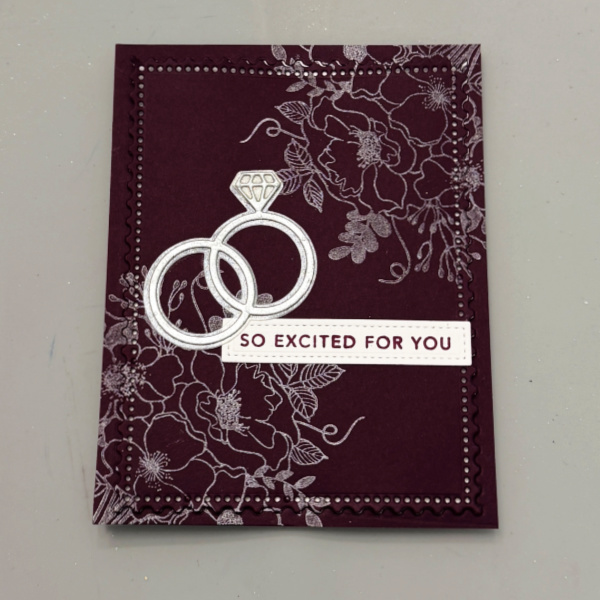
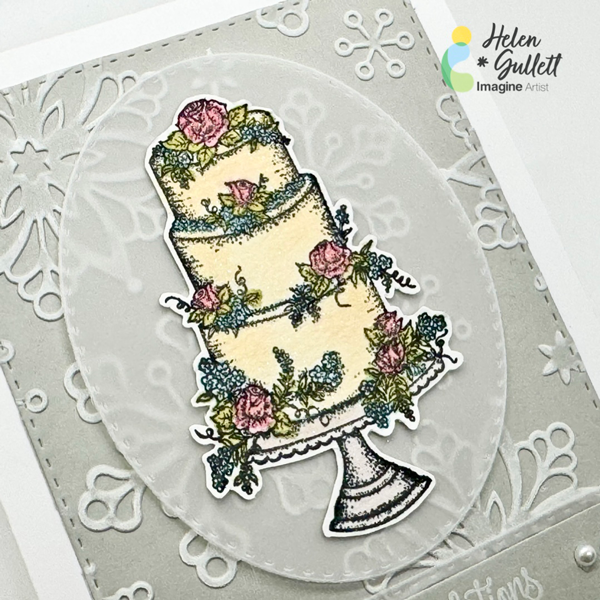
Step 4:
Add the main die cut piece using foam tape to give it dimension.
Tip: after adding the foam adhesive to the panel also add some liquid glue, this allows you to move the panel to get it in place.
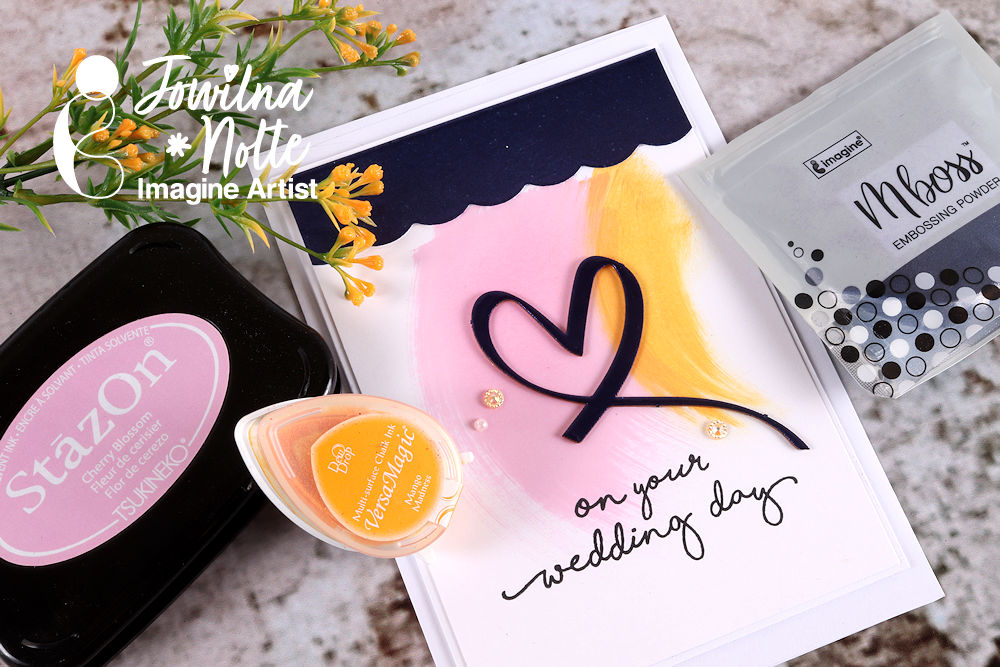
Stamp the greeting on a strip of paper and cut it out. Add all of the elements to the card.
Carft Supplies:
Imagine Products:
VersaFine Clair – Chianti
Delicata – Silvery Shimmer
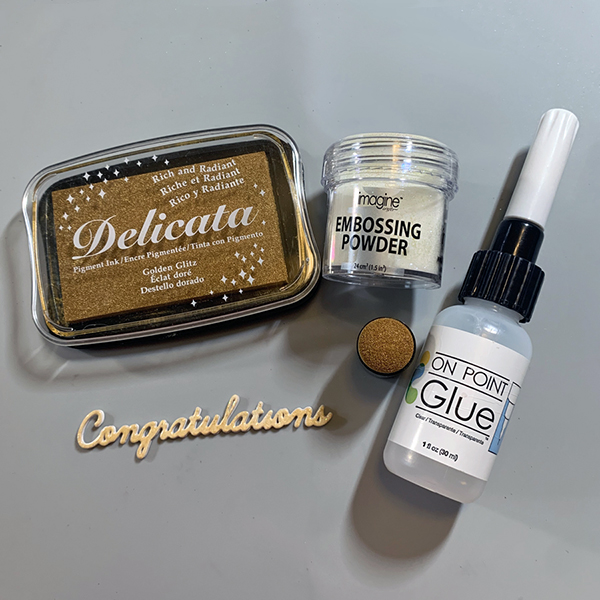
On Point Glue
Other Products:
Scrapbook & Cards Today – Celebrations Delivered Stamps/Dies